
INSTALLATION INSTRUCTIONS - cdn.mishimoto.com · installation time: 2 hours difficulty: 4/5 ... bmw...
3
PARTS LIST 1PC| STEEL FAN SHROUD W/ BLACK POWDER COAT FINISH 1PC| 16” MISHIMOTO SLIM ELECTRIC FAN MOUNTING HARDWARE OPTIONAL: MISHIMOTO FAN CONTROLLER, 1/8” NPT OR PROBE MISHIMOTO LIFETIME WARRANTY INSTALLATION TIME: 2 HOURS DIFFICULTY: 4/5 DISCLAIMER • Raise vehicle only on jack stands or on a vehicle lift. • Allow vehicle to cool completely prior to attempting installation. • Do not run the engine or drive the vehicle while overheating, a serious damage can occur. • Please dispose of any liquids properly. • Mishimoto is not responsible for any vehicle damage or personal injury due to installation errors, misuse, or removal of Mishimoto products. • Mishimoto suggests that a trained professional install all Mishimoto products. INSTALLATION INSTRUCTIONS 1. Remove the stock air dam by removing the two Phillips head screws and pop clips holding it in place. 2. Open the cap for the overflow tank to release the pressure in the cooling system. 3. Loosen the drain plug on the stock radiator and drain the coolant. (Flathead screwdriver) 4. Remove the two pop clips on the fan shroud. 5. Separate the fan shroud from the radiator by pulling up on the shroud and then pushing back. 01 BMW E36 PERFORMANCE FAN SHROUD KIT, 1992–1999 PARTS LIST AND INSTALLATION GUIDE CONTINUED ON FOLLOWING PAGE b 2.5MM ALLEN KEY 10MM SOCKET 1/4” DRIVE RATCHET 10MM WRENCH 19MM WRENCH 32MM WRENCH CHANNELLOCK PLIERS DYKES SMALL FLATHEAD SCREW- DRIVER LARGE FLATHEAD SCREW- DRIVER FUNNEL LIQUID CHILL™ COOLANT TOOLS NEEDED MISHIMOTO 18 BOULDEN CIRCLE, NEW CASTLE, DE 19720 P 1 . 877 .GOMISHI WWW.MISHIMOTO.COM
-
Upload
nguyenthien -
Category
Documents
-
view
222 -
download
1
Transcript of INSTALLATION INSTRUCTIONS - cdn.mishimoto.com · installation time: 2 hours difficulty: 4/5 ... bmw...
PARTS LIST1PC| STEEL FAN SHROUD W/ BLACK POWDER COAT FINISH
1PC| 16” MISHIMOTO SLIM ELECTRIC FAN
MOUNTING HARDWARE
OPTIONAL: MISHIMOTO FAN CONTROLLER,
1/8” NPT OR PROBE
MISHIMOTO LIFETIME WARRANTY
INSTALLATION TIME: 2 HOURS
DIFFICULTY: 4/5
Disclaimer• Raise vehicle only on jack stands or on a vehicle lift.
• Allow vehicle to cool completely prior to attempting installation.
• Do not run the engine or drive the vehicle while overheating, a serious damage can occur.
• Please dispose of any liquids properly.
• Mishimoto is not responsible for any vehicle damage or personal injury due to installation errors, misuse, or removal of Mishimoto products.
• Mishimoto suggests that a trained professional install all Mishimoto products.
INSTALLATION INSTRUCTIONS1. Remove the stock air dam by removing the two Phillips head screws and pop clips holding it in place.
2. Open the cap for the overflow tank to release the pressure in the cooling system.
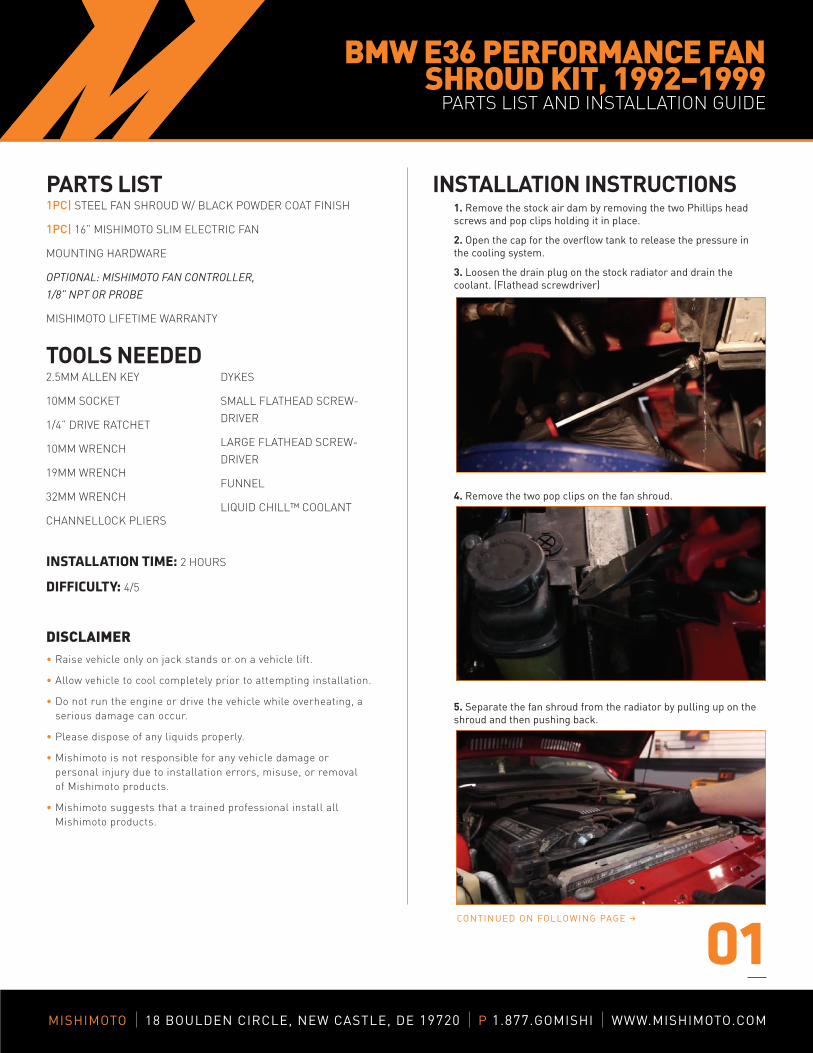
3. Loosen the drain plug on the stock radiator and drain the coolant. (Flathead screwdriver)
4. Remove the two pop clips on the fan shroud.
5. Separate the fan shroud from the radiator by pulling up on the shroud and then pushing back.
01
BmW e36 Performance fan shrouD Kit, 1992–1999
PARTS LIST AND INSTALLATION GUIDE
CONTINUED ON FOLLOWING PAGE b
2.5MM ALLEN KEY
10MM SOCKET
1/4” DRIVE RATCHET
10MM WRENCH
19MM WRENCH
32MM WRENCH
CHANNELLOCK PLIERS
DYKES
SMALL FLATHEAD SCREW-
DRIVER
LARGE FLATHEAD SCREW-
DRIVER
FUNNEL
LIQUID CHILL™ COOLANT
TOOLS NEEDED
MISHIMOTO 18 BOuLden CIRCLe, new CaSTLe, de 19720 P 1.877.GOMISHI www.MISHIMOTO.COM
6. Remove the worm-gear clamp for the overflow hose.
7. Loosen the stock mechanical clutch fan and leave it inside the shroud. (32mm wrench, flathead screwdriver)
8. Remove the bleeder screw. (Flathead screwdriver)
9. Remove the clip for the stock plastic expansion tank. (Flathead screwdriver)
10. If the Mishimoto X-line e36 Performance Radiator is already installed, run the overflow line through the shroud. (depending on the radiator model, routing the line may be slightly different)
11. unseat the stock expansion tank and feed the overflow hose out of the way.
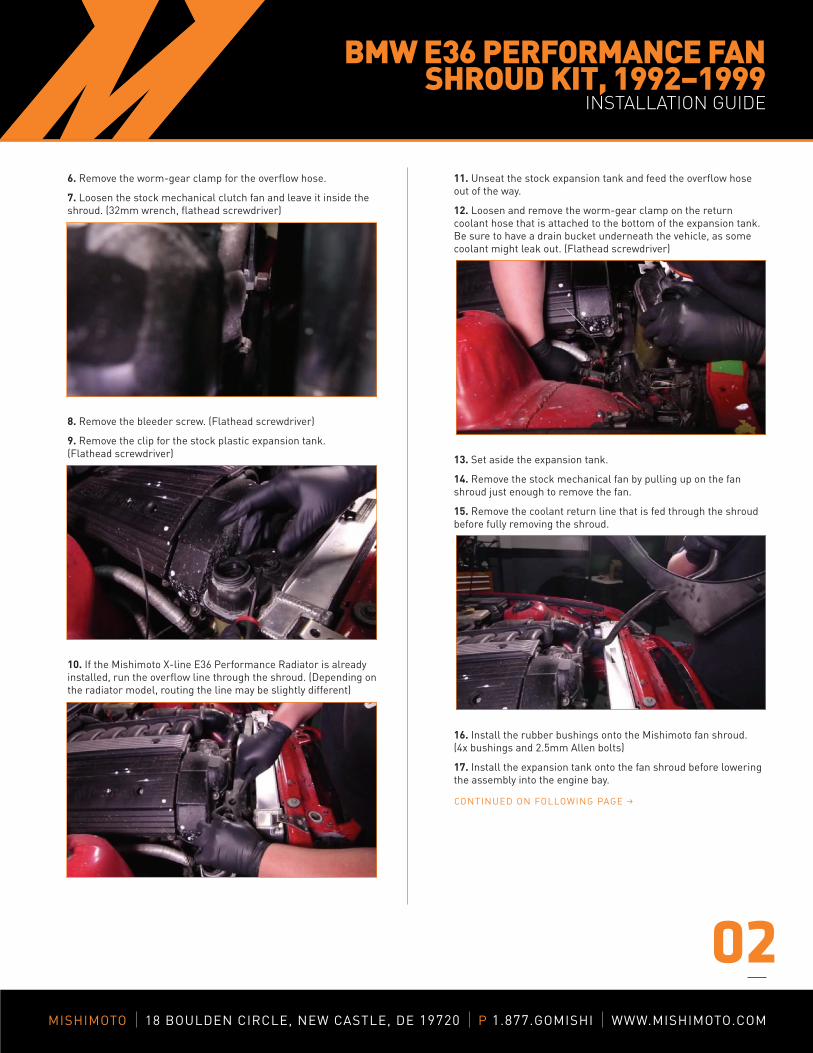
12. Loosen and remove the worm-gear clamp on the return coolant hose that is attached to the bottom of the expansion tank. Be sure to have a drain bucket underneath the vehicle, as some coolant might leak out. (Flathead screwdriver)
13. Set aside the expansion tank.
14. Remove the stock mechanical fan by pulling up on the fan shroud just enough to remove the fan.
15. Remove the coolant return line that is fed through the shroud before fully removing the shroud.
16. Install the rubber bushings onto the Mishimoto fan shroud. (4x bushings and 2.5mm allen bolts)
17. Install the expansion tank onto the fan shroud before lowering the assembly into the engine bay.
02
CONTINUED ON FOLLOWING PAGE b
MISHIMOTO 18 BOuLden CIRCLe, new CaSTLe, de 19720 P 1.877.GOMISHI www.MISHIMOTO.COM
BmW e36 Performance fan shrouD Kit, 1992–1999
INSTALLATION GUIDE

18. attach a worm-gear clamp onto the return coolant line, and reconnect the line to the bottom of the expansion tank. (Flathead screwdriver)
19. Install the supplied bracket for the stock expansion tank. (2x 10mm bolts)
20. Lower the entire assembly into place.
21. Fasten the fan shroud to the radiator. (2x 10mm bolts)
22. Reinstall the overflow coolant hose.
23. using a supplied zip tie, secure the coolant overflow hose to the fan shroud.
24. Secure the return coolant line. (2x zip ties)
25. Reinstall the air dam using the Phillips head screws and pop clips removed in step 1.
26. Fill the coolant system, run the vehicle, bleed the system, and check for any leaks.
You have now successfully installed the Mishimoto 1992–1999 BMw e36 Performance Fan Shroud Kit. enjoy!
03MISHIMOTO 18 BOuLden CIRCLe, new CaSTLe, de 19720 P 1.877.GOMISHI www.MISHIMOTO.COM
BmW e36 Performance fan shrouD Kit, 1992–1999
INSTALLATION GUIDE
![Function List - Videntshop3 Series E36[>9803] Body IHKA Heater/automatic A/C control √ √ √ √ √ √ 3 Series E36[>9803] Body IR Radio/infrared locking system 3 Series E36[>9803]](https://static.fdocuments.net/doc/165x107/60d6a8bf00a997742a129fae/function-list-3-series-e369803-body-ihka-heaterautomatic-ac-control-a.jpg)