Impression techniques for RPDs - National University for... · 2019-02-04 · Primary impression...
70
Impression techniques for RPDs
Transcript of Impression techniques for RPDs - National University for... · 2019-02-04 · Primary impression...
Impression techniques for RPDs
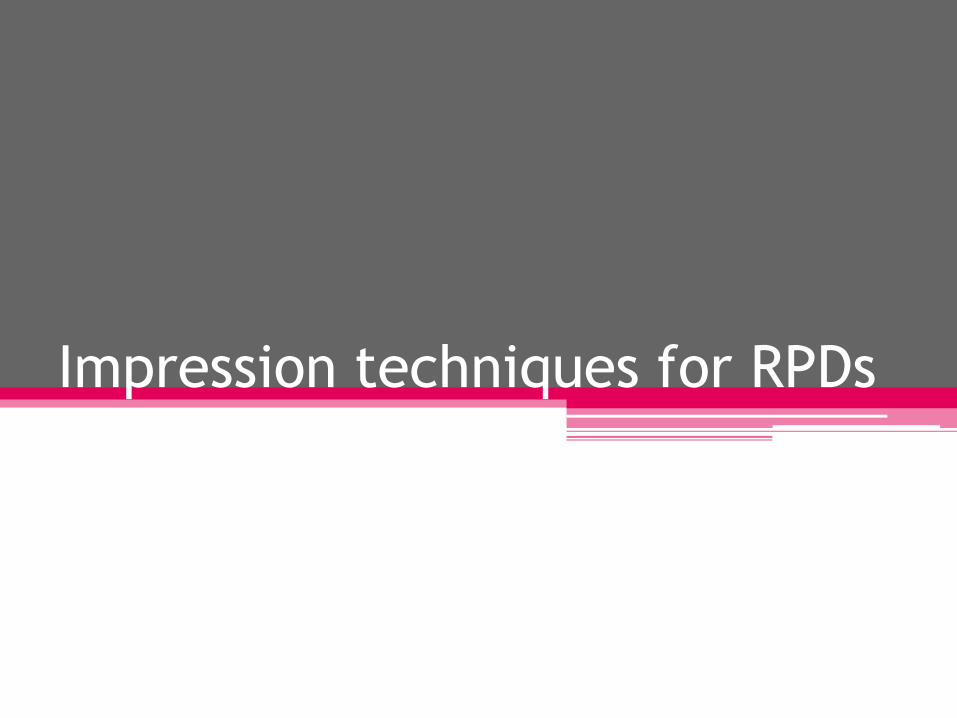
An impression,
of a partially dentate arch must record accurately the anatomic form of the teeth and surrounding tissues so
that ..
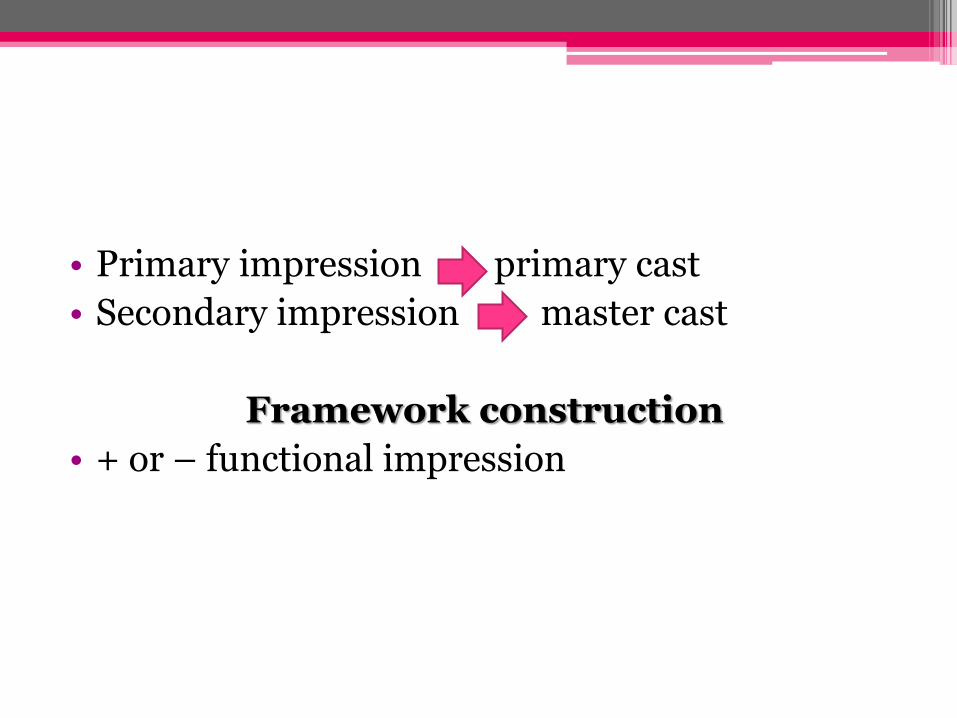
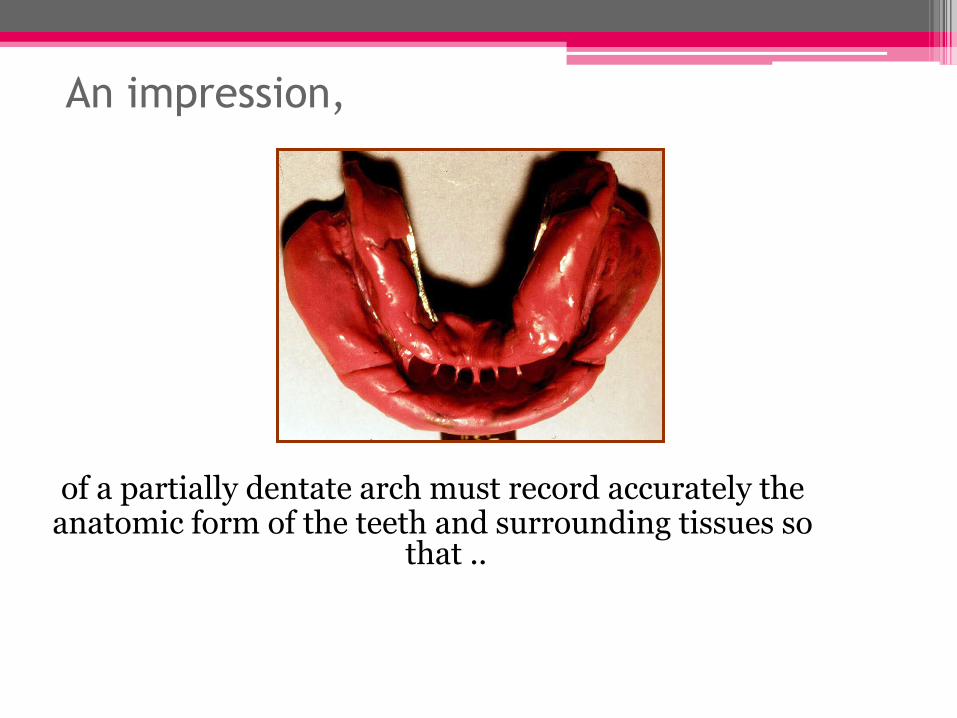
• Primary impression primary cast
• Secondary impression master cast
Framework construction
• + or – functional impression

Methods used to rescored tissues Anatomic (mucostatic) impression
Functional impression
For tooth tissue support
For tooth supported edentulous areas(i.e kennedy Class III) • Physiologic impression
(Mcleans’ and Hindel’s)
Campagna technique
Functional reline method
• Selective pressure impression
Corrective impression technique
Anatomic form impression
One stage impression using elastic material and produce cast not represent functional relation ship
Hard and soft tissues are recorded at rest
Indications
1. As a primary impression to obtain a primary
cast
2. Indicated for tooth bonded edentulous areas
3. Class III ,Class II with or without modification
areas
Functional impression
As the bone is covered by mucosa and sub mucosa
of varying thickness, the ability of these tissues to
bear the load differs.
Uneven distribution of loads results in functional
instability and subsequent displacement
When occlusal loads are applied to the
tooth supported RPD, the teeth absorb the
loads before transmission to the residual
ridge.
So we just need to record the teeth & the
soft tissue in their anatomic form.
In contrast , when loads are applied to the
tooth tissue borne RPD, the occlusal forces
are transmitted to both the residual ridge
& abutment teeth .so it must be recorded in
anatomic & functional form.
Technique to obtain a selective impression of the
differential support offered by the free end
saddle.
The objective is to obtain a displacive impression
of the edentulous ridge under conditions which
mimic functional loading.
Indications of the dual impression
technique • The dual impressions is most often indicated
for Mandibular distal extension
• Long span anterior edentulous base(6 anterior
teeth)
• In the maxilla the ridge is usually covered by
firm well attached mucosa, so no need to this
technique.
How to confirm it is needed??
1. acrylic resin bases are added to the frame
work
2. The frame work are placed in the mouth&
finger pressure are applied to the base, if the
base can be depressed so that the indirect
retainer or lingual plate lifts away from the
teeth , dual technique is indicated.
Timing
• After framework construction
• After RPD construction
objectives
Physiologic impression techniques
Recorded the ridge portion in it is functional form
Selective pressure impression technique
Direct the force to portion of the ridge capable of withstand the occlusal load
Physiologic impression
Mc LEAN
McLean is the first proposed the need for physiologic impression
• Construct special tray in edentulous area
• Functional impression made from this tray
• Overall impression made while maintain functional impression in its intended position
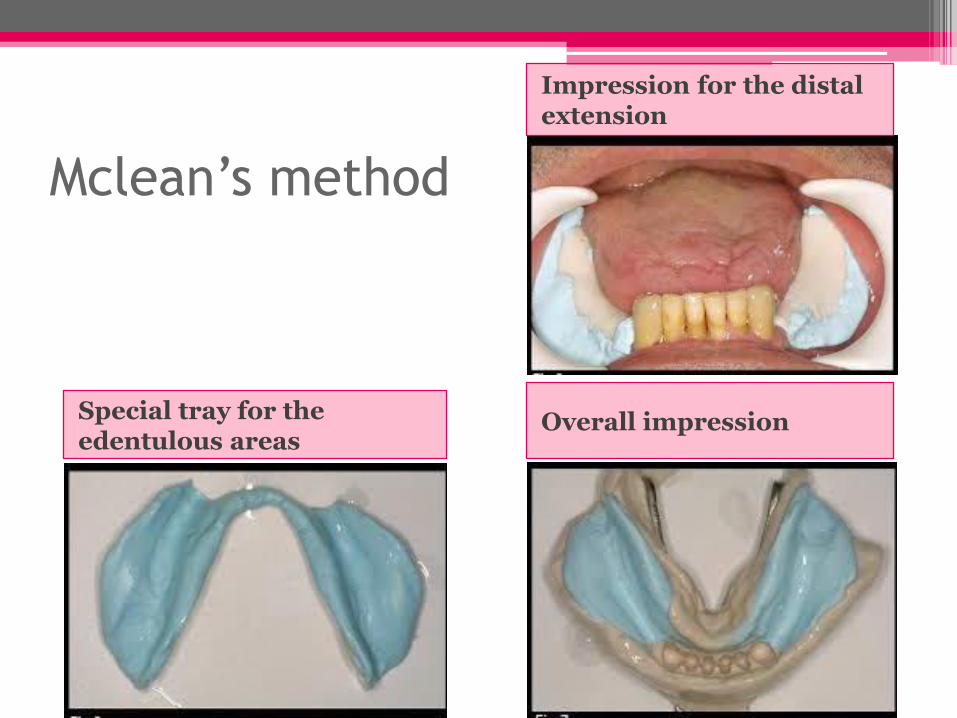
Mclean’s method
Overall impression Special tray for the edentulous areas
Impression for the distal extension
Disadvantages
1. The practitioner could not produce the same functional displacement as occlusal force
Hindles’ modification on Mclean method:
develop tray with large hole in their posterior segment
2.It accselarate the rate of the ridge resorption
3.If clasp retention is not sufficient the denture will be in occlusal position at rest i.e premature contact of teeth
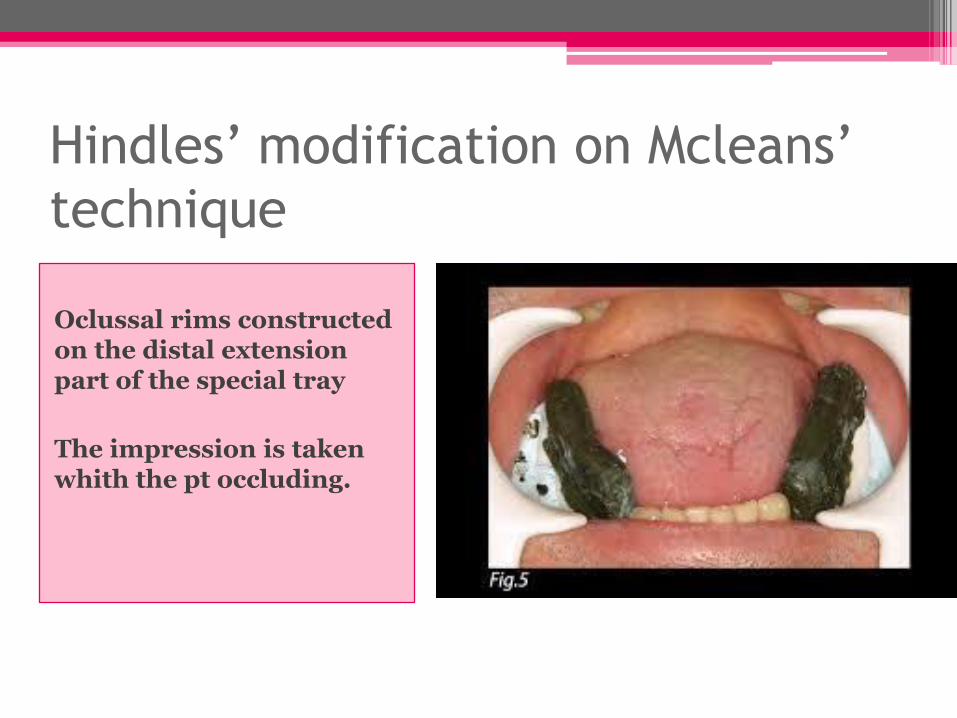
Hindles’ modification on Mcleans’ technique
Oclussal rims constructed on the distal extension part of the special tray
The impression is taken whith the pt occluding.
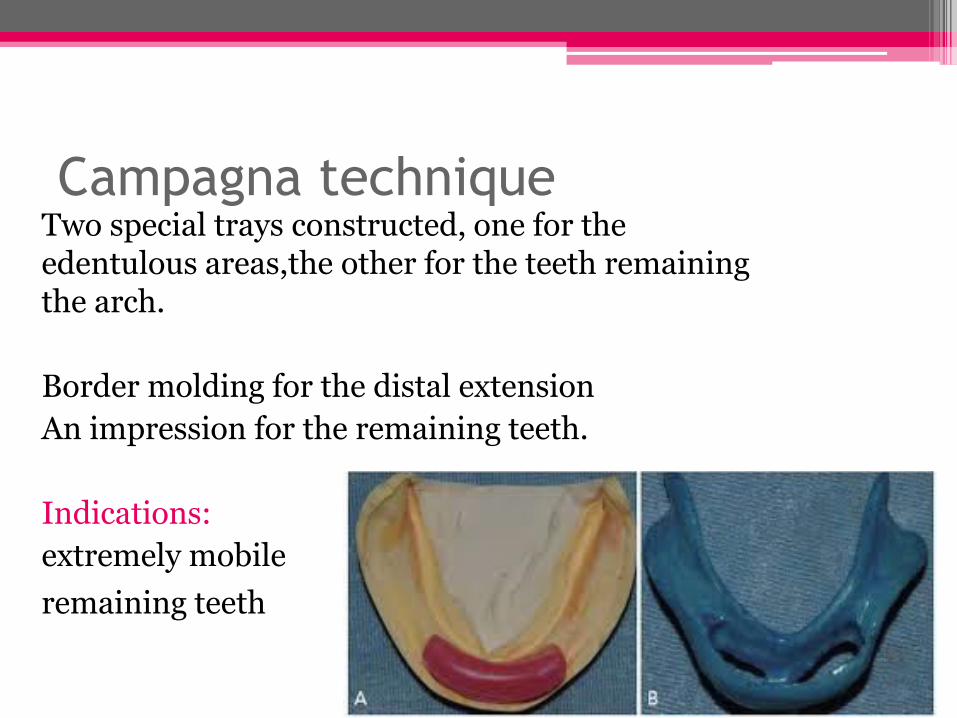
Campagna technique Two special trays constructed, one for the edentulous areas,the other for the teeth remaining the arch.
Border molding for the distal extension
An impression for the remaining teeth.
Indications:
extremely mobile
remaining teeth
Physiologic impression
functional relining method
After the partial denture has been completed
By adding a new surface to intaglio of denture base
1. Partial denture is constructed from single alginate impression
2.Space is provided between the denture base and the cast using metal spacer
3. Special tray constructed
Pt keep his mouth partially opened
4. Make impression with the frame using low fusing modeling plastic
5.Remove 1mm from modeling plastic and make final impression with zoe or poly sulfied
Corrected Cast Technique
• Altered Cast
• Modified Cast

Corrective Cast Impression
technique
1. Adding special tray to the framwork
Outline the
edentuolus distal
extension areas
Ensure proper
positioning of
framework on the
cast
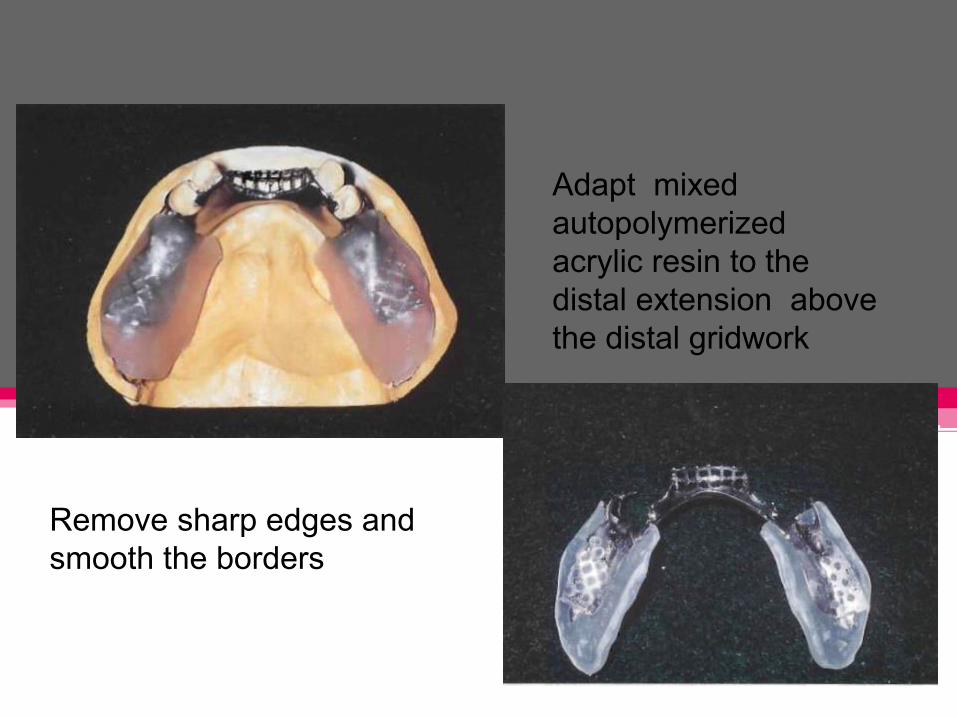
Adapt mixed
autopolymerized
acrylic resin to the
distal extension above
the distal gridwork
Remove sharp edges and
smooth the borders
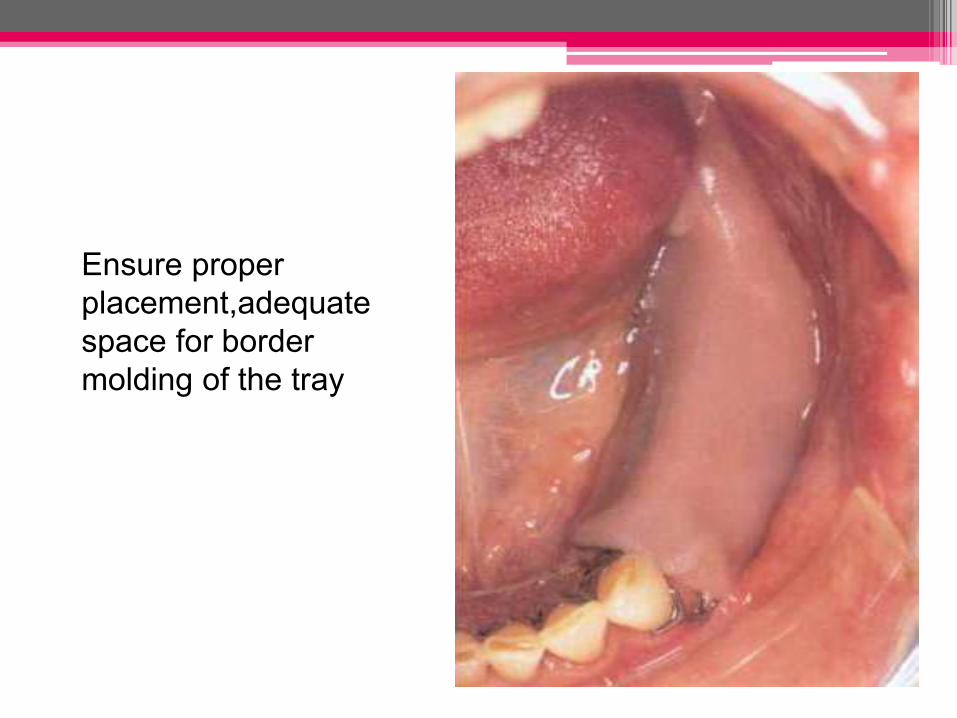
Ensure proper
placement,adequate
space for border
molding of the tray
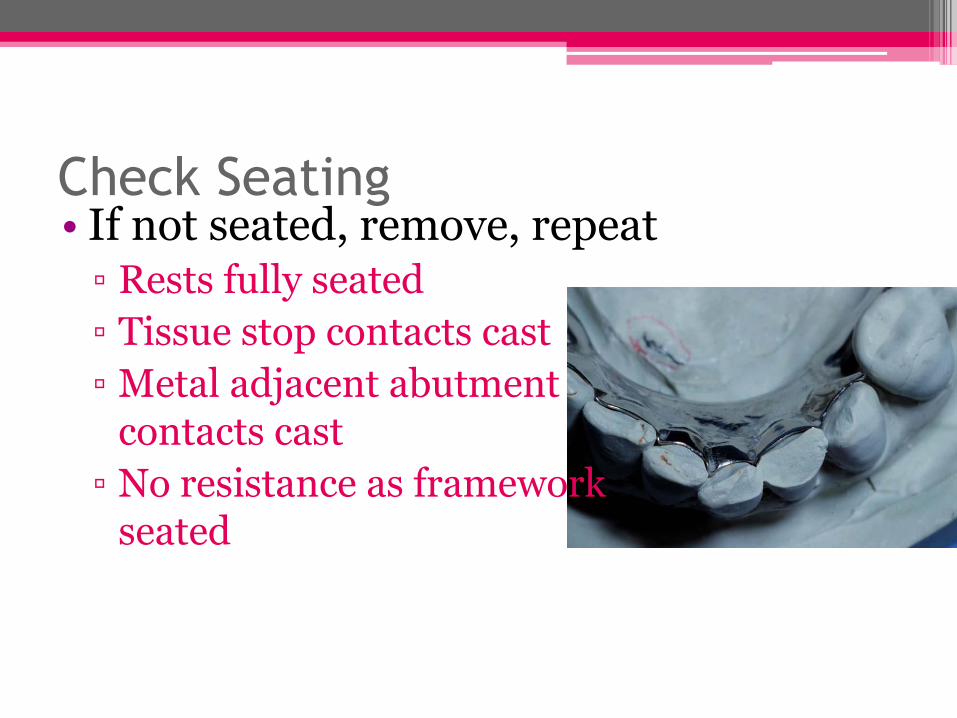
Check Seating • If not seated, remove, repeat
▫ Rests fully seated
▫ Tissue stop contacts cast
▫ Metal adjacent abutment contacts cast
▫ No resistance as framework seated
Correction of the peripheral extention
• 2-3 mm short of vestibular
• Tow third of high of retomolar pad
• No displacement when:
▫ Pull on cheeks, lips
▫ Patient activates tongue
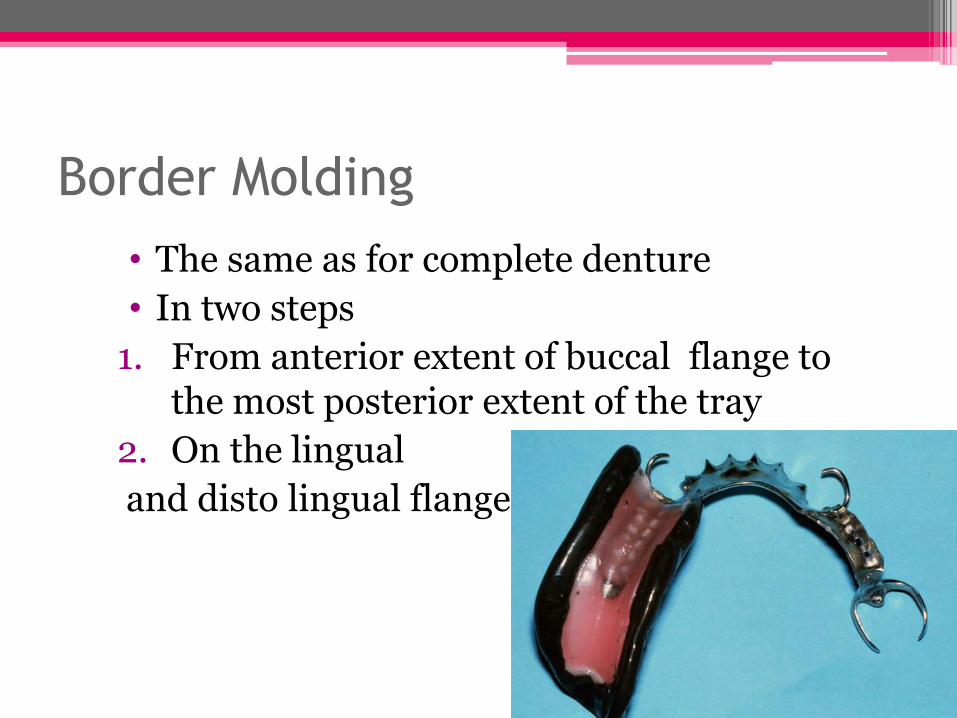
Border Molding
• The same as for complete denture
• In two steps
1. From anterior extent of buccal flange to the most posterior extent of the tray
2. On the lingual
and disto lingual flange
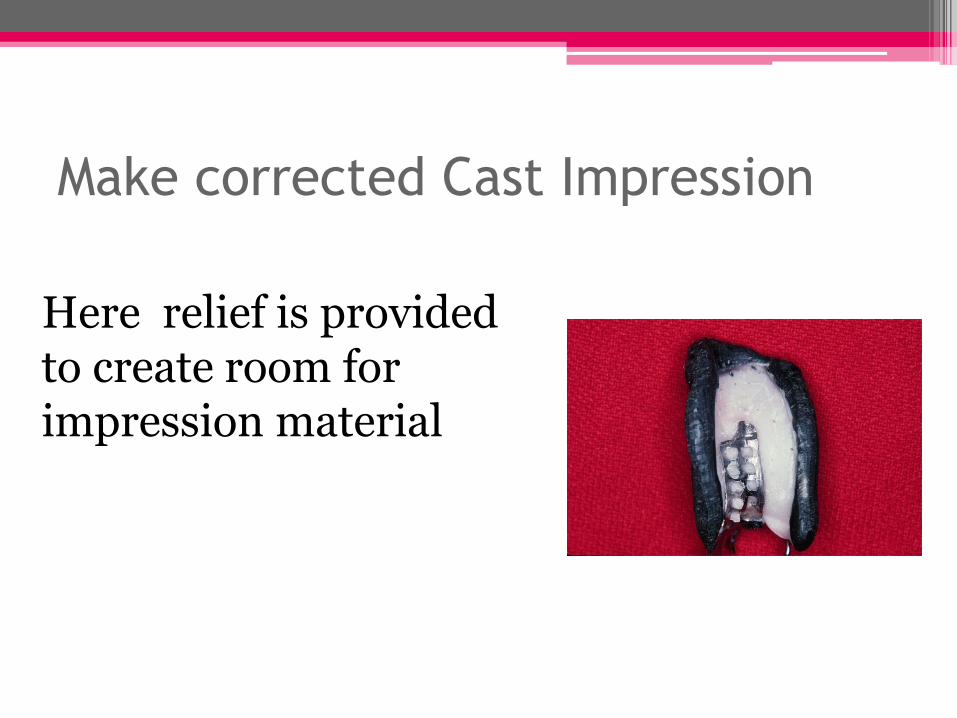
Make corrected Cast Impression
Here relief is provided to create room for impression material
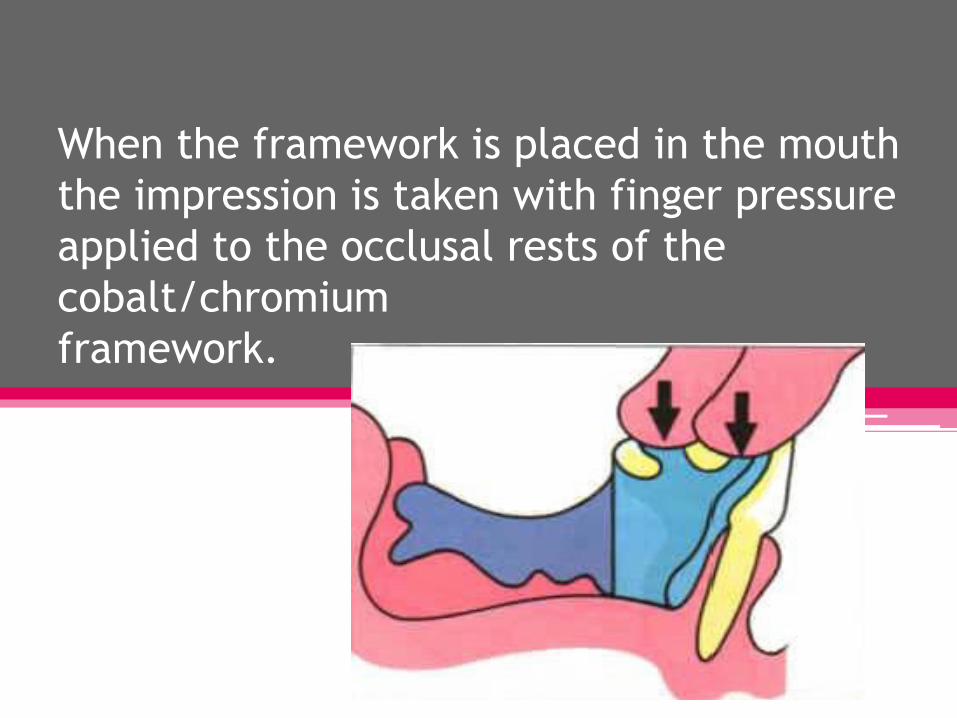
When the framework is placed in the mouth
the impression is taken with finger pressure
applied to the occlusal rests of the
cobalt/chromium
framework.
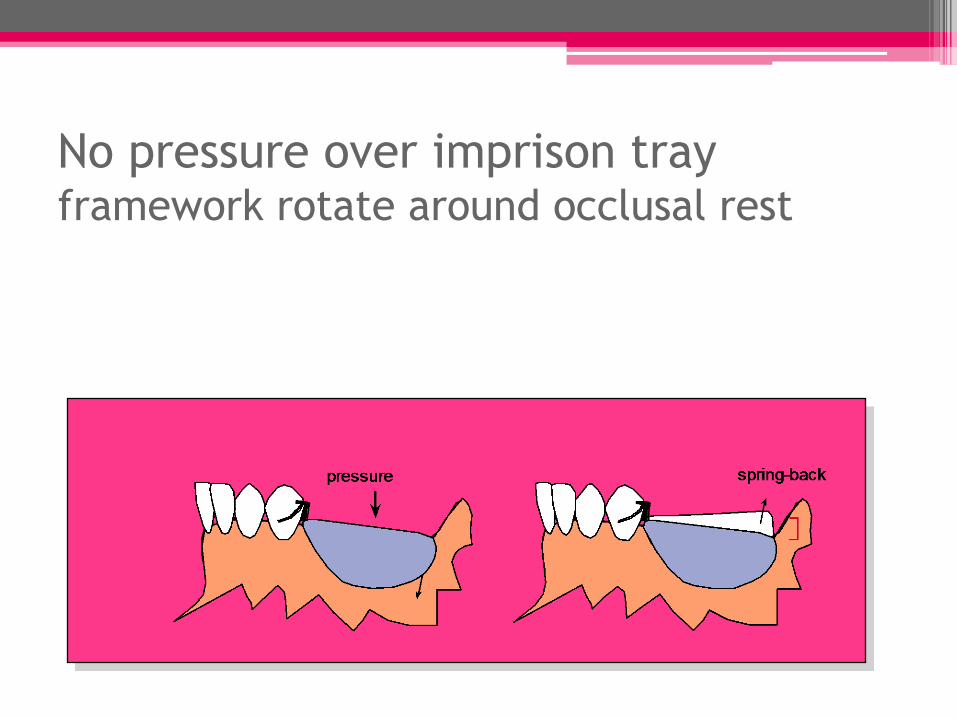
No pressure over imprison tray framework rotate around occlusal rest
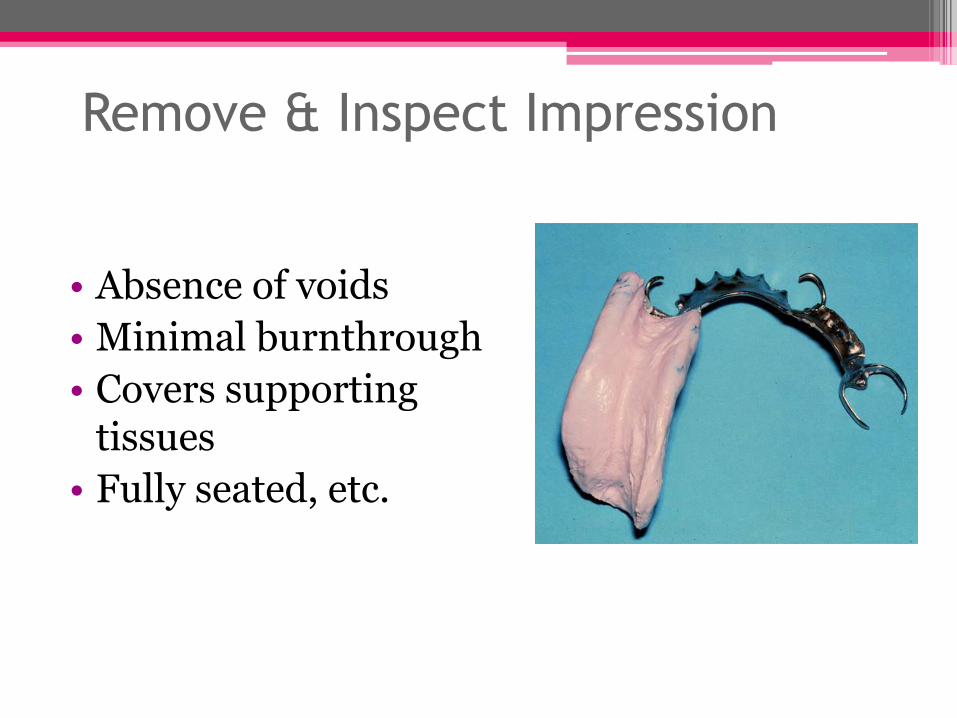
Remove & Inspect Impression
• Absence of voids
• Minimal burnthrough
• Covers supporting tissues
• Fully seated, etc.
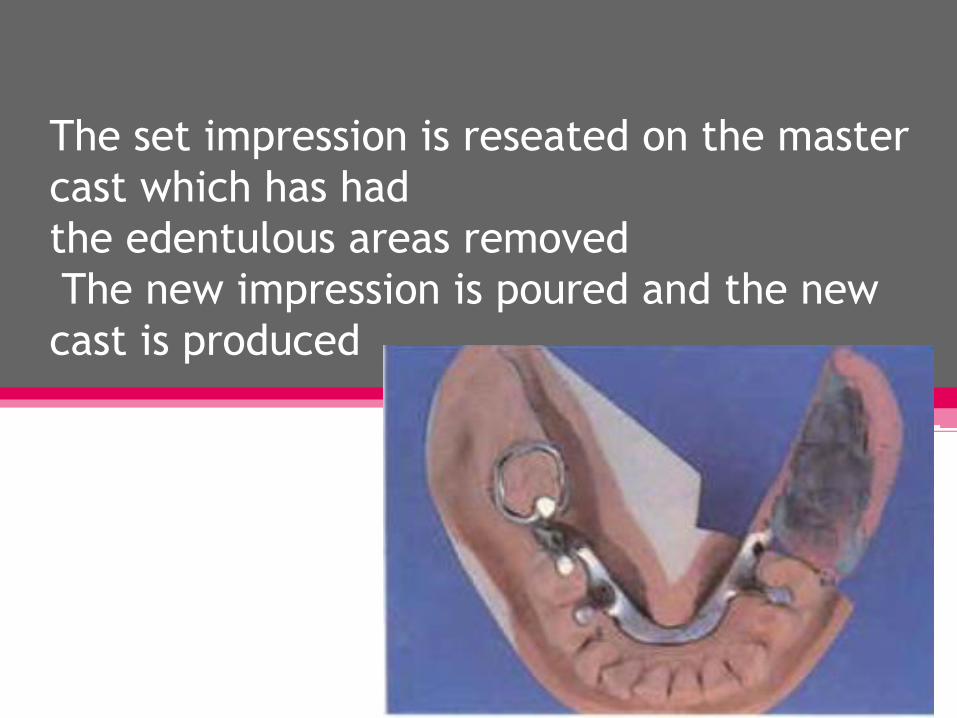
The set impression is reseated on the master
cast which has had
the edentulous areas removed
The new impression is poured and the new
cast is produced

Send to Laboratory
• Lab Steps ▫ Section residual ridge from cast
▫ Ensure no contact between impression & cast
▫ Place retentive grooves in cast
▫ Sticky wax in place
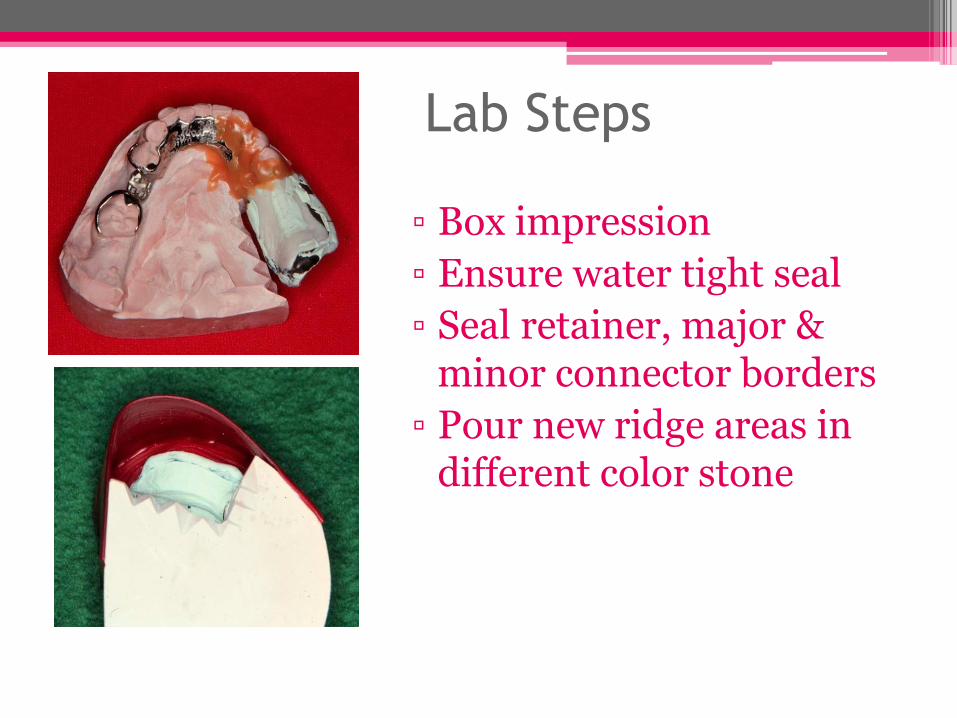
Lab Steps
▫ Box impression
▫ Ensure water tight seal
▫ Seal retainer, major & minor connector borders
▫ Pour new ridge areas in different color stone
Problems with the corrected Cast
Technique
• If tray is added carelessly, it can alter passive relationship
• Excess impression material under framework
• If inadequately sealed, stone over teeth, can’t articulate model
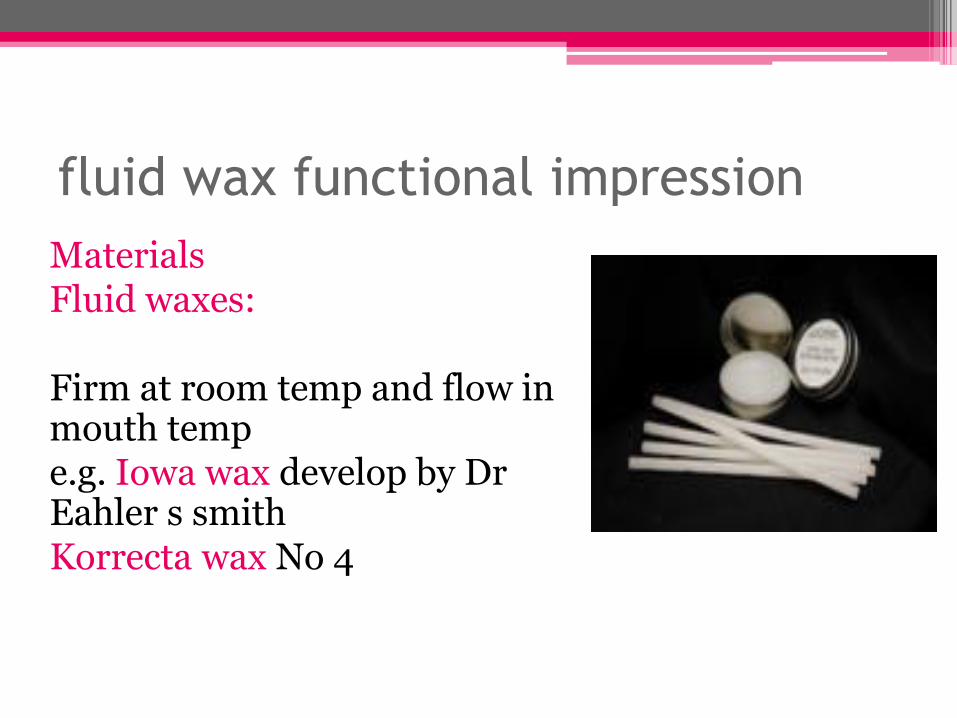
fluid wax functional impression
Materials Fluid waxes: Firm at room temp and flow in mouth temp e.g. Iowa wax develop by Dr Eahler s smith Korrecta wax No 4
Selective pressure impression
• Direct more force to portion of the ridge able to absorb stress and protect area least absorb stress
• Differs from the above 2 methods in that : selective relief of impression tray is to be done.
• The intalgio surface of tray upon the crest of the ridge relieved down to metal stratu
• Buccal shelf of bone is primary stress bearing area so slight relief indicate here
• Lingual slop also relief slightly
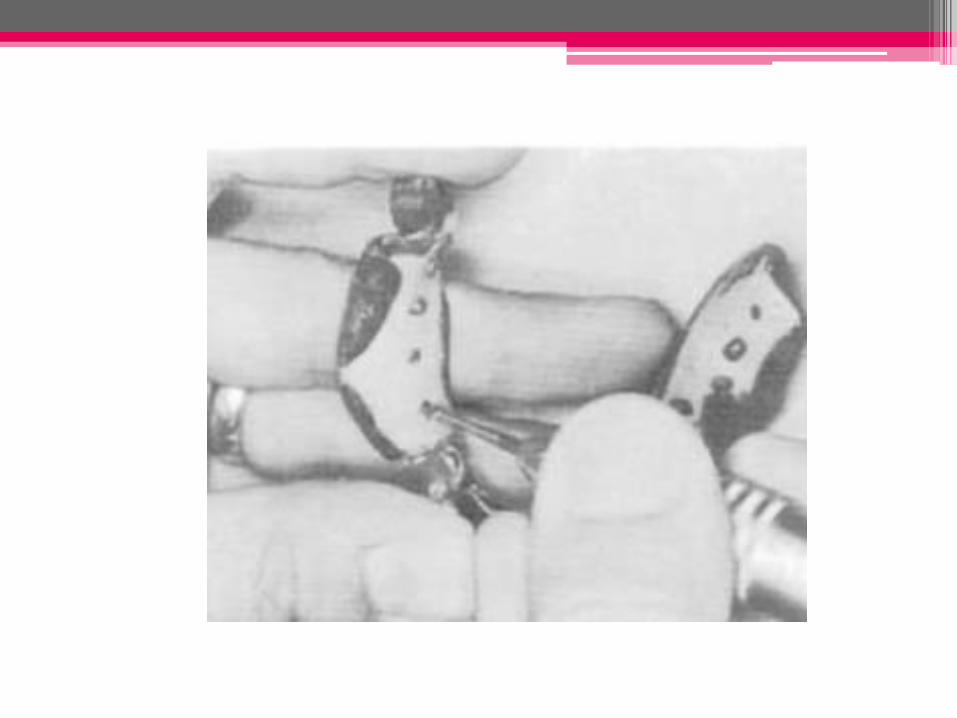
• To reduce excessive tissue displacement drill holes in tray

Impression
Procedures
for Partially
edentulous
Patients
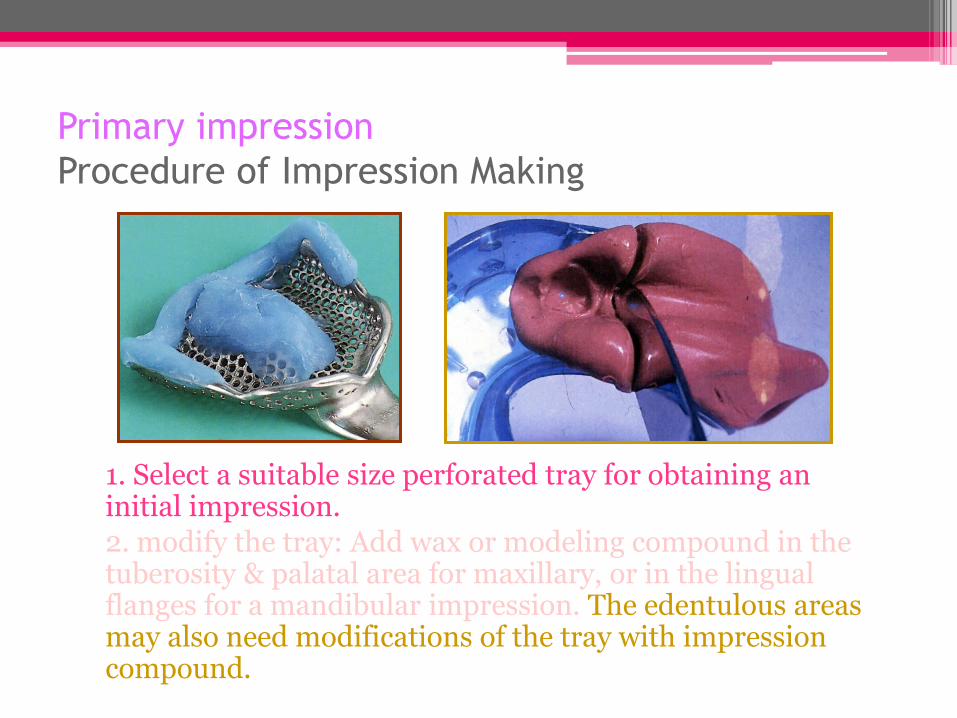
Primary impression
Procedure of Impression Making
1. Select a suitable size perforated tray for obtaining an initial impression.
2. modify the tray: Add wax or modeling compound in the tuberosity & palatal area for maxillary, or in the lingual flanges for a mandibular impression. The edentulous areas may also need modifications of the tray with impression compound.
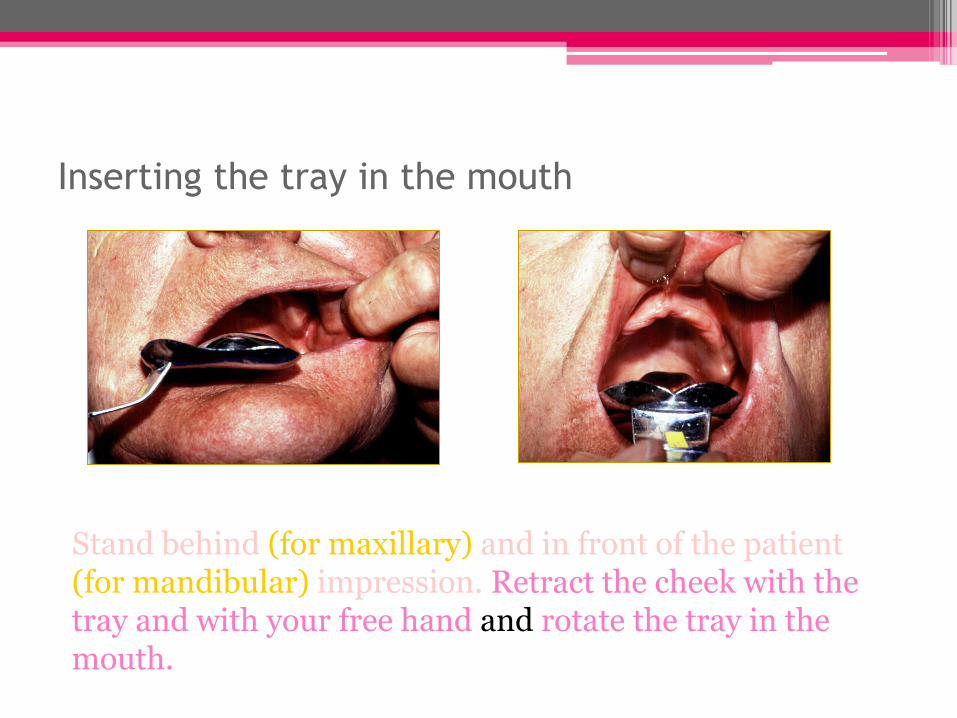
Inserting the tray in the mouth
Stand behind (for maxillary) and in front of the patient (for mandibular) impression. Retract the cheek with the tray and with your free hand and rotate the tray in the mouth.
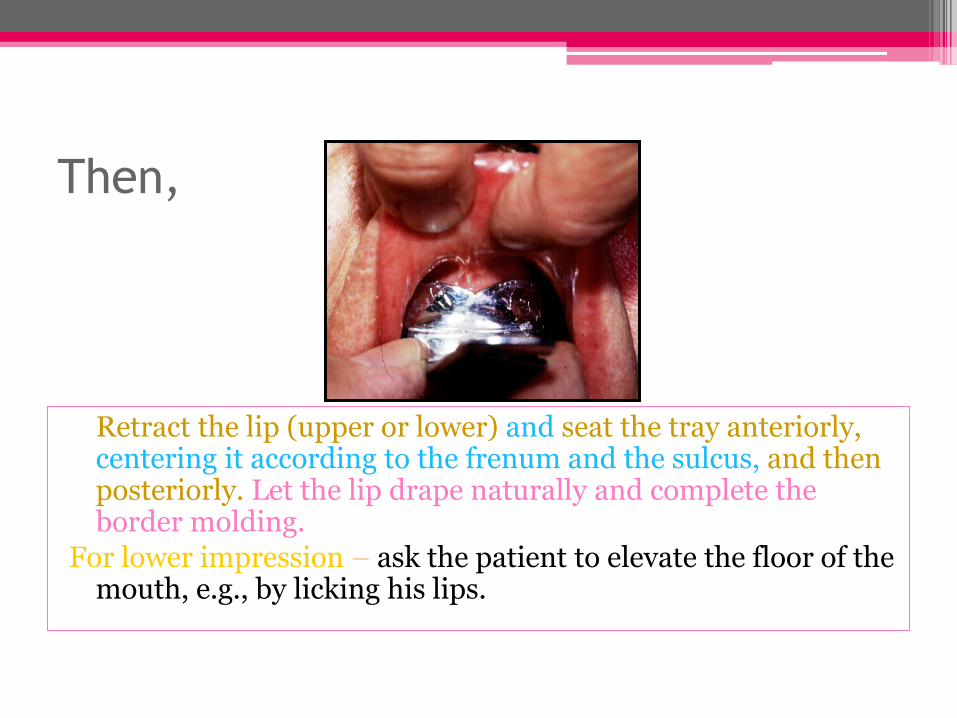
Then,
Retract the lip (upper or lower) and seat the tray anteriorly, centering it according to the frenum and the sulcus, and then posteriorly. Let the lip drape naturally and complete the border molding.
For lower impression – ask the patient to elevate the floor of the mouth, e.g., by licking his lips.
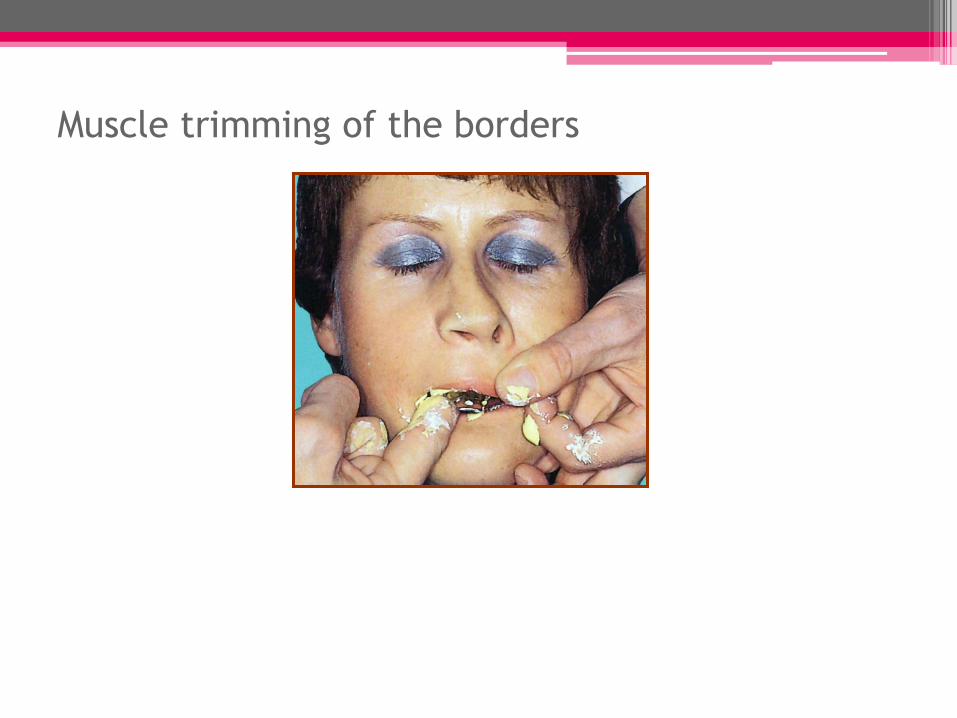
Muscle trimming of the borders
While waiting for the material to set
Hold the tray immobile for at least 3 minutes with a light finger pressure applied over the left and right pre – molar areas. Any movement of the tray can cause an inaccurate impression.

Once the material is set
Release the surface tension by lifting the lip (up or down) away from the tray.
Remove the impression quickly (snap removal) in line with the long axis of the teeth.
Rinse it thoroughly under running tap water – free it from saliva or blood.
Examine the impression carefully for acceptance and disinfect it before pouring.
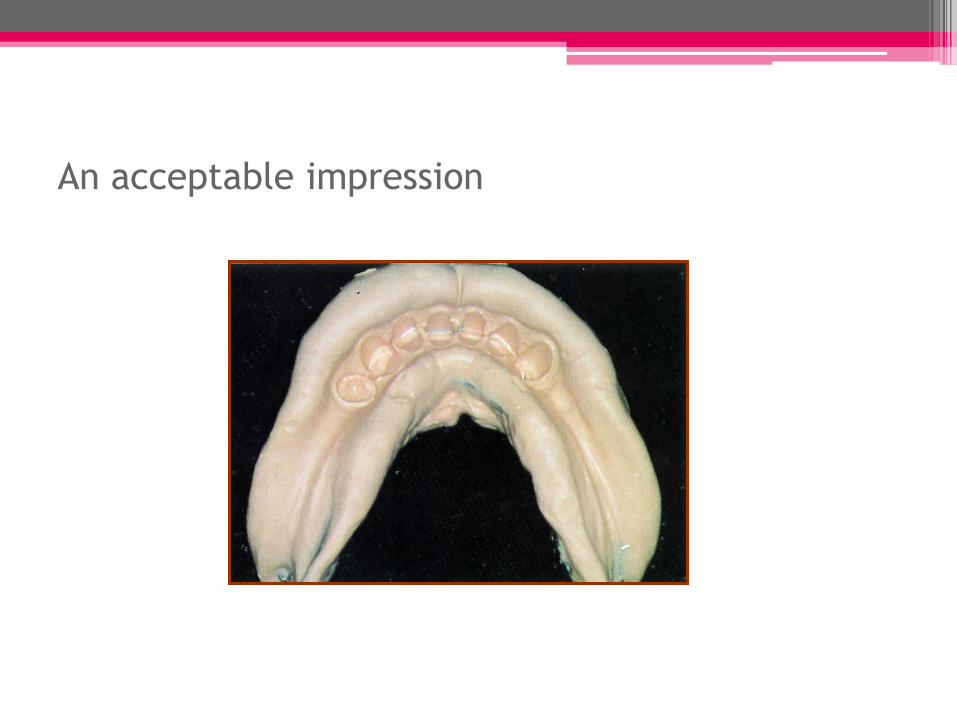
An acceptable impression
materials
• Elastic materials should be used for pimary & secondary impression
• Diffeternt suitable materials :
• Elastomers are capable to repoduce finer details and had a comparable high tear strength to that of hydrocolloids
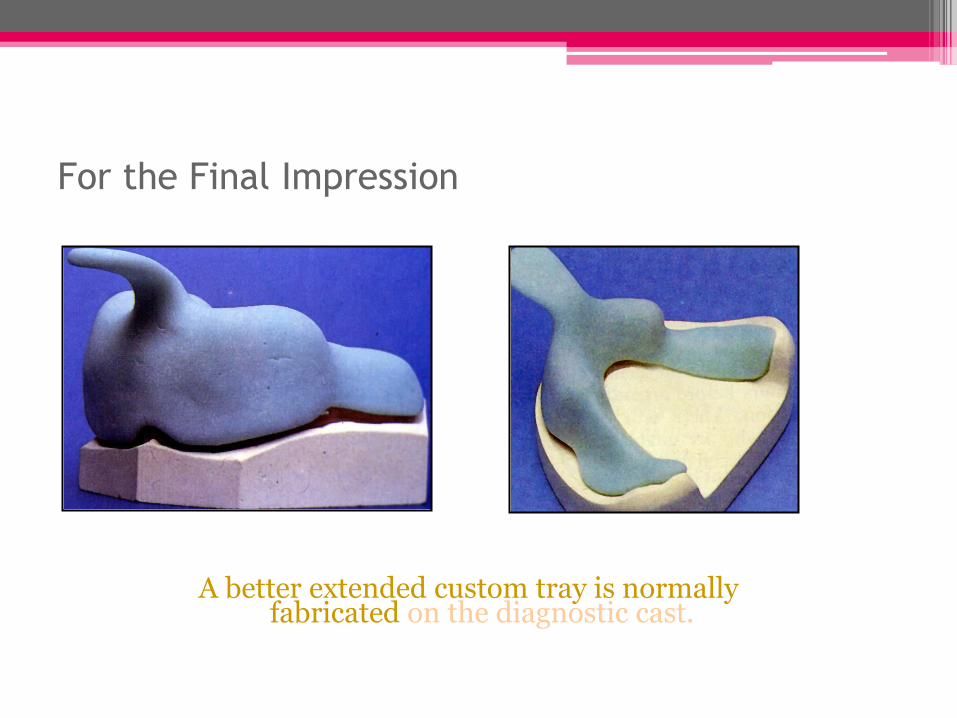
For the Final Impression
A better extended custom tray is normally fabricated on the diagnostic cast.
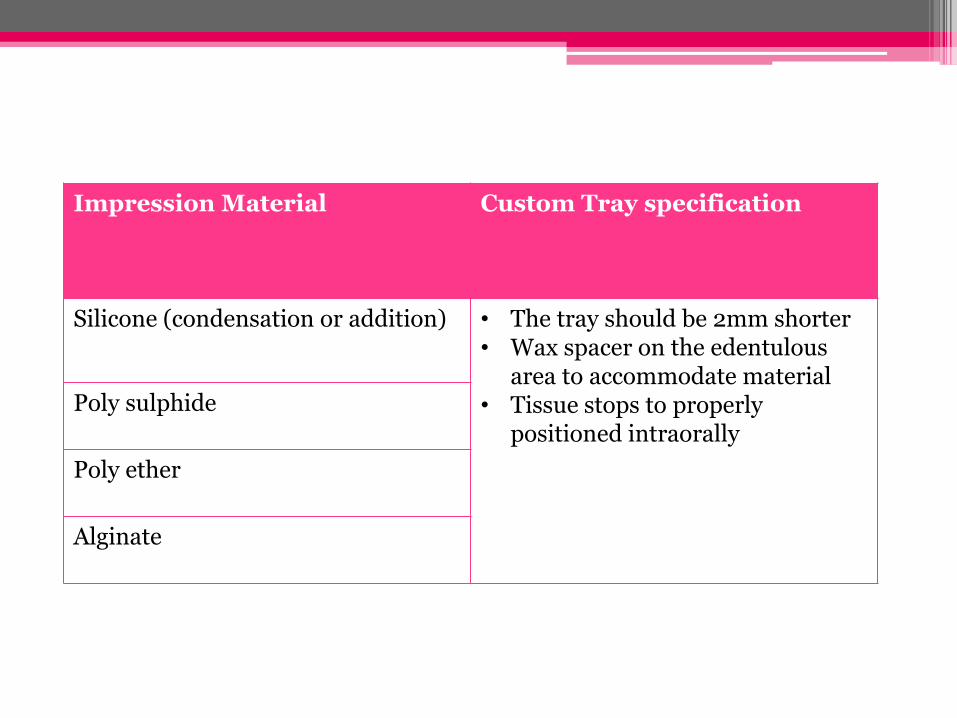
Impression Material Custom Tray specification
Silicone (condensation or addition) • The tray should be 2mm shorter • Wax spacer on the edentulous
area to accommodate material • Tissue stops to properly
positioned intraorally
Poly sulphide
Poly ether
Alginate
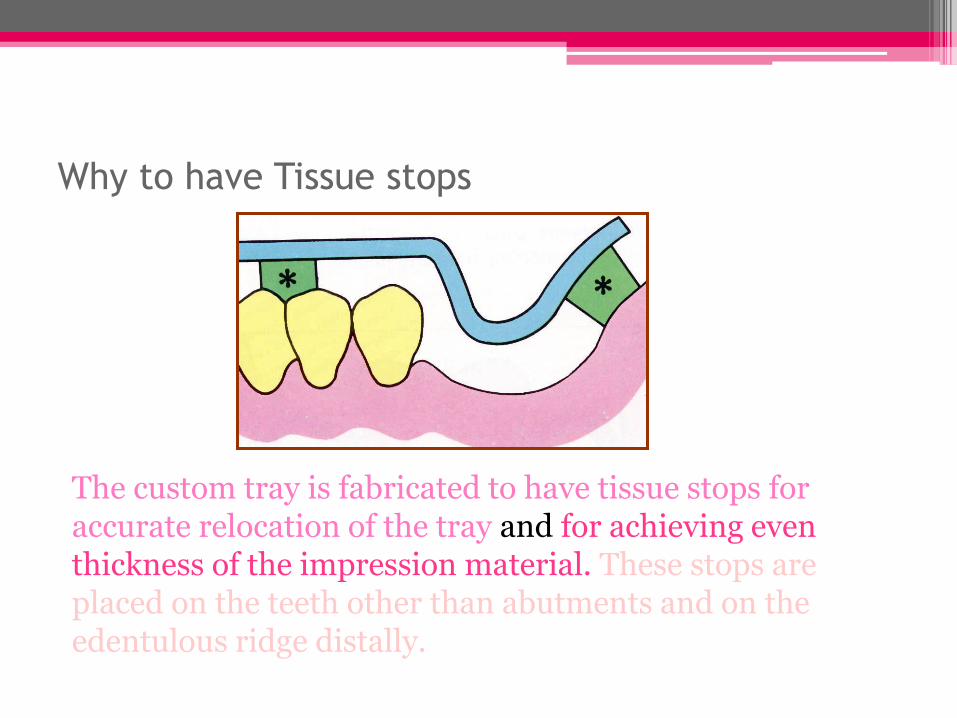
Why to have Tissue stops
The custom tray is fabricated to have tissue stops for accurate relocation of the tray and for achieving even thickness of the impression material. These stops are placed on the teeth other than abutments and on the edentulous ridge distally.
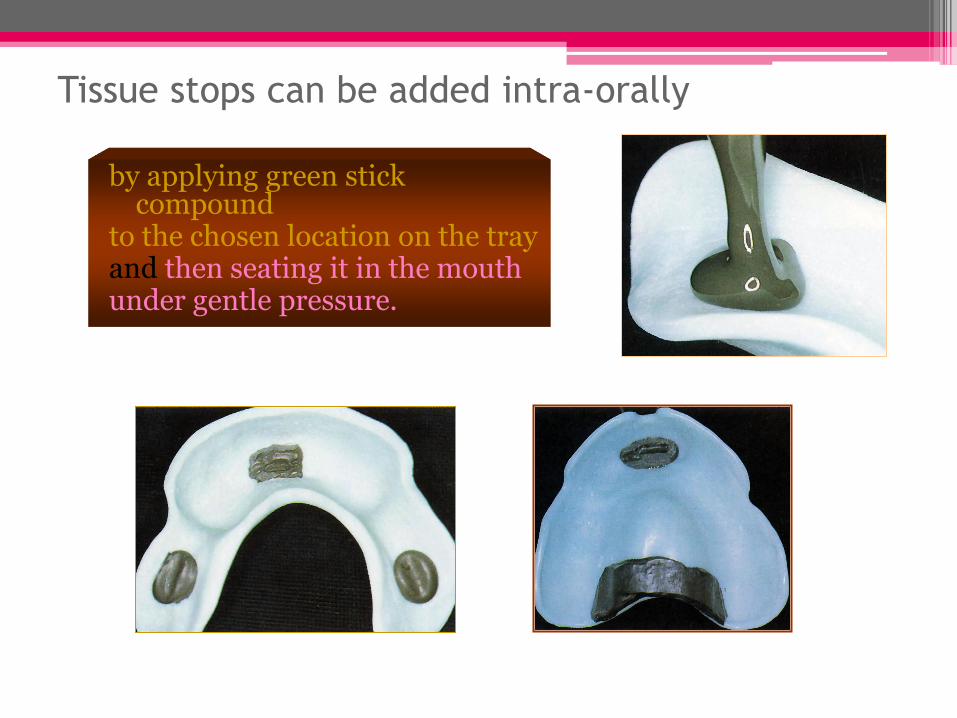
Tissue stops can be added intra-orally
by applying green stick compound
to the chosen location on the tray and then seating it in the mouth under gentle pressure.
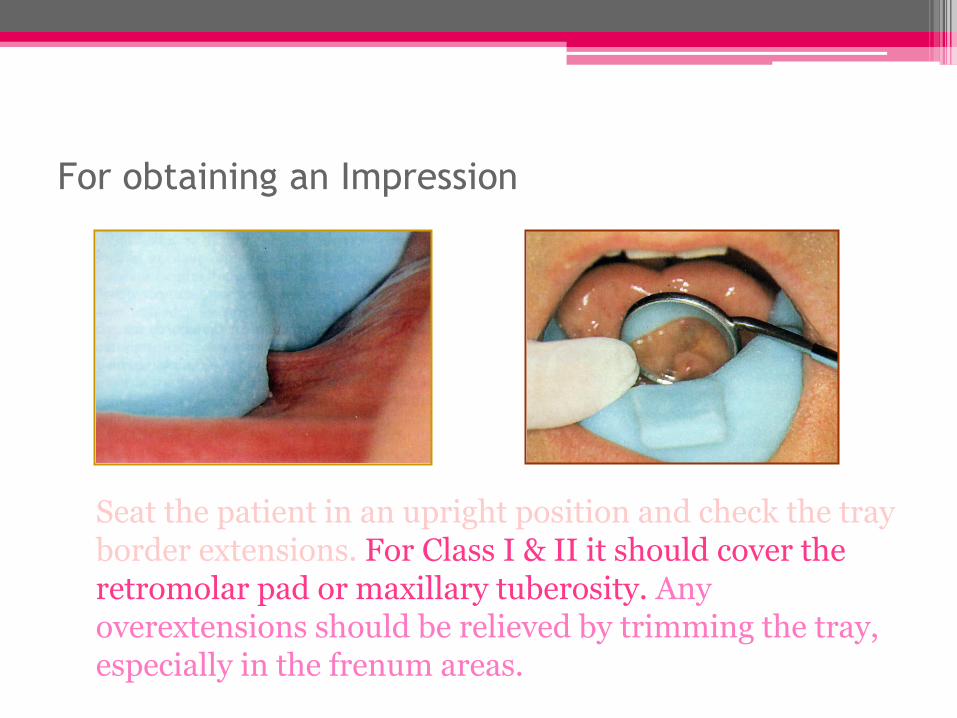
For obtaining an Impression
Seat the patient in an upright position and check the tray border extensions. For Class I & II it should cover the retromolar pad or maxillary tuberosity. Any overextensions should be relieved by trimming the tray, especially in the frenum areas.
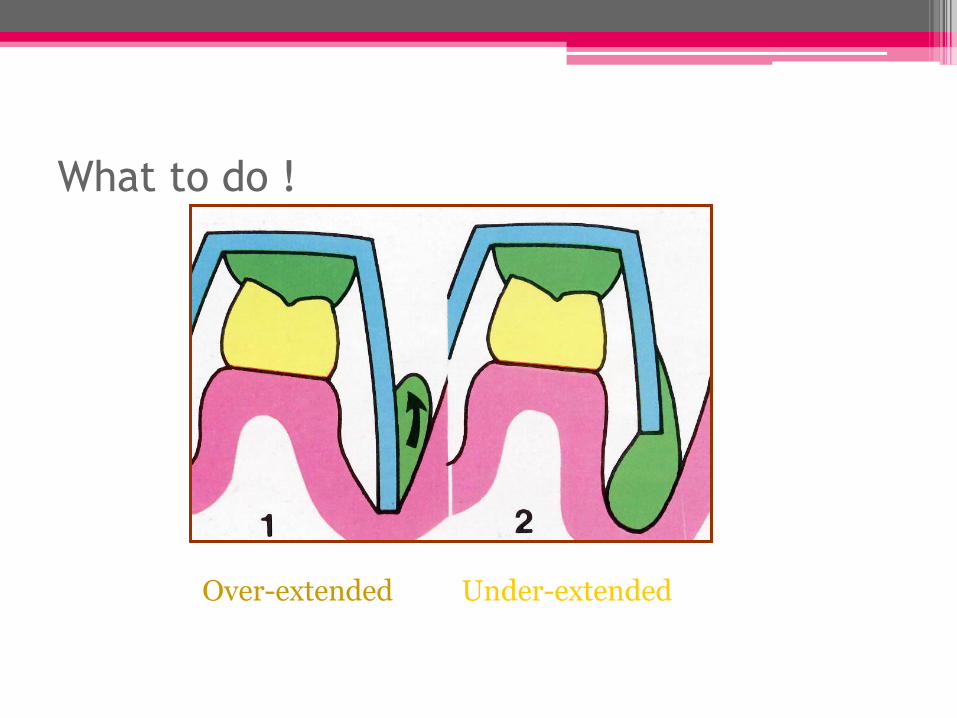
What to do !
Over-extended Under-extended
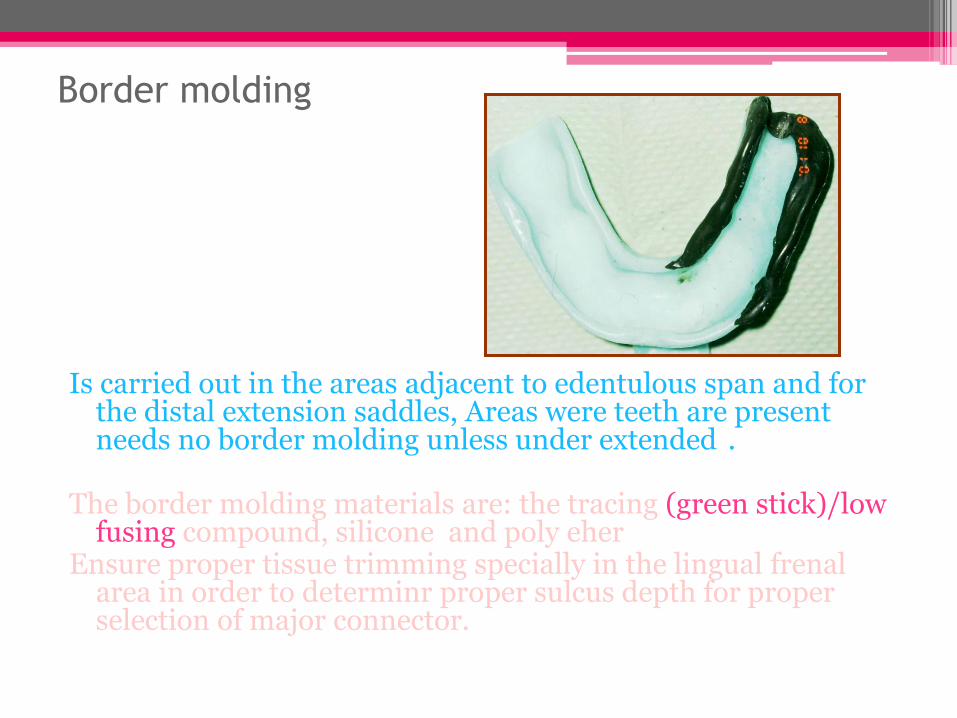
Border molding
Is carried out in the areas adjacent to edentulous span and for the distal extension saddles, Areas were teeth are present needs no border molding unless under extended .
The border molding materials are: the tracing (green stick)/low
fusing compound, silicone and poly eher Ensure proper tissue trimming specially in the lingual frenal
area in order to determinr proper sulcus depth for proper selection of major connector.
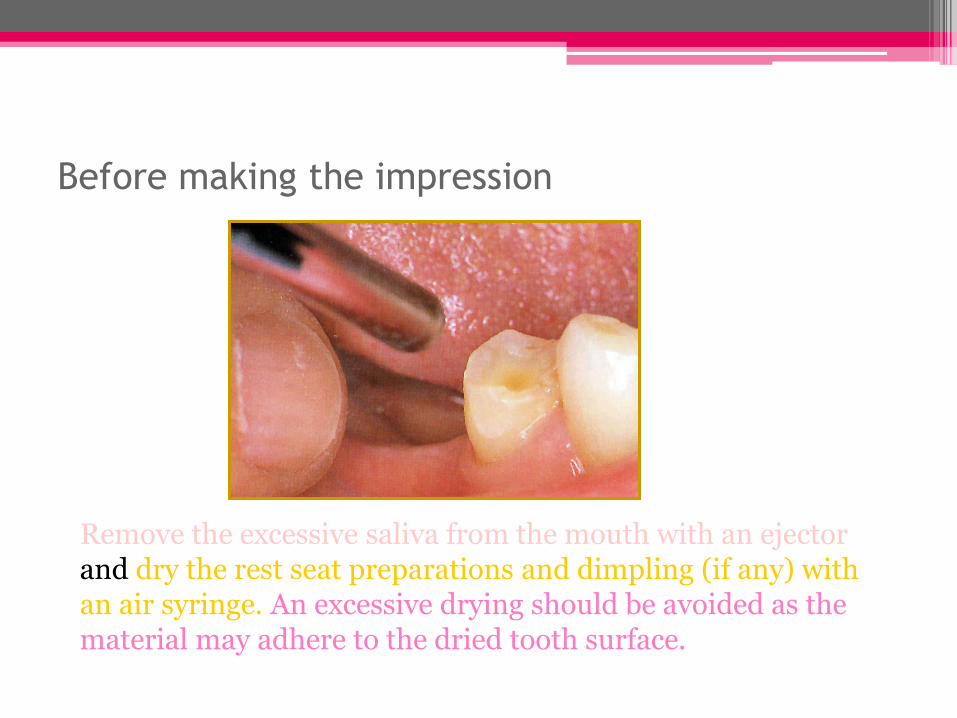
Before making the impression
Remove the excessive saliva from the mouth with an ejector and dry the rest seat preparations and dimpling (if any) with an air syringe. An excessive drying should be avoided as the material may adhere to the dried tooth surface.
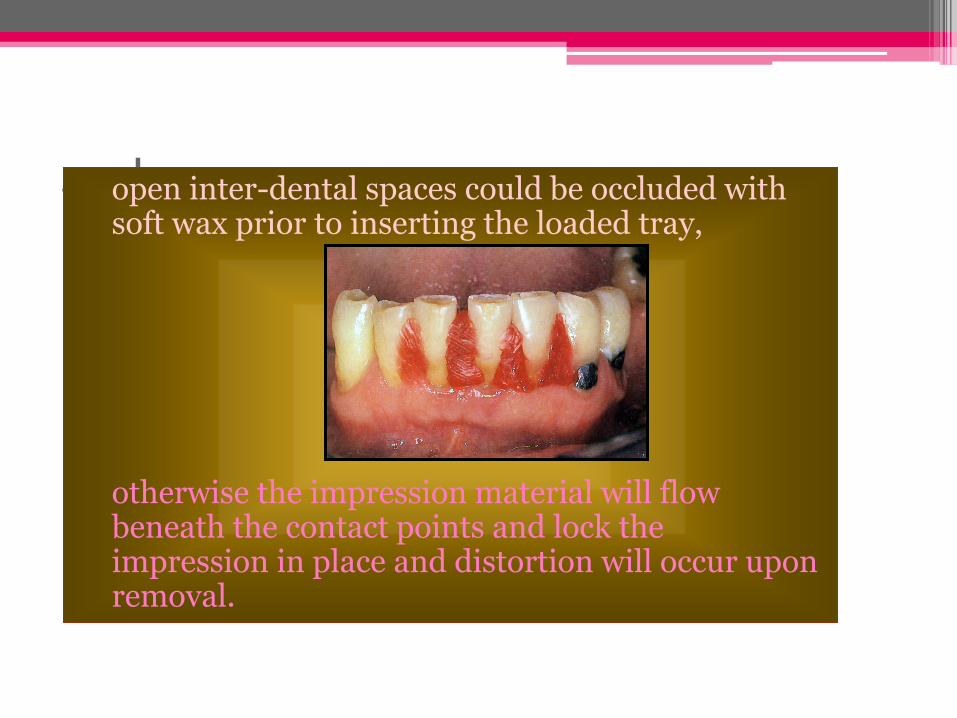
.. also open inter-dental spaces could be occluded with soft wax prior to inserting the loaded tray,
otherwise the impression material will flow
beneath the contact points and lock the impression in place and distortion will occur upon removal.
Mix the impression material By adding alginate powder to the desired amount of water – spatulate rapidly against the walls of the bowl for one
minute, or
By mixing the catalyst and base components of the rubber base material uniformly.
Place the material in the tray, try to avoid entrapping air and lock the alginate in the perforations – for rubber base materials, an adhesive should be applied to the tray before mixing the material. Do not over – load the tray as the excess material may initiate the gag reflex.
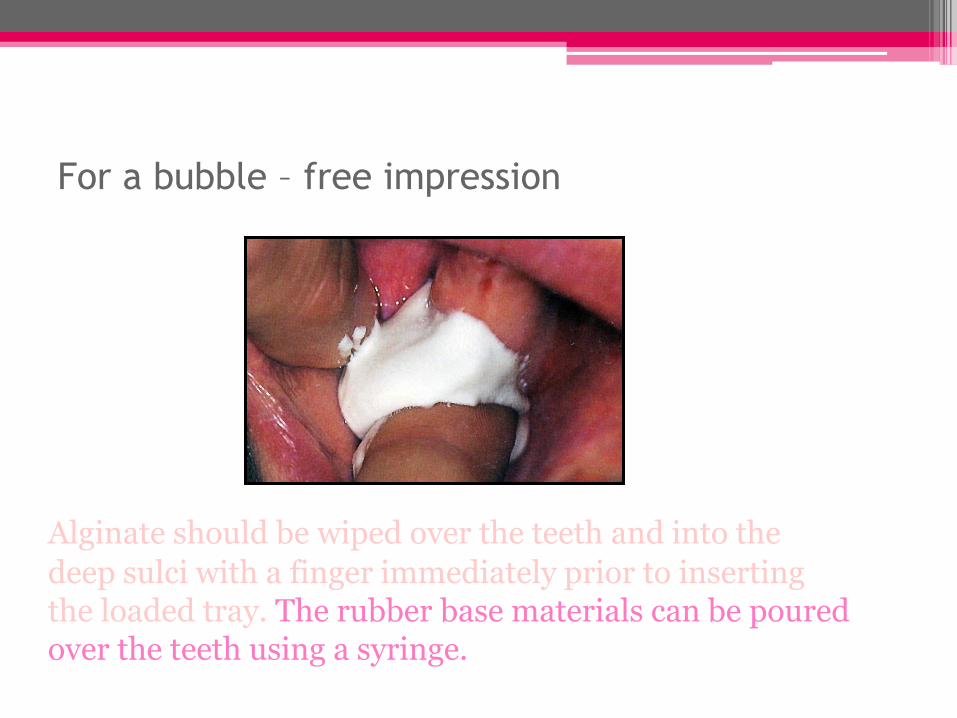
For a bubble – free impression
Alginate should be wiped over the teeth and into the
deep sulci with a finger immediately prior to inserting the loaded tray. The rubber base materials can be poured over the teeth using a syringe.
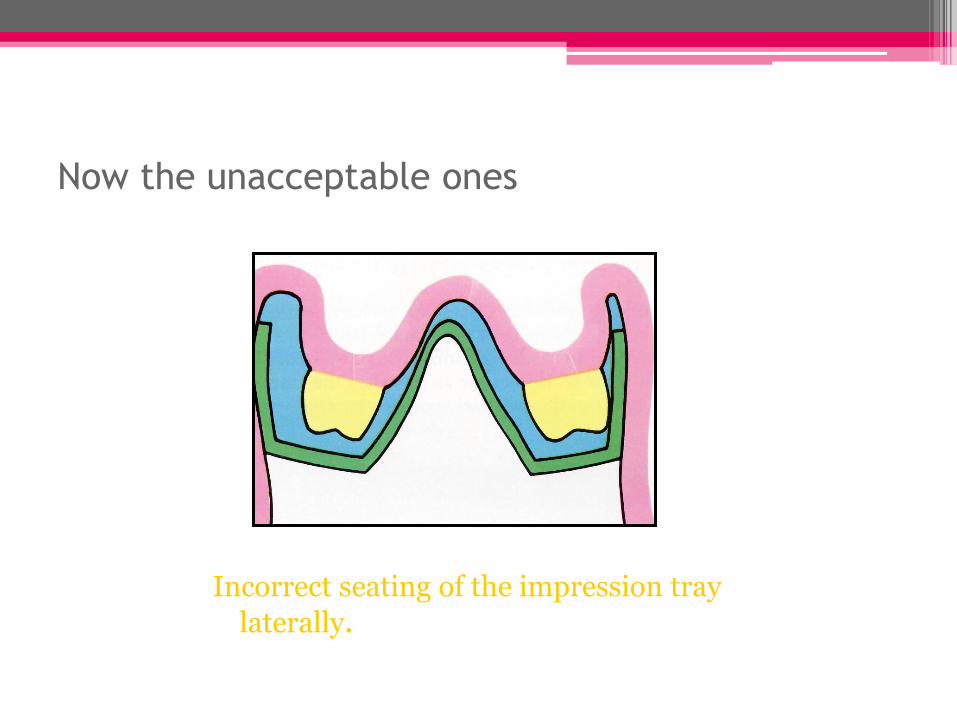
Now the unacceptable ones
Incorrect seating of the impression tray
laterally.
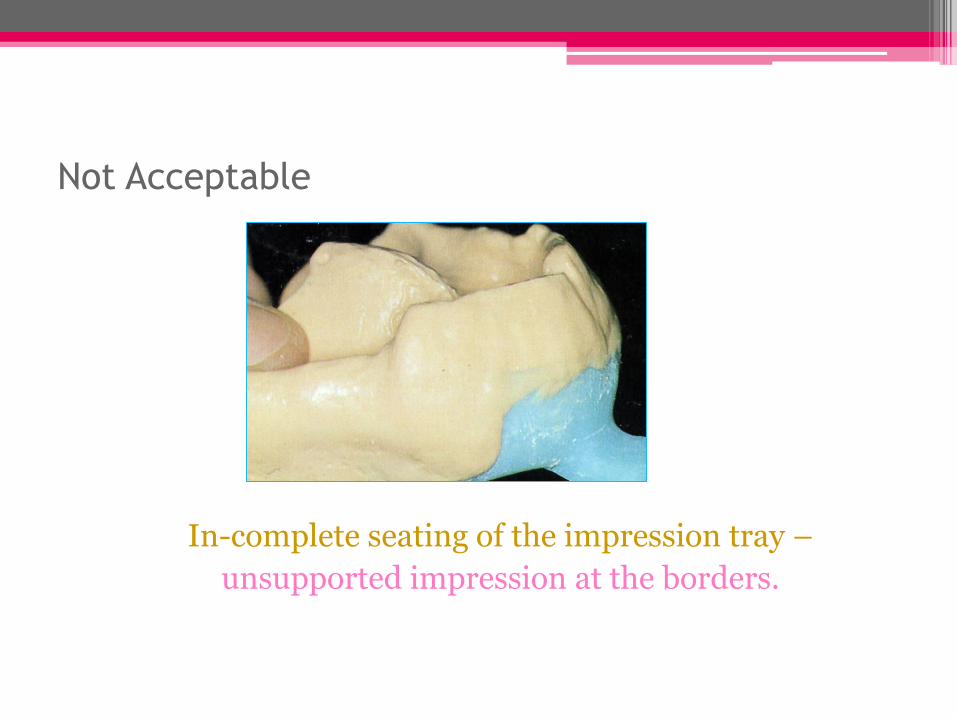
Not Acceptable
In-complete seating of the impression tray –
unsupported impression at the borders.
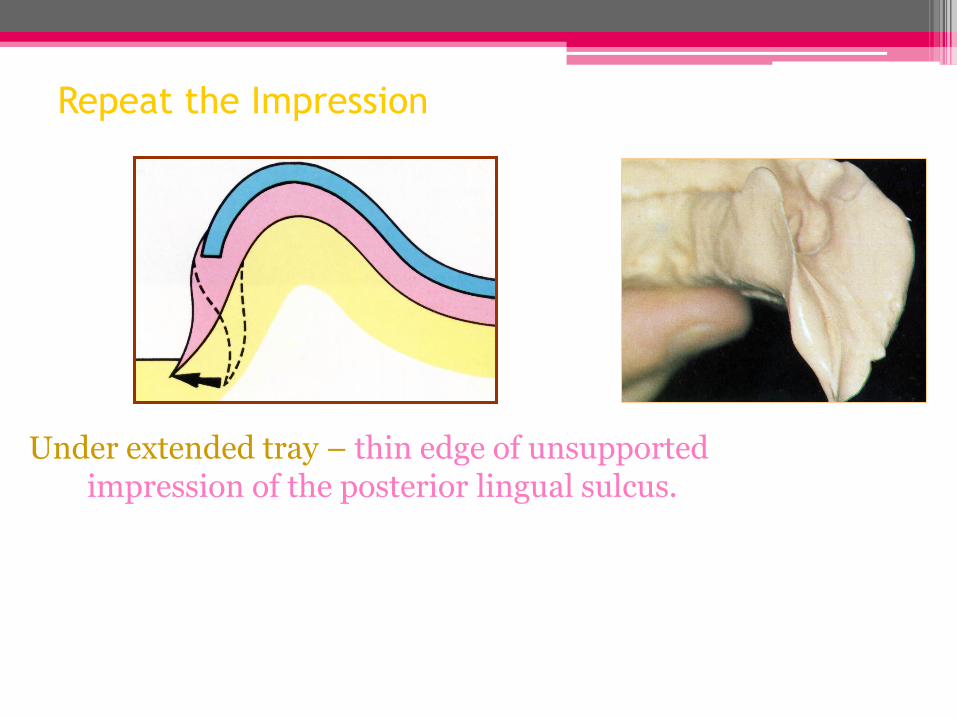
Repeat the Impression
Under extended tray – thin edge of unsupported impression of the posterior lingual sulcus.
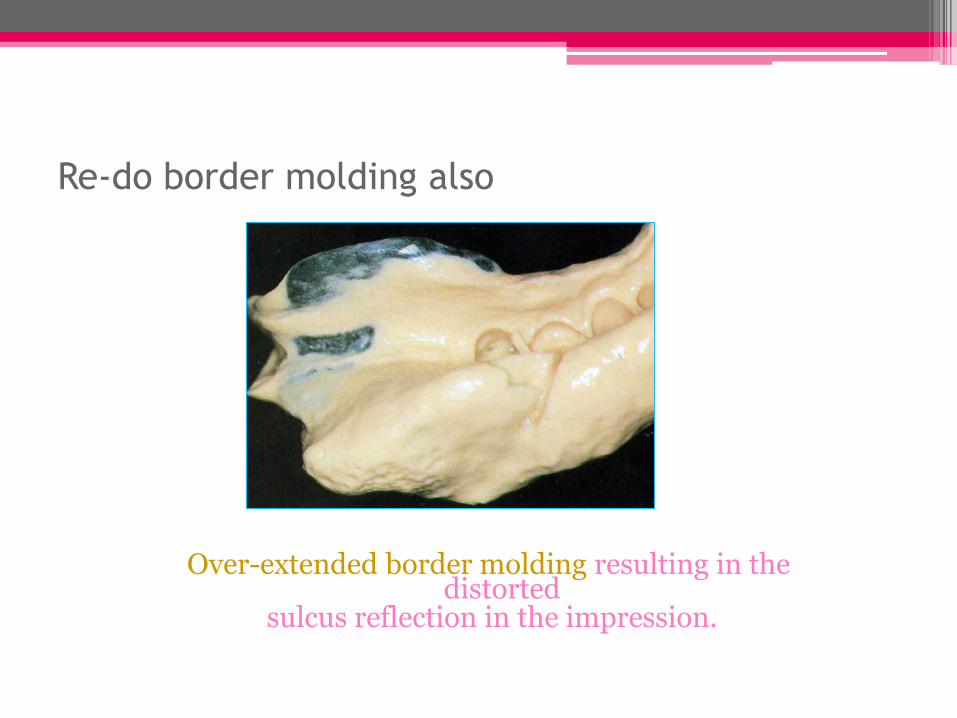
Re-do border molding also
Over-extended border molding resulting in the distorted
sulcus reflection in the impression.
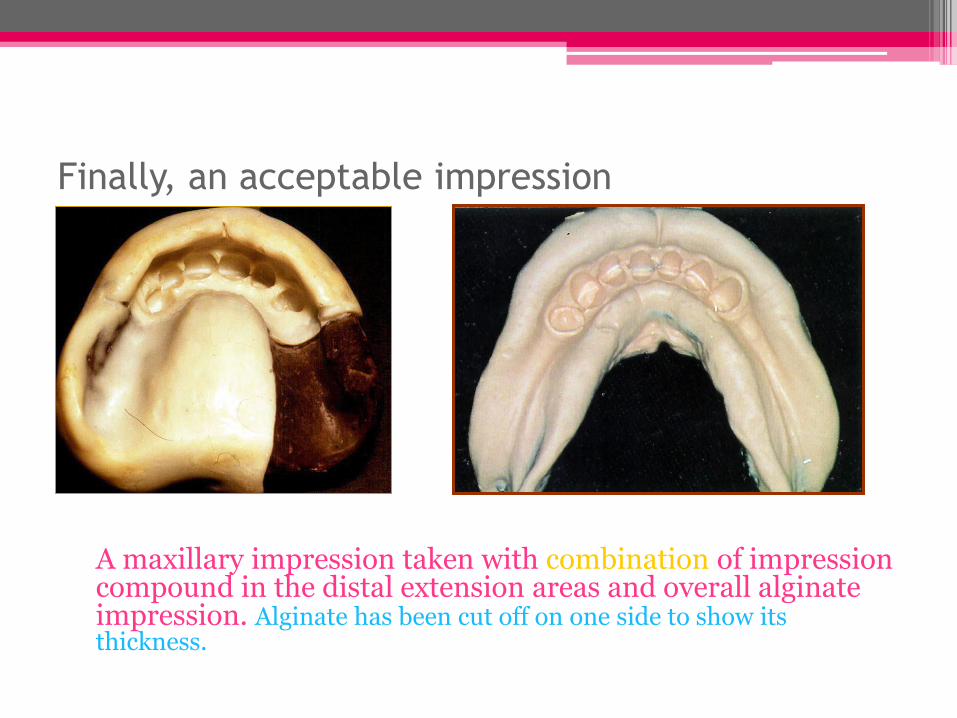
Finally, an acceptable impression
A maxillary impression taken with combination of impression compound in the distal extension areas and overall alginate impression. Alginate has been cut off on one side to show its thickness.


McCracken’s Removable Partial Prosthodontics. Chapter 15.