HTML Form Widgets. Review: HTML Forms HTML forms are used to create web pages that accept user input...
24
HTML Form Widgets
-
Upload
julian-newman -
Category
Documents
-
view
237 -
download
0
Transcript of HTML Form Widgets. Review: HTML Forms HTML forms are used to create web pages that accept user input...

HTML Form Widgets

Review: HTML Forms• HTML forms are used to create web pages that accept user
input
• Forms allow the user to communicate information back to the web server
• Forms allow web servers to generate “dynamic” web pages, and to “personalize” pages for the individual user
• Forms contain labels, text boxes, buttons, etc.
Review: CGI Programs• After the user enters the information, they press the
“submit” button to send the information to the web server
• The <form action=“URL”> attribute tells the web browser where to send the information
• The action URL is the address of a CGI program that is running on a web server
• The CGI program reads the user input sent by the browser, and then sends a dynamically generated HTML page back to the browser
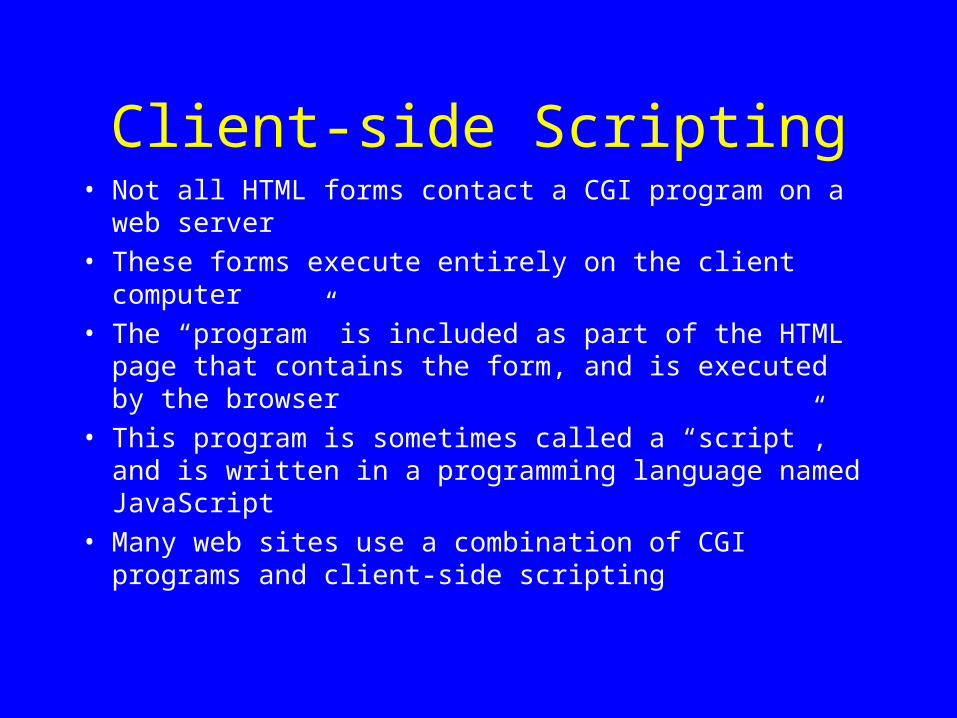
Client-side Scripting• Not all HTML forms contact a CGI program on a web
server
• These forms execute entirely on the client computer
• The “program” is included as part of the HTML page that contains the form, and is executed by the browser
• This program is sometimes called a “script”, and is written in a programming language named JavaScript
• Many web sites use a combination of CGI programs and client-side scripting

Pizza Order Demo

HTML Form Widgets
• Text Box
• Button
• Check Box
• Radio Buttons
• Text Area
• Selection List

Text Box• <input type=“text”>
• Attributes– size (the width of the text box in characters)– maxlength (the maximum number of characters
the user is allowed to type in the text box)– name (the name of the variable used to
reference the text box from JavaScript)– value (the string currently in the text box)

Text Box Demo
<tr>
<td><h2>Text Box</h2></td>
<td>Title: <input type="text" size="20" maxlength="30" name="title" value=""></td>
</tr>

Button
• <input type=“button”>
• Attributes– value (string label on the button)– name (the name of the variable used to
reference the button from JavaScript)

Button Demo
<tr>
<td><h2>Button</h2></td>
<td><input type=“button" value=“GO!” name=“go"></td>
</tr>

Check Box
• <input type=“checkbox”>
• Attributes– checked (if this attribute is present, the box
will be checked when the form loads)– name (the name of the variable used to
reference the check box from JavaScript)

Check Box Demo
<tr>
<td><h2>Check Box</h2></td>
<td>US Citizen: <input type=“checkbox” name=“citizen” checked=“”></td>
</tr>

Radio Buttons
• <input type=“radio”>
• Attributes– checked (if this attribute is present, the radio
button will be selected when the form loads)– name (the name of the variable used to
reference the radio button from JavaScript)
• NOTE: All radio buttons in the same group must be given the same name

Radio Buttons Demo
<tr> <td><h2>Radio Buttons</h2></td> <td> Freshman<input type="radio" name="year" checked=""> Sophomore<input type="radio" name="year"> Junior<input type="radio" name="year"> Senior<input type="radio" name="year"> </td></tr>
Text Area
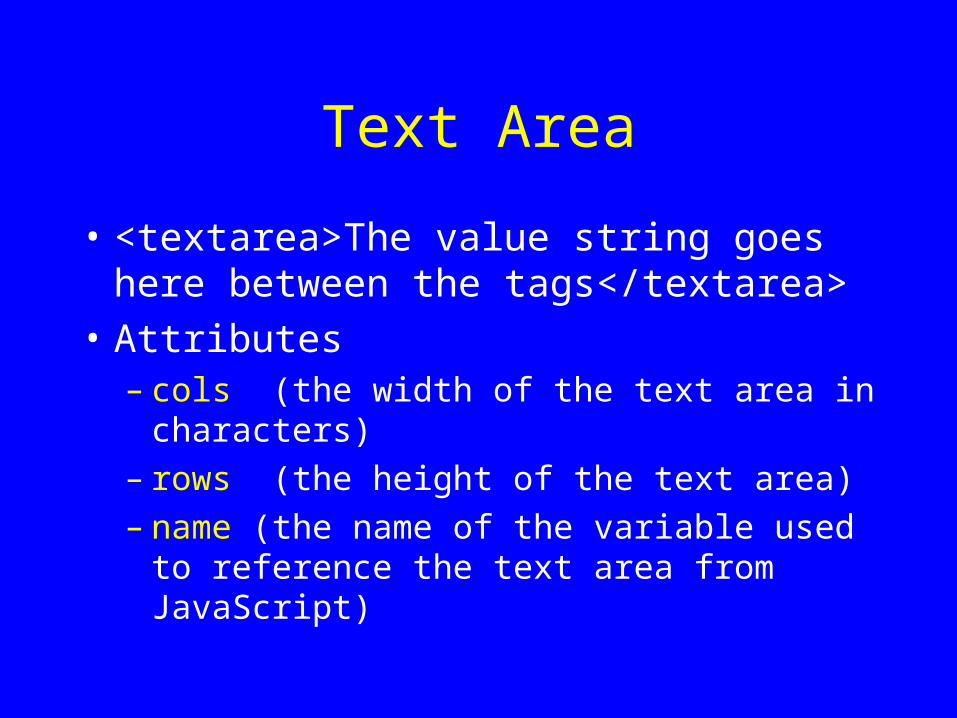
• <textarea>The value string goes here between the tags</textarea>
• Attributes– cols (the width of the text area in characters)– rows (the height of the text area)– name (the name of the variable used to
reference the text area from JavaScript)
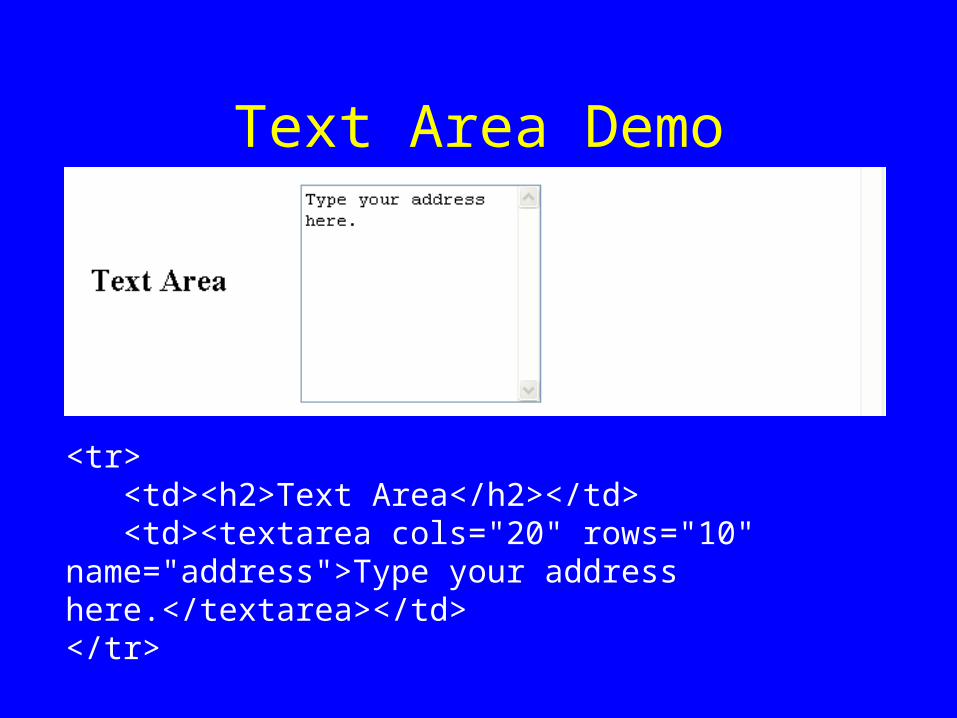
Text Area Demo
<tr> <td><h2>Text Area</h2></td> <td><textarea cols="20" rows="10" name="address">Type your address here.</textarea></td></tr>

Selection List<select>
<option>Option 1<option>Option 2…
</select>

Selection List• <select>• Attributes
– size (the number of options that should be visible)
– name (the name of the variable used to reference the selection list from JavaScript)
• <option>• Attributes
– selected (if this attribute is present, the option will be selected when the form loads)

Selection List Demo
<tr> <td><h2>Selection List</h2></td> <td> <select name="color" size="1"> <option selected="">red <option>green <option>blue <option>cyan <option>magenta <option>yellow </select> </td></tr>

Event Handling• Now that we have this nice form, there’s
only one problem – it doesn’t do anything!

Event Handling
• We add behavior to HTML forms by adding “event handlers” to widgets
• An event handler is a little program that is run whenever a particular event occurs in a widget
• Examples of events: onclick for buttons, onchange for text boxes
• Example event handler: When this button is clicked, compute the tax and total for the order

Event Handling
• Each type of HTML form widget has “event handler attributes”
• The value of an event handler attribute is a JavaScript program that describes the actions to be performed when that particular event occurs in the widget
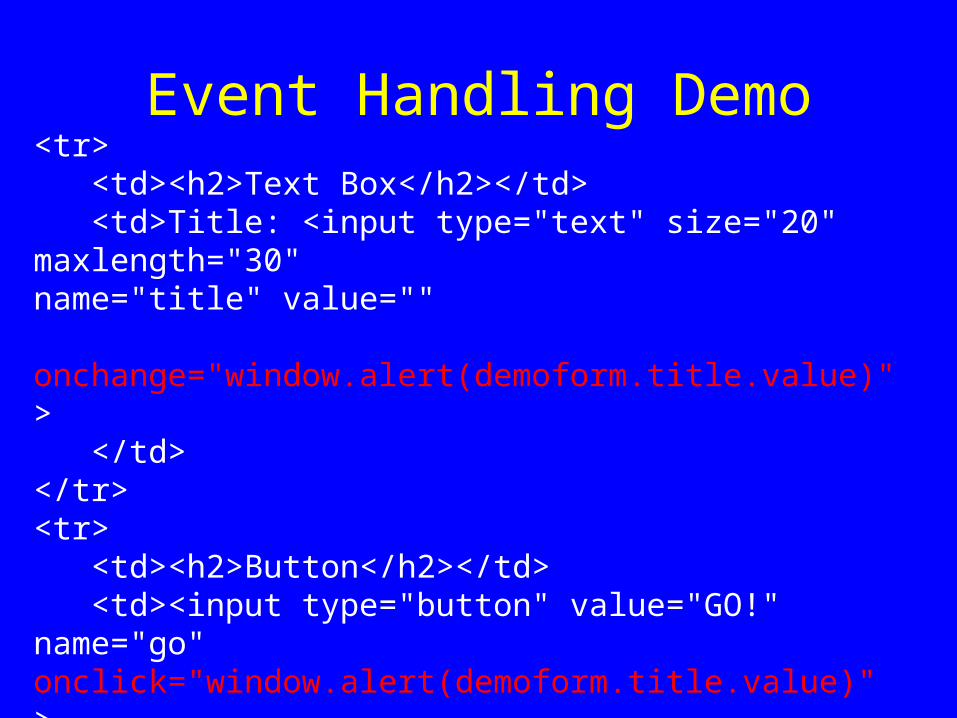
Event Handling Demo<tr> <td><h2>Text Box</h2></td> <td>Title: <input type="text" size="20" maxlength="30"
name="title" value="" onchange="window.alert(demoform.title.value)" >
</td></tr><tr> <td><h2>Button</h2></td> <td><input type="button" value="GO!" name="go" onclick="window.alert(demoform.title.value)" > </td></tr>

Event Handling
• We’ll learn a lot more about event handling in a future lecture, but first we need to learn the basics of JavaScript programming
• Once we’ve learned about JavaScript, we’ll be able to add interesting behavior to our HTML forms