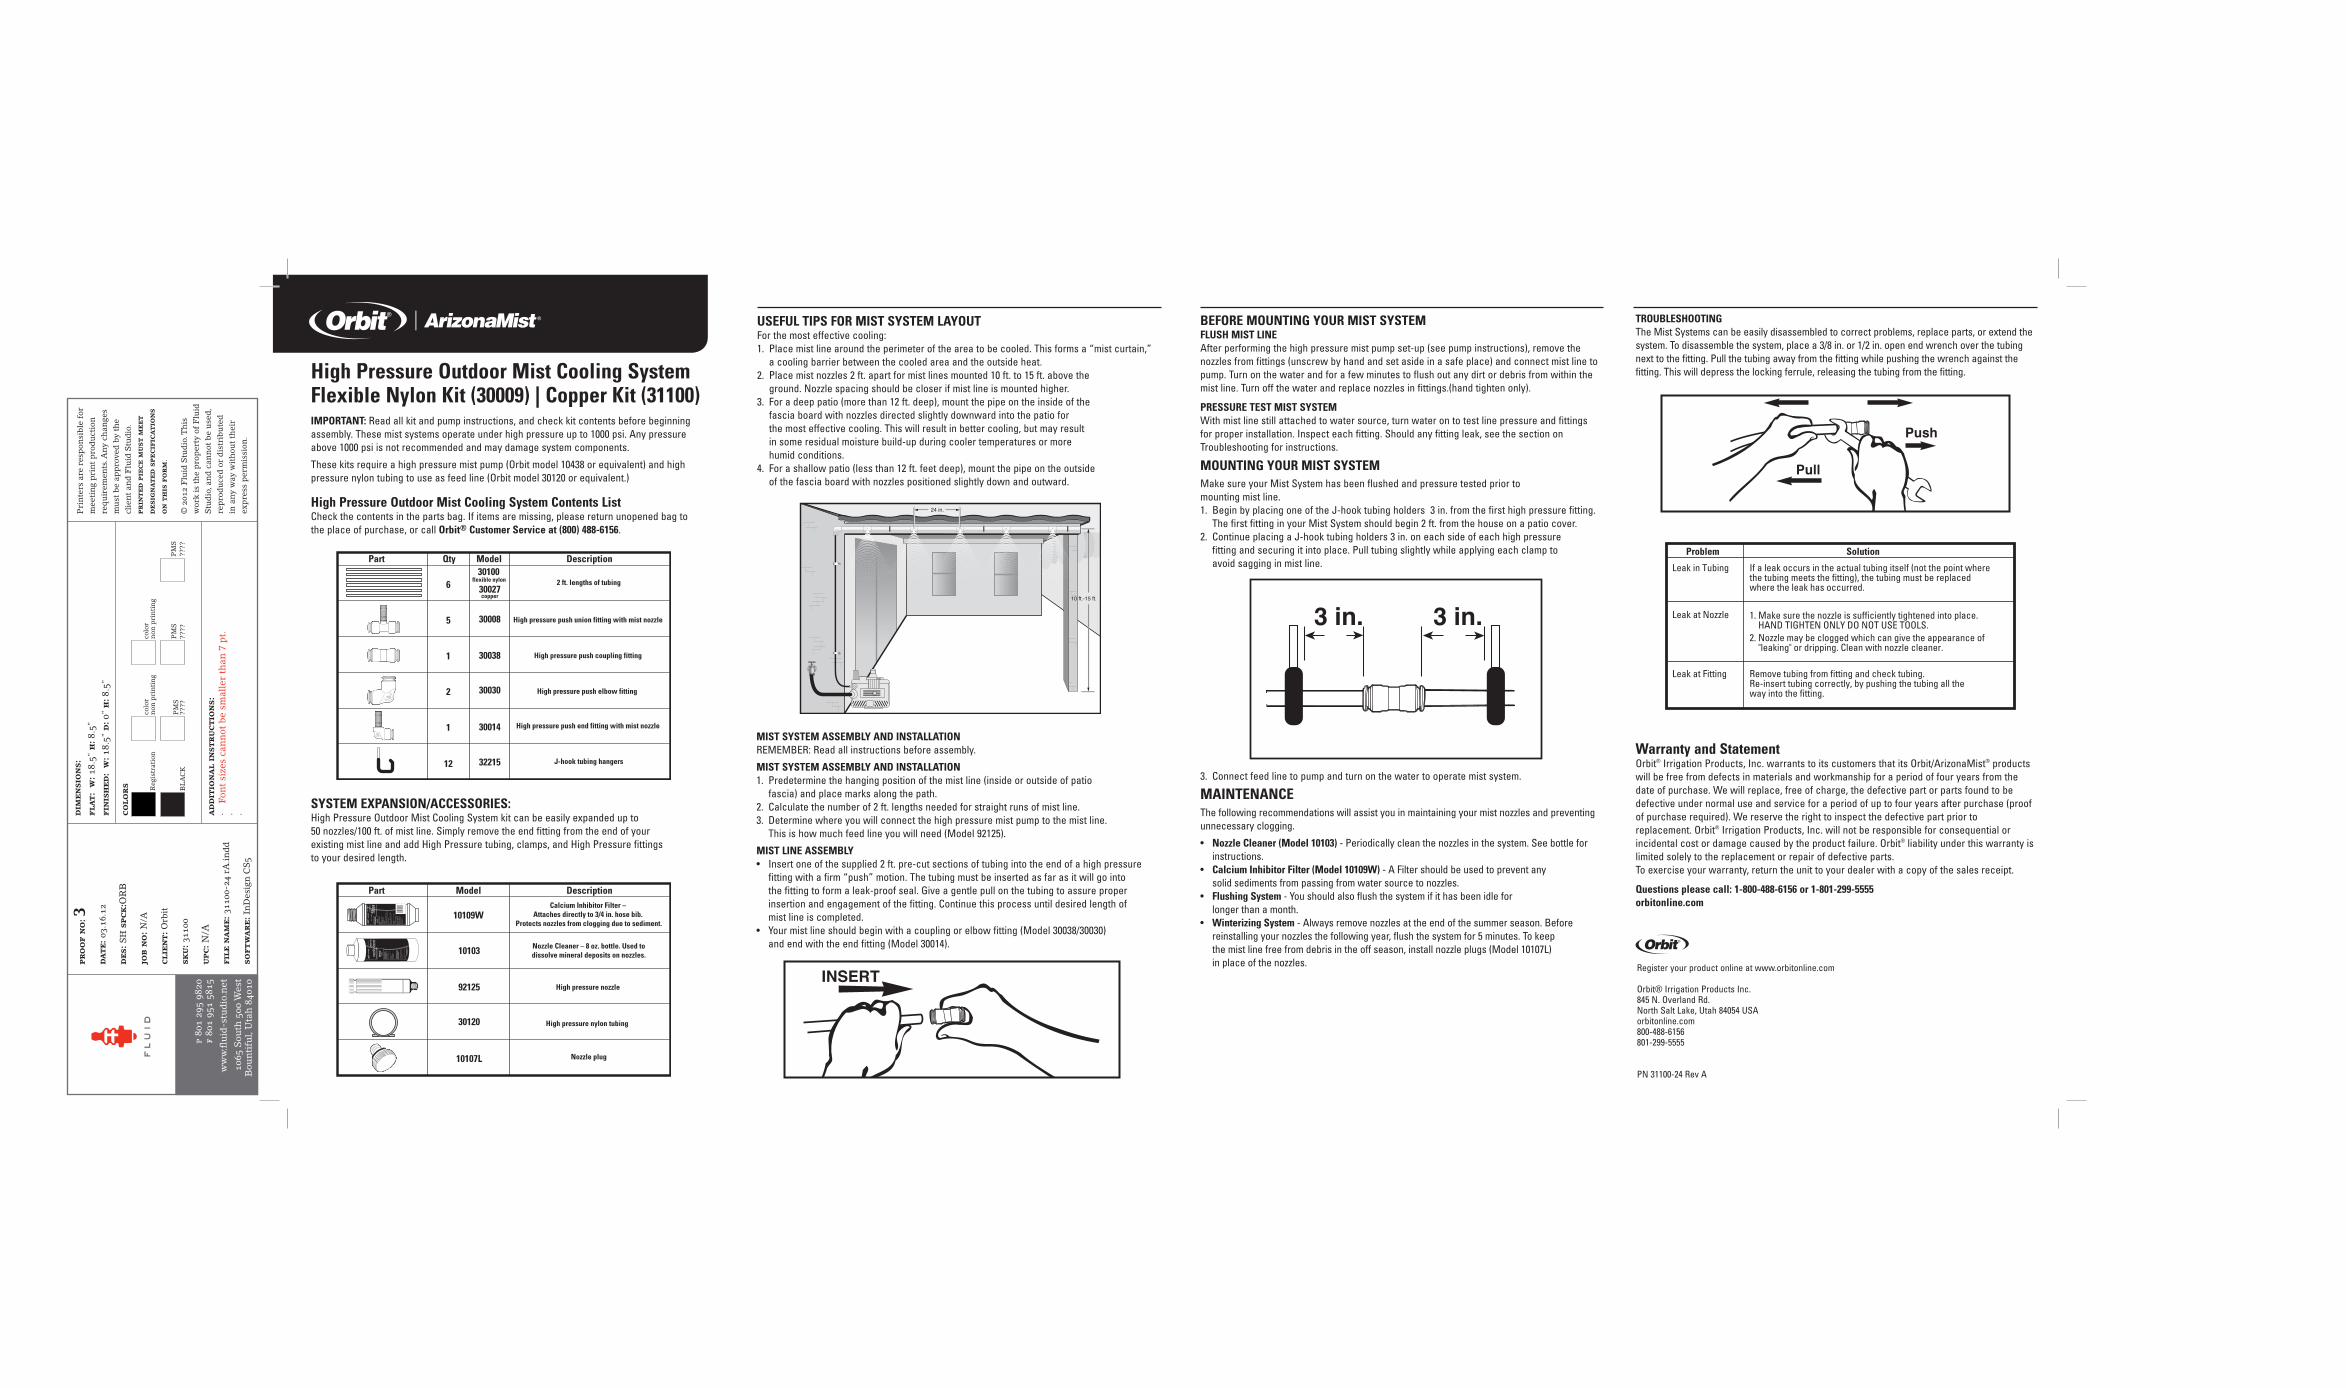
High Pressure Outdoor Mist Cooling System Flexible … rA (4)1.pdf · High Pressure Outdoor Mist...
2
High Pressure Outdoor Mist Cooling System Flexible Nylon Kit (30009) | Copper Kit (31100) IMPORTANT: Read all kit and pump instructions, and check kit contents before beginning assembly. These mist systems operate under high pressure up to 1000 psi. Any pressure above 1000 psi is not recommended and may damage system components. These kits require a high pressure mist pump (Orbit model 10438 or equivalent) and high pressure nylon tubing to use as feed line (Orbit model 30120 or equivalent.) High Pressure Outdoor Mist Cooling System Contents List Check the contents in the parts bag. If items are missing, please return unopened bag to the place of purchase, or call Orbit ® Customer Service at (800) 488-6156. MIST SYSTEM ASSEMBLY AND INSTALLATION REMEMBER: Read all instructions before assembly. MIST SYSTEM ASSEMBLY AND INSTALLATION 1. Predetermine the hanging position of the mist line (inside or outside of patio fascia) and place marks along the path. 2. Calculate the number of 2 ft. lengths needed for straight runs of mist line. 3. Determine where you will connect the high pressure mist pump to the mist line. This is how much feed line you will need (Model 92125). MIST LINE ASSEMBLY • Insert one of the supplied 2 ft. pre-cut sections of tubing into the end of a high pressure fitting with a firm “push” motion. The tubing must be inserted as far as it will go into the fitting to form a leak-proof seal. Give a gentle pull on the tubing to assure proper insertion and engagement of the fitting. Continue this process until desired length of mist line is completed. • Your mist line should begin with a coupling or elbow fitting (Model 30038/30030) and end with the end fitting (Model 30014). BEFORE MOUNTING YOUR MIST SYSTEM FLUSH MIST LINE After performing the high pressure mist pump set-up (see pump instructions), remove the nozzles from fittings (unscrew by hand and set aside in a safe place) and connect mist line to pump. Turn on the water and for a few minutes to flush out any dirt or debris from within the mist line. Turn off the water and replace nozzles in fittings.(hand tighten only). PRESSURE TEST MIST SYSTEM With mist line still attached to water source, turn water on to test line pressure and fittings for proper installation. Inspect each fitting. Should any fitting leak, see the section on Troubleshooting for instructions. MOUNTING YOUR MIST SYSTEM Make sure your Mist System has been flushed and pressure tested prior to mounting mist line. 1. Begin by placing one of the J-hook tubing holders 3 in. from the first high pressure fitting. The first fitting in your Mist System should begin 2 ft. from the house on a patio cover. 2. Continue placing a J-hook tubing holders 3 in. on each side of each high pressure fitting and securing it into place. Pull tubing slightly while applying each clamp to avoid sagging in mist line. 3. Connect feed line to pump and turn on the water to operate mist system. MAINTENANCE The following recommendations will assist you in maintaining your mist nozzles and preventing unnecessary clogging. • Nozzle Cleaner (Model 10103) - Periodically clean the nozzles in the system. See bottle for instructions. • Calcium Inhibitor Filter (Model 10109W) - A Filter should be used to prevent any solid sediments from passing from water source to nozzles. • Flushing System - You should also flush the system if it has been idle for longer than a month. • Winterizing System - Always remove nozzles at the end of the summer season. Before reinstalling your nozzles the following year, flush the system for 5 minutes. To keep the mist line free from debris in the off season, install nozzle plugs (Model 10107L) in place of the nozzles. USEFUL TIPS FOR MIST SYSTEM LAYOUT For the most effective cooling: 1. Place mist line around the perimeter of the area to be cooled. This forms a “mist curtain,” a cooling barrier between the cooled area and the outside heat. 2. Place mist nozzles 2 ft. apart for mist lines mounted 10 ft. to 15 ft. above the ground. Nozzle spacing should be closer if mist line is mounted higher. 3. For a deep patio (more than 12 ft. deep), mount the pipe on the inside of the fascia board with nozzles directed slightly downward into the patio for the most effective cooling. This will result in better cooling, but may result in some residual moisture build-up during cooler temperatures or more humid conditions. 4. For a shallow patio (less than 12 ft. feet deep), mount the pipe on the outside of the fascia board with nozzles positioned slightly down and outward. Part Qty Description 6 5 1 2 1 12 2 ft. lengths of tubing High pressure push union fitting with mist nozzle High pressure push coupling fitting High pressure push elbow fitting High pressure push end fitting with mist nozzle J-hook tubing hangers Model 30100 flexible nylon 30027 copper 30008 30038 30030 30014 32215 10 ft.-15 ft. 24 in. p 801 295 9820 f 801 951 5815 www.fluid-studio.net 1065 South 500 West Bountiful, Utah 84010 proof no: 3 date: 03.16.12 des: SH spck:ORB job no: N/A client: Orbit sku: 31100 upc: N/A file name: 31100-24 rA.indd software: InDesign CS5 colors additional instructions: · Font sizes cannot be smaller than 7 pt. · · color non printing PMS ???? PMS ???? color non printing PMS ???? Registration BLACK Printers are responsible for meeting print production requirements. Any changes must be approved by the client and Fluid Studio. printed piece must meet designated specifications on this form. dimensions: flat: w: 18.5" h: 8.5" finished: w: 18.5" d: 0" h: 8.5" © 2012 Fluid Studio. This work is the property of Fluid Studio, and cannot be used, reproduced or distributed in any way without their express permission. SYSTEM EXPANSION/ACCESSORIES: High Pressure Outdoor Mist Cooling System kit can be easily expanded up to 50 nozzles/100 ft. of mist line. Simply remove the end fitting from the end of your existing mist line and add High Pressure tubing, clamps, and High Pressure fittings to your desired length. Part Description Calcium Inhibitor Filter – Attaches directly to 3/4 in. hose bib. Protects nozzles from clogging due to sediment. Nozzle Cleaner – 8 oz. bottle. Used to dissolve mineral deposits on nozzles. High pressure nozzle High pressure nylon tubing Nozzle plug Model 10103 92125 30120 10107L 10109W INSERT TROUBLESHOOTING The Mist Systems can be easily disassembled to correct problems, replace parts, or extend the system. To disassemble the system, place a 3/8 in. or 1/2 in. open end wrench over the tubing next to the fitting. Pull the tubing away from the fitting while pushing the wrench against the fitting. This will depress the locking ferrule, releasing the tubing from the fitting. Warranty and Statement Orbit ® Irrigation Products, Inc. warrants to its customers that its Orbit/ArizonaMist ® products will be free from defects in materials and workmanship for a period of four years from the date of purchase. We will replace, free of charge, the defective part or parts found to be defective under normal use and service for a period of up to four years after purchase (proof of purchase required). We reserve the right to inspect the defective part prior to replacement. Orbit ® Irrigation Products, Inc. will not be responsible for consequential or incidental cost or damage caused by the product failure. Orbit ® liability under this warranty is limited solely to the replacement or repair of defective parts. To exercise your warranty, return the unit to your dealer with a copy of the sales receipt. Questions please call: 1-800-488-6156 or 1-801-299-5555 orbitonline.com Problem Solution If a leak occurs in the actual tubing itself (not the point where the tubing meets the fitting), the tubing must be replaced where the leak has occurred. Leak in Tubing 1. Make sure the nozzle is sufficiently tightened into place. HAND TIGHTEN ONLY DO NOT USE TOOLS. 2. Nozzle may be clogged which can give the appearance of "leaking" or dripping. Clean with nozzle cleaner. Leak at Nozzle Remove tubing from fitting and check tubing. Re-insert tubing correctly, by pushing the tubing all the way into the fitting. Leak at Fitting 3 in. 3 in. Register your product online at www.orbitonline.com Orbit® Irrigation Products Inc. 845 N. Overland Rd. North Salt Lake, Utah 84054 USA orbitonline.com 800-488-6156 801-299-5555 PN 31100-24 Rev A Pull Push
Transcript of High Pressure Outdoor Mist Cooling System Flexible … rA (4)1.pdf · High Pressure Outdoor Mist...
High Pressure Outdoor Mist Cooling System Flexible Nylon Kit (30009) | Copper Kit (31100)IMPORTANT: Read all kit and pump instructions, and check kit contents before beginning assembly. These mist systems operate under high pressure up to 1000 psi. Any pressure above 1000 psi is not recommended and may damage system components.
These kits require a high pressure mist pump (Orbit model 10438 or equivalent) and high pressure nylon tubing to use as feed line (Orbit model 30120 or equivalent.)
High Pressure Outdoor Mist Cooling System Contents ListCheck the contents in the parts bag. If items are missing, please return unopened bag to the place of purchase, or call Orbit® Customer Service at (800) 488-6156.
MIST SySTeM ASSeMbLy ANd INSTALLATIONREMEMBER: Read all instructions before assembly.
MIST SySTeM ASSeMbLy ANd INSTALLATION1. Predetermine the hanging position of the mist line (inside or outside of patio fascia) and place marks along the path.2. Calculate the number of 2 ft. lengths needed for straight runs of mist line.3. Determine where you will connect the high pressure mist pump to the mist line.
This is how much feed line you will need (Model 92125).
MIST LINe ASSeMbLy• Insertoneofthesupplied2ft.pre-cutsectionsoftubingintotheendofahighpressure
fitting with a firm “push” motion. The tubing must be inserted as far as it will go into thefittingtoformaleak-proofseal.Giveagentlepullonthetubingtoassureproperinsertion and engagement of the fitting. Continue this process until desired length of mist line is completed.
• Yourmistlineshouldbeginwithacouplingorelbowfitting(Model30038/30030) and end with the end fitting (Model 30014).
beFORe MOUNTING yOUR MIST SySTeMFLUSH MIST LINeAfterperformingthehighpressuremistpumpset-up(seepumpinstructions),removethenozzles from fittings (unscrew by hand and set aside in a safe place) and connect mist line to pump. Turn on the water and for a few minutes to flush out any dirt or debris from within the mist line. Turn off the water and replace nozzles in fittings.(hand tighten only).
PReSSURe TeST MIST SySTeMWith mist line still attached to water source, turn water on to test line pressure and fittings for proper installation. Inspect each fitting. Should any fitting leak, see the section on Troubleshooting for instructions.
MOUNTING yOUR MIST SySTeMMake sure your Mist System has been flushed and pressure tested prior to mounting mist line.1. BeginbyplacingoneoftheJ-hooktubingholders3in.fromthefirsthighpressurefitting.
The first fitting in your Mist System should begin 2 ft. from the house on a patio cover. 2. ContinueplacingaJ-hooktubingholders3in.oneachsideofeachhighpressure
fitting and securing it into place. Pull tubing slightly while applying each clamp to avoid sagging in mist line.
3. Connect feed line to pump and turn on the water to operate mist system.
MAINTeNANCeThe following recommendations will assist you in maintaining your mist nozzles and preventing unnecessary clogging.
• Nozzle Cleaner (Model 10103)-Periodicallycleanthenozzlesinthesystem.Seebottleforinstructions.
• Calcium Inhibitor Filter (Model 10109W)-AFiltershouldbeusedtopreventany solid sediments from passing from water source to nozzles.• Flushing System-Youshouldalsoflushthesystemifithasbeenidlefor longer than a month.• Winterizing System-Alwaysremovenozzlesattheendofthesummerseason.Before reinstalling your nozzles the following year, flush the system for 5 minutes. To keep the mist line free from debris in the off season, install nozzle plugs (Model 10107L)
in place of the nozzles.
USeFUL TIPS FOR MIST SySTeM LAyOUT Forthemosteffectivecooling:1. Place mist line around the perimeter of the area to be cooled. This forms a “mist curtain,”
a cooling barrier between the cooled area and the outside heat.2. Place mist nozzles 2 ft. apart for mist lines mounted 10 ft. to 15 ft. above the ground. Nozzle spacing should be closer if mist line is mounted higher.3. Foradeeppatio(morethan12ft.deep),mountthepipeontheinsideofthe fascia board with nozzles directed slightly downward into the patio for the most effective cooling. This will result in better cooling, but may result insomeresidualmoisturebuild-upduringcoolertemperaturesormore humid conditions.4. Forashallowpatio(lessthan12ft.feetdeep),mountthepipeontheoutside of the fascia board with nozzles positioned slightly down and outward.
Part Qty Description
6
5
1
2
1
12
2 ft. lengths of tubing
High pressure push union fitting with mist nozzle
High pressure push coupling fitting
High pressure push elbow fitting
High pressure push end fitting with mist nozzle
J-hook tubing hangers
Model30100
flexible nylon
30027copper
30008
30038
30030
30014
32215
10 ft.-15 ft.
24 in.
p 80
1 29
5 98
20
f 80
1 95
1 58
15
ww
w.fl
uid
-stu
dio
.net
1065
Sou
th 5
00 W
est
Bou
nti
ful,
Uta
h 8
4010
pro
of
no
: 3d
ate:
03.
16.1
2
des
: SH
spc
k:O
RB
job
no
: N/A
clie
nt:
Orb
it
sku
: 311
00
upc
: N/A
file
nam
e: 3
1100
-24
rA.in
dd
soft
war
e: I
nD
esig
n C
S5
colo
rs
add
itio
nal
in
stru
ctio
ns:
· Fo
nt
size
s ca
nn
ot b
e sm
alle
r th
an 7
pt.
·
·
colo
r n
on p
rin
tin
g
PM
S
????
PM
S
????
colo
r n
on p
rin
tin
g
PM
S
????
Reg
istr
atio
n
BL
AC
K
Pri
nte
rs a
re r
esp
onsi
ble
for
m
eeti
ng
pri
nt
pro
du
ctio
n
req
uir
emen
ts. A
ny
chan
ges
mu
st b
e ap
pro
ved
by
the
clie
nt
and
Flu
id S
tud
io.
prin
ted
pie
ce m
ust
mee
t d
esig
nat
ed s
peci
fica
tio
ns
on
th
is f
orm
.
dim
ensi
on
s:
flat
: w
: 18.
5" h
: 8.5
"
fin
ish
ed:
w: 1
8.5"
d: 0
" h
: 8.5
"
© 2
012
Flu
id S
tud
io. T
his
w
ork
is t
he
pro
per
ty o
f F
luid
S
tud
io, a
nd
can
not
be
use
d,
rep
rod
uce
d o
r d
istr
ibu
ted
in
an
y w
ay w
ith
out
thei
r ex
pre
ss p
erm
issi
on.
SySTeM exPANSION/ACCeSSORIeS:High Pressure Outdoor Mist Cooling System kit can be easily expanded up to50nozzles/100ft.ofmistline.Simplyremovetheendfittingfromtheendofyourexisting mist line and add High Pressure tubing, clamps, and High Pressure fittings to your desired length.
Part DescriptionCalcium Inhibitor Filter –
Attaches directly to 3/4 in. hose bib. Protects nozzles from clogging due to sediment.
Nozzle Cleaner – 8 oz. bottle. Used todissolve mineral deposits on nozzles.
High pressure nozzle
High pressure nylon tubing
Nozzle plug
Model
10103
92125
30120
10107L
10109W
MAD
E IN
� U
SAHE
CHO
EN�
CHI
NA/ EE.
UU.
INSERT
TROUbLeSHOOTINGThe Mist Systems can be easily disassembled to correct problems, replace parts, or extend the system.Todisassemblethesystem,placea3/8in.or1/2in.openendwrenchoverthetubingnext to the fitting. Pull the tubing away from the fitting while pushing the wrench against the fitting. This will depress the locking ferrule, releasing the tubing from the fitting.
Warranty and StatementOrbit®IrrigationProducts,Inc.warrantstoitscustomersthatitsOrbit/ArizonaMist® productswill be free from defects in materials and workmanship for a period of four years from thedate of purchase. We will replace, free of charge, the defective part or parts found to bedefective under normal use and service for a period of up to four years after purchase (proofof purchase required). We reserve the right to inspect the defective part prior to replacement. Orbit® Irrigation Products, Inc. will not be responsible for consequential or incidental cost or damage caused by the product failure. Orbit® liability under this warranty is limited solely to the replacement or repair of defective parts.To exercise your warranty, return the unit to your dealer with a copy of the sales receipt.
Questions please call: 1-800-488-6156 or 1-801-299-5555orbitonline.com
Problem Solution
If a leak occurs in the actual tubing itself (not the point wherethe tubing meets the fitting), the tubing must be replacedwhere the leak has occurred.
Leak in Tubing
1. Make sure the nozzle is sufficiently tightened into place. HAND TIGHTEN ONLY DO NOT USE TOOLS.2. Nozzle may be clogged which can give the appearance of "leaking" or dripping. Clean with nozzle cleaner.
Leak at Nozzle
Remove tubing from fitting and check tubing. Re-insert tubing correctly, by pushing the tubing all the way into the fitting.
Leak at Fitting
3 in. 3 in.
Register your product online at www.orbitonline.com
Orbit® Irrigation Products Inc.845 N. Overland Rd.North Salt Lake, Utah 84054 USAorbitonline.com800-488-6156801-299-5555
PN31100-24RevA
Pull
Push

Sistema de enfriamiento exterior por Nebulización de Alta Presión Kit de Nylon Flexible (30009) / Kit de Cobre (31100)IMPORTANTe: Lea todas las instrucciones del kit y la bomba, y compruebe el contenido del kit antes de empezar el montaje. Estos sistemas de nebulización operan bajo alta presión hasta 1000 psi. No se recomineda usar una presión superior a 1000 psi, ya que puede dañar los componentes del sistema.
Estos kits requieren una bomba de alta presión (modelo orbit 10438 o equivalente) y tubería de nylon de alta presión para usar como línea de alimentación (modelo Orbit® 30120 o equivalente).
Lista de Contenido del Sistema de enfriamiento exterior por Nebulización de Alta PresiónCompruebe el contenido en la bolsa de piezas. Si faltan piezas, por favor, devuelva la bolsa sin abrir al sitio de compra, o llame al Servicio del Cliente Orbit® al número (800) 488-6156.
INSTALACIÓN y MONTAJe deL SISTeMA de NebULIZACIÓNRECUERDE: Lea todas las instrucciones del kit y la bomba antes del montaje.
PLANIFICACIÓN y PRePARACIÓN de LA LÍNeA de NebULIZACIÓN1. Predeterminar la posición de colgado de la línea de nebulización (en la parte interior o
exterior de la tabla frontal) y hacer marcas a lo largo del recorrido.2. Calcular el nº de piezas de 2 pies de longitud necesarias para secciones rectas de línea
de nebulización.3. Determinar donde se va a conectar la bomba de nebulización de alta presión a la línea de
nebulización. Esto indicará cuanta línea de alimentación se necesita (modelo 92125).
MONTAJe de LIA LÍNeA de NebULIZACIÓN• Insertarunadelasseccionesdetuberíade2piespre-cortadaenelextremodeun
accesorio de alta presión con un firme movimiento de presión. La tubería tiene que quedar insertada de manera que quede introducida dentro del accesorio formando un selladoanti-goteo.Tireligeramentedelatuberíaparaasegurarunaadecuadainserciónyconexión del accesorio. Continuar este proceso hasta que se haya completado la longitud deseada de la línea de nebulización.
• Lalíneadenebulizacióndeberíaempezarconunaccesoriodeacoplamientoocodo(Modelo30038/30030)yacabarconelaccesorioparaelfinal(Modelo30014).
ANTeS de MONTAR SU SISTeMA de NebULIZACIÓNdeSCARGAR LA LÍNeA de NebULIZACIÓNUna vez realizado el ajuste de la bomba de nebulización de alta presión (ver instrucciones de la bomba), quitar las boquillas de los accesorios (desenroscar a mano y guardar aparte en un lugar seguro) y conectar la línea de nebulización a la bomba. Abrir el agua y dejar que corra durante unos minutos para limpiar cualquier suciedad o partículas de dentro de la línea de nebulización. Cerrar el agua y volver a colocar las boquillas en los accesorios (apretarlas con la mano solamente).
COMPRObAR LA PReSIÓN deL SISTeMA de NebULIZACIÓNCon la línea de nebulización todavía conectada a la fuente de alimentación del agua, abrir el agua para comprobar la presión de la línea y la buena instalación de los acceso-rios. Inspeccionar cada accesorio. En caso de que algún accesorio gotee, ver la sección “Solución de problemas” para obtener instrucciones.
MONTAJe deL SISTeMA de NebULIZACIÓN
Asegurarse de que el Sistema de Nebulización ha sido descargado y la presión comprobada antes del montaje de la línea de nebulización.1. Asegurarse de que el Sistema de Nebulización ha sido descargado y la presión
comprobada antes del montaje de la línea de nebulización. 2. Continuar colocando los ganchos de forma de J a 3 pulgadas a cada lado de cada
accesorio de alta presión y asegurándolos en su sitio. Tirar ligeramente de la tubería cada vez que se coloque una abrazadera para evitar que la línea de nebulización quede colgando.
3. Conectar la línea de alimentación a la bomba y abrir el agua para utilizar el sistema de nebulización.
MANTeNIMIeNTO
Las siguientes recomendaciones ayudarán a mantener las boquillas de nebulización y a prevenir atascos innecesarios.
• Limpiador de boquillas (modelo 10103) -Limpiarlasboquillasdelsistemaperiódicamente.Seguir las instrucciones en la botella.
• Filtro Inhibidor de Cal (modelo 10109W) -Sedebeusarunfiltroparaprevenirqueningúnsedimento sólido pase desde la fuente de alimentación de agua hacia las boquillas.
• descargar el Sistema -Sedeberíatambiénhacerunadescargadelsistemasihaestadosin usar durante más de un mes.
• Preparación del sistema para invierno -Siemprequitelasboquillasalfinaldelatemporadade verano. Antes de reinstalar las boquillas al año siguiente, descargar el sistema dejando correr el agua durante 5 minutos. Para mantener la línea de nebulización libre de polvo y partículas de suciedad en la temporada en que no se utiliza, instale tapones en las boquillas (modelo 10107L) en lugar de las boquillas.
CONSeJOS ÚTILeS PARA LA dISPOSICIÓN deL SISTeMA de NebULIZACIÓN Para un enfriamiento más efectivo:1. Colocar la línea de nebulización alrededor del perímetro del área a enfriar. Así se forma
una “cortina de nebulización”, una barrera de enfriamiento entre el área enfriada y el calor exterior.
2. Colocar las boquillas de nebulización separadas 2 pies para líneas montadas entre 10 y 15 pies por encima del suelo. El espacio entre boquillas tendría que ser menor si la línea de nebulización se monta más alta.
3. Para patio largos (más de 12 pies de largo), montar la tubería en el interior de la tabla frontal con las boquillas ligeramente dirigidas hacia abajo mirando el patio, para un enfri-amiento más efectivo. Esto va a producir un mejor enfriamiento, pero puede provocar un poco de humedad residual durante períodos de temperaturas más frescas o condiciones más húmedas.
4. Pata patios más cortos (menos de 12 pies de largo), montar la tubería en el exterior de la tabla frontal con las boquillas colocadas ligeramente hacia abajo mirando hacia afuera.
Pieza Pieza Descripción
6
5
1
2
1
12
Tubería de 2 pies de longitud
Accesorio de unión a presión de alta presión con boquillas de nebulización
Accesorio de acoplamiento a presión de alta presión
Accesorio a presión en forma de codo de alta presión
Accesorio a presión para el final de alta presión con boquilla de nebulización
Ganchos en forma de J para la tubería
Nº de Modelo
30100 nylon flexible
30027cobre
30008
30038
30030
30014
32215
10 ft.-15 ft.
24 in.
ACCeSORIOS / exPANSIÓN deL SISTeMA El kit del Sistema de Enfriamiento Exterior por Nebulización de Alta Presión puede serfácilmenteampliadohasta50boquillas/100piesdelíneadenebulización.Simplemente quite el accesorio del final del extremo de su actual línea de nebulización y añada tubería de alta presión, abrazaderas, y accesorios de alta presión hasta la longitud deseada.
Pieza DescripciónFiltro Inhibidor de Cal – Se conecta directamente
a un grifo de manguera de ¾ de pulgada. Protege las boquillas de atascos debido
a los sedimentos.
Limpiador de boquillas – botella de 8 oz. Se usa para disolver los depósitos
de minerales en las boquillas.
Boquillas de alta presión
Tubería de nylon de alta presión
Tapones de boquilla
Nº de Modelo
10103
92125
30120
10107L
10109W
MAD
E IN
� U
SAHE
CHO
EN�
CHI
NA/ EE.
UU.
INSERTAR
SOLUCIÓN de PRObLeMASLos sistemas de nebulización se pueden desmontar fácilmente para corregir problemas, remplazar piezas, o ampliar el sistema. Para desmontar el sistema, coloque una llave inglesa de3/8depulgadao½pulgadasobrelatuberíaalladodelaccesorio.Tiredelatuberíaseparándola del accesorio, a al vez que empuja la llave inglesa contra el accesorio. Esto aflojará el cierre del accesorio, haciendo que la tubería salga de dentro del accesorio.
GARANTÍA y deCLARACIÓNOrbit®IrrigationProducts,Inc.GarantizaasusclientesqueestosproductosOrbit/ArizonaMist® estarán libres de defectos en materiales y mano de obra durante un período de 4 años desde la fecha de compra. Remplazaremos, sin cargo alguno, la parte defectuosa o piezas que puedan ser defectuosas bajo uso normal y repararemos durante un período dehastacuatroañosdespuésdelacompra(serequierecomprobantedecompra).Nosreservamos el derecho de inspeccionar el producto defectuoso antes de un remplazamiento.
Para preguntas, por favor llame al: 1-800-488-6156 or 1-801-299-5555orbitonline.com
Problema Solución
Si hay un goteo en la tubería misma (no en el punto donde la tubería se conecta con el accesorio), hay que remplazar la tubería donde se produce el goteo.
Goteo en la tubería
1. Asegúrese que la boquilla está suficientemente apretada en el lugar correspondiente. SÓLO APRETAR A MANO, NO UTILIZAR HERRAMIENTAS.2. La boquilla puede estar atascada, lo cual puede dar la apariencia de goteo o escape. Limpiarla con limpiador de boquillas.
Goteo en la boquilla
Separar la tubería del accesorio y comprobar la tubería. Volver a colocar la tubería correctamente, apretando la tubería totalmente dentro del accesorio.
Goteo en el accesorio
3 in. 3 in.
Registre su producto online en www.orbitonline.com
Orbit® Irrigation Products Inc.845 N. Overland Rd.North Salt Lake, Utah 84054 USAorbitonline.com800-488-6156801-299-5555
PN31100-24RevA
Jale
Jale