Hands-on Keyboard: Cyber Experiments for Strategists … exercise involves installing Wireshark and...
16
The Air Force Cyber College thanks the Advanced Cyber Engineering program at the Air Force Research Laboratory in Rome, NY, for providing the information to assist in educating the general Air Force on the technical aspects of cyberspace. Hands-on Keyboard: Cyber Experiments for Strategists and Policy Makers Wireshark 1. Introduction Wireshark is a free, open-source network traffic analyzer. From a security perspective, Wireshark is both a blessing and a bane. Security professionals use Wireshark to view and filter network traffic and analyze network events. Attackers use Wireshark (and its wireless cousins like Kismet) to view and filter packets sniffed by pcap containing passwords and other information from unsuspecting victims. Every TCP/IP layer adds its own data to a packet. The Application layer adds data. The Transport layer adds a Transport header. The Internet and Network interface layers add their own headers. This exercise involves installing Wireshark and using it to view, filter, and analyze packet header data at each layer of the TCP/IP model.
Transcript of Hands-on Keyboard: Cyber Experiments for Strategists … exercise involves installing Wireshark and...

The Air Force Cyber College thanks the Advanced Cyber Engineering program at the Air Force Research Laboratory in Rome, NY, for providing the information to assist in educating the general Air Force on the technical aspects of cyberspace.
Hands-on Keyboard: Cyber Experiments for
Strategists and Policy Makers
Wireshark
1. Introduction Wireshark is a free, open-source network traffic analyzer. From a security perspective,
Wireshark is both a blessing and a bane. Security professionals use Wireshark to view and filter network traffic and analyze network events. Attackers use Wireshark (and its wireless cousins like Kismet) to view and filter packets sniffed by pcap containing passwords and other information from unsuspecting victims.
Every TCP/IP layer adds its own data to a packet. The Application layer adds data. The Transport layer adds a Transport header. The Internet and Network interface layers add their own headers. This exercise involves installing Wireshark and using it to view, filter, and analyze packet header data at each layer of the TCP/IP model.

Each layer adds its own data packets.
Objectives • Install WinPCap and Wireshark. • Explore the Wireshark GUI. • Sniff, filter, and analyze network traffic with Wireshark. • Define the four layers of the TCP/IP reference model. • List the protocols at each layer of the TCP/IP model. • Examine packet header data with Wireshark. • Define the header fields of Ethernet frame, Internet Protocol (IP), Transport Control
Protocol (TCP), and User Datagram Protocol (UDP) packets. • Draw different types of packet headers, including the header fields and their values. • Compare and contrast IP, TCP, and UDP.
Materials • Computer with access to an account with administrative rights • VirtualBox • Ubuntu OS .iso file • Wireshark and WinPCap
Assumptions • The provided instructions were tested on an Ubuntu image running on a Windows 7
physical machine. Instructions may vary for other OS. • The student has administrative access to their system and possesses the right to install
programs. • The student’s computer has Internet access.

2. Download Wireshark and Perform a Live Capture
Download Wireshark • Go to www.wireshark.org. • Click on “Download Wireshark.”
• Select Windows Installer (32-bit) or Windows Installer (64-bit) depending on the
processor of your device. • When the installer has downloaded, click the downloaded file. • Click Yes to let the installer make changes to your computer. • Follow the on screen prompts to complete the installation of Wireshark. Be sure to install
WinPcap.
Start Sniffing: Perform a Live Capture of Network Traffic • From the Wireshark GUI, select Help → Contents. • Peruse the help screens and explore the different menu options to get a feel for the GUI. • Select Help → Wiki. • Explore the online help. • Exit the Wiki and return to the Wireshark GUI. • Select Capture → Options. • Select an interface that is receiving packets then click Start. • After a few minutes, select the Stop button. • Click Start then Continue without Saving. • After a minute or two, stop the capture.

3. Explore the Wireshark GUI: Four Areas of Interest
Filter Packets with the Filter Bar • The filter bar enables filtering packets by protocol, IP address, port, flags sequence number,
and many other packet attributes.
• Type ip into the filter textbox and click Apply. This shows only the Internet Protocol packets.
(Note: TCP, HTTP and other packets are also classified as Internet Protocol.) • Type tcp into the filter textbox and click Apply. This shows only the Transport Control
Protocol packets. (Note: HTTP and possibly other types of packets are classified as TCP packets.)
• Type udp into the filter textbox and click Apply. This shows only the User Datagram Protocol Packets. (Note: NBNS and possibly other types of packets are classified as UDP packets.)
• Type http into the filter textbox and click Apply. This shows only the HyperText Transport Protocol Packets.
• Type ip.addr==your IP address and click Apply to filter out all but your computer's traffic. (Example: if your ip address is 10.10.10.2 type ip.addr==10.10.10.2 and click Apply.)
• Select Clear.

View Packet Summaries with the Packet List Window • Packet number (No.): Numbers each packet start with 1 for the first packet. • Timestamp (Time): Default is the number of seconds since the beginning of the capture. • IP Addresses (Source, Destination): The source and destination addresses of the packet. • Protocols (Protocol): The packet protocol (TCP, UDP, NBNS, etc.). • Additional Protocol Information (info): Example: for a TCP packet, this field states if it is a
SYN, ACK, or FIN packet.
Study Packet Details with the Packet Details Window • If you highlight a packet in the Packet List Window, further information about the packet
appears in the Packet Details Window. • Select a packet in the Packet List Window and view the information in the Packet Details
Window. • Select packets with different protocols. Do the types of information in the Packet Details
Window change?
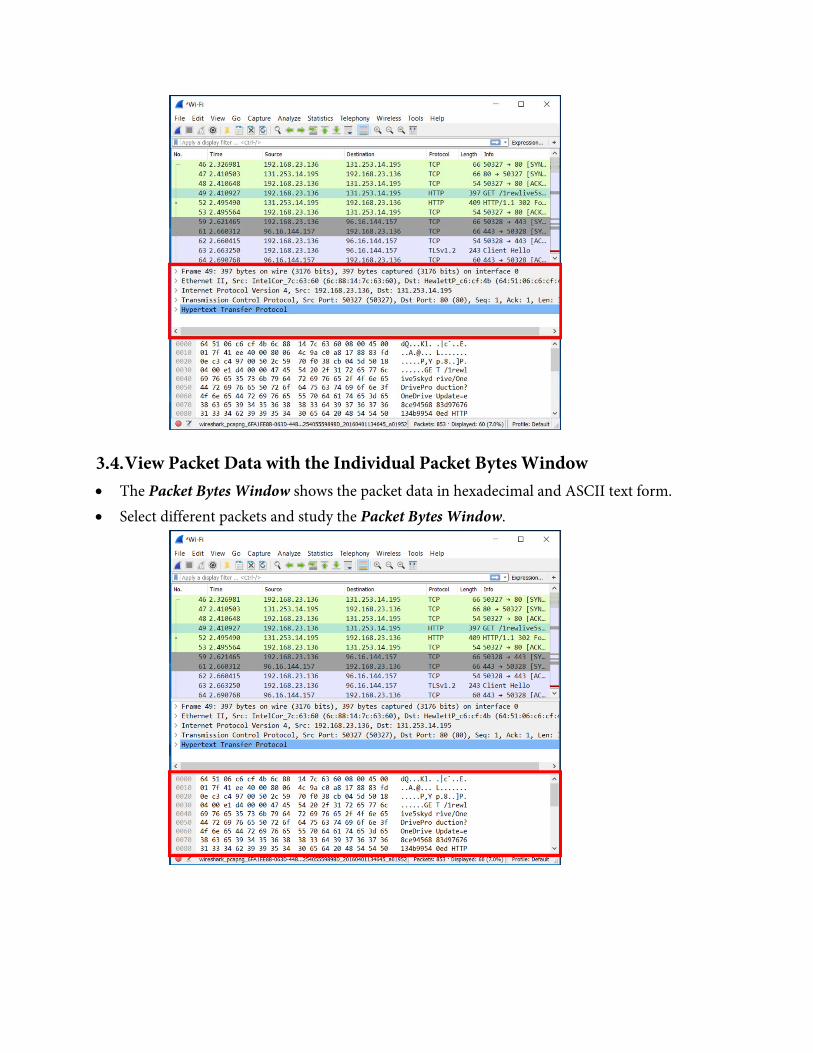
View Packet Data with the Individual Packet Bytes Window • The Packet Bytes Window shows the packet data in hexadecimal and ASCII text form. • Select different packets and study the Packet Bytes Window.

4. Browse the Internet • Start a capture. • You may combine two filter statements with the and keyword. Apply a filer to display only
http traffic traveling to or from your ip address. (Example: If your IP address is 10.10.10.2 enter ip.addr==10.10.10.2 and http.)
• Visit https://www.google.com and perform a search on scurvy. • Visit the first site on the list. • Return to Wireshark and stop the capture. Analyze the packet data and answer the following
questions: o Are the identities of the web sites you visit private? o Are the identities of the search keywords you enter private? o Why do you think you are unable to find any traffic from your search?
• Start another capture, or resume the same capture. • Visit http://stackoverflow.com and perform a search using the bar in the upper right hand
corner. • Return to Wireshark and stop the capture. Analyze the packet data and answer the following
questions: o Are the identities of the web sites you visit private? o Are the identities of the search keywords you enter private? o Would you like your instructor to teach your spouse/roommate/parent how to use
Wireshark so they can monitor your browsing habits at home? o Why are you able to view the traffic from the Stack Overflow search, but not the Google
search?
5. View Packet Capture • Start a new capture and clear any filters. • Browse the Internet for a few minutes. • Stop the capture. • Use the statistics menu to determine the answers to the following questions.
o How many udp packets did Wireshark capture? o What was the average IP packet size? o How many packets did Wireshark drop? o What does a flow graph show? o List the flow graph options.

6. View Packet Header Data
Capture Packets with Wireshark • Start a new capture and clear any filters. • Browse the Internet for a few minutes. • Stop the capture.
Explore the Network Interface Layer
Ethernet Frames
• Preamble o 64 bits o Alternating 1s and 0s, ending with two 0s o Use to locate first bit of a packet
• Destination Address o 48 bits o MAC address of recipient
• Source Address o 48 bits o MAC address of sender
• Field Type o 16 bits o Identifies higher level protocol
• IP Header • TCP Header • Data
o 46-1500 bytes o Information received from Network Layer
• FCS
View Ethernet Frame Data Captured with Wireshark
• Select a TCP packet in the Packet List Window.

• Expand the Ethernet section (Click the + symbol to the left of Ethernet) of the Packet Details Window.
• Determine the following Ethernet frame values for the selected packet: o Destination MAC address. o Source MAC address
Explore the Internet Layer
IPv4 Header: Pictured Below
View IP Header Data for a TCP Packet Captured with Wireshark
• Select a TCP packet in the Packet List Window. • Use the Packet Details Window to determine the following IP header values for
the TCP packet: o Version o Internet Header Length (IHL) o Identification o Reserved bit o Do not fragment bit o More fragments bit
o Fragment offset o Time To Live (TTL) o Protocol o Checksum o Source IP Address o Destination IP Address
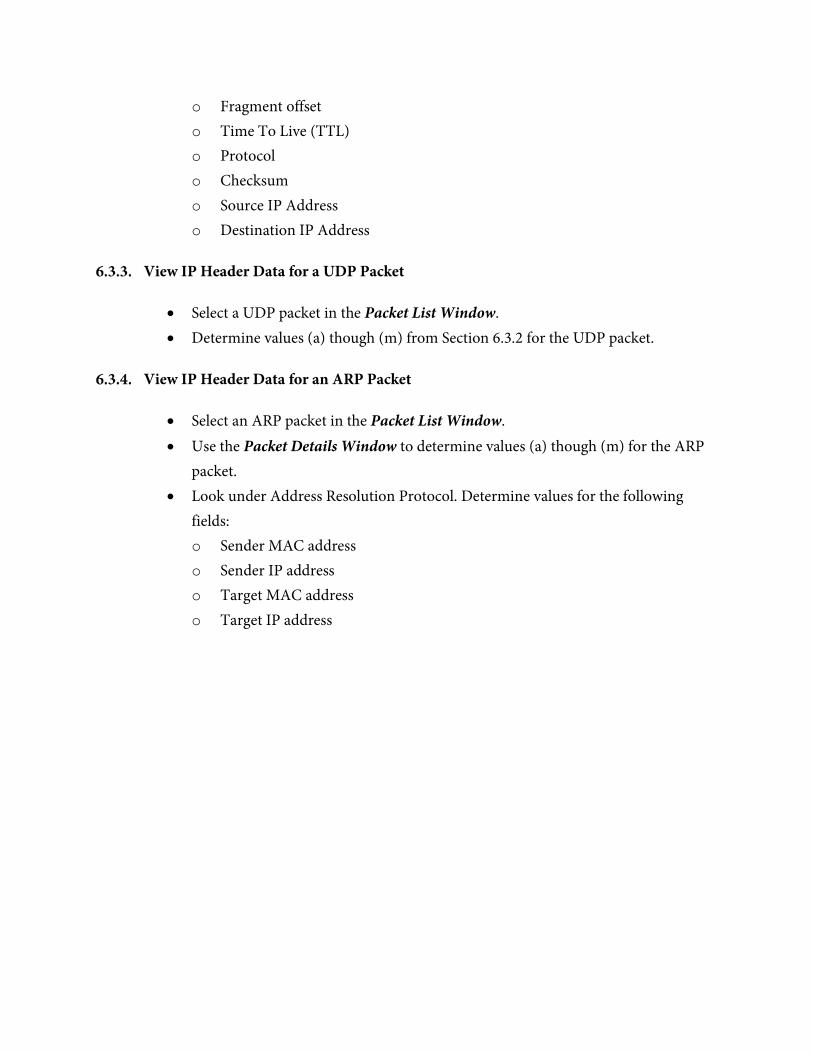
View IP Header Data for a UDP Packet
• Select a UDP packet in the Packet List Window. • Determine values (a) though (m) from Section 6.3.2 for the UDP packet.
View IP Header Data for an ARP Packet
• Select an ARP packet in the Packet List Window. • Use the Packet Details Window to determine values (a) though (m) for the ARP
packet. • Look under Address Resolution Protocol. Determine values for the following
fields: o Sender MAC address o Sender IP address o Target MAC address o Target IP address

Explore the Transport Layer
TCP Header: Pictured Below
View TCP Header Data for a TCP Packet Captured with Wireshark
• Select a TCP packet in the Packet List Window. • Use the Packet Details Window to determine the following header values for the
TCP packet: o Source port o Destination port o Sequence number o Header length o Window size o U bit o A bit o P bit o R bit o S bit o F bit o Checksum

UDP Header: Pictured Below
View UDP Header Data for a UDP Packet Captured with Wireshark
• Select a UDP packet in the Packet List Window. • Use the Packet Details Window to determine the following header values for the
UDP packet: o Source port o Destination port o Length o Checksum
Compare and Contrast IP, TCP, and UDP
• Do UDP packets have TCP headers? • Do TCP packets have IP headers? • What header fields do UDP and TCP have in common? • Why does TCP have more fields than UDP if they are both at the Transport
Layer? • Why do UDP packets not need the sequence and acknowledgement fields? • Why do UDP packets not need the flag bits and windows fields?
Explore the Application Layer
Analyze an HTTP Packet
• Select an HTTP packet in the Packet List Window. • Summarize the HTTP information available in the Packet Details Window.
Explain how HTTP uses this information.

• Does HTTP use UDP at the Transport Layer? Does it use TCP? • Do HTTP packets have IP headers? • Draw the HTTP packet. Show the HTTP data, Ethernet frame, IP header, and
TCP header. Label the fields in each packet header and fill them with the data obtained with Wireshark.
Analyze a DNS Packet
• Select a DNS packet in the Packet List Window. • View the DNS data information available in the Packet Details Window and
answer the questions below: o What flags do DNS packets have? o Is this packet a DNS query or a DNS response? o Why do DNS packets have query and answer fields? o What is an authoritative nameserver? o Does the DNS protocol use TCP at the Transport Layer? Does it use UDP? o Do DNS packets have IP headers?
• Draw the DNS packet. Show the DNS data, Ethernet frame, IP header, and UDP header. Label the fields in each packet header and fill them with the data obtained with Wireshark.

7. Review Exercises
Does Wireshark capture all the traffic on the Internet? If so, explain why. If not, which traffic does it capture?
Write Wireshark filters to:
View UDP traffic for 10.10.10.2.
View ICMP traffic from any address.
Why do ARP packets not have IP headers?
Compare and contrast UDP and TCP headers.
Do ICMP packets specify a port? Look online and explain why or why not.


![Wireshark Kullanım Rehberi - exploit-db.comturkish]-wireshark... · Filter kısm ı6 7 1 ) Daha önce ... Wireshark –Adres Çözümlemenin Aktif Edilmesi Peki wireshark bu adres](https://static.fdocuments.net/doc/165x107/5a78a6237f8b9a21538b5a13/wireshark-kullanim-rehberi-exploit-dbcom-turkish-wiresharkfilter-kism-i6.jpg)