Getting with Started Cogeco Digital TV. · Cogeco On Demand, rich HD programming, and reliable...
15
Quick Reference TV guide with Cogeco Digital TV. Getting Started
Transcript of Getting with Started Cogeco Digital TV. · Cogeco On Demand, rich HD programming, and reliable...
Quick Reference TV guide
with Cogeco Digital TV.
Getting Started

1
At Cogeco, we put you first in everything we do. Our goal is to give you a TV experience unlike any other – from the first-class service we provide to the latest programming and features you get to enjoy.
Whether it’s a wide variety of TV packages, the programs you want, when you want with Cogeco On Demand, rich HD programming, and reliable services in any weather, Cogeco gives more home entertainment for your money.
This guide contains many hints and tips to help you customize and take full advantage of your TV service.
Welcome to Cogeco Digital TV
2
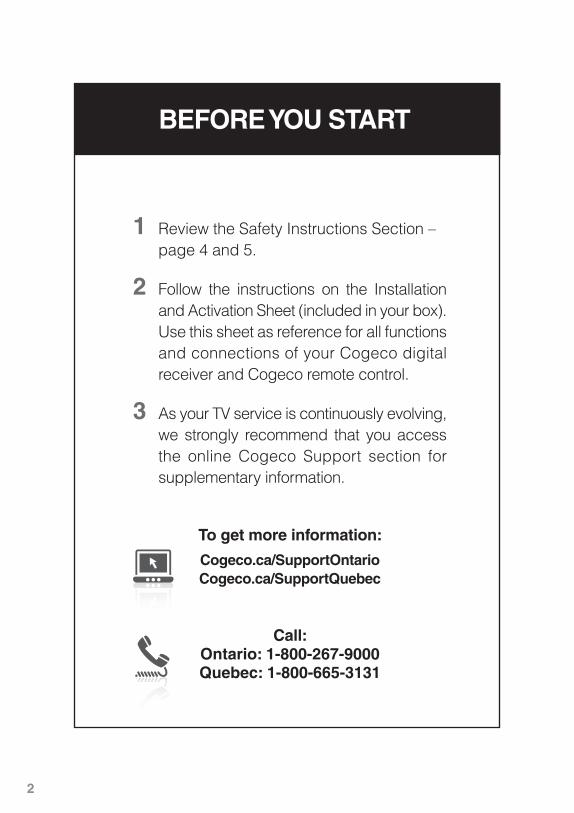
1 Review the Safety Instructions Section – page 4 and 5.
2 Follow the instructions on the Installation and Activation Sheet (included in your box). Use this sheet as reference for all functions and connections of your Cogeco digital receiver and Cogeco remote control.
3 As your TV service is continuously evolving, we strongly recommend that you access the online Cogeco Support section for supplementary information.
To get more information:
Cogeco.ca/SupportOntarioCogeco.ca/SupportQuebec
Call:Ontario: 1-800-267-9000Quebec: 1-800-665-3131
BEFORE YOU START
3
Table of Contents
Important Safety Instructions ......................... 4
Using your Interactive Guide
Using the iGuide ...................................... 6 Using the Menus ...................................... 7 Using the Search function ....................... 7 Using the Setting options ........................ 8 Ordering and Watching Pay-Per-View ..... 9
Using your HD Recorder
Controlling live TV .................................. 10 Recording Programs ............................. 11
Using Cogeco On Demand .......................... 13
4
Important Safety Instructions
CleaningUnplug the receiver from the electrical wall outlet before cleaning. Do not use liquid cleaners or aerosol cleaners. Use a slightly damp cloth for cleaning.
AttachmentsPlease do not attach equipment that has not been recommended. It may be hazardous.
Water and moistureDo not use this equipment near water or damp areas (e.g. near a bathtub, kitchen sink, swimming pool or in a wet basement). Please note that water damage will automatically void your equipment warranty.
AccessoriesDo not place the receiver on an unstable cart, stand, tripod, bracket or table. The receiver may fall causing serious injury and serious damage to the equipment. Use only with a cart, stand, tripod, bracket or table recommended by the manufacturer or sold with the equipment. Any mounting of the equipment should follow the manufacturer’s instructions and should use a mounting accessory recommended by the manufacturer.
VentilationSlots and openings in the receiver are provided for ventilation to ensure reliable operation of the equipment and to protect it from overheating. A 2-inch gap should be allowed on all sides, and devices should not be stacked directly on top of each other. The openings should never be blocked by placing the receiver on a bed, sofa, rug or similar surface. Equipment should never be placed near or over a radiator or heat register or in a built-in installation, such as a bookcase or rack, unless proper ventilation is provided.

5
Power sourcesThe receiver should be operated only from the type of power sources indicated on the marking label. For equipment intended to operate from battery power or other sources, refer to the operating instructions.
Ground or polarizationThis equipment may be equipped with a polarized alternating-current line plug (a plug with one blade wider than the other). This plug will fit into the power outlet only one way. This is a safety feature. If you are unable to insert the plug fully into the outlet, your outlet may be outdated and you should contact your electrician to replace it.
Alternate warningsThis equipment may be equipped with a 3-wire grounding-type plug. It will only fit into a grounding-type power outlet. This is a safety feature. If you are unable to insert the plug fully into the outlet, your outlet may be outdated and you should contact your electrician to replace it.
Power cord protectionPower supply cords should be routed so that they are not likely to be walked on or pinched by items placed upon or against them, especially cords near plugs, convenience receptacles and the point where they exit the equipment.
6
Using the iGuide — Your Interactive Program Guides
The iGuide is your source for finding what’s on your TV and searching through TV listings for up to 14 days.
1. Press the GUIDE button.
2. Use the buttons to scroll through program listings by channel or use the PAGE and buttons together to view listings one page at a time.
3. Use the buttons to scroll by time.
4. Press INFO to see detailed program information for any highlighted title.
5. Press OK/SELECT to tune in to the selected channel.
6. Press the GUIDE button twice if your wish to view listings by channel. Please note that you will not be able to tune in to channels you have not subscribed to.
7. Press EXIT to return to live TV.
Using the Interactive Guide
$
$
$
$
$
$
7
Using the Menus
Use the menu to access features of the Interactive Guide such as Search, Favourites, Parental Controls, Cogeco On Demand and more. The Quick Menu provides shortcuts directly to the key features.
1. Press the MENU button one time to access the Quick Menu.
2. Press the MENU button twice if you wish to access the Main Menu.
3. Use the buttons on your remote to navigate through the menu items.
4. Press OK/SELECT to access that menu item.
5. Press EXIT to return to live TV.
Using the Search function
Use Search to easily find a specific program.
1. Press the MENU button.
2. Select the SEARCH menu and then TITLE SEARCH.
3. Use the buttons to navigate the letters on the keyboard to spell out the show title. Continue entering letters until the show you are looking for appears on the right.
4. Arrow to the right and highlight the show you want to watch.
5. Press OK/SELECT to view your show.
$
$
$
$
$
$
$
$
8
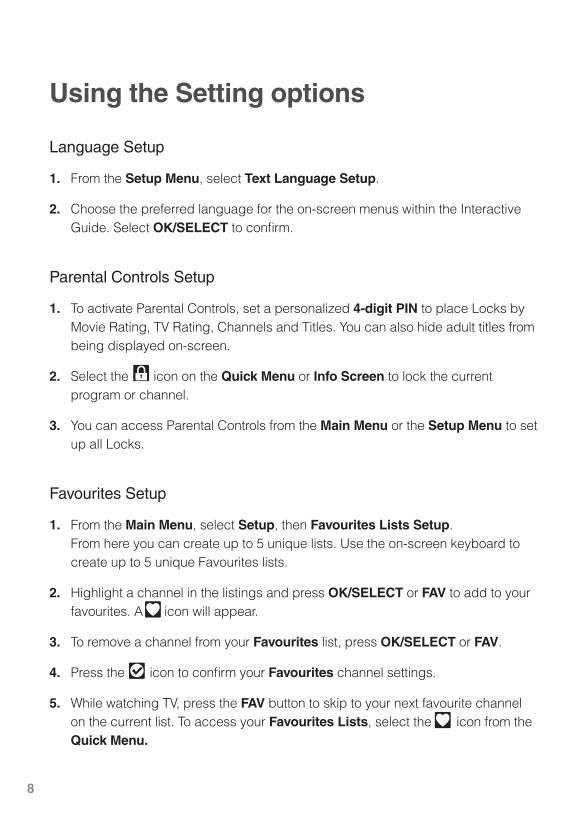
Using the Setting options
Language Setup
1. From the Setup Menu, select Text Language Setup.
2. Choose the preferred language for the on-screen menus within the Interactive Guide. Select OK/SELECT to confirm.
Parental Controls Setup
1. To activate Parental Controls, set a personalized 4-digit PIN to place Locks by Movie Rating, TV Rating, Channels and Titles. You can also hide adult titles from being displayed on-screen.
2. Select the icon on the Quick Menu or Info Screen to lock the current program or channel.
3. You can access Parental Controls from the Main Menu or the Setup Menu to set up all Locks.
Favourites Setup
1. From the Main Menu, select Setup, then Favourites Lists Setup. From here you can create up to 5 unique lists. Use the on-screen keyboard to create up to 5 unique Favourites lists.
2. Highlight a channel in the listings and press OK/SELECT or FAV to add to your favourites. A icon will appear.
3. To remove a channel from your Favourites list, press OK/SELECT or FAV.
4. Press the icon to confirm your Favourites channel settings.
5. While watching TV, press the FAV button to skip to your next favourite channel on the current list. To access your Favourites Lists, select the icon from the Quick Menu.
$
$
$$
9
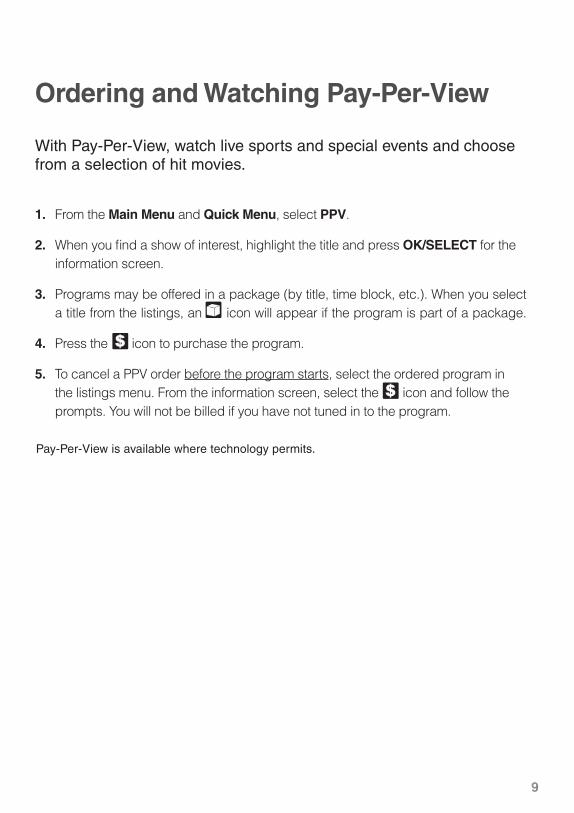
Ordering and Watching Pay-Per-View
With Pay-Per-View, watch live sports and special events and choose from a selection of hit movies.
1. From the Main Menu and Quick Menu, select PPV.
2. When you find a show of interest, highlight the title and press OK/SELECT for the information screen.
3. Programs may be offered in a package (by title, time block, etc.). When you select a title from the listings, an icon will appear if the program is part of a package.
4. Press the icon to purchase the program.
5. To cancel a PPV order before the program starts, select the ordered program in the listings menu. From the information screen, select the icon and follow the prompts. You will not be billed if you have not tuned in to the program.
$
$
$
Pay-Per-View is available where technology permits.
10
$
$
$
$
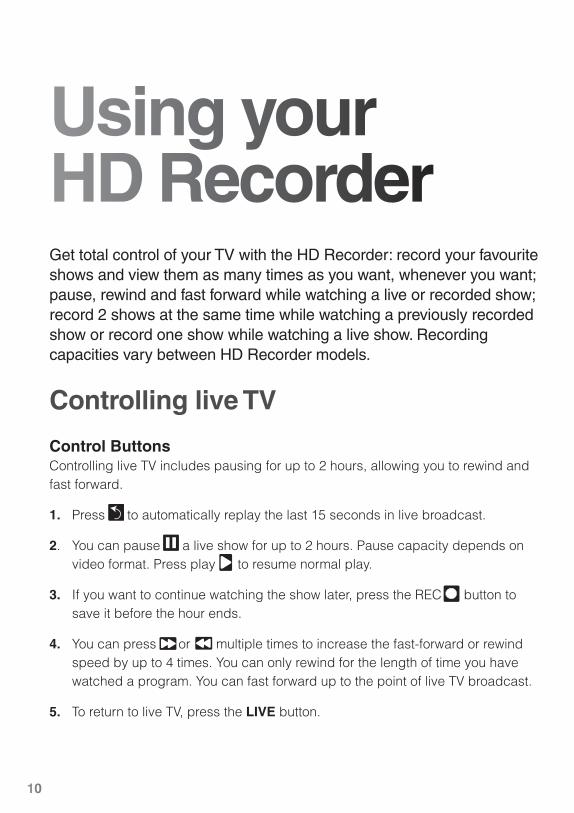
Using your HD RecorderGet total control of your TV with the HD Recorder: record your favourite shows and view them as many times as you want, whenever you want; pause, rewind and fast forward while watching a live or recorded show; record 2 shows at the same time while watching a previously recorded show or record one show while watching a live show. Recording capacities vary between HD Recorder models.
Controlling live TV
Control ButtonsControlling live TV includes pausing for up to 2 hours, allowing you to rewind and fast forward.
1. Press to automatically replay the last 15 seconds in live broadcast.
2. You can pause a live show for up to 2 hours. Pause capacity depends on video format. Press play to resume normal play.
3. If you want to continue watching the show later, press the REC button to save it before the hour ends.
4. You can press or multiple times to increase the fast-forward or rewind speed by up to 4 times. You can only rewind for the length of time you have watched a program. You can fast forward up to the point of live TV broadcast.
5. To return to live TV, press the LIVE button.
$
11
$
$
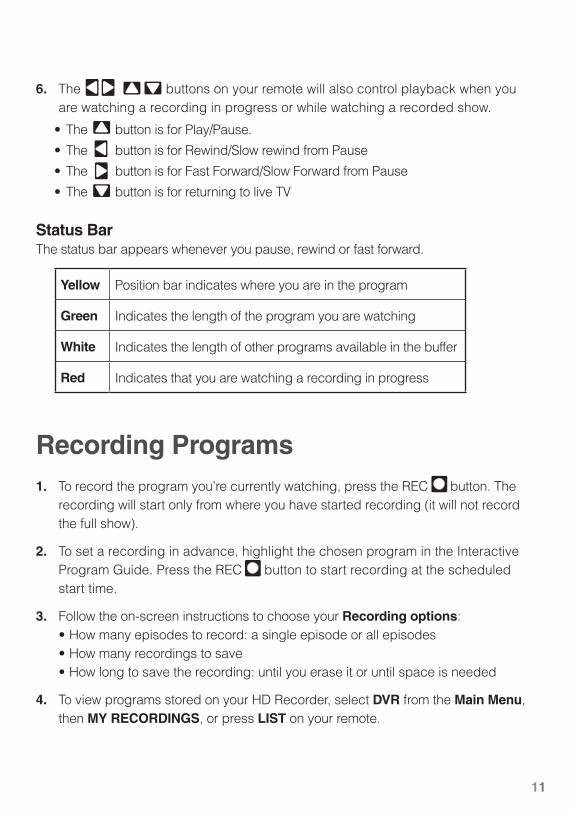
• ThebuttonisforPlay/Pause.
• ThebuttonisforRewind/SlowrewindfromPause
• ThebuttonisforFastForward/SlowForwardfromPause
• ThebuttonisforreturningtoliveTV
Yellow Position bar indicates where you are in the program
Green Indicates the length of the program you are watching
White Indicates the length of other programs available in the buffer
Red Indicates that you are watching a recording in progress
Status BarThe status bar appears whenever you pause, rewind or fast forward.
$
$
$
$
Recording Programs1. To record the program you’re currently watching, press the REC button. The
recording will start only from where you have started recording (it will not record the full show).
2. To set a recording in advance, highlight the chosen program in the Interactive Program Guide. Press the REC button to start recording at the scheduled start time.
3. Follow the on-screen instructions to choose your Recording options: •Howmanyepisodestorecord:asingleepisodeorallepisodes •Howmanyrecordingstosave •Howlongtosavetherecording:untilyoueraseitoruntilspaceisneeded
4. To view programs stored on your HD Recorder, select DVR from the Main Menu, then MY RECORDINGS, or press LIST on your remote.
6. The buttons on your remote will also control playback when you are watching a recording in progress or while watching a recorded show.
$
$
$
$
12
$
$
Recording Programs (cont’d)
5. Press OK/SELECT to view the chosen recorded program. Use either the video control or the arrow buttons on your remote to play, pause, rewind and fast forward a recorded show.
6. You can change your Recording options at any time, as often as you like. Select the icon from the recorded program information screen:
•Changethefrequencyoftherecording,suchaseverydayoronceaweek.
•Specifyhowmanyrecordingstosave.
•SetaSave Until parameter, either until you delete or delete automatically when space is needed.
•Changethestartandendtimesinordertocatcheveryminuteofaprogram, even if it runs over.
7. To delete a recording, select the icon from the recorded program information screen.
8. If there are scheduling conflicts in your series recordings, your HD recorder will automatically create a Series Priority List, including the first series recorded as the highest priority. To change recording priorities, select SERIES RECORDINGS from the DVR Menu. Note that individual recordings always take priority over series recordings when there are scheduling conflicts.
13
$
Using Cogeco On DemandWatch what you want, when you want it. Cogeco On Demand gives you instant access to your favourite TV shows, movies, music videos, youth programs and many more – some of it being available for FREE. You can watch your selection as many times as you want, as long as it is within your rental period of normally 24 hours.
1. To access Cogeco On Demand, tune in to channel 600 or select VOD from the Quick Menu.
2. Press OK/SELECT to select a category and then a title. You will get detailed information about the title, including length, cost, rating and description.
3. Programs appearing in grey are programs available through a package or channel to which you have not subscribed.
4. Select the icon and press OK/SELECT to order the On Demand program. Your selection will begin playing immediately and you can watch as often as you want during the 24-hour rental period.
5. Using the video control or arrow buttons on your remote, enjoy the flexibility of being able to rewind, fast forward and pause your On Demand show.
6. If you want to return to watching regular TV, press EXIT at any time.
Visit CogecoOnDemand.ca for more information about the latest in trailers, top movies, featured shows and the list of On Demand channels. Cogeco On Demand is available where technology permits.

Enjoy yourexperience.