Final Cut Pro to iDVD - dlquestions.comdlquestions.com/pdf/20113_fcp_to_idvd.pdf · Final Cut Pro...
7
Final Cut Pro to iDVD This document is step-by-step instructions on how to turn your Final Cut Pro project into a formatted DVD. This can be very simple and will only take a few minutes if done correctly. However, still give yourself at least one half hour to do it in anticipation for any system errors or unexpected occurrences either on the software program itself, the DVD, or the computer system. The procedure is called exporting. What we are exporting is our sequence into a “reference” file. The first thing you will want to do is look in your timeline for In Marks and/or Out Marks and clearing them out. Below is what a timeline with In Marks and Out Marks will look like. To clear out these In Marks and Out Marks simply click on the Timeline activation bar to activate it, then press Option + X. This will clear out both marks. If you have these marks in your timeline when you go to make a DVD, it will only export what is in between them.
Transcript of Final Cut Pro to iDVD - dlquestions.comdlquestions.com/pdf/20113_fcp_to_idvd.pdf · Final Cut Pro...
Final Cut Pro to iDVD
This document is step-by-step instructions on how to turn your Final Cut Pro project into a
formatted DVD. This can be very simple and will only take a few minutes if done correctly.
However, still give yourself at least one half hour to do it in anticipation for any system
errors or unexpected occurrences either on the software program itself, the DVD, or the
computer system.
The procedure is called exporting. What we are exporting is our sequence into a
“reference” file.
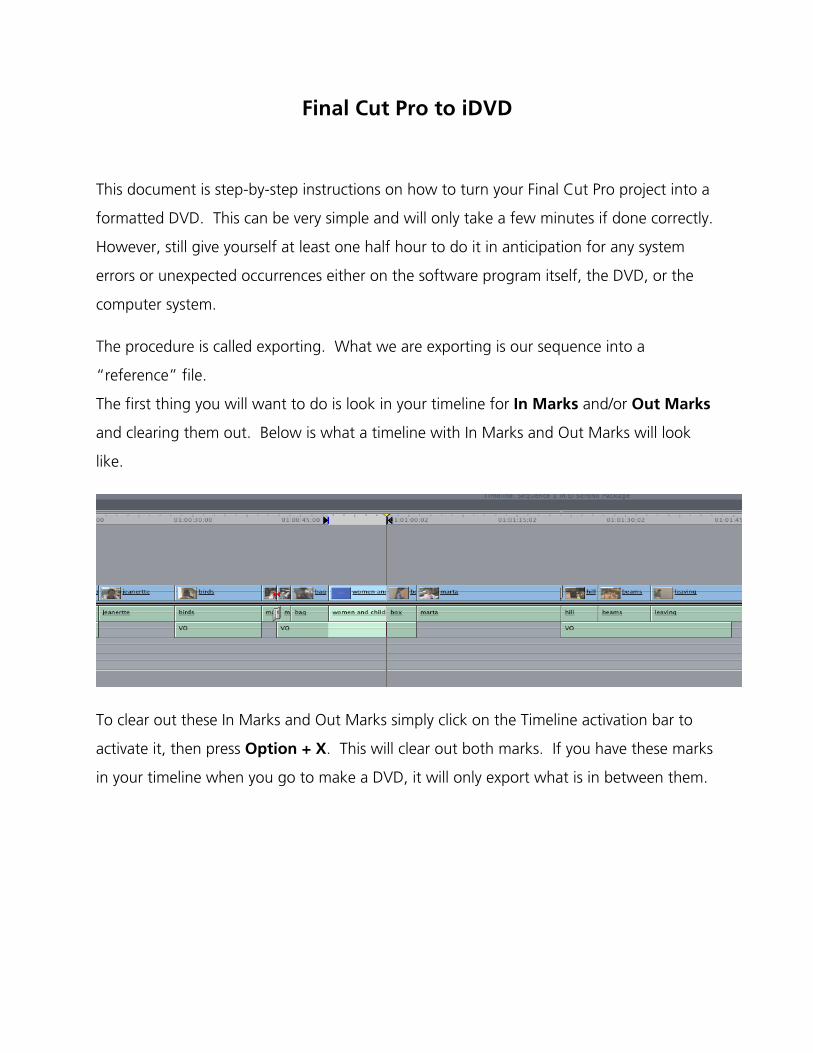
The first thing you will want to do is look in your timeline for In Marks and/or Out Marks
and clearing them out. Below is what a timeline with In Marks and Out Marks will look
like.
To clear out these In Marks and Out Marks simply click on the Timeline activation bar to
activate it, then press Option + X. This will clear out both marks. If you have these marks
in your timeline when you go to make a DVD, it will only export what is in between them.

After you have checked for marks, single click on the sequence file you want to export.
This file is located in your Browser window and will be labeled “Sequence 1”. This file’s
icon will not look like the rest of the Browser files. Rename it then right click on the
sequence icon.
Then, go down to export and follow the arrow to “QuickTime Movie”.
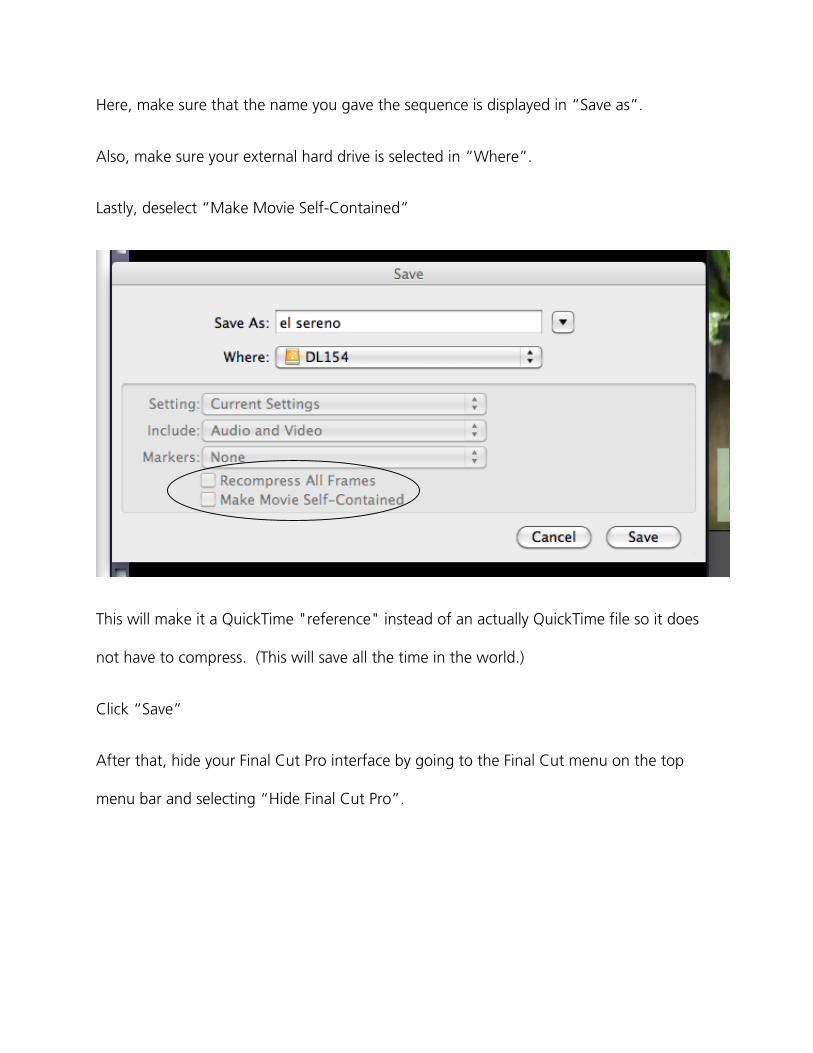
Here, make sure that the name you gave the sequence is displayed in “Save as”.
Also, make sure your external hard drive is selected in “Where”.
Lastly, deselect “Make Movie Self-Contained”
This will make it a QuickTime "reference" instead of an actually QuickTime file so it does
not have to compress. (This will save all the time in the world.)
Click “Save”
After that, hide your Final Cut Pro interface by going to the Final Cut menu on the top
menu bar and selecting “Hide Final Cut Pro”.
Once you are back on the desktop, go to the dock at the bottom and click on the
Applications folder. Here you will navigate to iDVD. Then double-click.
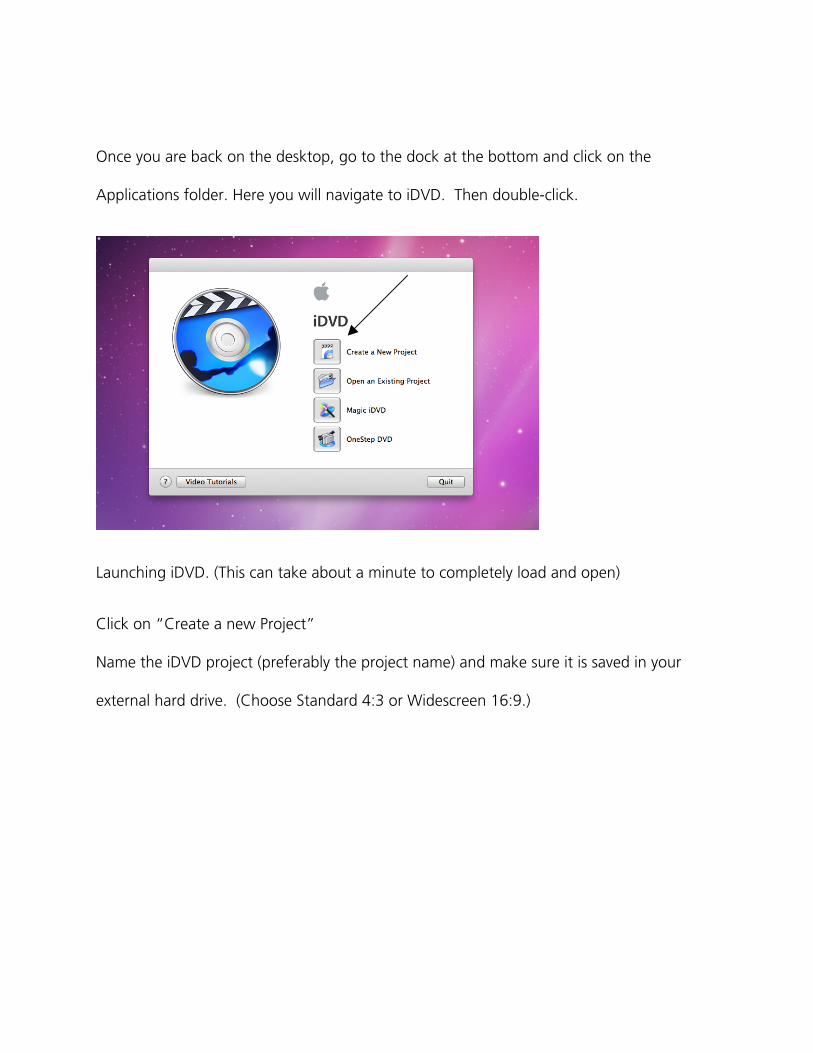
Launching iDVD. (This can take about a minute to completely load and open)
Click on “Create a new Project”
Name the iDVD project (preferably the project name) and make sure it is saved in your
external hard drive. (Choose Standard 4:3 or Widescreen 16:9.)
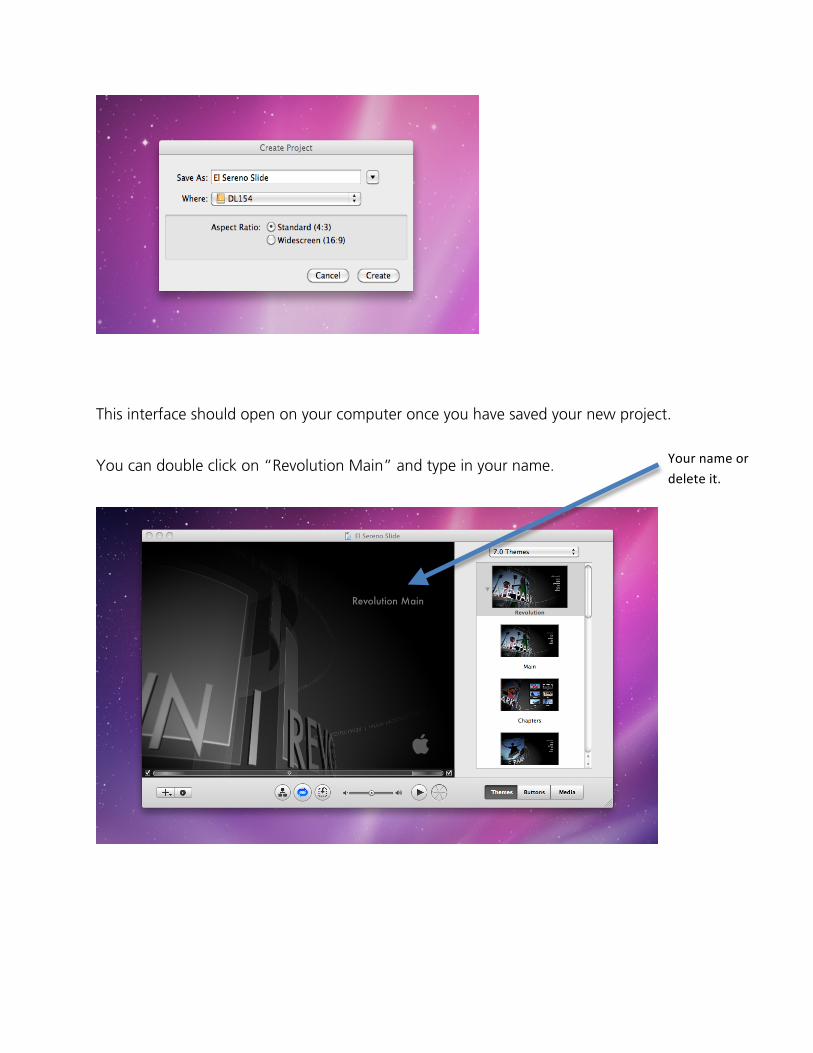
This interface should open on your computer once you have saved your new project.
You can double click on “Revolution Main” and type in your name.
Your name or delete it.
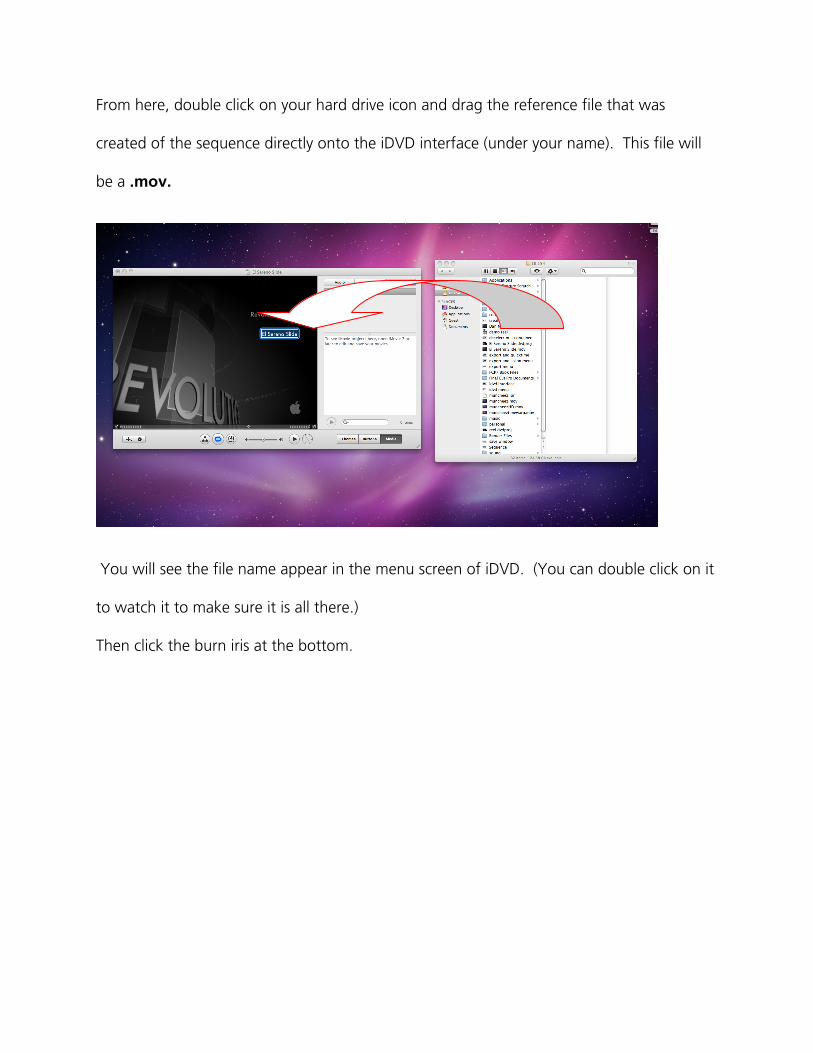
From here, double click on your hard drive icon and drag the reference file that was
created of the sequence directly onto the iDVD interface (under your name). This file will
be a .mov.
You will see the file name appear in the menu screen of iDVD. (You can double click on it
to watch it to make sure it is all there.)
Then click the burn iris at the bottom.
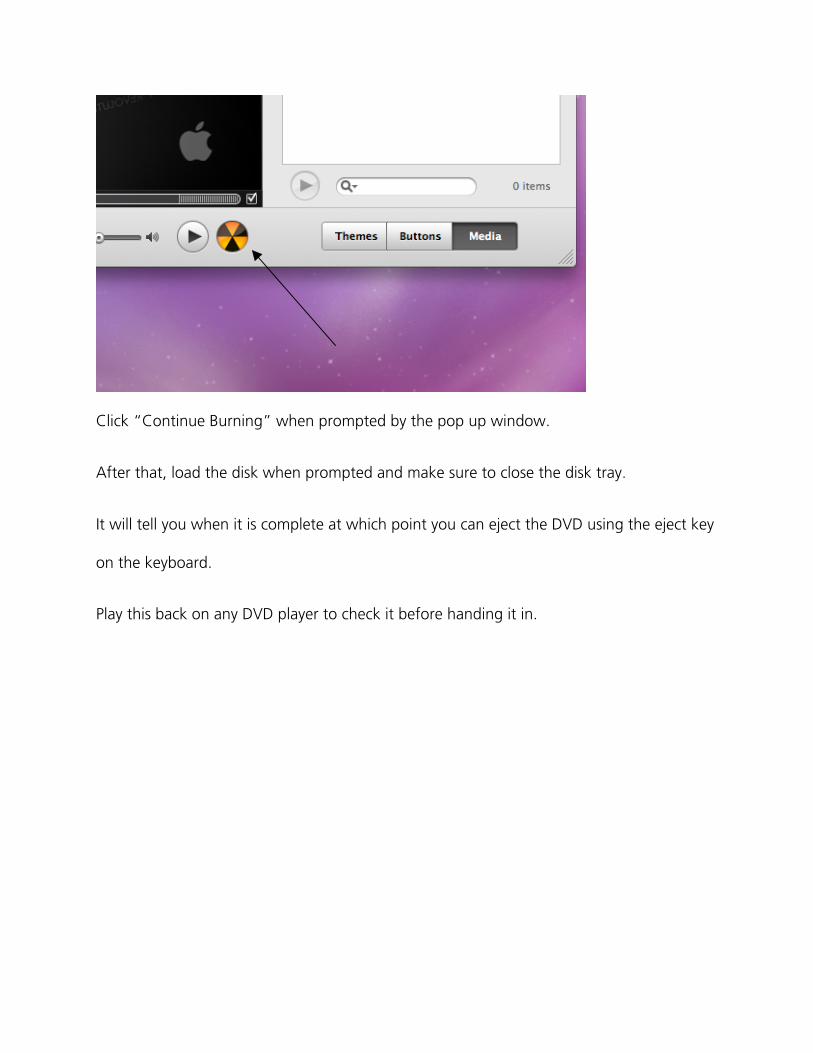
Click “Continue Burning” when prompted by the pop up window.
After that, load the disk when prompted and make sure to close the disk tray.
It will tell you when it is complete at which point you can eject the DVD using the eject key
on the keyboard.
Play this back on any DVD player to check it before handing it in.