Expressive animal collages
12
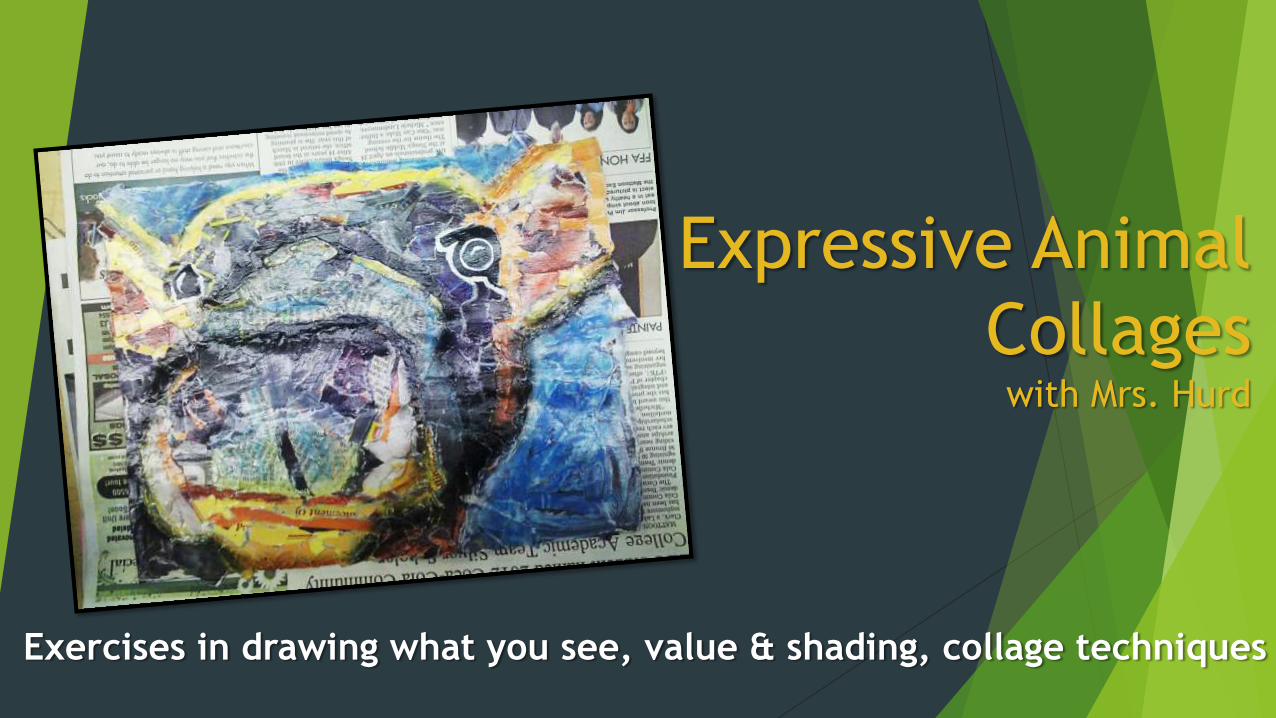
Expressive Animal Collages with Mrs. Hurd Exercises in drawing what you see, value & shading, collage techniques
-
Upload
natalie-hurd -
Category
Documents
-
view
158 -
download
0
Transcript of Expressive animal collages
Expressive Animal
Collageswith Mrs. Hurd
Exercises in drawing what you see, value & shading, collage techniques

A collage (From the French: coller, to
glue) is a work of art, made by sticking
various different materials such as
photographs, pieces of paper, or fabric
onto a backing.Thus creating a new
whole.
What is collage?
https://www.youtube.com/watch?v=GP_K8aL47jM Collage Tutorial
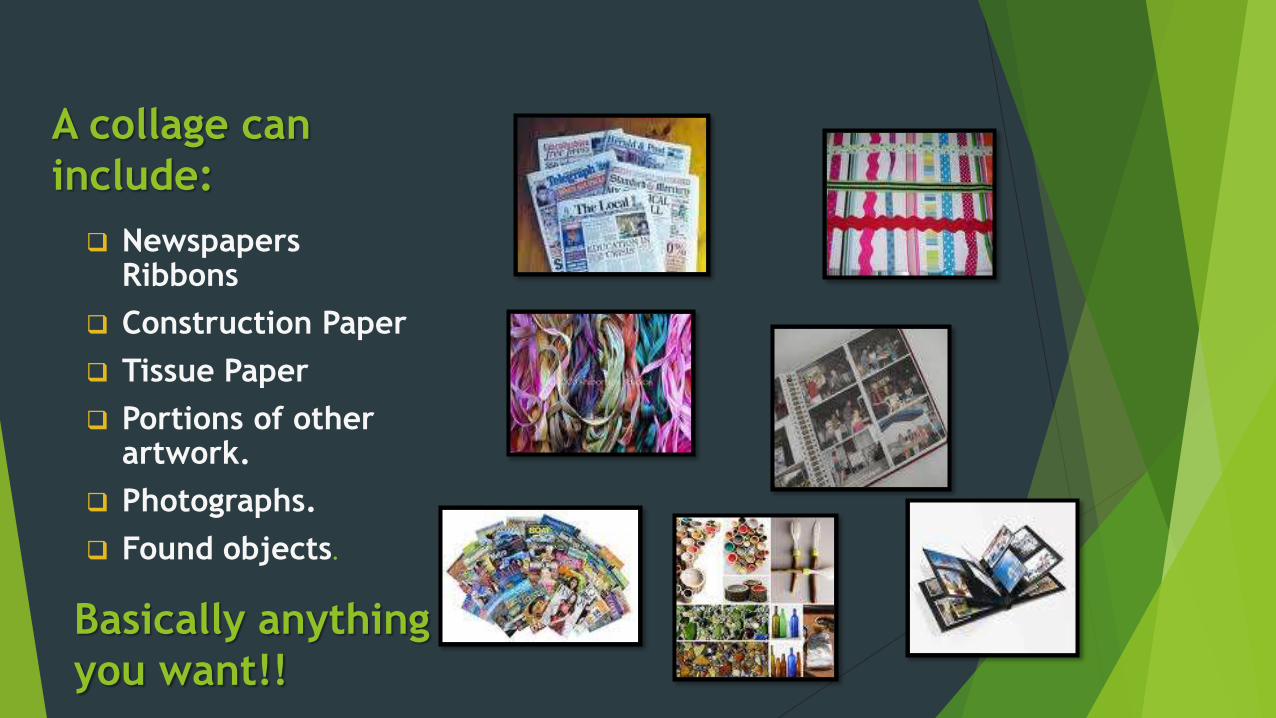
A collage can
include:
Newspapers Ribbons
Construction Paper
Tissue Paper
Portions of other artwork.
Photographs.
Found objects.
Basically anything
you want!!
Value & Shading
Value is one of the seven elements of art. Value deals with the lightness or
darkness of a color. Since we see objects and understand objects because of
how dark or light they are, value is incredible important to art.
Value deals directly to light. We see things because light reflects off of
objects and goes into our eyes. Our mind processes the light and rationalizes
what we are seeing. Without light, we cannot see anything.
Value helps define an image and its tone or message.
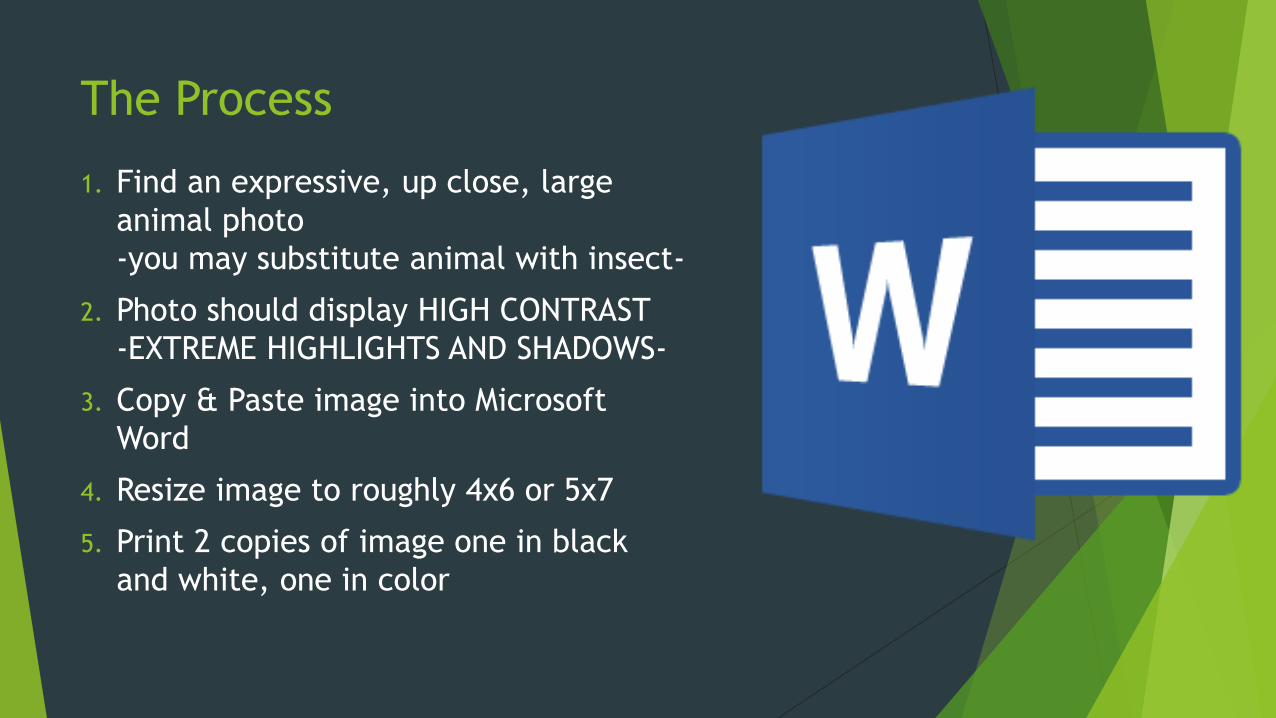
The Process
1. Find an expressive, up close, large
animal photo
-you may substitute animal with insect-
2. Photo should display HIGH CONTRAST
-EXTREME HIGHLIGHTS AND SHADOWS-
3. Copy & Paste image into Microsoft
Word
4. Resize image to roughly 4x6 or 5x7
5. Print 2 copies of image one in black
and white, one in color
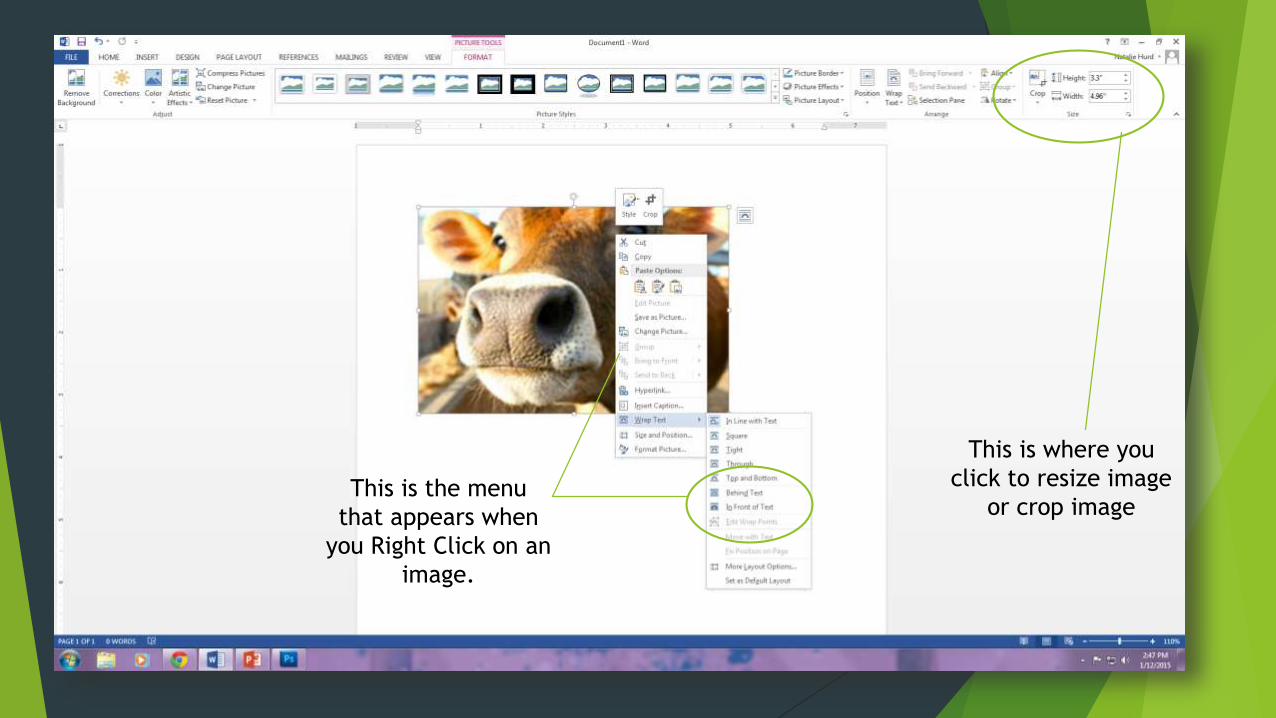
This is where you
click to resize image
or crop imageThis is the menu
that appears when
you Right Click on an
image.
What to do in Microsoft Word with
image…
Open Micorsoft Word
Find image on internet
Right Click< Copy
Right Click on Word Document<Paste
Click and drag with mouse to resize
Right Click on image < Wrap Text< IN FRONT OF TEXT
>File > Print> Copie 2> Black & White
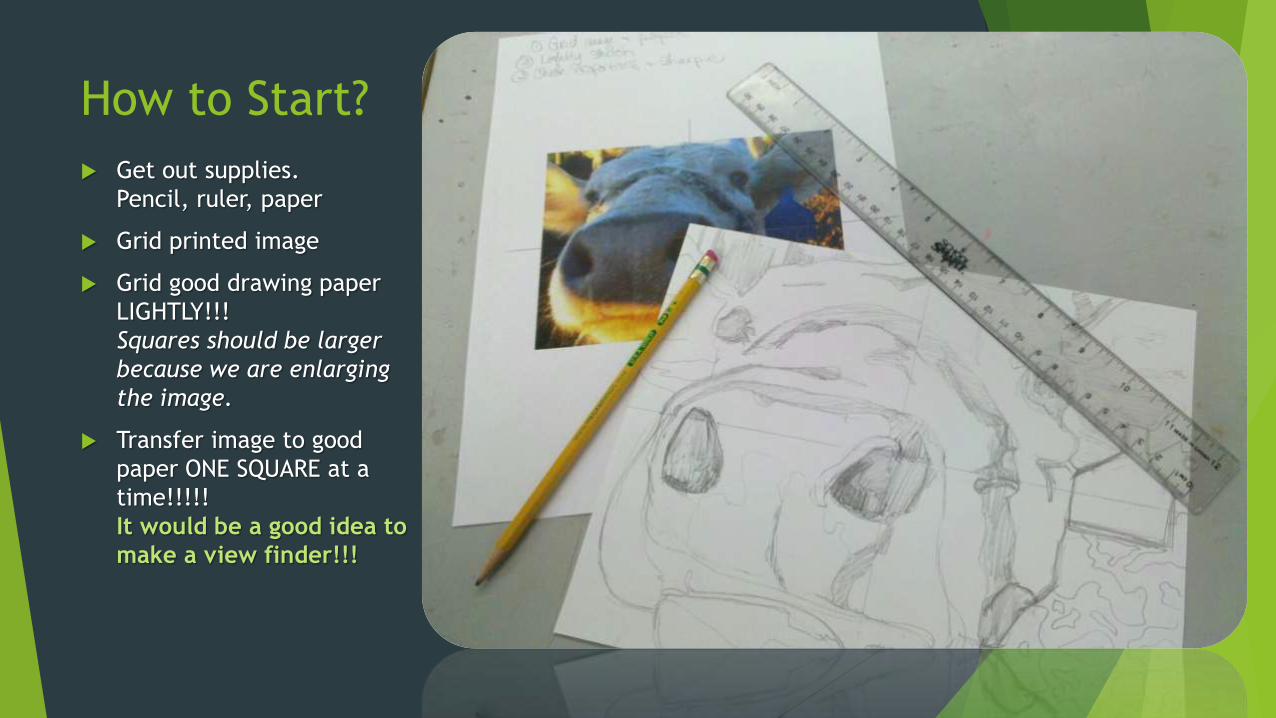
How to Start?
Get out supplies.
Pencil, ruler, paper
Grid printed image
Grid good drawing paper
LIGHTLY!!!
Squares should be larger
because we are enlarging
the image.
Transfer image to good
paper ONE SQUARE at a
time!!!!!
It would be a good idea to
make a view finder!!!
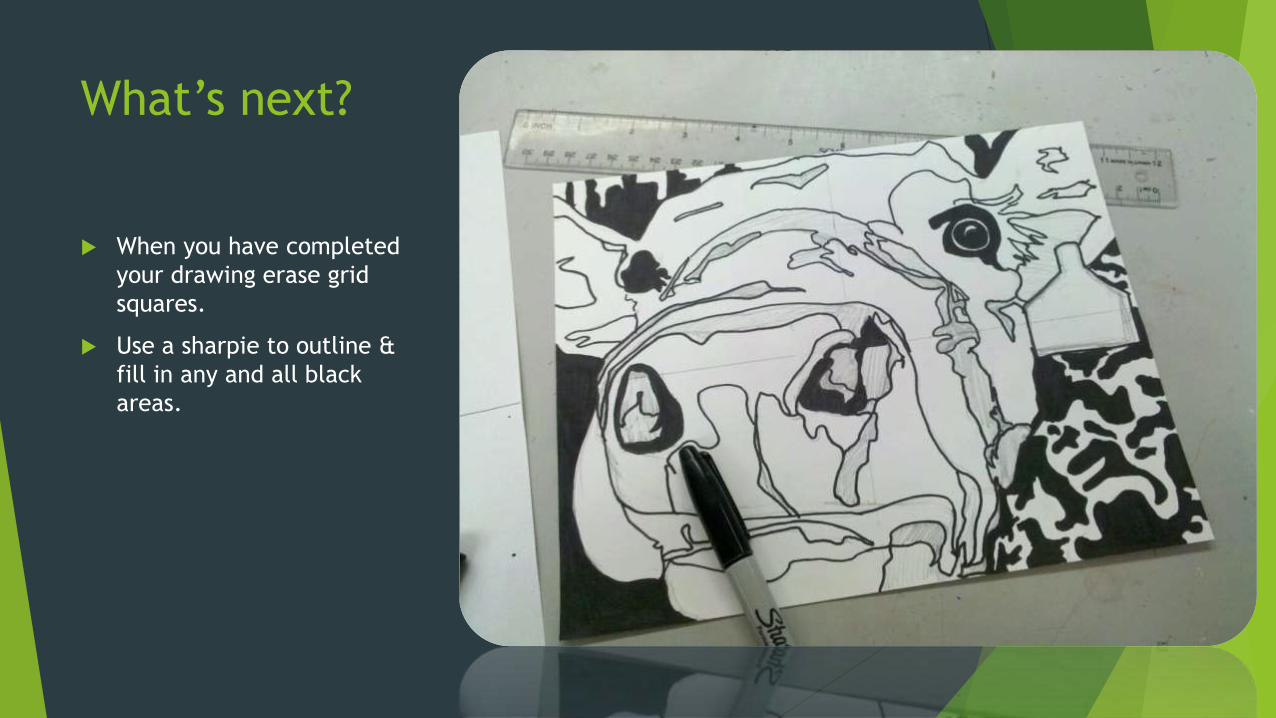
What’s next?
When you have completed
your drawing erase grid
squares.
Use a sharpie to outline &
fill in any and all black
areas.
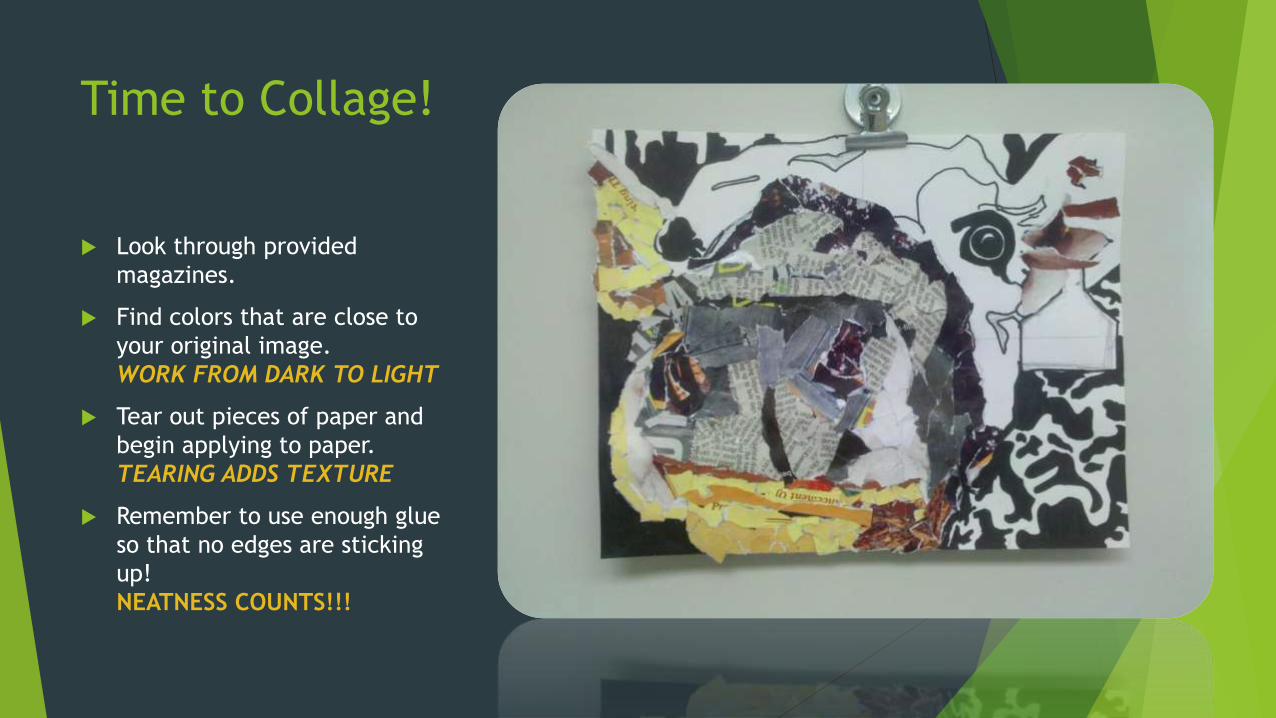
Time to Collage!
Look through provided
magazines.
Find colors that are close to
your original image.
WORK FROM DARK TO LIGHT
Tear out pieces of paper and
begin applying to paper.
TEARING ADDS TEXTURE
Remember to use enough glue
so that no edges are sticking
up!
NEATNESS COUNTS!!!
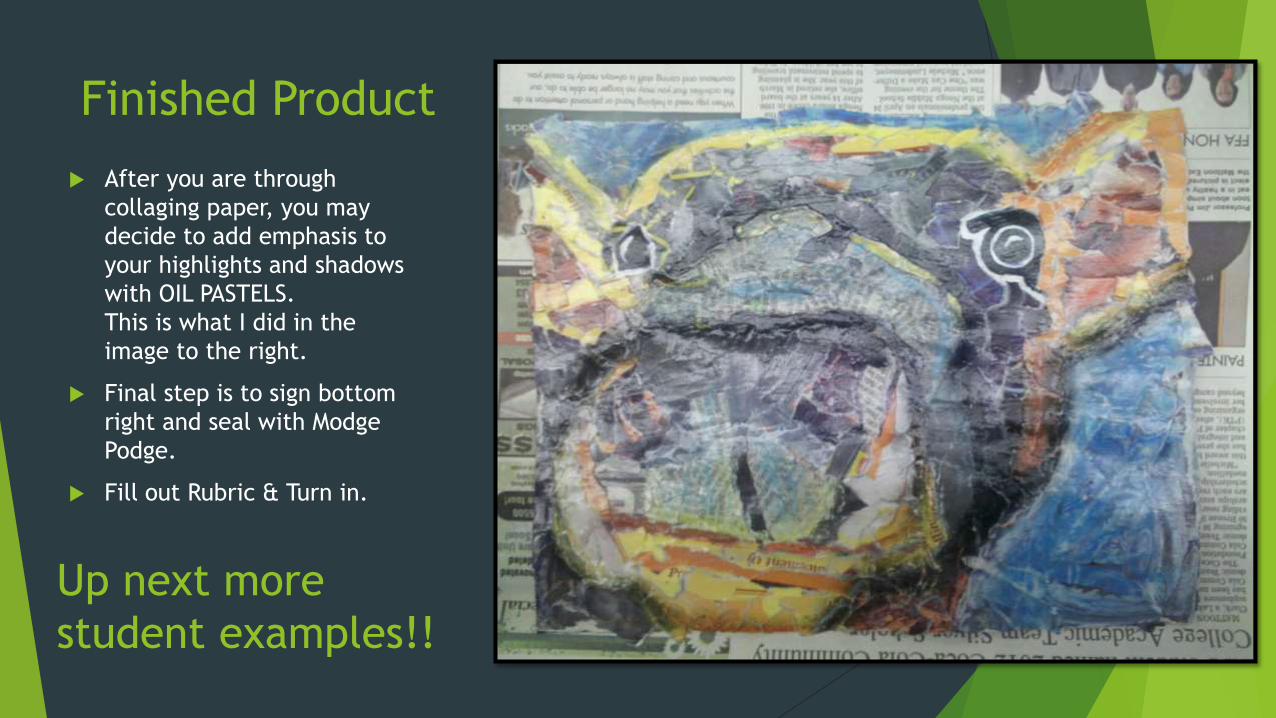
Finished Product
After you are through
collaging paper, you may
decide to add emphasis to
your highlights and shadows
with OIL PASTELS.
This is what I did in the
image to the right.
Final step is to sign bottom
right and seal with Modge
Podge.
Fill out Rubric & Turn in.
Up next more
student examples!!