Evaluation question 4
10
EVALUATION QUESTION 4 How did you use media technologies in the construction, research, planning and evaluation stages? Chrissie Bishop G325
-
Upload
chrissiebishop -
Category
Design
-
view
57 -
download
0
Transcript of Evaluation question 4

EVALUATION QUESTION 4How did you use media technologies in the construction, research,
planning and evaluation stages?
Chrissie Bishop
G325
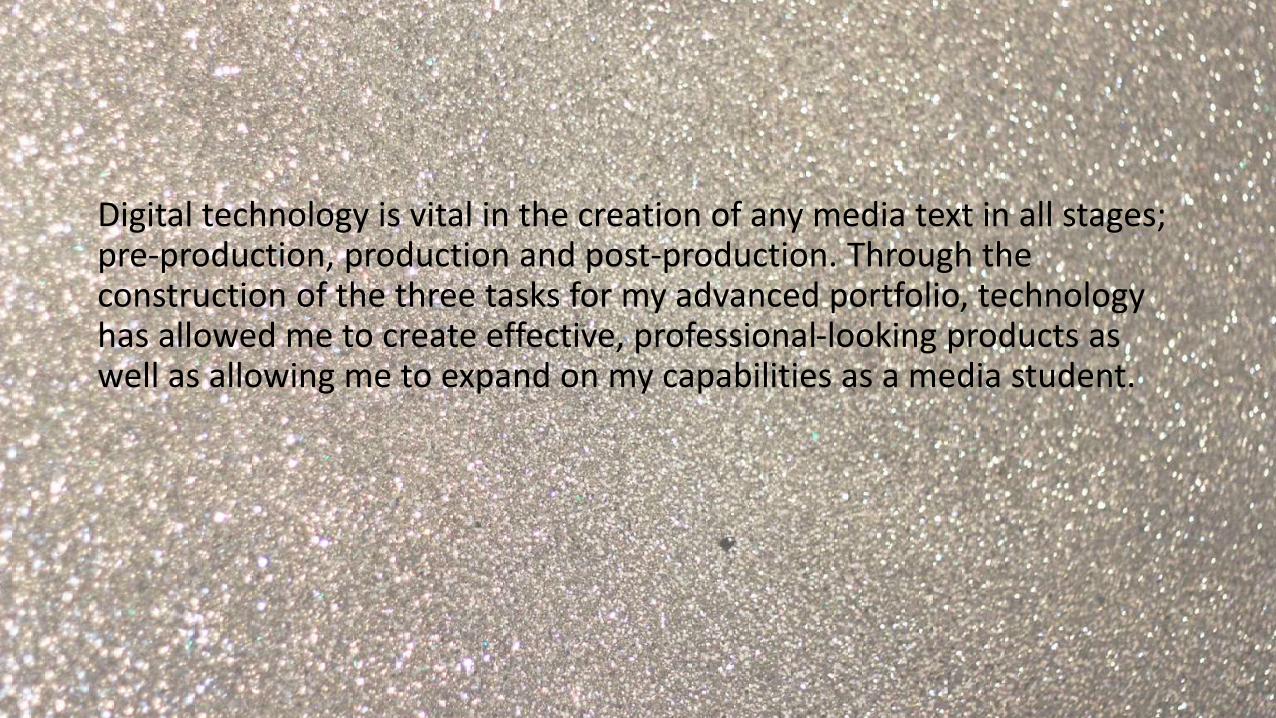
Digital technology is vital in the creation of any media text in all stages; pre-production, production and post-production. Through the construction of the three tasks for my advanced portfolio, technology has allowed me to create effective, professional-looking products as well as allowing me to expand on my capabilities as a media student.
Internet
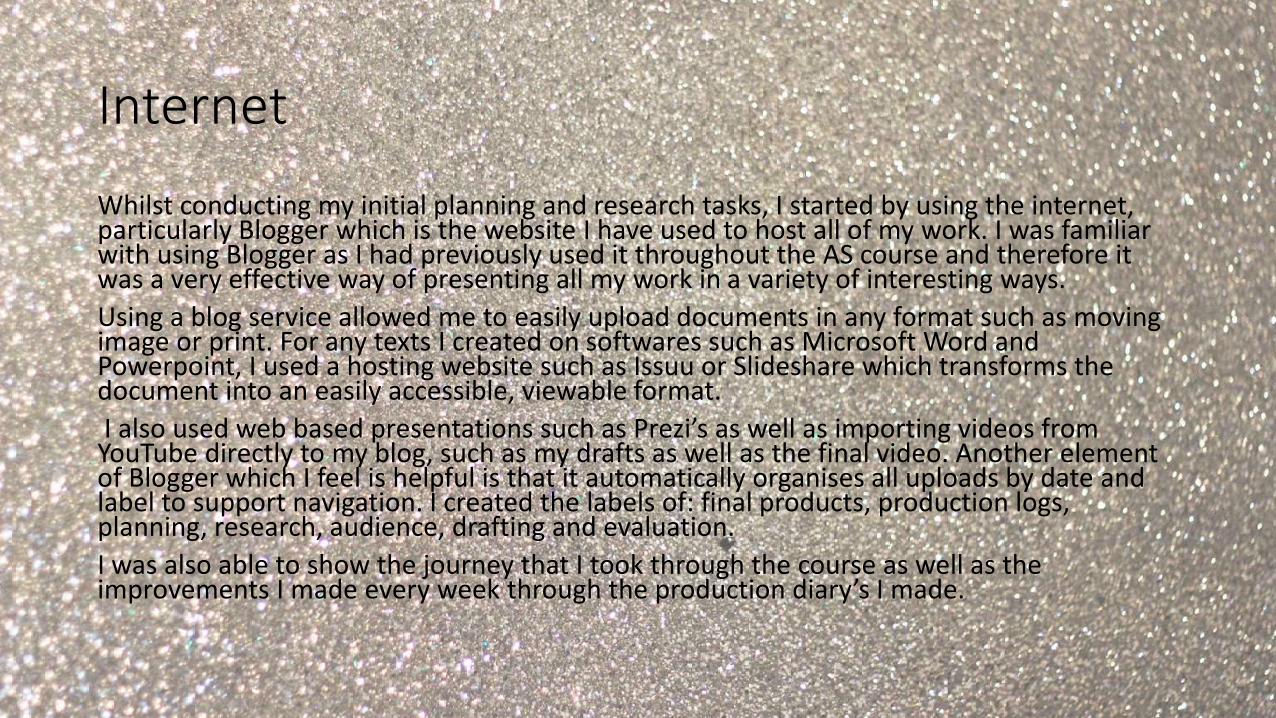
Whilst conducting my initial planning and research tasks, I started by using the internet, particularly Blogger which is the website I have used to host all of my work. I was familiar with using Blogger as I had previously used it throughout the AS course and therefore it was a very effective way of presenting all my work in a variety of interesting ways.
Using a blog service allowed me to easily upload documents in any format such as moving image or print. For any texts I created on softwares such as Microsoft Word and Powerpoint, I used a hosting website such as Issuu or Slideshare which transforms the document into an easily accessible, viewable format.
I also used web based presentations such as Prezi’s as well as importing videos from YouTube directly to my blog, such as my drafts as well as the final video. Another element of Blogger which I feel is helpful is that it automatically organises all uploads by date and label to support navigation. I created the labels of: final products, production logs, planning, research, audience, drafting and evaluation.
I was also able to show the journey that I took through the course as well as the improvements I made every week through the production diary’s I made.

Microsoft and Prezi
Throughout the planning and research tasks I was able to use Microsoft PowerPoint and Word to gather all my ideas together through using the shape tools and text tools as well as being able to import images from the internet. A prime example of when I used PowerPoint was when I was analysing products. I was able to locate the images in the centre of the page and use the arrow tools and text tools to analyse it effectively. I also used Prezi which is specifically designed for presentations and allows the viewer to fly around the screen moving between different shots overall making it appear more interesting and exciting. Documents such as the narrative of my music video and my pitch worked more effectively in Prezi as I was able to show a step-by-step guide to my music video through the use of arrows for easy navigation.

YouTube
YouTube was very effective to me for uploading videos to my blog for both planning and research as well in the final stages when showing my drafting for my music video. I have been very familiar with this way of uploading and posting videos due to previously using it before.
I uploaded a range of different videos from the planning stages where I would put my initial planning ideas into videos to post onto my blog to my final music video, such as my moodboard.
When making some of the videos I would use iMovie at home and then simply upload it to YouTube and post it onto my blog. I believe that presenting my work as videos was a very fun way to do this and made it a more fun way to view the work I had completed.
As YouTube is a video hosting site based mainly on user-generated content, I was able to search for other student and non-professional videos which I could analyse to establish the sort of effect and quality of a video that I need to create. YouTube provided me with a broad variety of videos so I could see what works the best and explore the different conventions of music videos.
Moreover, during the post-production stages of my music video, I used Premiere tutorials from YouTube to assist in the editing; all of which were easy to follow therefore making the process a lot quicker and more efficient. This makes my blog extremely versatile and will extend my knowledge of other software’s.

Lighting
During the production stage of my music video, I had to utilize as much professional equipment as possible in order to get the best footage. I found the most important aspect of filming is the lighting. For this, I used 800W Redhead Studio Lights; these allow for authentic performance lighting and if used in the correct way, makes the footage crisp and clear. I also found that the position of the lights is absolutely essential to create a certain desired look. I used the lights as back lighting which washes out the background so all of the focus is then put onto the actor. Moreover, the Red Head lights allow you to adjust the positioning, height and depth of light which are all essential in order to lighting the performance correctly. I found that having higher up pointing down onto the actors created less shadows which is an effect I aimed to create.

Camera
Paired with lighting is the shooting; I used a Canon 550D SLR camera. The use of this camera allowed me to take professional high standard videos and images.
Canon SLR Cameras give you the options of both manual and automatic; having the camera using manual settings meant I could adapt hem in order to fit perfectly with the lighting and increase the quality of the footage.
Whilst on location I was able to experiment with the settings on the camera to find the most effective setting. This involved the shutter speed, ISO settings and aperture. For example, I was able to use a 50mm 1.8 aperture lenses to create the heavy close up shots putting focus onto my artist. Using this lense allowed my shots to be very clear making my video look very professional.
During the studio shoot with the actress, the lighting was bright so I lowered the ISO to create the desired lookHowever, during the older lady shoot, I had a much darker setting and therefore needed a higher ISO to keep the footage bright. The use of the digital view finder allowed me to immediately see my footage and images which was helpful as it meant I could see whether anything needed to be re-filmed directly after filming saving having to conduct a second shoot.
Similarly, I was able to shoot everything directly to an SD card which held around 60 minutes worth of footage compared to a tape holding around 15 minutes worth. Using a tripod when filming my work made sure that there was no shakiness in the shot.

Adobe Premiere
When making my actual music video I used the software Adobe Premiere which allowed me to add specific transitions, sound and effects to the video. Adding effects to my video allowed me to achieve the vintage theme look to my video which I was wanting to achieve from the start. When adding my footage onto Premiere I noticed that some of the colours within the clips didn’t match, and I was able to use the brighten tool to brighten up the clips which were dark and vice versa. In order to achieve this I found the colour correction tool and dragged it onto the clip and adjusted the percentage that I wanted it to be brightened up by.
Using this piece of software not only it allowed me to edit the video but when importing the clips it allowed me to remove the background noise so it was only the song playing.
I was also able to use the software to match the lip syncing. This took a lot of practice to ensure that the lip syncing was exactly in time with the vocals of the song.

Adobe Premiere
During the post-production stages, I used different professional softwares in order to get the best possible results. I edited the entire video using Adobe Premier Pro CS6; this software works through the use of a timeline making it extremely easy to work with both the visuals and audio at the same time. I frequently used the trimming-tool in order to cut my footage to create certain shots. The use of single-frame advanced software enabled me to crop the footage exactly where I wanted. Another tool which was beneficial for me personally was the speed tool; I slowed down sections of footage by about 20% in order to keep with the pace of the song as Goodwin stated that the visuals should reflect the song within all music videos.

Photoshop
As part of the course requires us not only to create a piece of moving image work but also print, I used Adobe Photoshop CS6 to edit the images for my DigiPak and Advertisement. Editing the images makes it look more interesting and aesthetically pleasing to the eye.
For my album poster, I created a silhouette effect by cutting around an image of my actress from a side view. I then filled in the shape completely black and used the gold glitter background as it fit within my housestyle which ties all of my products together in order to easily be identified by the audience.
I also edited images of the artist for both the digipak and poster on Photoshop to create a vintage effect and blur out any possible flaws. As I had previously used Photoshop for both GCSE and AS, I was very confident whilst using this programme.