DSLR notes.pdf · Vocas Hall 11.F90 FOCUS I miss Peaking. Video cameras come with peaking, which...
7
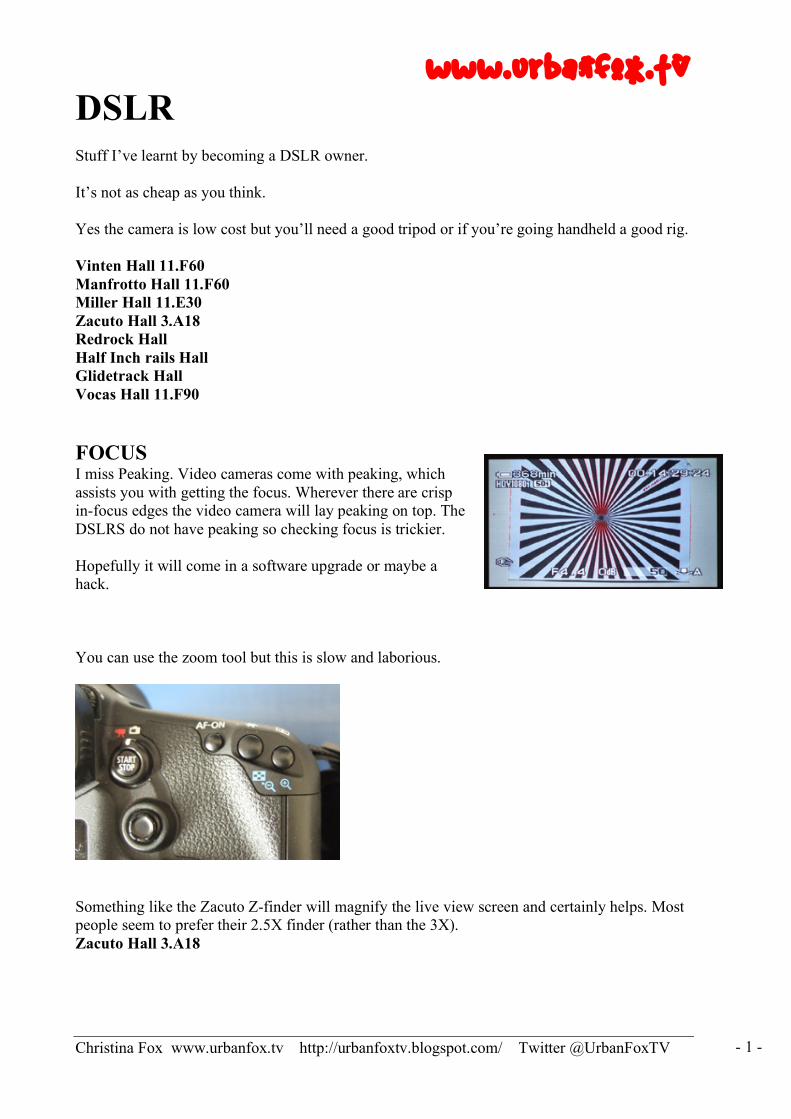
www.urbanfox.tv Christina Fox www.urbanfox.tv http://urbanfoxtv.blogspot.com/ Twitter @UrbanFoxTV - 1 - DSLR Stuff I’ve learnt by becoming a DSLR owner. It’s not as cheap as you think. Yes the camera is low cost but you’ll need a good tripod or if you’re going handheld a good rig. Vinten Hall 11.F60 Manfrotto Hall 11.F60 Miller Hall 11.E30 Zacuto Hall 3.A18 Redrock Hall Half Inch rails Hall Glidetrack Hall Vocas Hall 11.F90 FOCUS I miss Peaking. Video cameras come with peaking, which assists you with getting the focus. Wherever there are crisp in-focus edges the video camera will lay peaking on top. The DSLRS do not have peaking so checking focus is trickier. Hopefully it will come in a software upgrade or maybe a hack. You can use the zoom tool but this is slow and laborious. Something like the Zacuto Z-finder will magnify the live view screen and certainly helps. Most people seem to prefer their 2.5X finder (rather than the 3X). Zacuto Hall 3.A18
Transcript of DSLR notes.pdf · Vocas Hall 11.F90 FOCUS I miss Peaking. Video cameras come with peaking, which...
www.urbanfox.tv
Christina Fox www.urbanfox.tv http://urbanfoxtv.blogspot.com/ Twitter @UrbanFoxTV - 1 -
DSLR Stuff I’ve learnt by becoming a DSLR owner. It’s not as cheap as you think. Yes the camera is low cost but you’ll need a good tripod or if you’re going handheld a good rig. Vinten Hall 11.F60 Manfrotto Hall 11.F60 Miller Hall 11.E30 Zacuto Hall 3.A18 Redrock Hall Half Inch rails Hall Glidetrack Hall Vocas Hall 11.F90 FOCUS I miss Peaking. Video cameras come with peaking, which assists you with getting the focus. Wherever there are crisp in-focus edges the video camera will lay peaking on top. The DSLRS do not have peaking so checking focus is trickier. Hopefully it will come in a software upgrade or maybe a hack. You can use the zoom tool but this is slow and laborious.
Something like the Zacuto Z-finder will magnify the live view screen and certainly helps. Most people seem to prefer their 2.5X finder (rather than the 3X). Zacuto Hall 3.A18
www.urbanfox.tv
Christina Fox www.urbanfox.tv http://urbanfoxtv.blogspot.com/ Twitter @UrbanFoxTV - 2 -
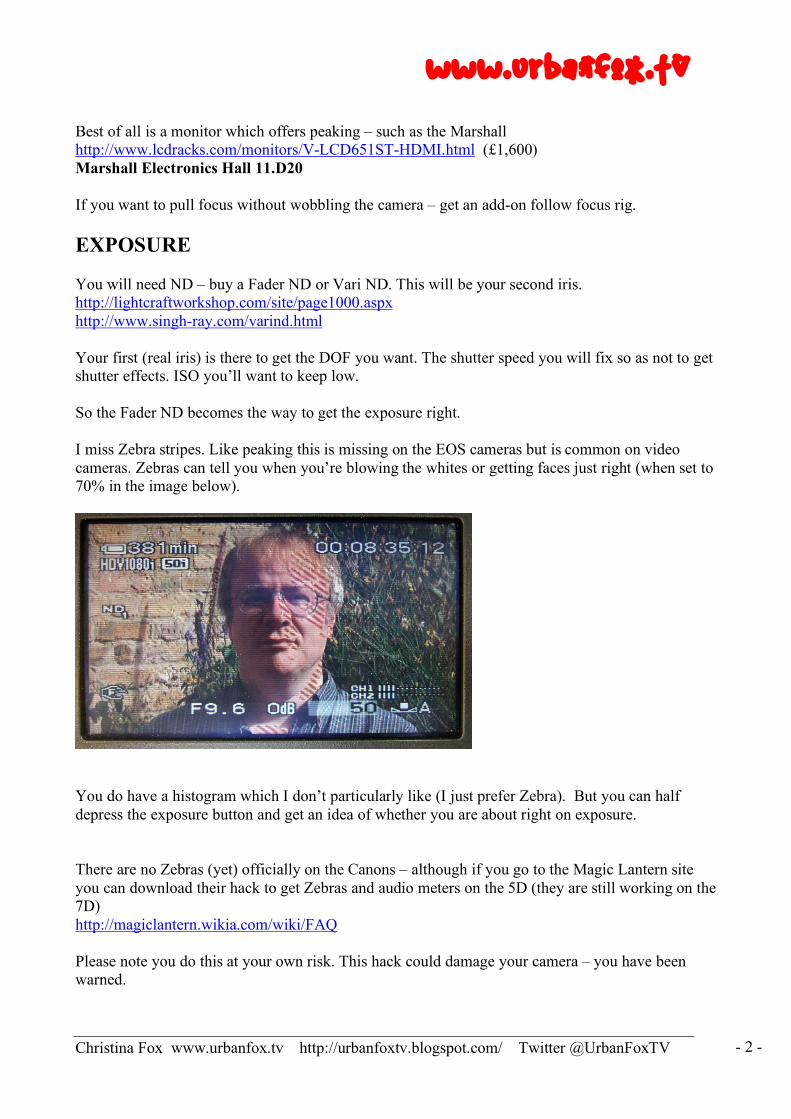
Best of all is a monitor which offers peaking – such as the Marshall http://www.lcdracks.com/monitors/V-LCD651ST-HDMI.html (£1,600) Marshall Electronics Hall 11.D20 If you want to pull focus without wobbling the camera – get an add-on follow focus rig. EXPOSURE You will need ND – buy a Fader ND or Vari ND. This will be your second iris. http://lightcraftworkshop.com/site/page1000.aspx http://www.singh-ray.com/varind.html Your first (real iris) is there to get the DOF you want. The shutter speed you will fix so as not to get shutter effects. ISO you’ll want to keep low. So the Fader ND becomes the way to get the exposure right. I miss Zebra stripes. Like peaking this is missing on the EOS cameras but is common on video cameras. Zebras can tell you when you’re blowing the whites or getting faces just right (when set to 70% in the image below).
You do have a histogram which I don’t particularly like (I just prefer Zebra). But you can half depress the exposure button and get an idea of whether you are about right on exposure. There are no Zebras (yet) officially on the Canons – although if you go to the Magic Lantern site you can download their hack to get Zebras and audio meters on the 5D (they are still working on the 7D) http://magiclantern.wikia.com/wiki/FAQ Please note you do this at your own risk. This hack could damage your camera – you have been warned.
www.urbanfox.tv
Christina Fox www.urbanfox.tv http://urbanfoxtv.blogspot.com/ Twitter @UrbanFoxTV - 3 -
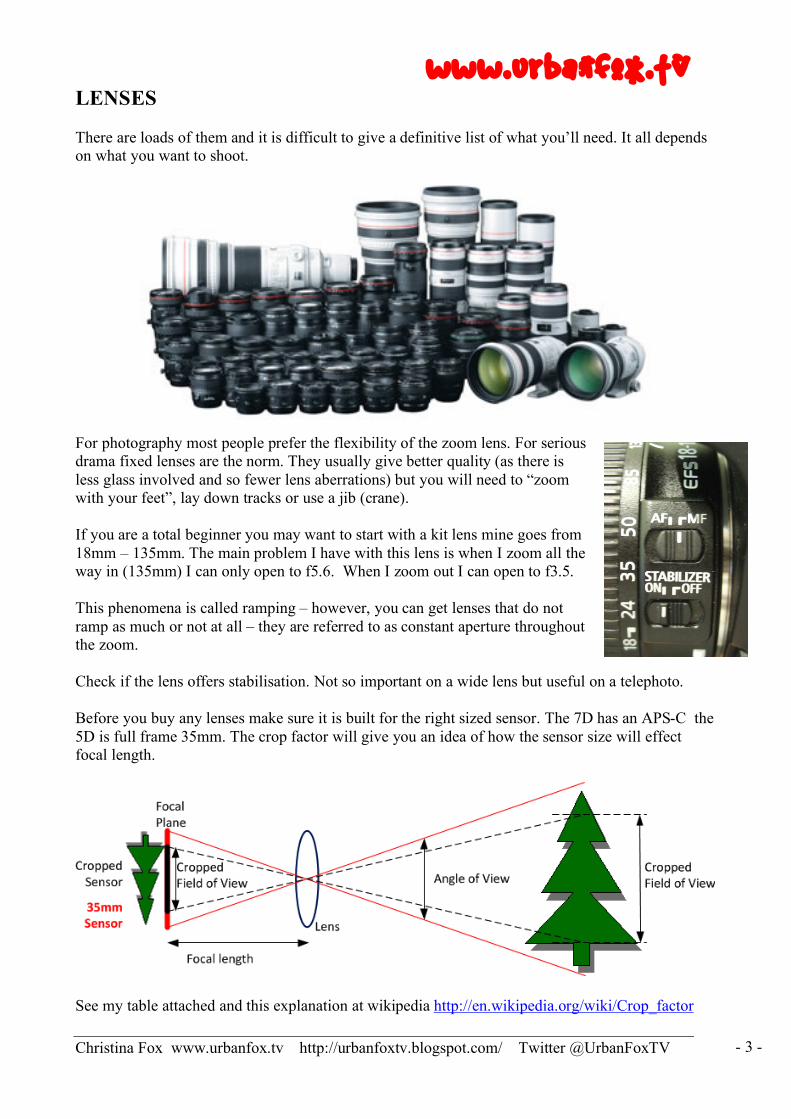
LENSES There are loads of them and it is difficult to give a definitive list of what you’ll need. It all depends on what you want to shoot.
For photography most people prefer the flexibility of the zoom lens. For serious drama fixed lenses are the norm. They usually give better quality (as there is less glass involved and so fewer lens aberrations) but you will need to “zoom with your feet”, lay down tracks or use a jib (crane). If you are a total beginner you may want to start with a kit lens mine goes from 18mm – 135mm. The main problem I have with this lens is when I zoom all the way in (135mm) I can only open to f5.6. When I zoom out I can open to f3.5. This phenomena is called ramping – however, you can get lenses that do not ramp as much or not at all – they are referred to as constant aperture throughout the zoom. Check if the lens offers stabilisation. Not so important on a wide lens but useful on a telephoto. Before you buy any lenses make sure it is built for the right sized sensor. The 7D has an APS-C the 5D is full frame 35mm. The crop factor will give you an idea of how the sensor size will effect focal length.
See my table attached and this explanation at wikipedia http://en.wikipedia.org/wiki/Crop_factor
www.urbanfox.tv
Christina Fox www.urbanfox.tv http://urbanfoxtv.blogspot.com/ Twitter @UrbanFoxTV - 4 -
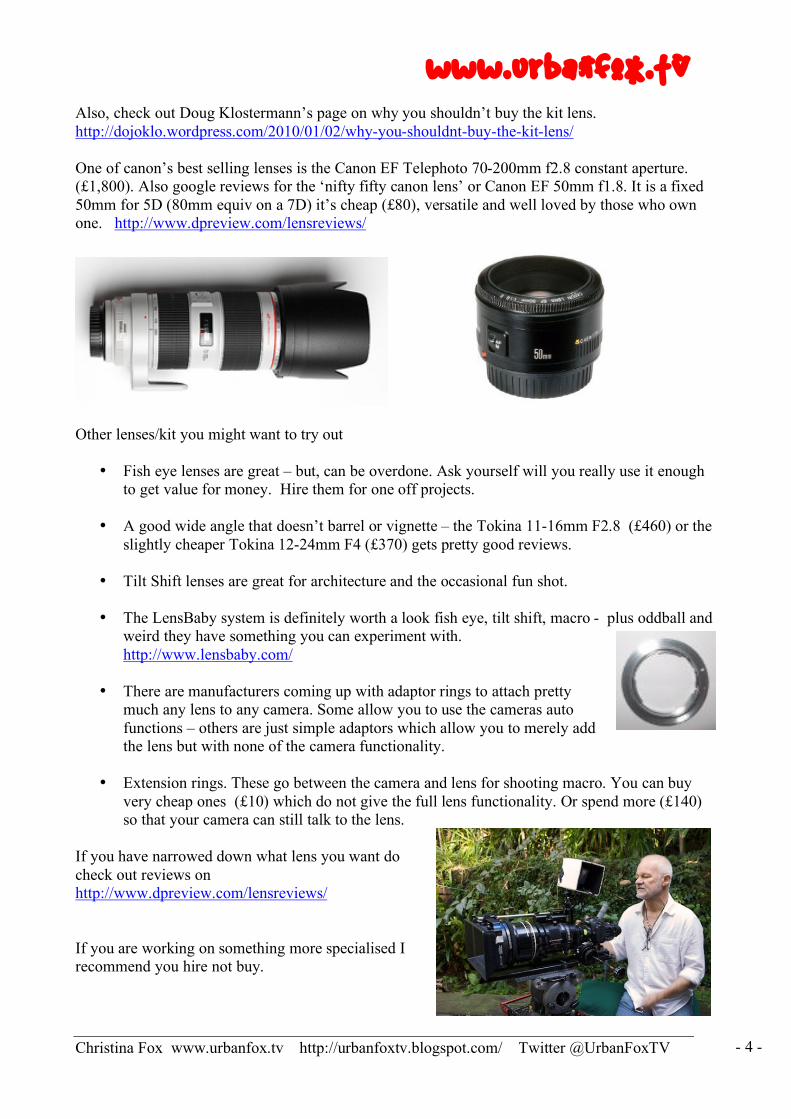
Also, check out Doug Klostermann’s page on why you shouldn’t buy the kit lens. http://dojoklo.wordpress.com/2010/01/02/why-you-shouldnt-buy-the-kit-lens/ One of canon’s best selling lenses is the Canon EF Telephoto 70-200mm f2.8 constant aperture. (£1,800). Also google reviews for the ‘nifty fifty canon lens’ or Canon EF 50mm f1.8. It is a fixed 50mm for 5D (80mm equiv on a 7D) it’s cheap (£80), versatile and well loved by those who own one. http://www.dpreview.com/lensreviews/
Other lenses/kit you might want to try out
• Fish eye lenses are great – but, can be overdone. Ask yourself will you really use it enough to get value for money. Hire them for one off projects.
• A good wide angle that doesn’t barrel or vignette – the Tokina 11-16mm F2.8 (£460) or the
slightly cheaper Tokina 12-24mm F4 (£370) gets pretty good reviews.
• Tilt Shift lenses are great for architecture and the occasional fun shot.
• The LensBaby system is definitely worth a look fish eye, tilt shift, macro - plus oddball and weird they have something you can experiment with. http://www.lensbaby.com/
• There are manufacturers coming up with adaptor rings to attach pretty
much any lens to any camera. Some allow you to use the cameras auto functions – others are just simple adaptors which allow you to merely add the lens but with none of the camera functionality.
• Extension rings. These go between the camera and lens for shooting macro. You can buy
very cheap ones (£10) which do not give the full lens functionality. Or spend more (£140) so that your camera can still talk to the lens.
If you have narrowed down what lens you want do check out reviews on http://www.dpreview.com/lensreviews/ If you are working on something more specialised I recommend you hire not buy.

www.urbanfox.tv
Christina Fox www.urbanfox.tv http://urbanfoxtv.blogspot.com/ Twitter @UrbanFoxTV - 5 -
TIMELAPSE If you want to do timelapse will have to spend about £100 extra on an intervalometer remote control unit to tell the camera when and how often to take each still image. If you are a timelapse newbie, start with Timothy Allen's starter guide. http://timothyallen.blogs.bbcearth.com/2009/02/24/time-lapse-photography/ Take a look at the some great examples of DSLR timelapse by Tom Lowe at http://www.timescapes.org/ He has a forum too – if you have questions http://timescapes.org/phpBB3/index.php If you set the camera to record the largest still image size you can import the time lapse stills into your editing software and pan and scan around the video. For a tutorial on how to do this on a Mac, Philip Bloom comes to the rescue. http://vimeo.com/7127489 AUDIO DSLR cameras usually have their own built in mic. OK if all you need is some atmos or a guide track. But, you really do need a separate recorder to be able to record good audio. Trawling through the forums it looks like most people buy the Zoom H4n. It has two XLR sockets and can record at 48kHz, which should keep your editing software happy. With a splitter you can take an output from the Zoom for monitoring and feed the recorded audio in to the camera as a guide track for synching later. The problem is where do you put it? Frames like the one on the right give you extra mounting points for lights, radio mics and recorders. They are also handy for hand holding your kit. http://tinyurl.com/3yx4evy You can swap info with other Zoom users at the Zoom forum. You could get yourself a clapperboard to help you sync audio with video in the edit. But, a simple hand clap is easy and free. If you still have cash to spare you should look at Pluraleyes ($149). It will automatically synchronise audio and video clips, without the need for timecode or clappers. http://www.singularsoftware.com

www.urbanfox.tv
Christina Fox www.urbanfox.tv http://urbanfoxtv.blogspot.com/ Twitter @UrbanFoxTV - 6 -
MEDIA After lots of research on the web I bought KINGSTON Elite Pro Fast 133X compact flash cards. It is better to have several smaller cards than one big one. So, I started out with two 16GB cards rather than one 32GB. That way if a card is faulty I don’t loose everything – because the shoot is split between cards. Also if you have two – you can be using one while copying the other ready for editing. But the ideal minimum number is three cards – one for shooting, one ready to be used and the third one being transferred onto the computer. Don’t be in a rush to pull out the card (on the camera or audio recorder). Even if you have stopped recording your kit may still be writing to the card. Make sure warning lights have stopped flashing or more usually gone from red to green (check in the manual for your piece of kit). If you pull out a card too soon you will corrupt the data and may lose ALL the data on the card. EDITING Don’t edit the native files straight off the card. H.264 is NOT an editing format First – create a folder into which you can copy the contents of your card. Give it a name that will help you find it at a later date. Eg IBC-20100910-card001 ie project name- yyyymmdd-card No Naming files and folders logically is important especially when your video files are numbered MVI_2522.mov MVI_2523.mov Next, copy the entire contents of the card into the folder. FCP needs the full file structure if you are going to use Log and Transfer. Don’t worry about where the video is within the file structure – the whole file structure is important. Once you have copied the whole card into the folder you will want to import it into your editing software. If you are using Final Cut Pro - you will need Canon’s EOS movie Plugin-E1 which supports 1D, 5D, 7D, 60D. http://tinyurl.com/ygzlsmr This will make ingesting DSLR video very easy. It will transcode (convert) the video from H.264 to any of the ProRes variations. Converting to Prores will increase the size of the video files but it will make it much easier to edit with no rendering needed (unless you add effects of course). If you use Log and Transfer any Metadata you add is stored in the QuickTime file. So, wherever the clip goes so too will the data.
www.urbanfox.tv
Christina Fox www.urbanfox.tv http://urbanfoxtv.blogspot.com/ Twitter @UrbanFoxTV - 7 -
If you prefer to convert your video to a different format try MPEG Streamclip. http://www.squared5.com/ You can use MPEG Streamclip to open and play most movie formats including MPEG, VOB, PS, M2P, MOD, VRO, DAT, MOV, DV, AVI, MP4, TS, M2T, MMV, REC, VID, AVR, M2V, M1V, MPV, AIFF, M1A, MP2, MPA, AC3, It will export them to QuickTime, AVI, DV and MPEG-4 files. Another transcoding software is 5DtoRGB http://rarevision.com/5dtorgb/ This is a free app for Mac users. This is reported to be about 8X slower than MPEG streamclip – but the quality is higher. To find out more go to http://www.elskid.com/blog/?p=1647 And here http://provideocoalition.com/index.php/freshdv/story/5dtorgb_vs_streamclip/ You may also want to take a look at Cineform for Mac and Windows http://www.cineform.com/neoscene/ Within Avid you should transcode using DNxHD codec.