Doc.-No.: SB-O-200501 Date: 18.07.2005 SERVICE BULLETIN ...
4
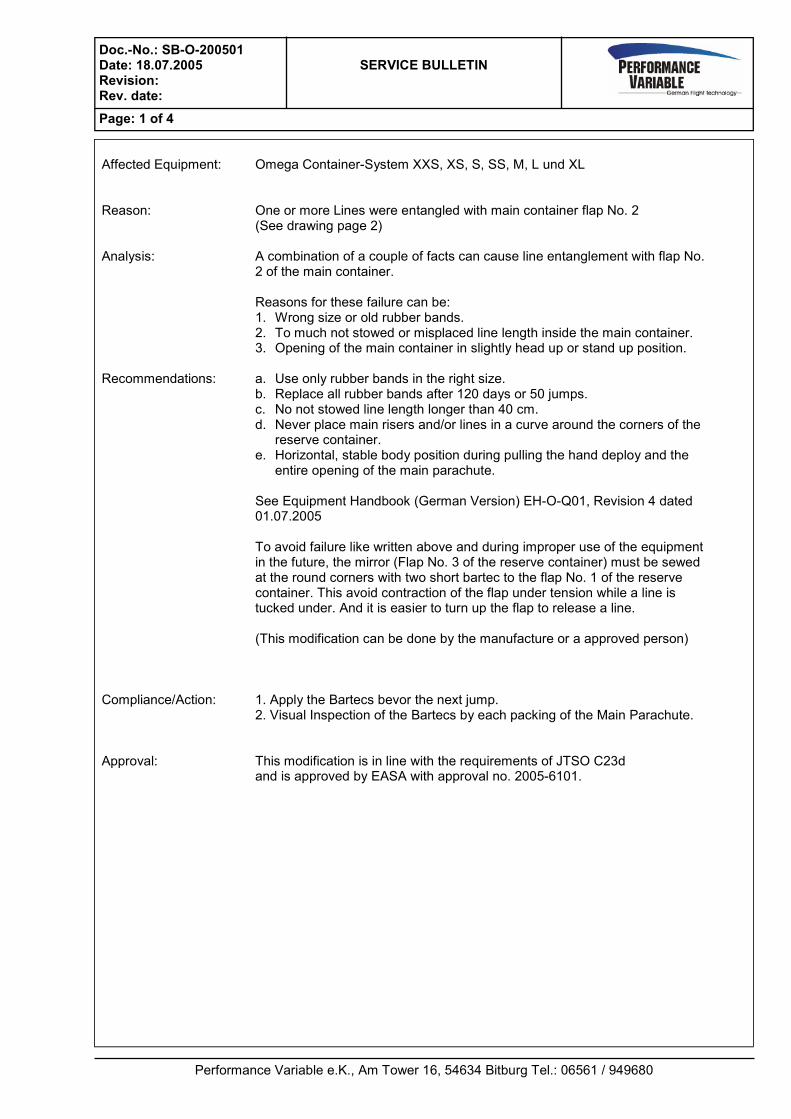
Doc.-No.: SB-O-200501 Date: 18.07.2005 SERVICE BULLETIN Revision: Rev. date: Page: 1 of 4 Performance Variable e.K., Am Tower 16, 54634 Bitburg Tel.: 06561 / 949680 Affected Equipment: Omega Container-System XXS, XS, S, SS, M, L und XL Reason: One or more Lines were entangled with main container flap No. 2 (See drawing page 2) Analysis: A combination of a couple of facts can cause line entanglement with flap No. 2 of the main container. Reasons for these failure can be: 1. Wrong size or old rubber bands. 2. To much not stowed or misplaced line length inside the main container. 3. Opening of the main container in slightly head up or stand up position. Recommendations: a. Use only rubber bands in the right size. b. Replace all rubber bands after 120 days or 50 jumps. c. No not stowed line length longer than 40 cm. d. Never place main risers and/or lines in a curve around the corners of the reserve container. e. Horizontal, stable body position during pulling the hand deploy and the entire opening of the main parachute. See Equipment Handbook (German Version) EH-O-Q01, Revision 4 dated 01.07.2005 To avoid failure like written above and during improper use of the equipment in the future, the mirror (Flap No. 3 of the reserve container) must be sewed at the round corners with two short bartec to the flap No. 1 of the reserve container. This avoid contraction of the flap under tension while a line is tucked under. And it is easier to turn up the flap to release a line. (This modification can be done by the manufacture or a approved person) Compliance/Action: 1. Apply the Bartecs bevor the next jump. 2. Visual Inspection of the Bartecs by each packing of the Main Parachute. Approval: This modification is in line with the requirements of JTSO C23d and is approved by EASA with approval no. 2005-6101.
Transcript of Doc.-No.: SB-O-200501 Date: 18.07.2005 SERVICE BULLETIN ...
Doc.-No.: SB-O-200501 Date: 18.07.2005 SERVICE BULLETIN Revision: Rev. date: Page: 1 of 4
Performance Variable e.K., Am Tower 16, 54634 Bitburg Tel.: 06561 / 949680
Affected Equipment: Omega Container-System XXS, XS, S, SS, M, L und XL Reason: One or more Lines were entangled with main container flap No. 2 (See drawing page 2) Analysis: A combination of a couple of facts can cause line entanglement with flap No.
2 of the main container. Reasons for these failure can be: 1. Wrong size or old rubber bands.
2. To much not stowed or misplaced line length inside the main container. 3. Opening of the main container in slightly head up or stand up position.
Recommendations: a. Use only rubber bands in the right size. b. Replace all rubber bands after 120 days or 50 jumps.
c. No not stowed line length longer than 40 cm. d. Never place main risers and/or lines in a curve around the corners of the reserve container.
e. Horizontal, stable body position during pulling the hand deploy and the entire opening of the main parachute.
See Equipment Handbook (German Version) EH-O-Q01, Revision 4 dated 01.07.2005
To avoid failure like written above and during improper use of the equipment
in the future, the mirror (Flap No. 3 of the reserve container) must be sewed at the round corners with two short bartec to the flap No. 1 of the reserve container. This avoid contraction of the flap under tension while a line is tucked under. And it is easier to turn up the flap to release a line.
(This modification can be done by the manufacture or a approved person) Compliance/Action: 1. Apply the Bartecs bevor the next jump.
2. Visual Inspection of the Bartecs by each packing of the Main Parachute. Approval: This modification is in line with the requirements of JTSO C23d
and is approved by EASA with approval no. 2005-6101.

Doc.-No.: SB-O-200501 Date: 18.07.2005 SERVICE BULLETIN Revision: Rev. date: Page: 2 of 4
Performance Variable e.K., Am Tower 16, 54634 Bitburg Tel.: 06561 / 949680
1. Mark out horizontal above the attachment of flap No. 3.
2. Put the grommets congruent on each other. 3. Apply a bartec (left and right) on the binding tape of flap No. 3
in the same height as the horizontal marking.
Bartec specification see drawing below! Use only Typ E / 40, Nylon Bonded thread!
3-4 mm, 42 stitches
As wide as the binding tape.
Accomplishment Instruction:

Doc.-No.: SB-O-200501 Date: 18.07.2005 SERVICE BULLETIN Revision: Rev. date: Page: 3 of 4
Performance Variable e.K., Am Tower 16, 54634 Bitburg Tel.: 06561 / 949680
8. Apply the bartec
5. Marking the bartec position
1. Attachment of the mirror
2. Marking above the attachment
3. Marking
4. Grommets congruent on each other
6. Marking of the bartec position
7. Position of the bartec

Doc.-No.: SB-O-200501 Date: 18.07.2005 SERVICE BULLETIN Revision: Rev. date: Page: 4 of 4
Performance Variable e.K., Am Tower 16, 54634 Bitburg Tel.: 06561 / 949680
10. Prove the bottom side of the bartec
9. Prove the bartec
11. Mirror with new bartecs
Entry in the reserve data card: „ Bartec in accordiance with Service Bulletin SB-O-200501 “. Visual Inspection of the Bartecs: Bevor a reparation of a broken Bartec inform the manufacture and the LBA.