DisplayLink Mac OS X Software - NewerTech® 1 DisplayLink Mac OS X Software - User Guide Contents...
13
DisplayLink Mac OS X Software User Guide DisplayLink | 480 S. California Ave | Ste 304 | Palo Alto | CA 94306 | USA Tel: +1 650-838-0481 | Fax: +1 650-838-0482 | www.displaylink.com Version: 1.0 Date: 1 October 2008
Transcript of DisplayLink Mac OS X Software - NewerTech® 1 DisplayLink Mac OS X Software - User Guide Contents...
DisplayLink Mac OS X Software
User Guide
DisplayLink | 480 S. California Ave | Ste 304 | Palo Alto | CA 94306 | USA
Tel: +1 650-838-0481 | Fax: +1 650-838-0482 | www.displaylink.com
Version: 1.0Date: 1 October 2008
Page 1
DisplayLink Mac OS X Software - User Guide
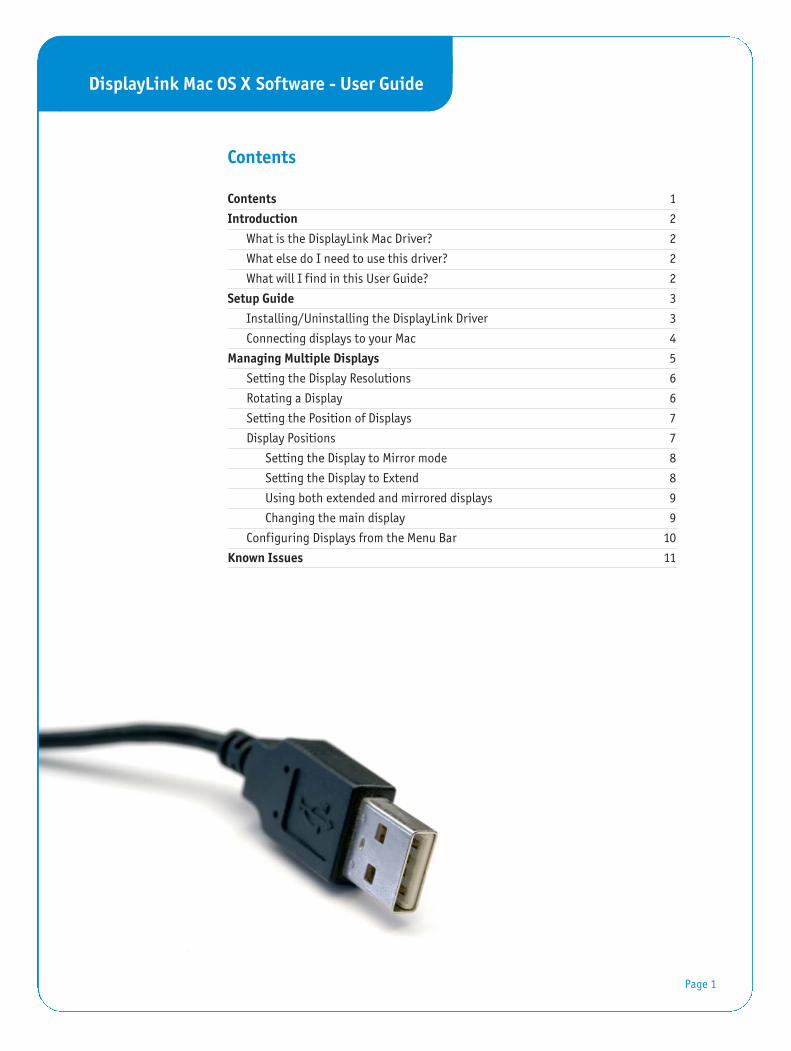
Contents
Contents 1
Introduction 2
What is the DisplayLink Mac Driver? 2
What else do I need to use this driver? 2
What will I find in this User Guide? 2
Setup Guide 3
Installing/Uninstalling the DisplayLink Driver 3
Connecting displays to your Mac 4
Managing Multiple Displays 5
Setting the Display Resolutions 6
Rotating a Display 6
Setting the Position of Displays 7
Display Positions 7
Setting the Display to Mirror mode 8
Setting the Display to Extend 8
Using both extended and mirrored displays 9
Changing the main display 9
Configuring Displays from the Menu Bar 10
Known Issues 11
DisplayLink Mac OS X Software - User Guide
Introduction
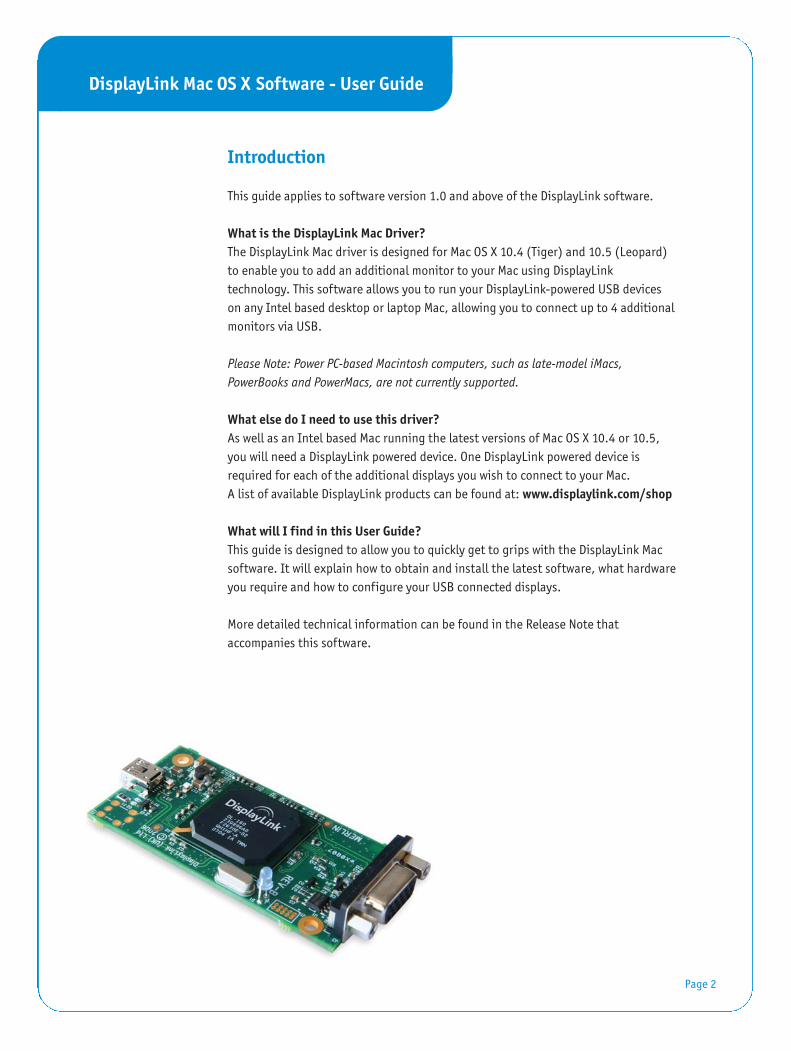
This guide applies to software version 1.0 and above of the DisplayLink software.
What is the DisplayLink Mac Driver?The DisplayLink Mac driver is designed for Mac OS X 10.4 (Tiger) and 10.5 (Leopard)to enable you to add an additional monitor to your Mac using DisplayLinktechnology. This software allows you to run your DisplayLink-powered USB deviceson any Intel based desktop or laptop Mac, allowing you to connect up to 4 additionalmonitors via USB.
Please Note: Power PC-based Macintosh computers, such as late-model iMacs,PowerBooks and PowerMacs, are not currently supported.
What else do I need to use this driver?As well as an Intel based Mac running the latest versions of Mac OS X 10.4 or 10.5,you will need a DisplayLink powered device. One DisplayLink powered device isrequired for each of the additional displays you wish to connect to your Mac.A list of available DisplayLink products can be found at: www.displaylink.com/shop
What will I find in this User Guide?This guide is designed to allow you to quickly get to grips with the DisplayLink Macsoftware. It will explain how to obtain and install the latest software, what hardwareyou require and how to configure your USB connected displays.
More detailed technical information can be found in the Release Note thataccompanies this software.
Setup Guide
Page 2
DisplayLink Mac OS X Software - User Guide
Setup Guide
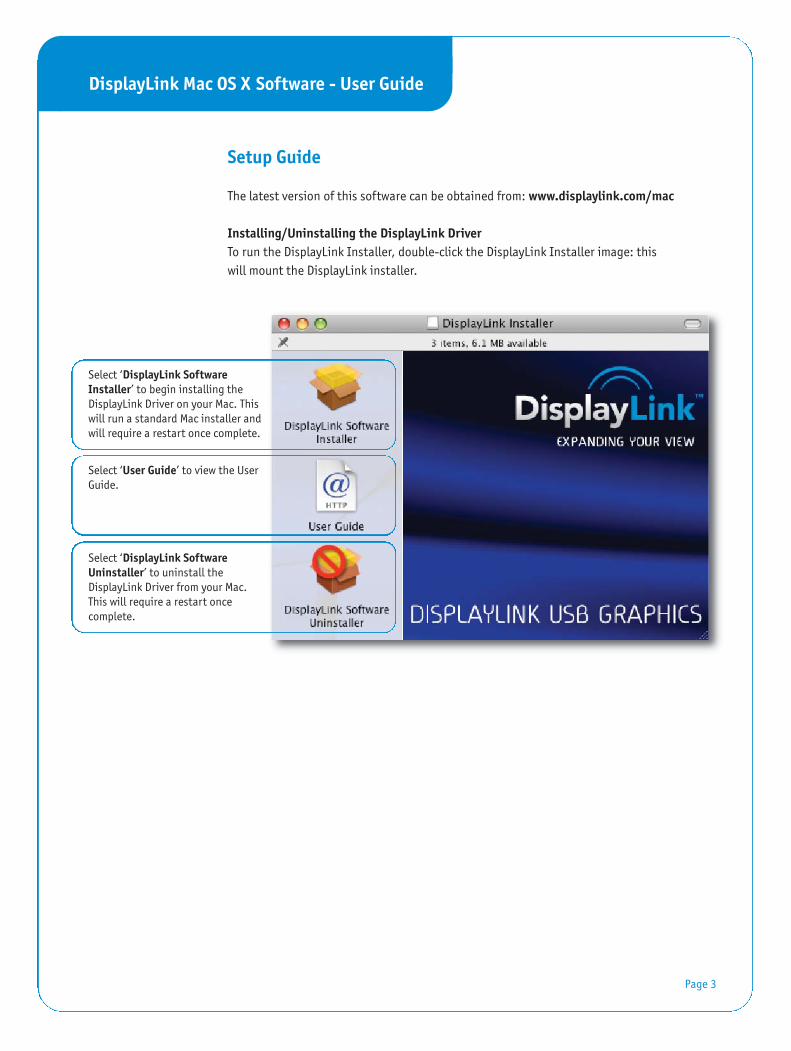
The latest version of this software can be obtained from: www.displaylink.com/mac
Installing/Uninstalling the DisplayLink DriverTo run the DisplayLink Installer, double-click the DisplayLink Installer image: thiswill mount the DisplayLink installer.
Page 3
Select ‘DisplayLink SoftwareInstaller’ to begin installing theDisplayLink Driver on your Mac. Thiswill run a standard Mac installer andwill require a restart once complete.
Select ‘User Guide’ to view the UserGuide.
Select ‘DisplayLink SoftwareUninstaller’ to uninstall theDisplayLink Driver from your Mac.This will require a restart oncecomplete.
DisplayLink Mac OS X Software - User Guide
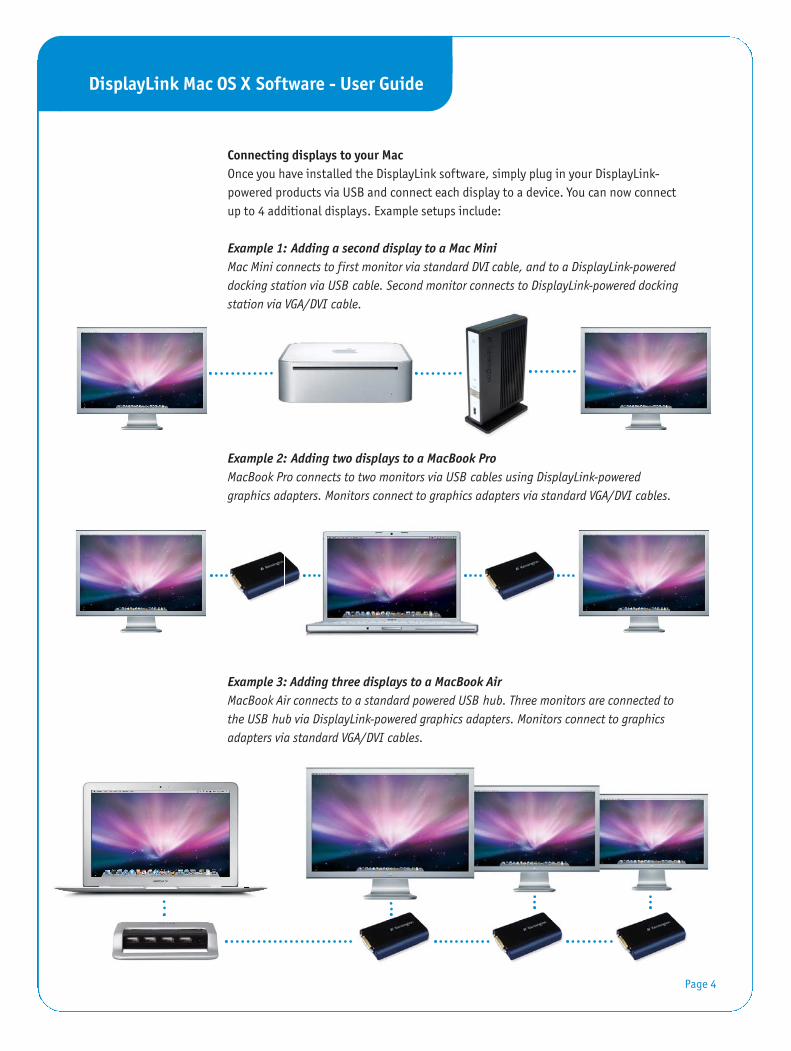
Connecting displays to your MacOnce you have installed the DisplayLink software, simply plug in your DisplayLink-powered products via USB and connect each display to a device. You can now connectup to 4 additional displays. Example setups include:
Example 1: Adding a second display to a Mac MiniMac Mini connects to first monitor via standard DVI cable, and to a DisplayLink-powereddocking station via USB cable. Second monitor connects to DisplayLink-powered dockingstation via VGA/DVI cable.
Example 2: Adding two displays to a MacBook ProMacBook Pro connects to two monitors via USB cables using DisplayLink-poweredgraphics adapters. Monitors connect to graphics adapters via standard VGA/DVI cables.
Example 3: Adding three displays to a MacBook Air MacBook Air connects to a standard powered USB hub. Three monitors are connected tothe USB hub via DisplayLink-powered graphics adapters. Monitors connect to graphicsadapters via standard VGA/DVI cables.
Page 4
DisplayLink Mac OS X Software - User Guide
Managing Multiple Displays
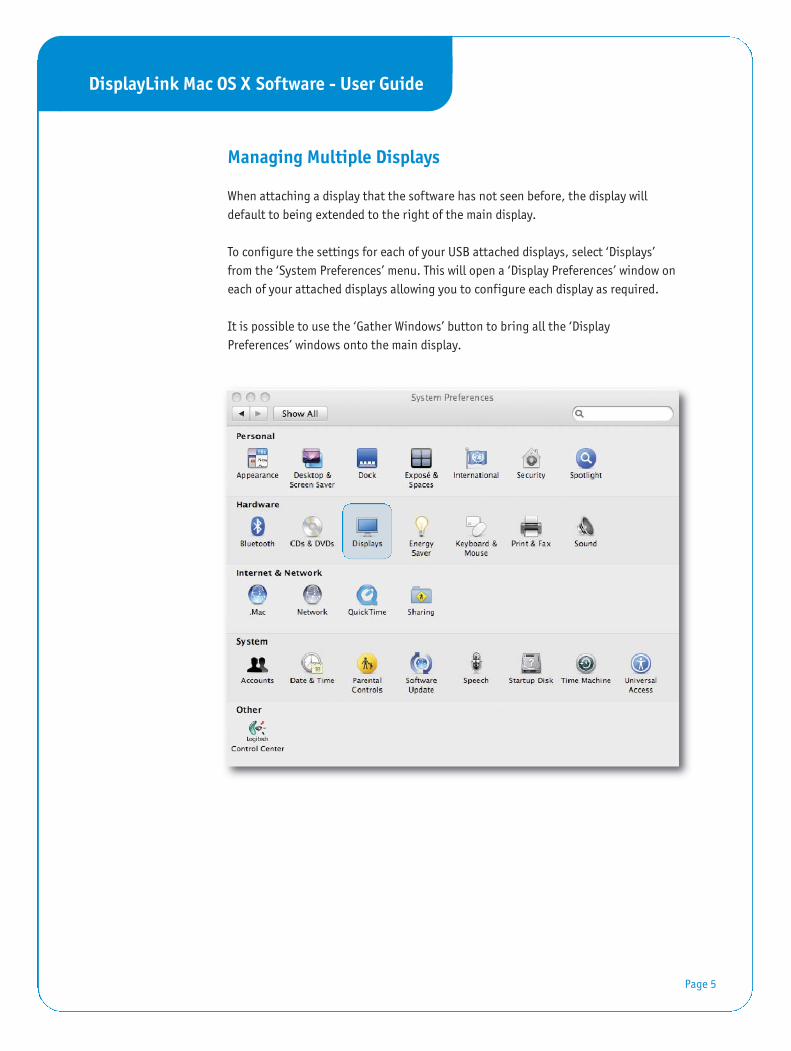
When attaching a display that the software has not seen before, the display willdefault to being extended to the right of the main display.
To configure the settings for each of your USB attached displays, select ‘Displays’from the ‘System Preferences’ menu. This will open a ‘Display Preferences’ window oneach of your attached displays allowing you to configure each display as required.
It is possible to use the ‘Gather Windows’ button to bring all the ‘DisplayPreferences’ windows onto the main display.
Page 5

DisplayLink Mac OS X Software - User Guide
Setting the Display ResolutionsTo change the display’s resolution, select an available resolution from the DisplayPreferences window of the display you wish to change:
The resolutions available depend on both the DisplayLink enabled product and thecapabilities of the connected display.
Rotating a DisplayIf you wish to rotate your display, you can configure the orientation using the‘Rotate’ drop down. Select the appropriate angle of rotation to match your display’sset up:
Each time the user rotates, any settings made to the mode, resolution, frequency ordepth are remembered the next time the user switches back to that angle ofrotation.
Page 6
Display Preferences:Resolution Options
Display Preferences: Rotation Configuration
DisplayLink Mac OS X Software - User Guide
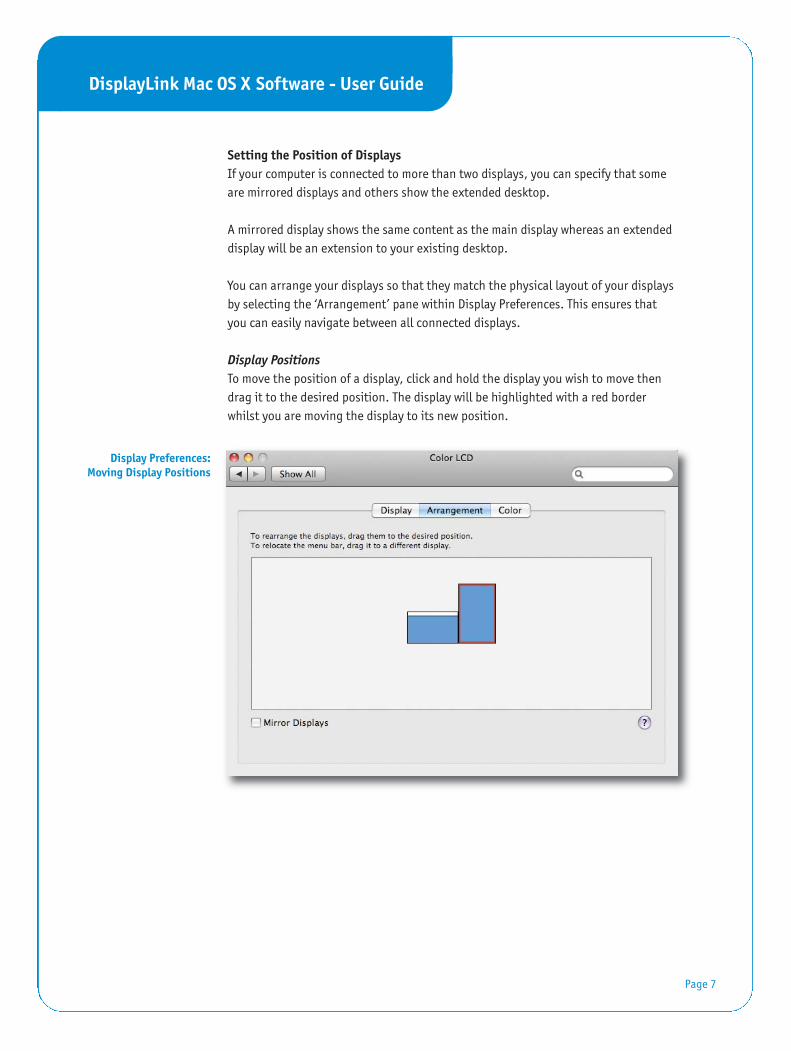
Setting the Position of DisplaysIf your computer is connected to more than two displays, you can specify that someare mirrored displays and others show the extended desktop.
A mirrored display shows the same content as the main display whereas an extendeddisplay will be an extension to your existing desktop.
You can arrange your displays so that they match the physical layout of your displaysby selecting the ‘Arrangement’ pane within Display Preferences. This ensures thatyou can easily navigate between all connected displays.
Display PositionsTo move the position of a display, click and hold the display you wish to move thendrag it to the desired position. The display will be highlighted with a red borderwhilst you are moving the display to its new position.
Page 7
Display Preferences: Moving Display Positions
DisplayLink Mac OS X Software - User Guide
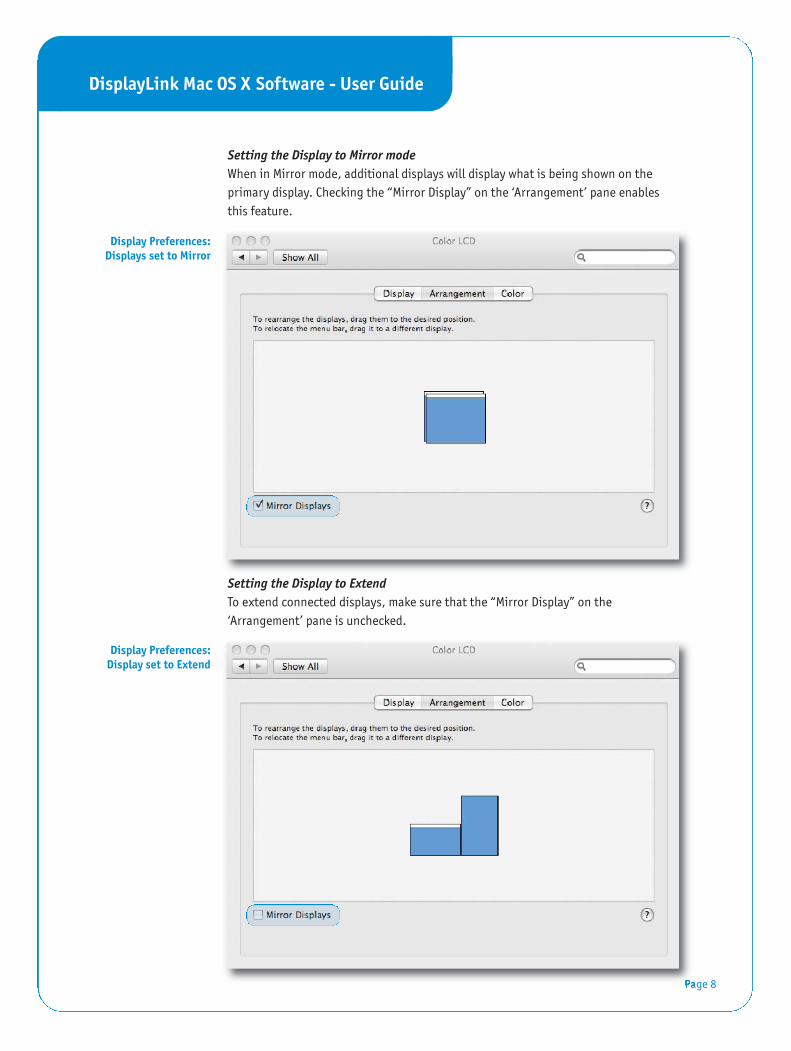
Setting the Display to Mirror modeWhen in Mirror mode, additional displays will display what is being shown on theprimary display. Checking the “Mirror Display” on the ‘Arrangement’ pane enablesthis feature.
Setting the Display to ExtendTo extend connected displays, make sure that the “Mirror Display” on the‘Arrangement’ pane is unchecked.
Page 8
Display Preferences: Displays set to Mirror
Display Preferences: Display set to Extend
DisplayLink Mac OS X Software - User Guide
Using both extended and mirrored displaysTo work with both extended and mirrored displays, turn off mirroring then in theArrangement pane press and hold 'cmd' and 'alt' and drag and drop the display youwish to mirror over the primary display.
Repeat this with each display you wish to mirror, those untouched will remainextending.
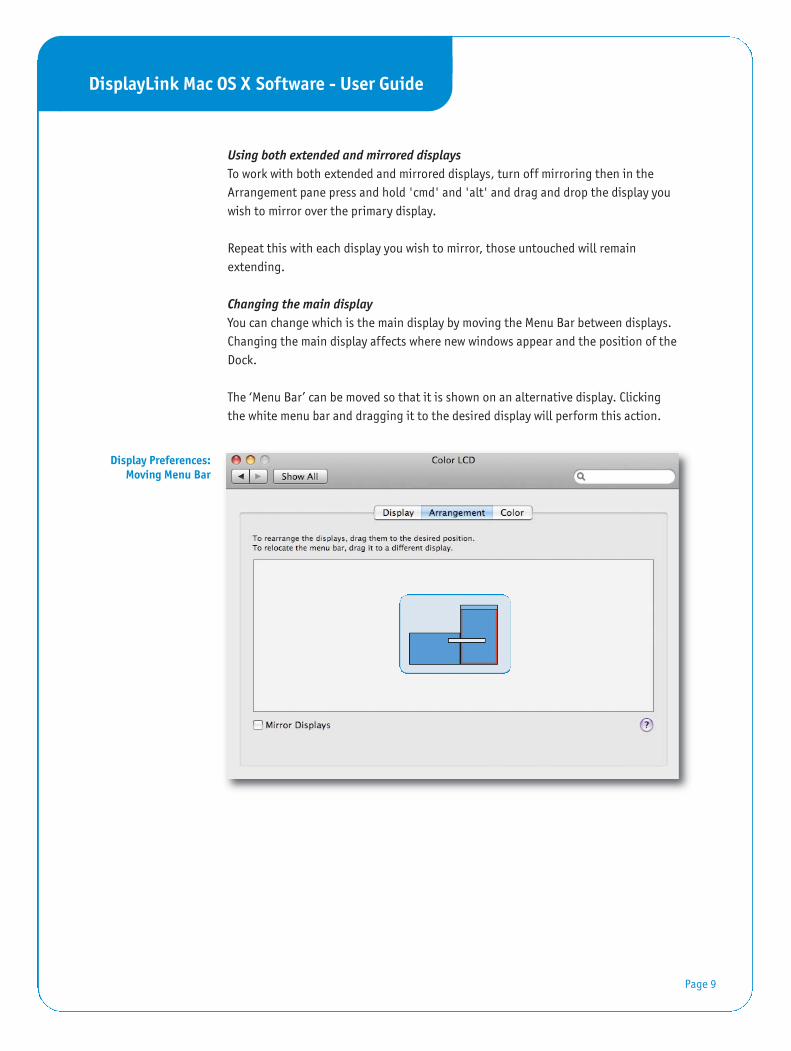
Changing the main displayYou can change which is the main display by moving the Menu Bar between displays.Changing the main display affects where new windows appear and the position of theDock.
The ‘Menu Bar’ can be moved so that it is shown on an alternative display. Clickingthe white menu bar and dragging it to the desired display will perform this action.
Page 9
Display Preferences: Moving Menu Bar
DisplayLink Mac OS X Software - User Guide
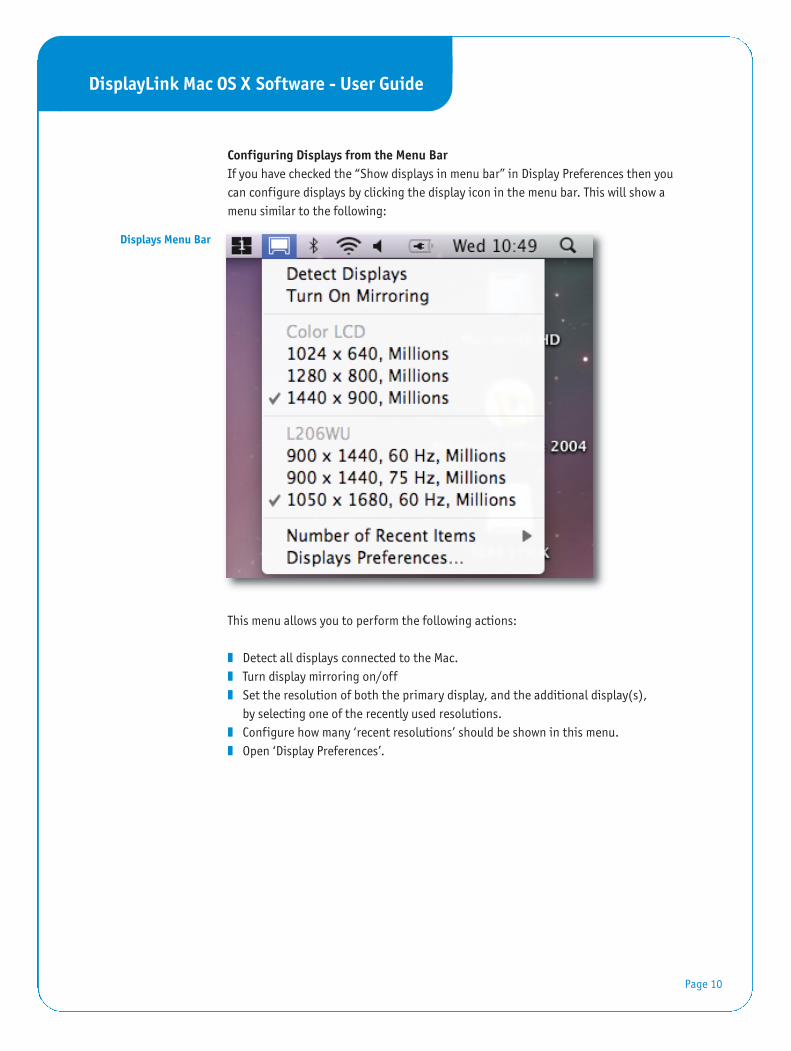
Configuring Displays from the Menu BarIf you have checked the “Show displays in menu bar” in Display Preferences then youcan configure displays by clicking the display icon in the menu bar. This will show amenu similar to the following:
This menu allows you to perform the following actions:
� Detect all displays connected to the Mac.� Turn display mirroring on/off� Set the resolution of both the primary display, and the additional display(s),
by selecting one of the recently used resolutions.� Configure how many ‘recent resolutions’ should be shown in this menu.� Open ‘Display Preferences’.
Page 10
Displays Menu Bar
DisplayLink Mac OS X Software - User Guide
Page 11
Known Issues
This release does not support OpenGL acceleration (3D hardware acceleration) sotherefore applications and features that require OpenGL, Quartz Extreme, QuartzComposer and other framework based on OpenGL will not be fully supported.Examples of such features are Keynote Presentations, iPhoto Slideshows and iMovie.
The most up to date information about known issues and FAQs can be found at:www.displaylink.com/mac

DisplayLink believes the information in this publication is correct as of its publication date. Such information is subject to change without prior notice. DisplayLink is not responsible for any inadvertenterrors. All company and product names mentioned are the trademarks of their respective holders.
Apple, iMac, MacBook, Macintosh, Mac, Mac OS, Leopard and Tiger are trademarks of Apple Inc., registered in the U.S. and other countries. MacBook Air is a trademark of Apple Inc.
© Copyright 2008 DisplayLink. All rights reserved.