
Designing a Structural Steel Beampersonal.psu.edu/kml5016/blogs/kristen_lechners_e-portfolio... ·...
10
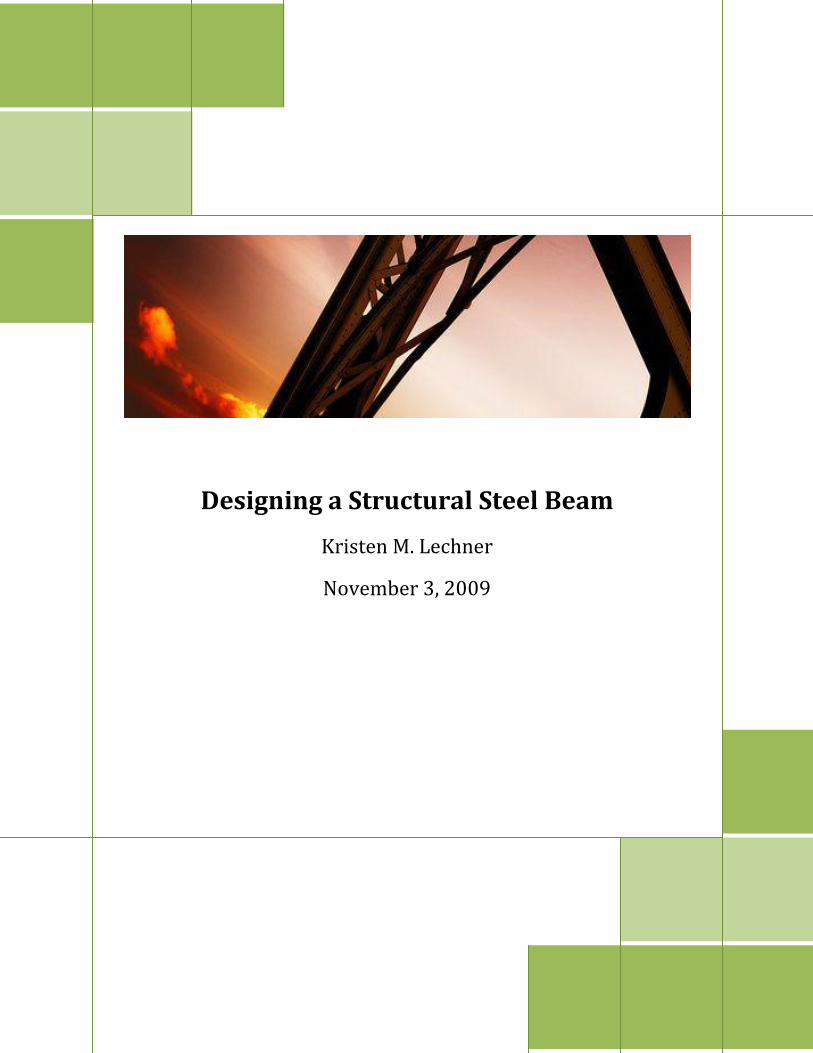
Designing a Structural Steel Beam Kristen M. Lechner November 3, 2009
Transcript of Designing a Structural Steel Beampersonal.psu.edu/kml5016/blogs/kristen_lechners_e-portfolio... ·...
1
Designing a Structural Steel Beam
Kristen M. Lechner
November 3, 2009
2
Introduction
Have you ever looked at a building under construction and wondered how the structure
was designed? What assumptions are made to determine what load a beam will be
designed to support? This paper will demonstrate how to determine loading on a beam,
how to draw the forces in the beam, and how to select a steel wide-flange shape from the
AISC Steel Manual.
This task should take approximately two hours for someone who is just learning the
process. It should be performed at a desk, where there is no risk of food or drinks being
spilled on your calculations.
Definitions:
Construction: The way in which something is built or put together
Structure: The arrangement and interrelationship of parts in construction
Structural Member: A support that is a vital part of any building
Beam: A horizontal structural member that supports the structure above it
Column: A vertical upright used to support a structure
Girder: A large beam that frames into a column on each end and supports the
beams framing into it
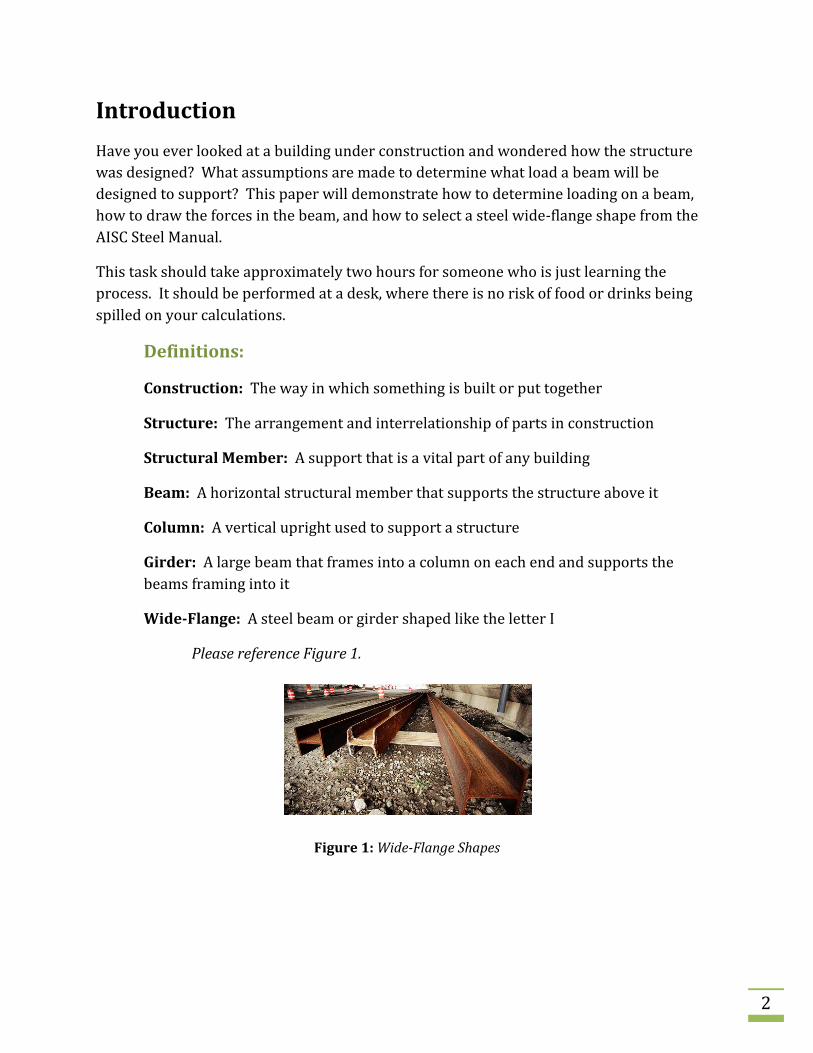
Wide-Flange: A steel beam or girder shaped like the letter I
Please reference Figure 1.
Figure 1: Wide-Flange Shapes
3
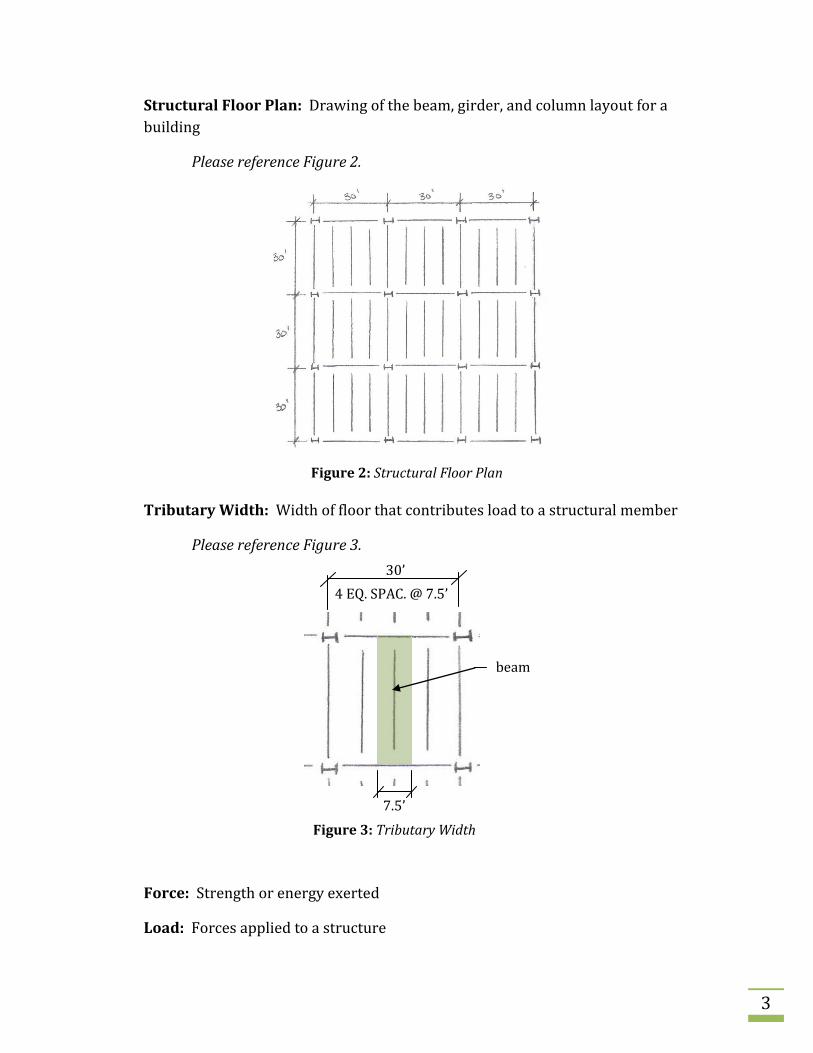
Structural Floor Plan: Drawing of the beam, girder, and column layout for a
building
Please reference Figure 2.
Tributary Width: Width of floor that contributes load to a structural member
Please reference Figure 3.
Force: Strength or energy exerted
Load: Forces applied to a structure
Figure 2: Structural Floor Plan
Figure 3: Tributary Width
4 EQ. SPAC. @ 7.5’
7.5’
30’
beam
4
Equilibrium: A state of balance among the forces acting on a structural member;
the sum of all forces acting on a structural member are equal to zero
Reaction: A force exerted by a support
Shear: A stress generated in the beam during the transfer of applied loads from
point of application to point of reaction
Moment: A measure of the tendency of a force to cause an object to rotate about a
certain point
Dead Load: Loads resulting from objects permanently attached to the structure
(i.e.- beam self weight, concrete slab weight, weight of floor finishing…)
Live Load: Loads resulting from items not permanently attached to the structure
(i.e.- people, furniture, machinery…)
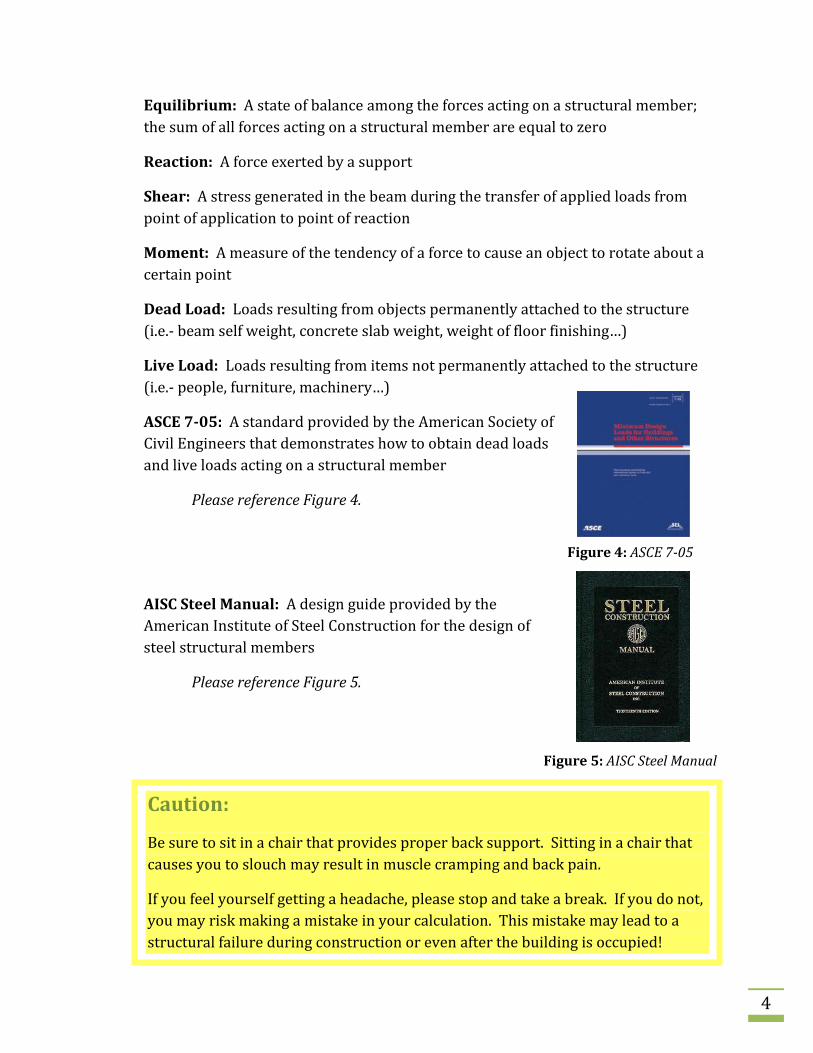
ASCE 7-05: A standard provided by the American Society of
Civil Engineers that demonstrates how to obtain dead loads
and live loads acting on a structural member
Please reference Figure 4.
AISC Steel Manual: A design guide provided by the
American Institute of Steel Construction for the design of
steel structural members
Please reference Figure 5.
Caution:
Be sure to sit in a chair that provides proper back support. Sitting in a chair that
causes you to slouch may result in muscle cramping and back pain.
If you feel yourself getting a headache, please stop and take a break. If you do not,
you may risk making a mistake in your calculation. This mistake may lead to a
structural failure during construction or even after the building is occupied!
Figure 4: ASCE 7-05
Figure 5: AISC Steel Manual
5
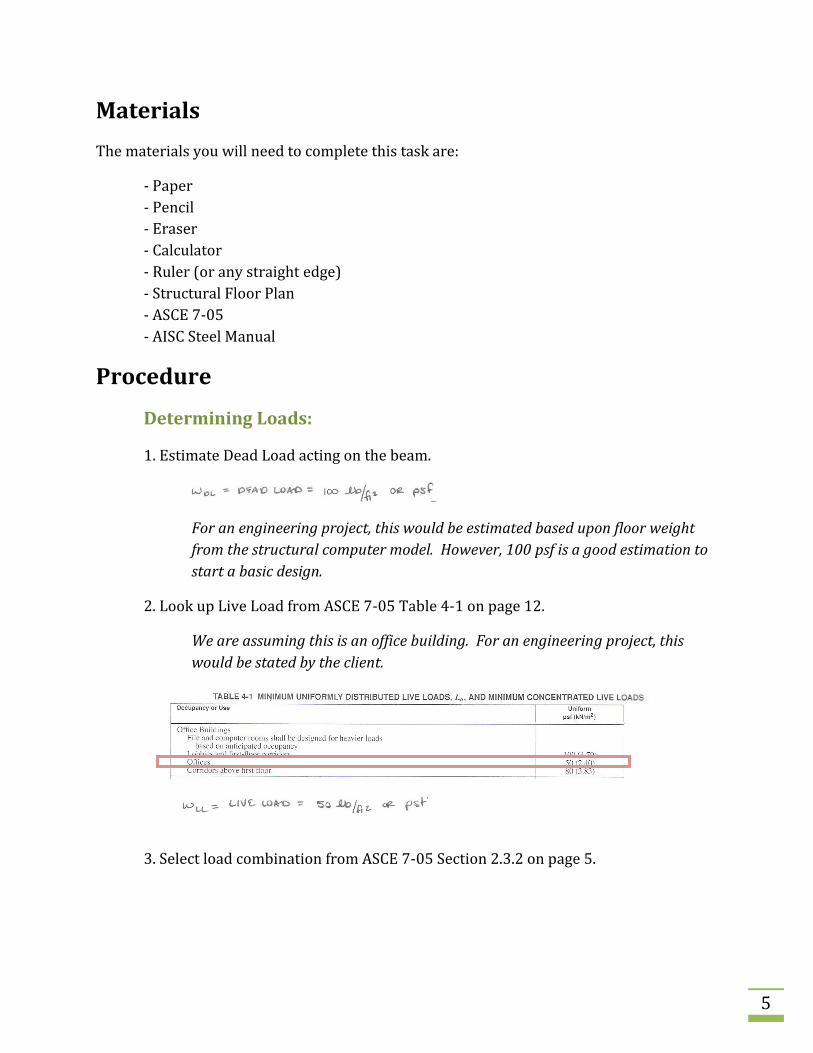
Materials
The materials you will need to complete this task are:
- Paper
- Pencil
- Eraser
- Calculator
- Ruler (or any straight edge)
- Structural Floor Plan
- ASCE 7-05
- AISC Steel Manual
Procedure
Determining Loads:
1. Estimate Dead Load acting on the beam.
For an engineering project, this would be estimated based upon floor weight
from the structural computer model. However, 100 psf is a good estimation to
start a basic design.
2. Look up Live Load from ASCE 7-05 Table 4-1 on page 12.
We are assuming this is an office building. For an engineering project, this
would be stated by the client.
3. Select load combination from ASCE 7-05 Section 2.3.2 on page 5.
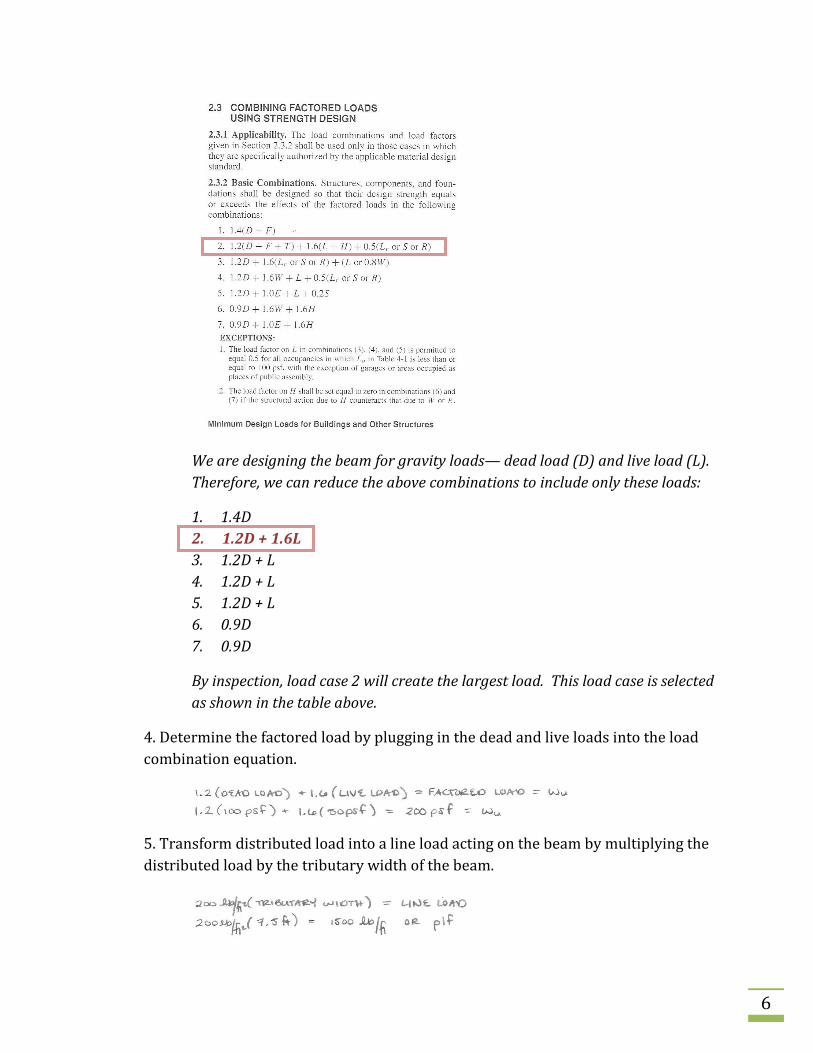
6
We are designing the beam for gravity loads— dead load (D) and live load (L).
Therefore, we can reduce the above combinations to include only these loads:
1. 1.4D
2. 1.2D + 1.6L
3. 1.2D + L
4. 1.2D + L
5. 1.2D + L
6. 0.9D
7. 0.9D
By inspection, load case 2 will create the largest load. This load case is selected
as shown in the table above.
4. Determine the factored load by plugging in the dead and live loads into the load
combination equation.
5. Transform distributed load into a line load acting on the beam by multiplying the
distributed load by the tributary width of the beam.
7
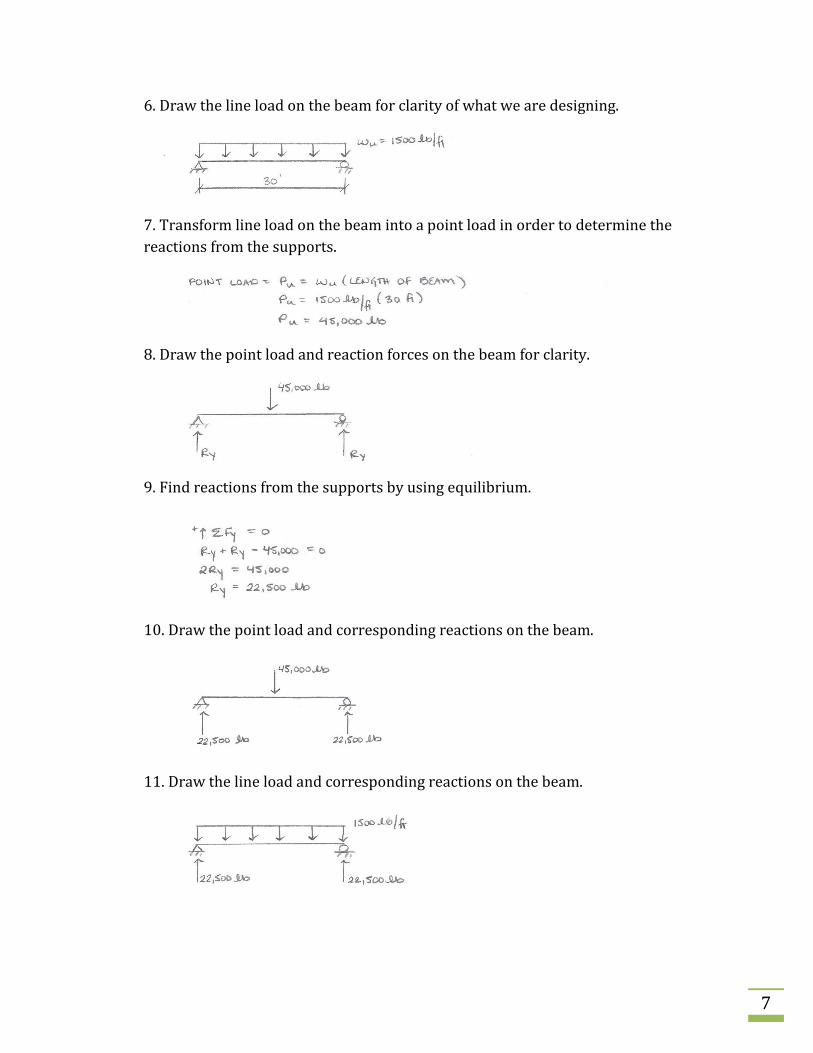
6. Draw the line load on the beam for clarity of what we are designing.
7. Transform line load on the beam into a point load in order to determine the
reactions from the supports.
8. Draw the point load and reaction forces on the beam for clarity.
9. Find reactions from the supports by using equilibrium.
10. Draw the point load and corresponding reactions on the beam.
11. Draw the line load and corresponding reactions on the beam.

8
This is what the actual loading looks like on the beam. The only reason we
transformed this load into a point load, as shown in step 10, was to solve for the
reactions from the supports.
Drawing Forces in the Beam:
12. Draw a diagram of the shear force in the beam.
The shear in the end of the beam starts out at 0 lbs. However, since there is a
reaction of 22,500 lbs on the left side of the beam, it will create that much shear
in that location. The line load will cause this shear to decrease along the length
of the beam as demonstrated:
This shear of -22,500 lbs will be brought back up to 0 lbs due to the reaction
from the support on the right side of the beam as shown below.
13. Draw the diagram of the moment in the beam.
The moment in the end of the beam starts out at 0 ft-lbs. The moment along
the length of the beam is found by calculating the area of the shear diagram.
The shear diagram is the shape of a triangle; therefore the area is calculated as
shown:
The moment goes back to zero on the right side of the beam because the area of
the triangle for the shear diagram on the right side of the beam is negative:
The design moment (maximum moment) in a beam is found where the shear is
equal to zero. In this case, that location would be at the center of the beam.
9
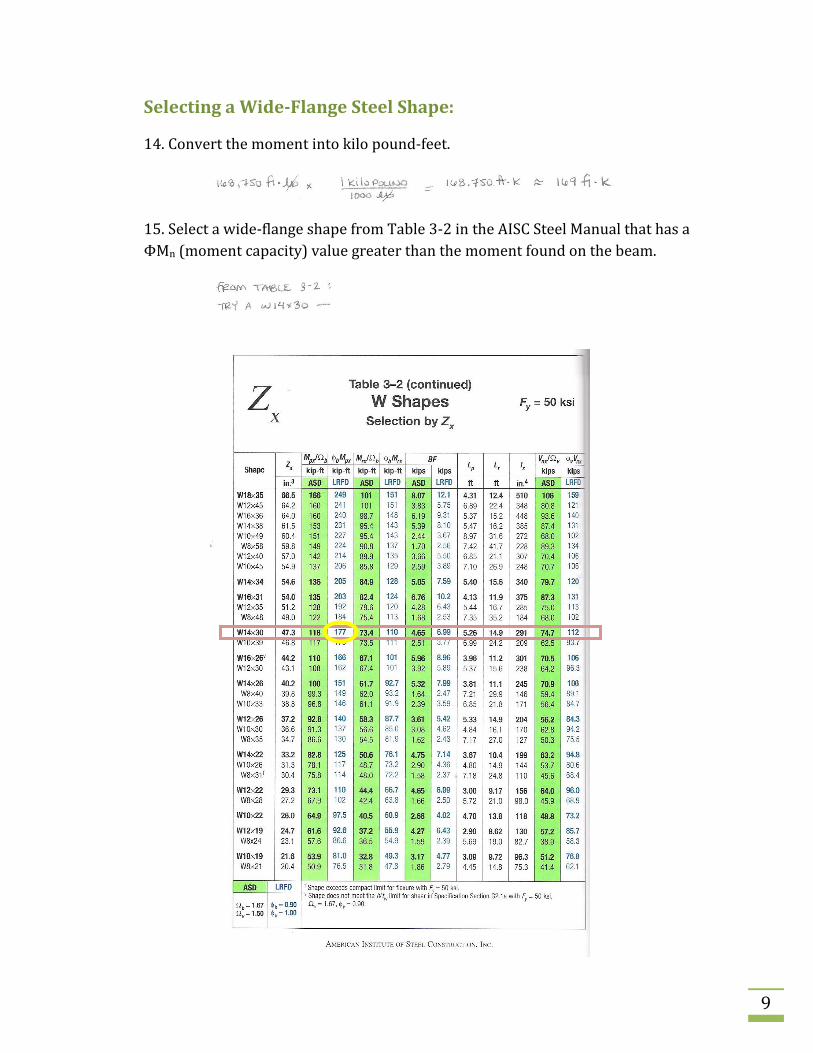
Selecting a Wide-Flange Steel Shape:
14. Convert the moment into kilo pound-feet.
15. Select a wide-flange shape from Table 3-2 in the AISC Steel Manual that has a
ΦMn (moment capacity) value greater than the moment found on the beam.
10
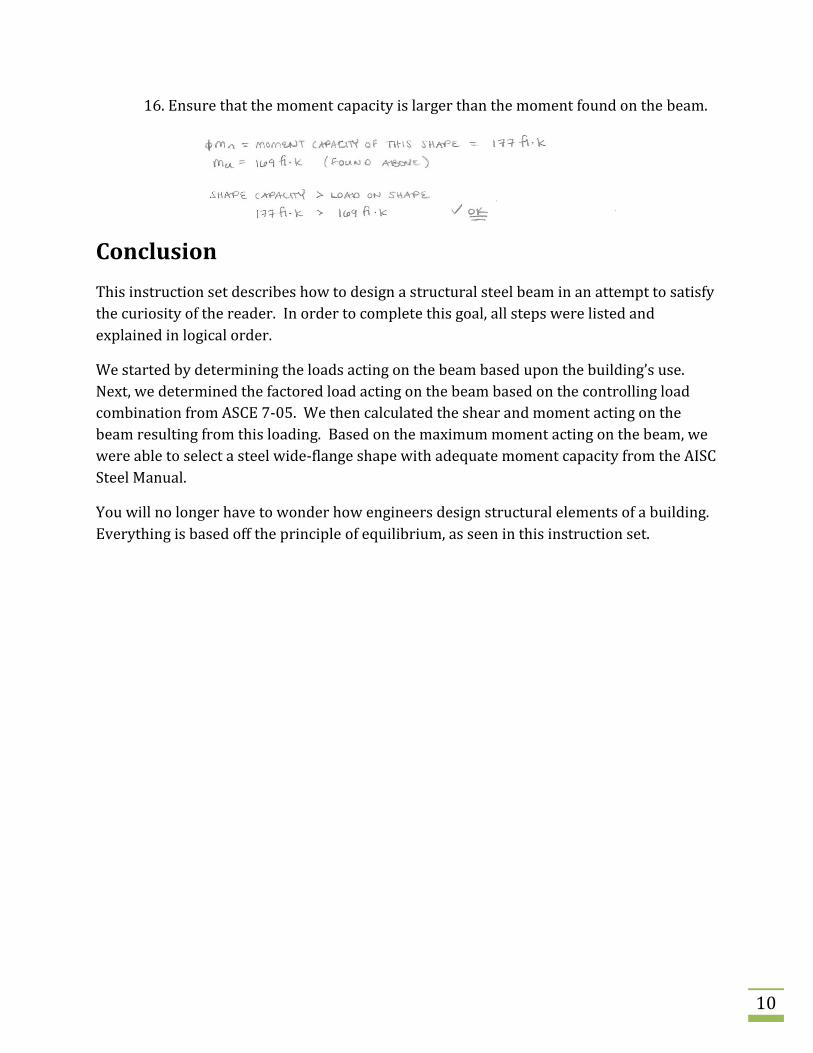
16. Ensure that the moment capacity is larger than the moment found on the beam.
Conclusion
This instruction set describes how to design a structural steel beam in an attempt to satisfy
the curiosity of the reader. In order to complete this goal, all steps were listed and
explained in logical order.
We started by determining the loads acting on the beam based upon the building’s use.
Next, we determined the factored load acting on the beam based on the controlling load
combination from ASCE 7-05. We then calculated the shear and moment acting on the
beam resulting from this loading. Based on the maximum moment acting on the beam, we
were able to select a steel wide-flange shape with adequate moment capacity from the AISC
Steel Manual.
You will no longer have to wonder how engineers design structural elements of a building.
Everything is based off the principle of equilibrium, as seen in this instruction set.


