Design Project 1 - CarveWright.com - 3D Carving … · 2 | Page INSTRUCTIONS: ¾ STARTING THE...
7
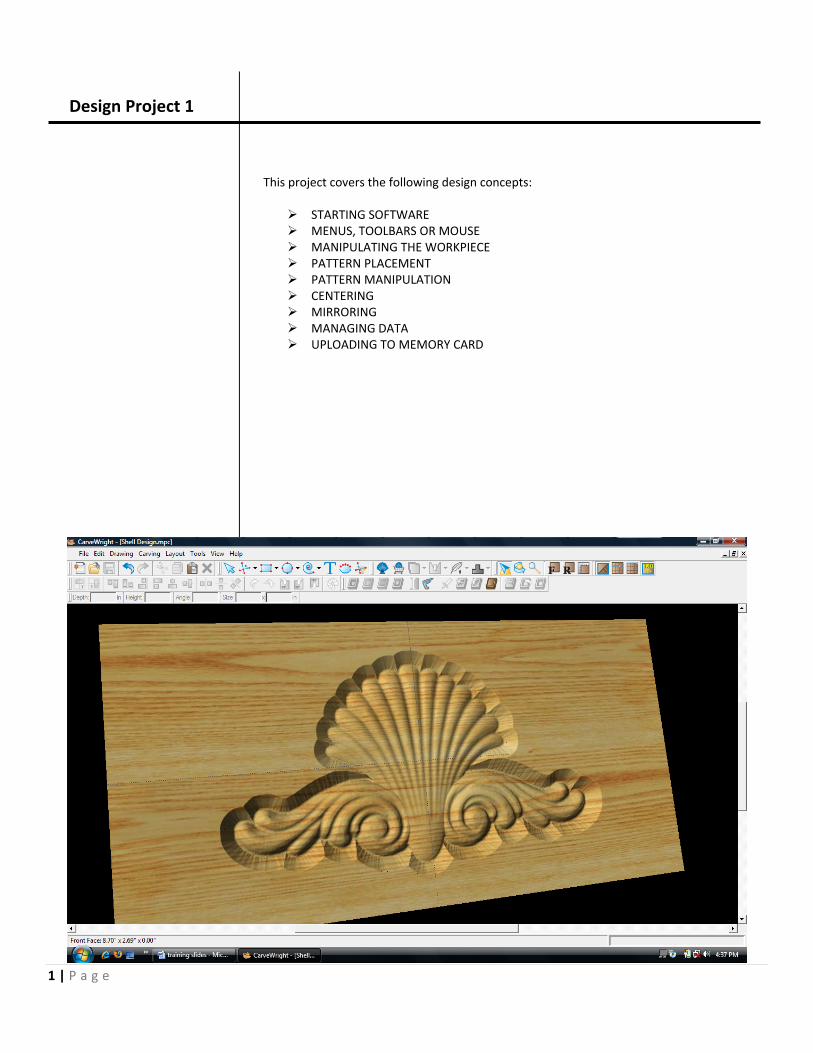
1| Page Design Project 1 This project covers the following design concepts: ¾ STARTING SOFTWARE ¾ MENUS, TOOLBARS OR MOUSE ¾ MANIPULATING THE WORKPIECE ¾ PATTERN PLACEMENT ¾ PATTERN MANIPULATION ¾ CENTERING ¾ MIRRORING ¾ MANAGING DATA ¾ UPLOADING TO MEMORY CARD
Transcript of Design Project 1 - CarveWright.com - 3D Carving … · 2 | Page INSTRUCTIONS: ¾ STARTING THE...
1 | P a g e
Design Project 1
This project covers the following design concepts:
STARTING SOFTWARE MENUS, TOOLBARS OR MOUSE MANIPULATING THE WORKPIECE PATTERN PLACEMENT PATTERN MANIPULATION CENTERING MIRRORING MANAGING DATA UPLOADING TO MEMORY CARD

2 | P a g e
INSTRUCTIONS: STARTING THE
SOFTWARE The Welcome screen appears with project
options.
Select “New Project”
Set your board piece dimensions. Length: 12” Width: 6”
Thickness: .75”
Click ok
MENUS, TOOLBARS OR MOUSE

3 | P a g e
MANIPULATING THE WORKPIECE
Board piece will display on screen in three dimensions.
Zoom
Rotate
Pan
Front
Rear
PATTERN PLACEMENT
Select the “pattern tool” to open the pattern
library along the right side.
Select “Shell 02” under “Shells” in the Basic Library.
Click on board to place.
PATTERN MANIPULATION
Use Red Nodes on the corner to Scale the Shell
larger.

4 | P a g e
CENTERING
Right‐Click on “Shell” to
bring up menu of available options.
Select “Center” “Center Both”
MIRRORING
Select “Filagree 00” under
“Filagrees” in the Basic library.
Place on board next to the
shell.
Right‐Click and select
“Mirror”, “Mirror Horizontally”.

5 | P a g e
Notice the pattern is reflected across the board. If you move one; the other
follows exactly.
Scale the pattern up and position around the base of
the shell.
Rotate design to view it from different angles.

6 | P a g e
MANAGING DATA
Select “File”, “Save”
*****IMPORTANT***** Name file and click “Save”
to hard drive.
UPLOADING TO MEMORY CARD
Select “File”, “Upload”
7 | P a g e
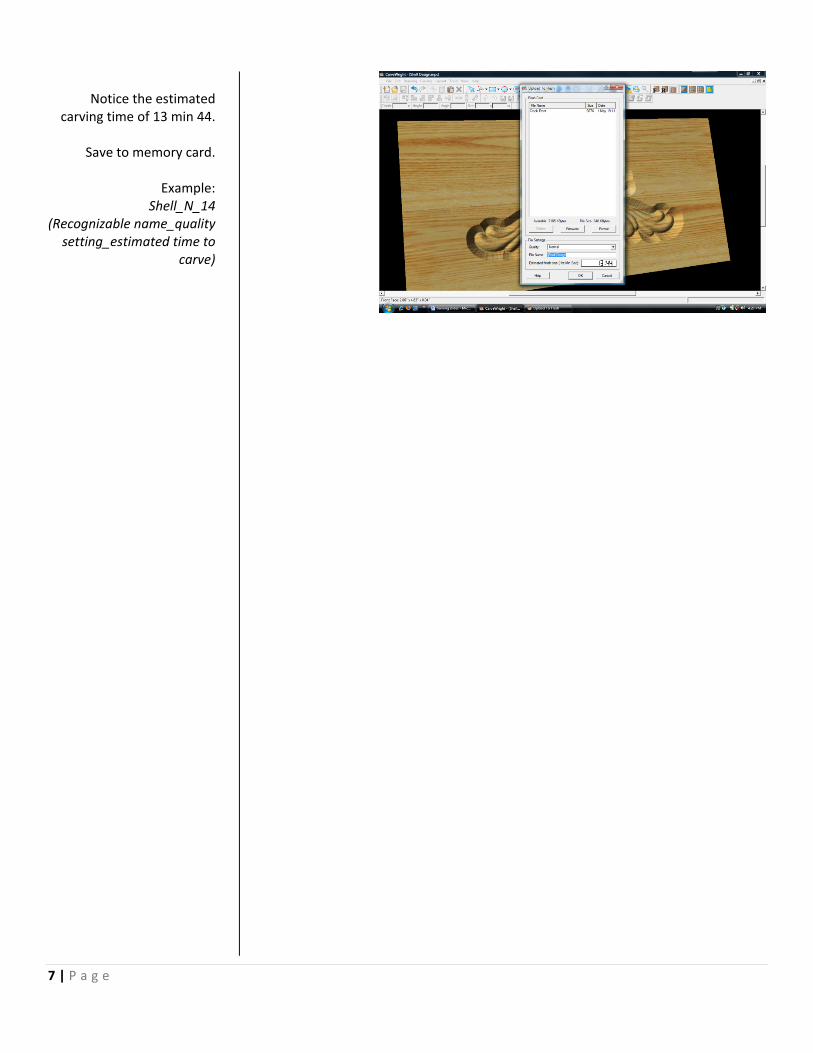
Notice the estimated
carving time of 13 min 44.
Save to memory card.
Example: Shell_N_14
(Recognizable name_quality setting_estimated time to
carve)