
Dental Lab safety
81
Welcome to the World of Dental Technology Jane Evans: Program & Course Convenor Prof Newell Johnson: Dean of Dentistry & Oral Health
-
Upload
dentechump -
Category
Education
-
view
185 -
download
12
Transcript of Dental Lab safety
Welcome to the World of Dental Technology
Jane Evans: Program & Course Convenor
Prof Newell Johnson: Dean of Dentistry & Oral Health
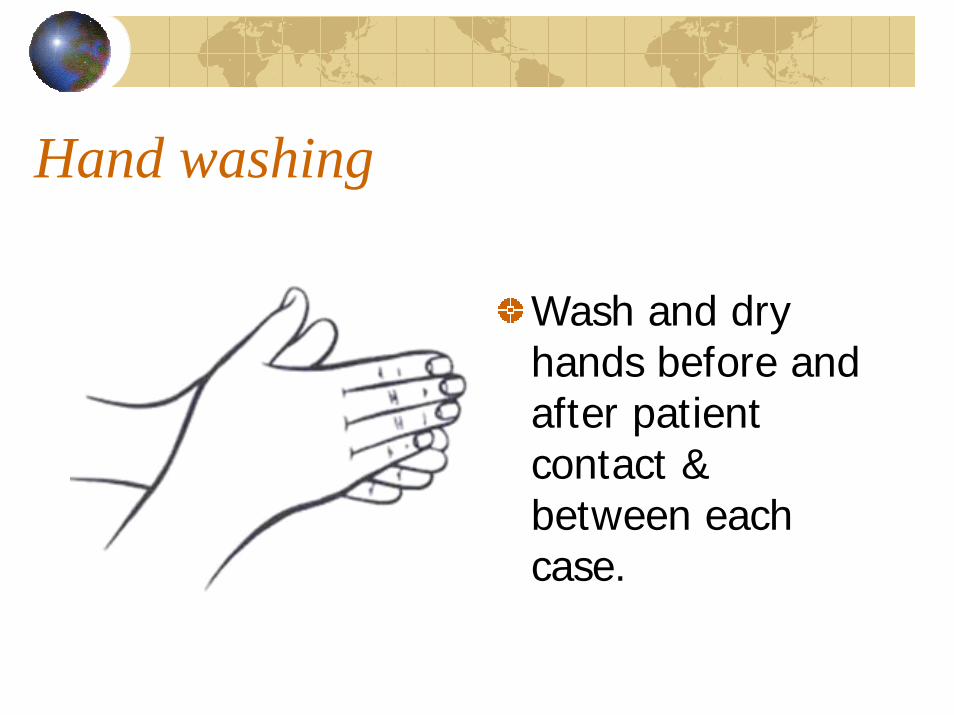
Hand washing
Wash and dry hands before and after patient contact & between each case.Diagram courtesy Ansell Medical
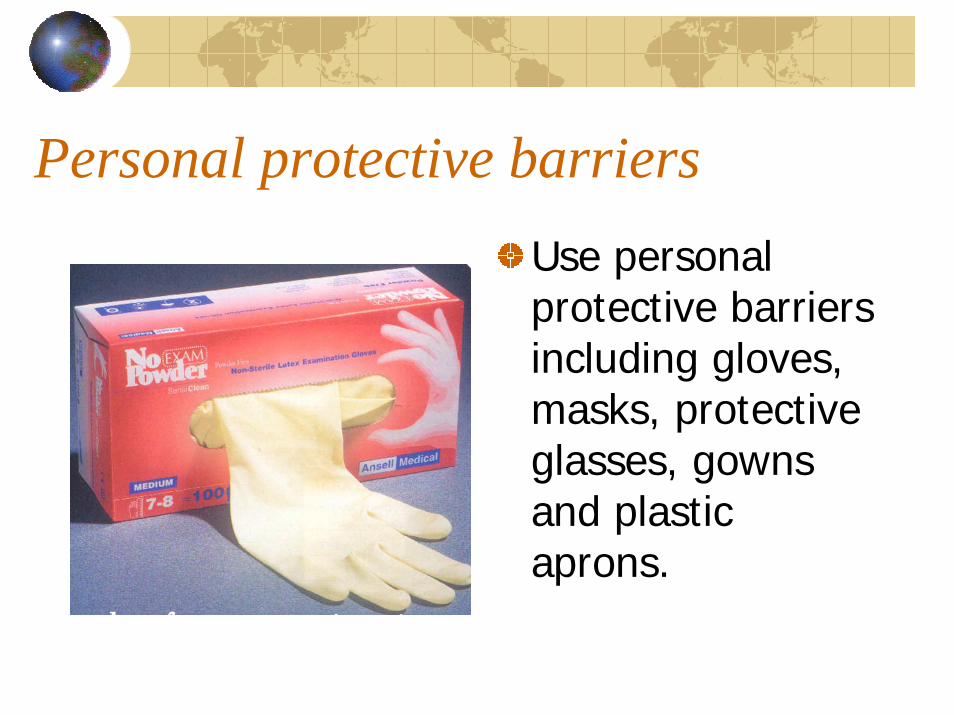
Personal protective barriersUse personal protective barriers including gloves, masks, protective glasses, gowns and plastic aprons.Photo courtesy Ansell Medical
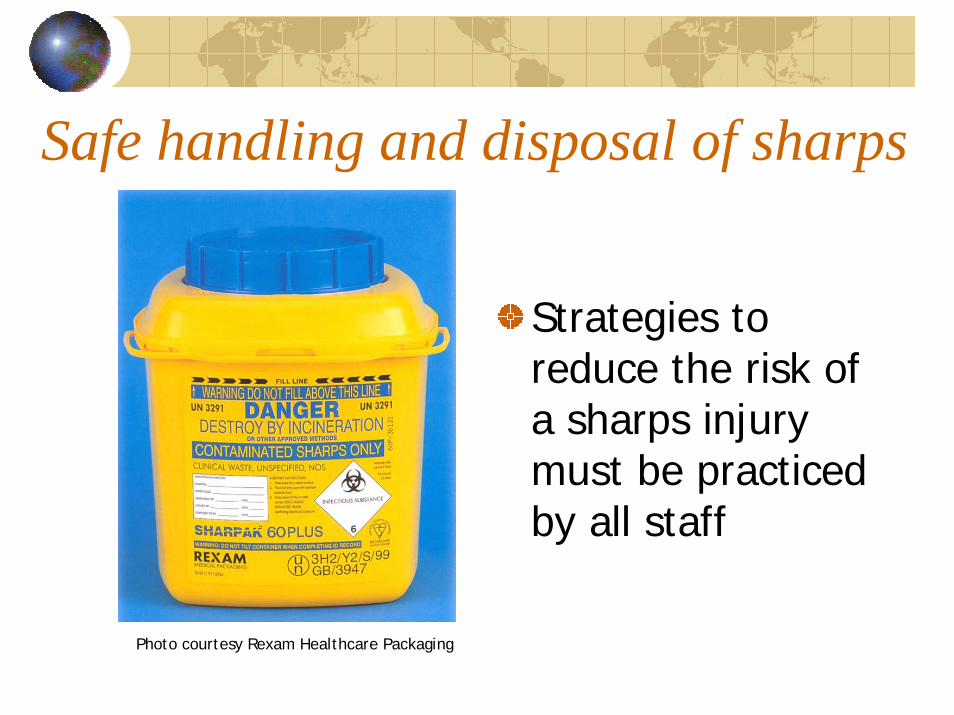
Safe handling and disposal of sharps
Strategies to reduce the risk of a sharps injury must be practiced by all staff
Photo courtesy Rexam Healthcare Packaging
Additional precautions
Applied in addition Applied in addition to standard to standard precautionsprecautions
Used for patients who Used for patients who are known to have are known to have highly infectious highly infectious diseasesdiseases
Personal hygiene
A high standard of personal hygiene protects you, other staff and patients from infection
Personal hygiene includesFingernails kept short and cleanHair short or tied away from faceClean uniforms Hand and wrist jewelry removed at start of dayHands washed before and after patient contactHands washed before and after any activity likely to cause contamination.
Hand washing
An important measure in preventing the spread of infection
Hands are washed and dried…Before starting work and after finishing workBefore and after each patient/caseBefore and after going to the toiletBefore working in a clean areaBefore and after a meal break.
Hands are also washed and driedAfter working in a ‘contaminated’ area
Following any incident where hands are contaminated with blood or body fluids.

Hand wash at the start of the dayRemove all jewelry Check hands for cuts, abrasions or soresCover open cuts and abrasions with a waterproof dressingClean fingernails with a plastic or wood stickPerform a routine hand wash.
A routine hand washLather hands with liquid soap and water for 10 to 15 secondsRinse with cool waterDry hands with clean paper towelsUse paper towel to turn off hand controlled taps.
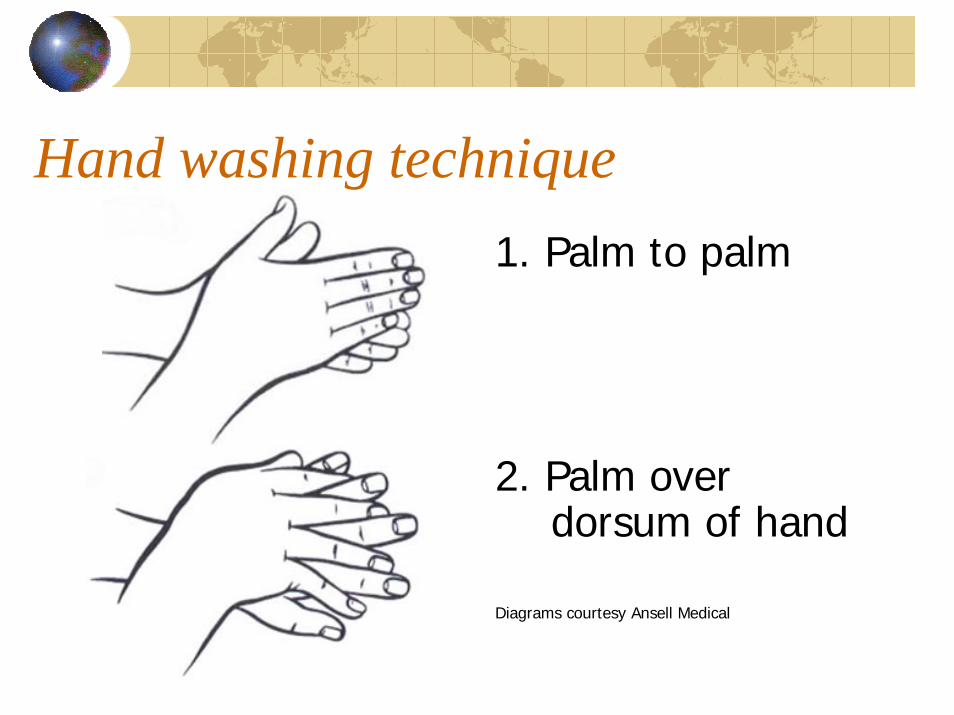
Hand washing technique1. Palm to palm
2. Palm over dorsum of hand
Diagrams courtesy Ansell Medical
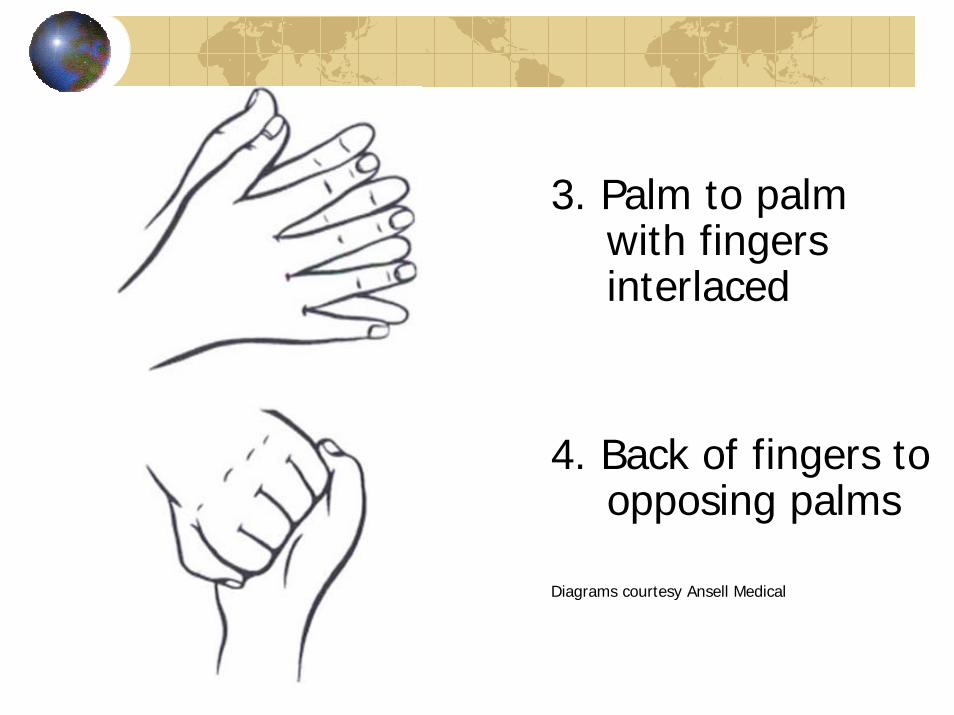
3. Palm to palm with fingers interlaced
4. Back of fingers to opposing palms
Diagrams courtesy Ansell Medical
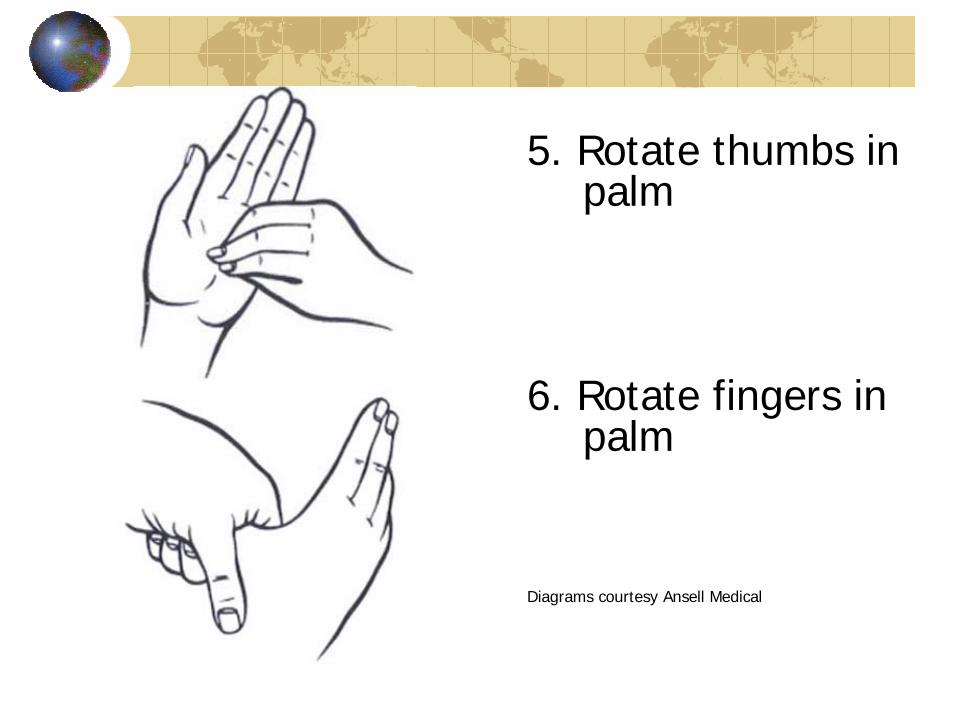
5. Rotate thumbs in palm
6. Rotate fingers in palm
Diagrams courtesy Ansell Medical
Hand care
The skin is a natural barrier to invading microorganisms
May cause dry cracked skin and
dermatitis
Frequent hand washing and wearing gloves

Dry cracked skinDry cracked skin
gives disease causing
microorganisms the opportunity to cause infection

Preventing dermatitisRemove all jewelry before washing handsRinse hands thoroughly after washingAvoid using hot water for hand washingDry hands completely after washingHandle irritant chemicals only while wearing gloves.
Personal protective barriers
Lab Coats, Adequate Footwear Glasses, Gloves, &Mask
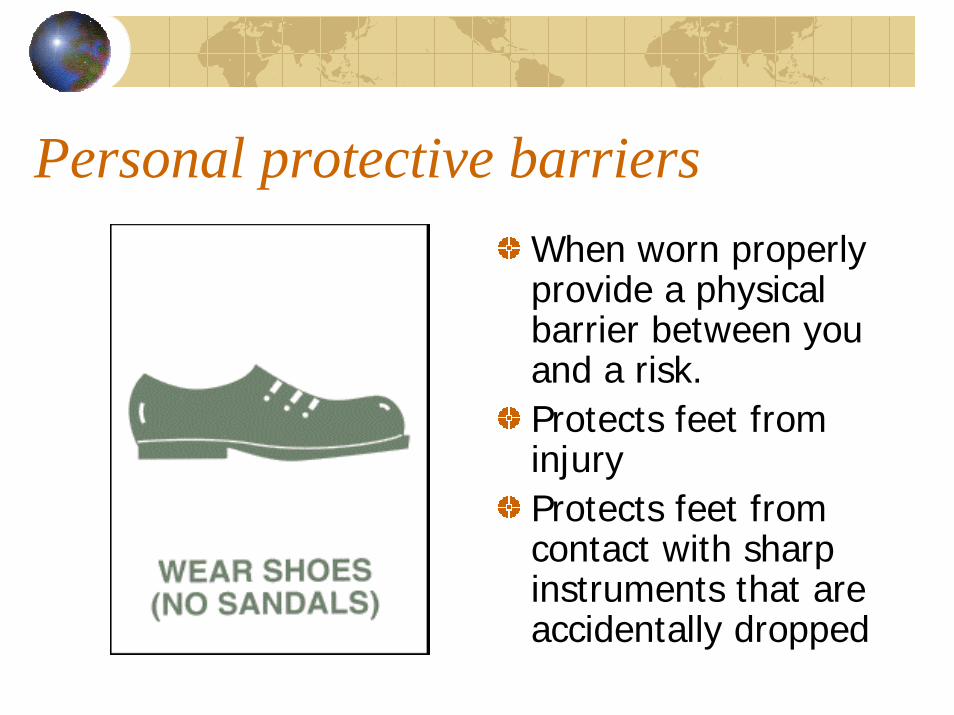
Personal protective barriersWhen worn properly provide a physical barrier between you and a risk.Protects feet from injuryProtects feet from contact with sharp instruments that are accidentally dropped
Lab CoatsProtect street clothes from aerosols and splatter contamination
Are not worn outside the laboratory area
Are changed/washed daily or more frequently if visibly soiled.
FacemaskProvides a physical barrier by filtering microorganisms from the air
Protects the wearers mouth from direct splash or splatter from the patient’s mouth.
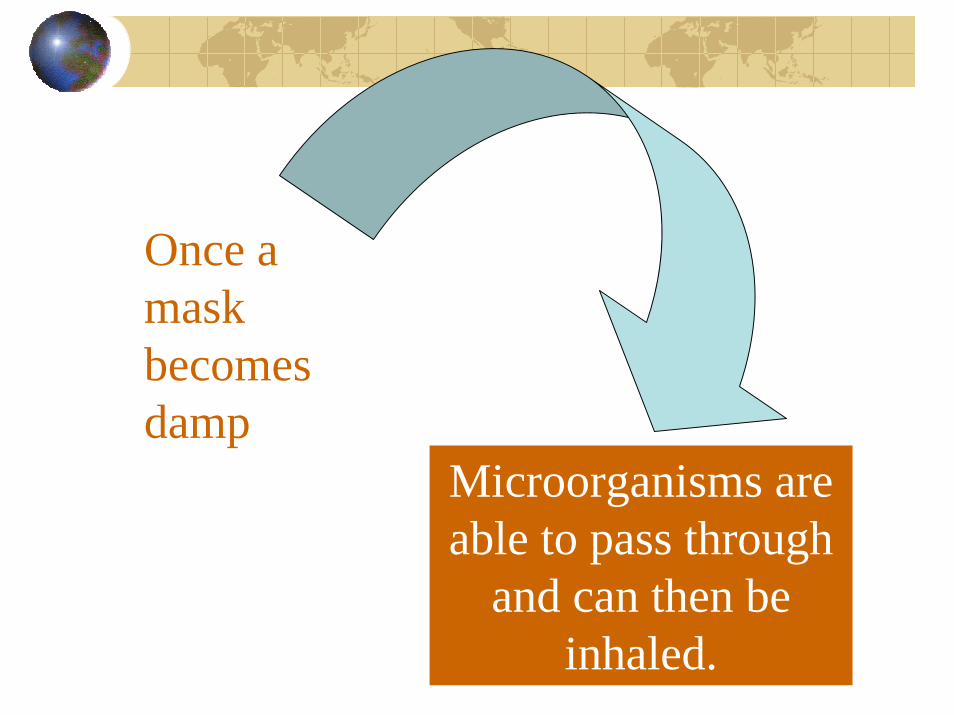
Once a mask becomes damp
Microorganisms are able to pass through
and can then be inhaled.
Guidelines for wearing a maskWear a mask to protect yourself from fumes or dustWear a mask while assisting with all patient proceduresWear a new mask for each new patientPut on the mask before pulling on glovesWhile wearing a mask do not touch it with your hand.
Removing a maskRemove the mask after removing gloves by touching only the strings or loops
Discard the mask with the general waste.
Protective glassesProtect eyes from sharp flying debris
Protect eyes from blood and saliva splatterProtect patient’s eyes from accidentally dropped instrumentsProtect patient’s eyes from chemical splashes.
Guidelines for wearing glassesWear protective glasses while cutting, trimming or polishing
Wear protective glasses while assisting with all patient proceduresPut on protective glasses and mask before pulling on glovesWash glasses between patients with water and detergentRinse glasses well after washing.
GlovesWorn whenever there is a potential for contacting blood and saliva
Cannot protect hands from a sharps injury.
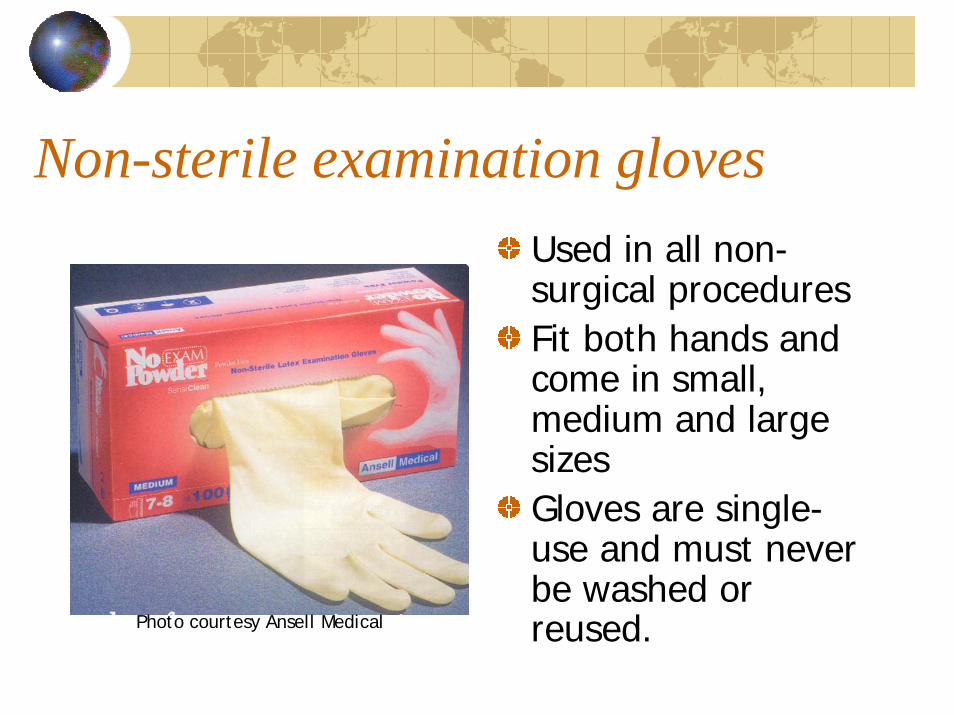
Non-sterile examination gloves Used in all non-surgical proceduresFit both hands and come in small, medium and large sizesGloves are single-use and must never be washed or reused.Photo courtesy Ansell Medical
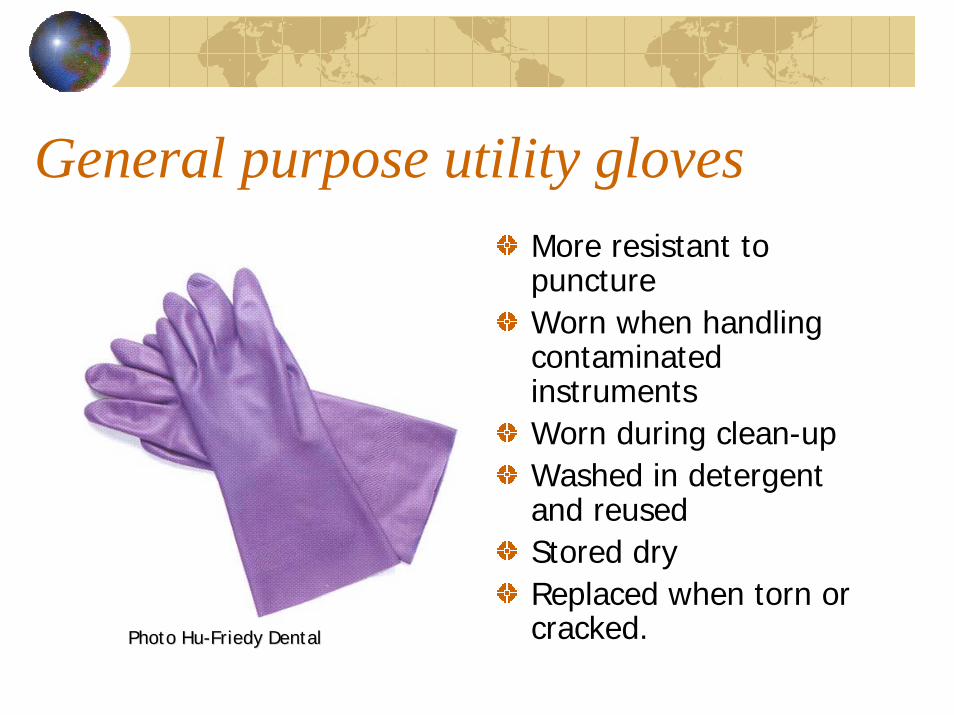
General purpose utility glovesMore resistant to punctureWorn when handling contaminated instrumentsWorn during clean-upWashed in detergent and reusedStored dry Replaced when torn or cracked.Photo Photo HuHu--FriedyFriedy DentalDental
Guidelines for using non-sterile examination gloves
Remove rings and watchesCover cuts and abrasions with waterproof dressingWash, rinse and dry handsChoose a glove size that fits wellRemove gloves that are torn, cut or punctured Discard gloves with general wasteWash hands thoroughly after removing gloves.
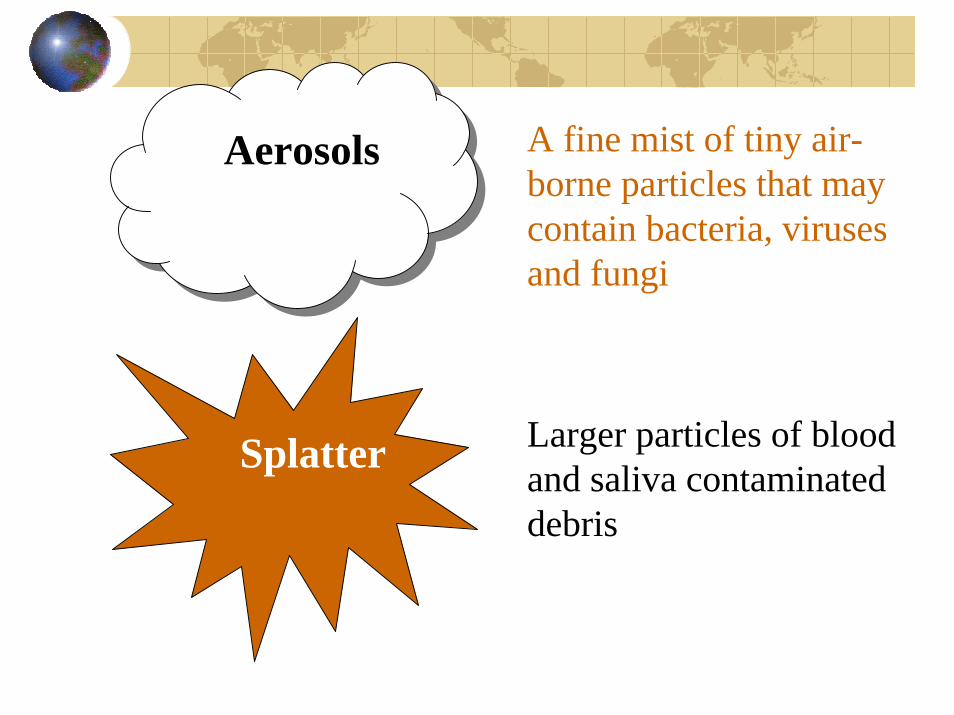
Aerosols A fine mist of tiny air-borne particles that may contain bacteria, viruses and fungi
Splatter Larger particles of blood and saliva contaminated debris
Sharps injury
All dental practices should have a written procedure for a sharps injury that involves exposure to blood or
body fluids

Reducing the risk of sharps injury
Strategies to reduce the risk of a sharps injury must be practiced by all staffAn injury caused by contaminated sharps is potentially very serious.
A sharps injury is most likely to occur
During During procedures procedures using bursusing burs
During transfer During transfer and disposal of and disposal of
sharpssharps
While working While working in confined in confined
areasareas
Procedures using bursThe operator is responsible for removing the bur from the handpieceafter useSlow speed burs are discarded into the sharps containerHigh speed burs are cleaned and sterilized.
Managing a sharps injuryImmediately wash the injured area of skin with soap and waterCover the injury with waterproof tapeReport the sharps injury immediately to the person in charge of the surgeryComplete an accident report form.
The accident report form recordsThe date of the injuryThe time of the injuryHow the injury occurredThe name of the person whose body fluid was involved.
Dispose of Dental Waste Safely

PackagedPackaged
According to legislative requirements
Waste Waste must bemust be
LabeledLabeled
StoredStored
TransportedTransported
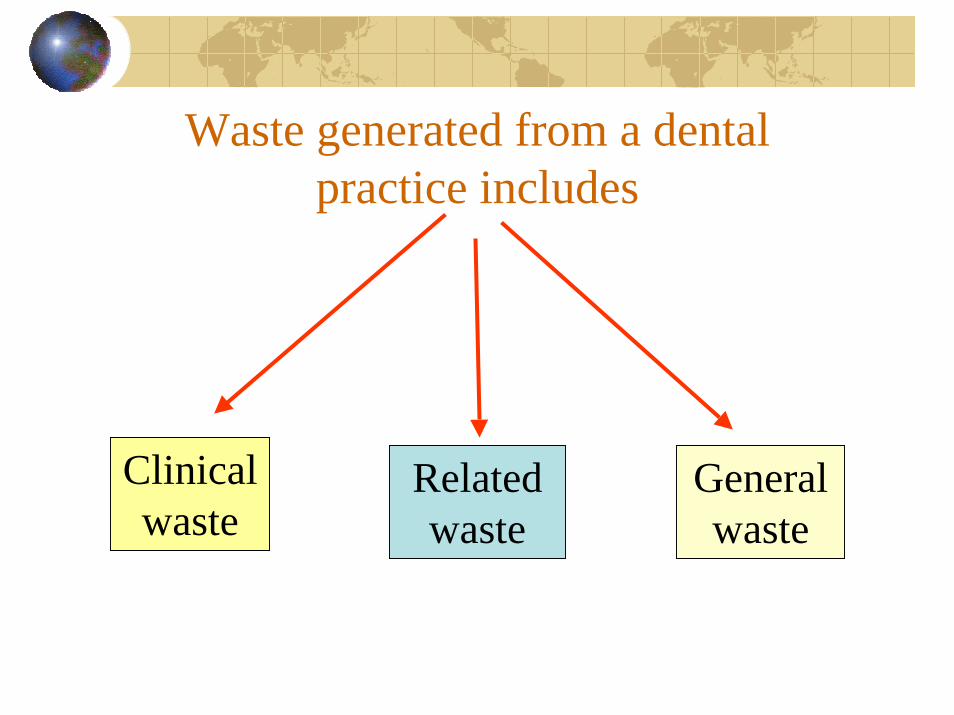
Waste generated from a dental practice includes
Clinical waste
Related waste
General waste
Clinical Waste
Waste that has the potential to cause sharps injury, infection or public offence
Clinical waste includesDiscarded sharpsHuman tissues including materials or solutions that contain free-flowing or expressible bloodLaboratory and associated waste.
Discarded sharpsWear personal protective equipmentDiscard all sharps into a clearly labeled sharps containerKeep the sharps container out of the reach of childrenReplace the container when three-quarters fullThe operator who generated the sharp is the person responsible for their safe disposal.

Sharps includeNeedlesDisposable syringesScalpel bladesSlow speed bursEndodontic files
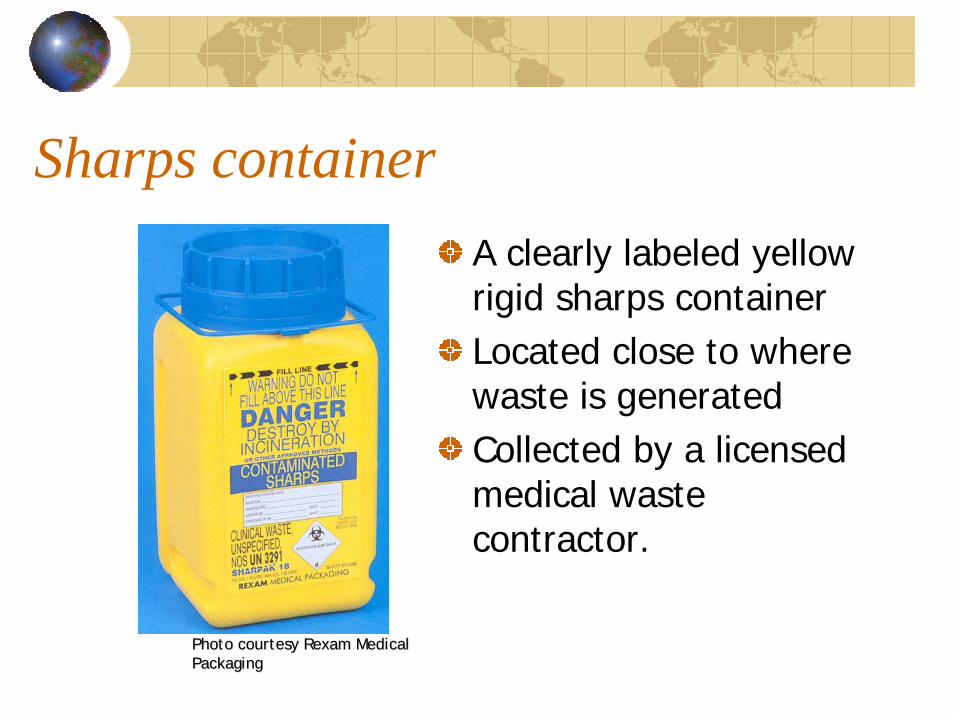
Sharps containerA clearly labeled yellow rigid sharps container Located close to where waste is generatedCollected by a licensed medical waste contractor.
Photo courtesy Photo courtesy RexamRexam Medical Medical PackagingPackaging
Human tissues Pathological specimensBiopsy specimensTissue taken during surgery
Free flowing or expressible bloodOther body fluids removed during surgery
Laboratory and associated wasteThis category includes
All specimens used for laboratory testingCultures of microorganisms used in biological indicators
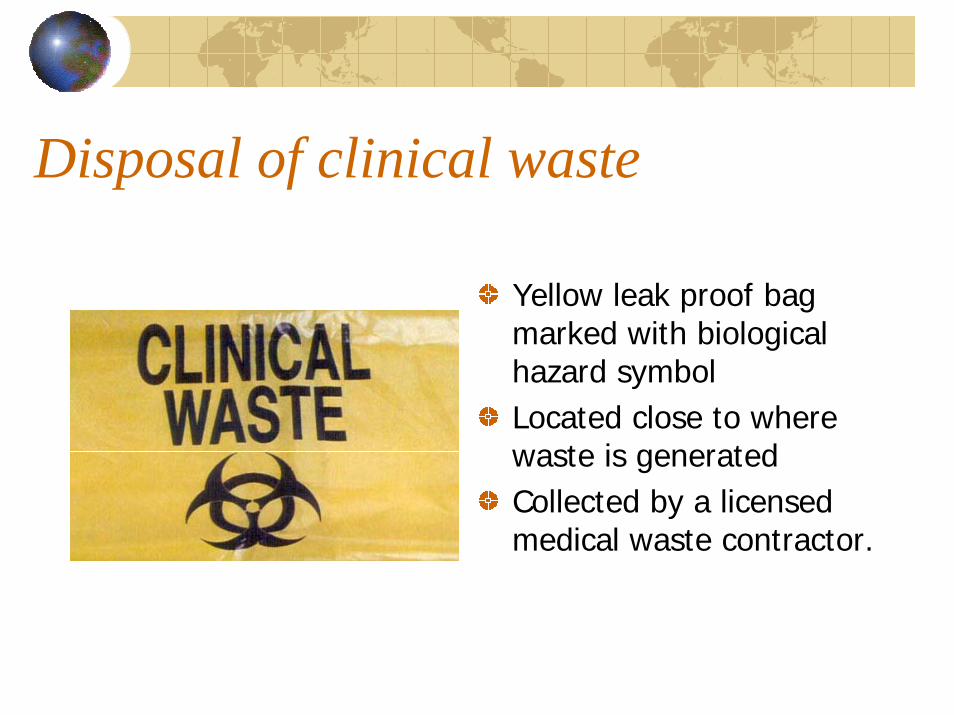
Disposal of clinical waste
Yellow leak proof bag marked with biological hazard symbolLocated close to where waste is generatedCollected by a licensed medical waste contractor.
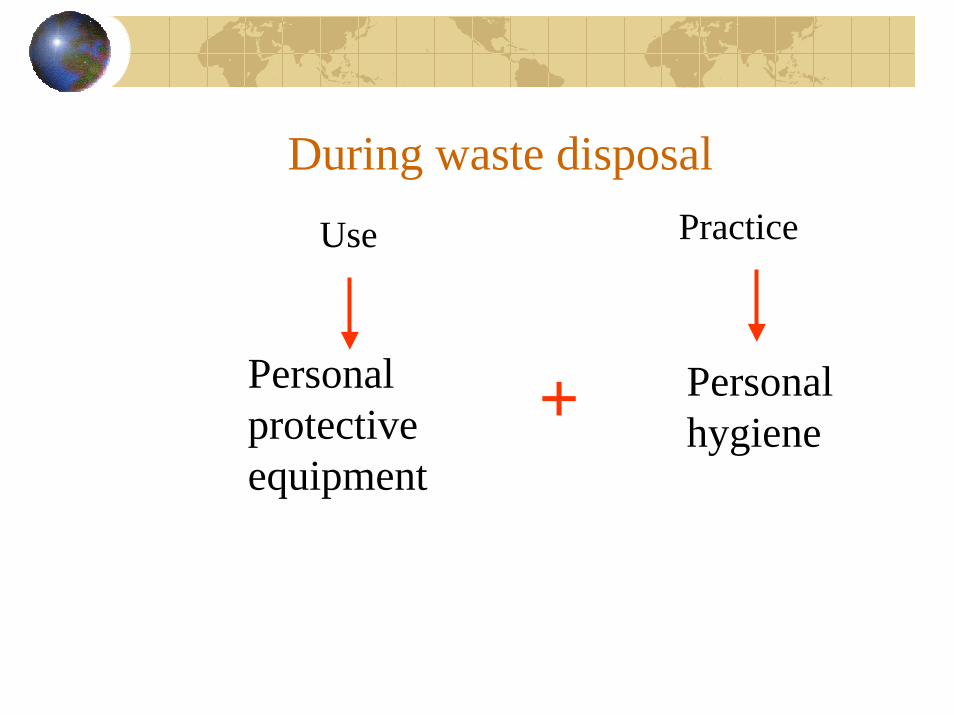
During waste disposalPracticeUse
Personal protective equipment
+ Personal hygiene
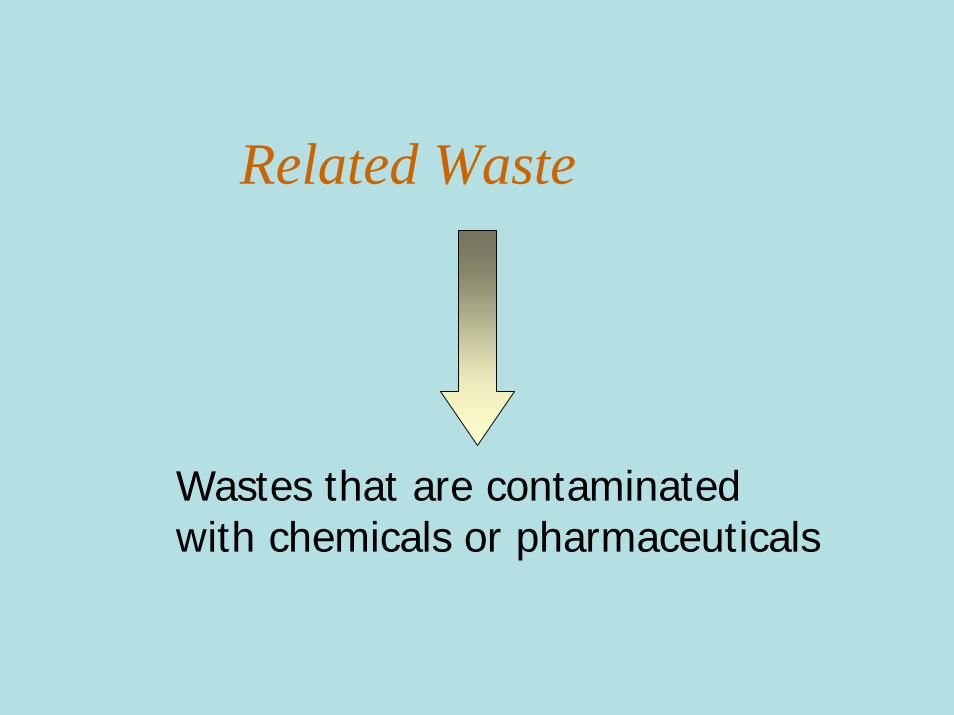
Related Waste
Wastes that are contaminated with chemicals or pharmaceuticals
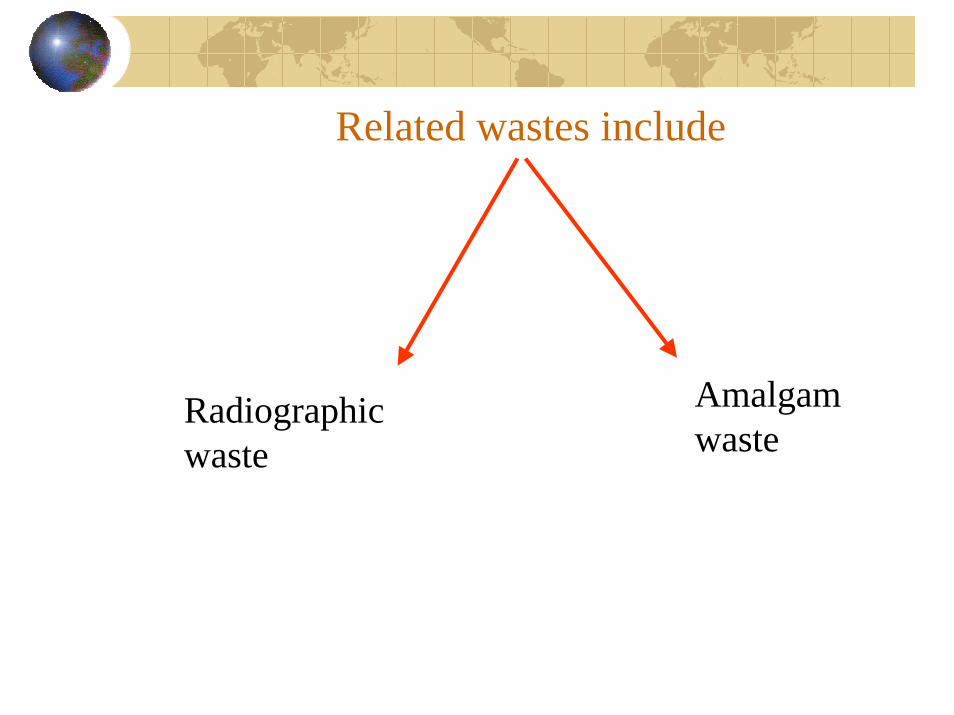
Related wastes include
Amalgam waste
Radiographic waste
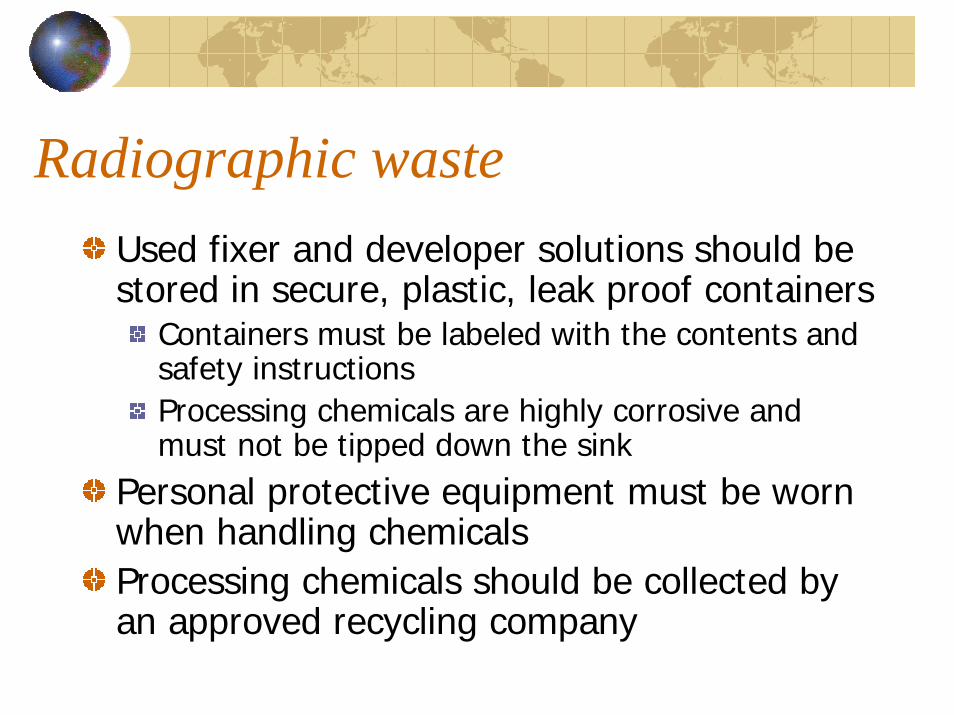
Radiographic wasteUsed fixer and developer solutions should be stored in secure, plastic, leak proof containers
Containers must be labeled with the contents and safety instructionsProcessing chemicals are highly corrosive and must not be tipped down the sink
Personal protective equipment must be worn when handling chemicalsProcessing chemicals should be collected by an approved recycling company
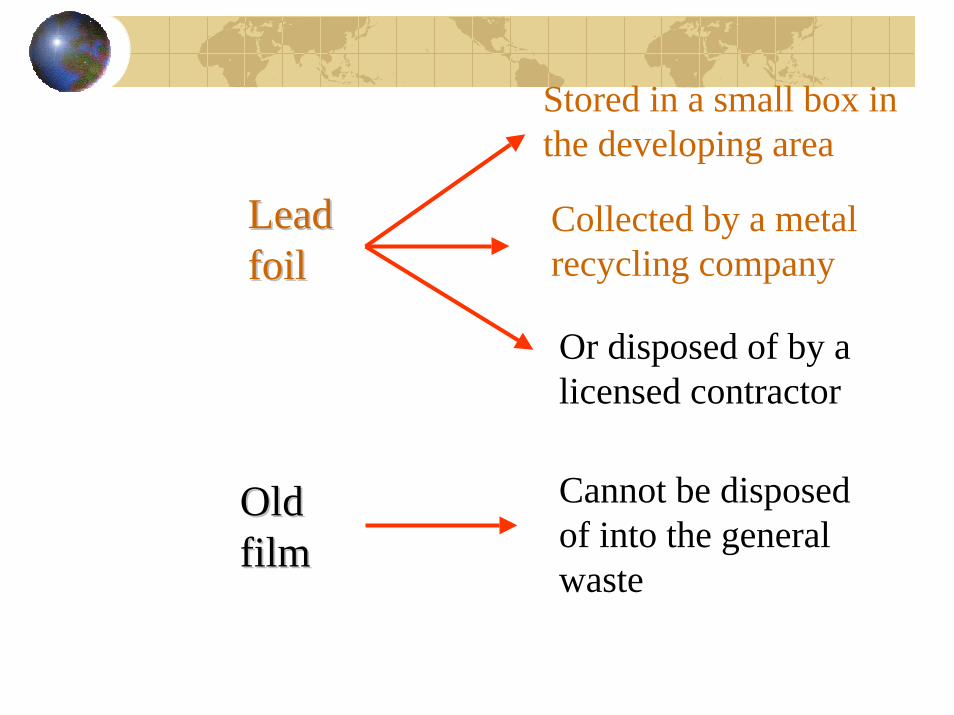
Stored in a small box in the developing area
Lead Lead foilfoil
Collected by a metal recycling company
Or disposed of by a licensed contractor
Cannot be disposed of into the general waste
Old Old filmfilm
Disposal
Lead foilStored in a small box in the developing areaCollected by a metal recycling company or disposed of by a licensed contractor
Old filmsCollected by an approved recycling company or disposed of by a licensed contractor.
Amalgam wasteStored in a tightly closed container under radiographic fixer solution
Storage of amalgam waste must protect staff from mercury vapour
Container should be labeled with the contents and safety instructionsCollected by a metal recycling company or by a licensed contractor
General waste
Waste that is not classified as being within any of the categories of the clinical and related waste streams

General wasteGeneral waste bag is coloured black, buff, green or whiteCollected by the community waste contractorIncludes gloves, mask, rubber dam, single-use cups and protective coveringsHandled using heavy duty gloves.
Instruments that cannot be cleaned and sterilized after use
must be discarded
Disposables includeAnaesthetic cartridges and needlesProphylaxis cups and brushesMouthwash cupsSaliva ejector tipsPatient bibGloves and mask.
Undertake necessary measures to ensure prevention of transmission of infection
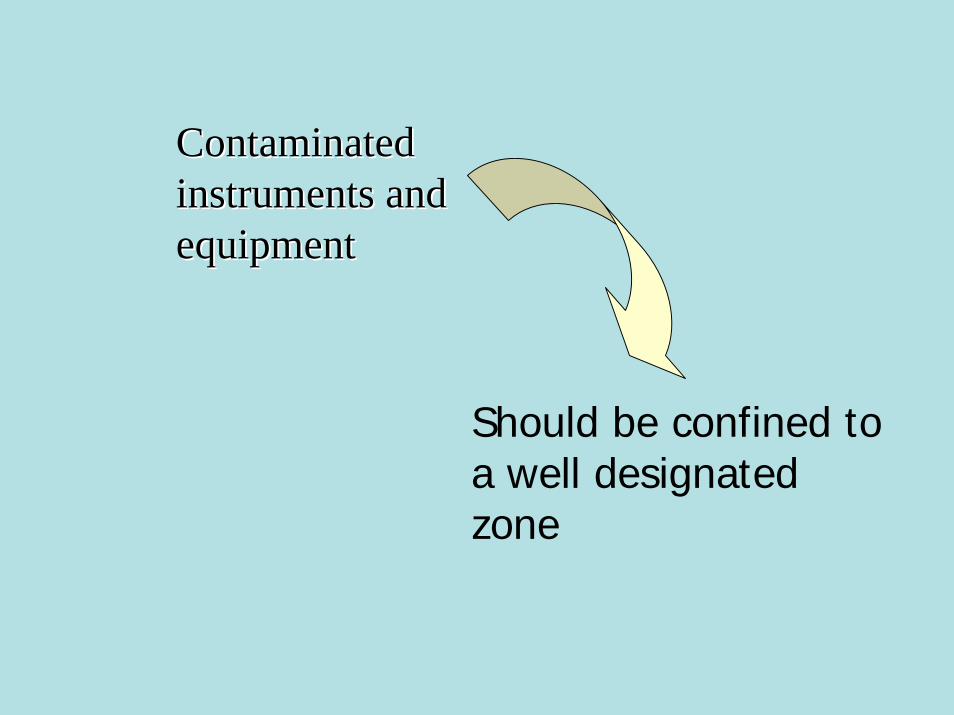
Contaminated Contaminated instruments and instruments and equipmentequipment
Should be confined to a well designated zone
Limiting contaminationClearly defines the contaminated and clean zone in the surgery Means that surgery clean-up is easier and fasterReduces the chances of cross-contamination.

Clean zoneMust never become contaminated with items used during patient treatmentStores sterile instruments, equipment, materials and medicamentsIncludes the interior of drawers and cupboards which must never become contaminated during patient treatment.
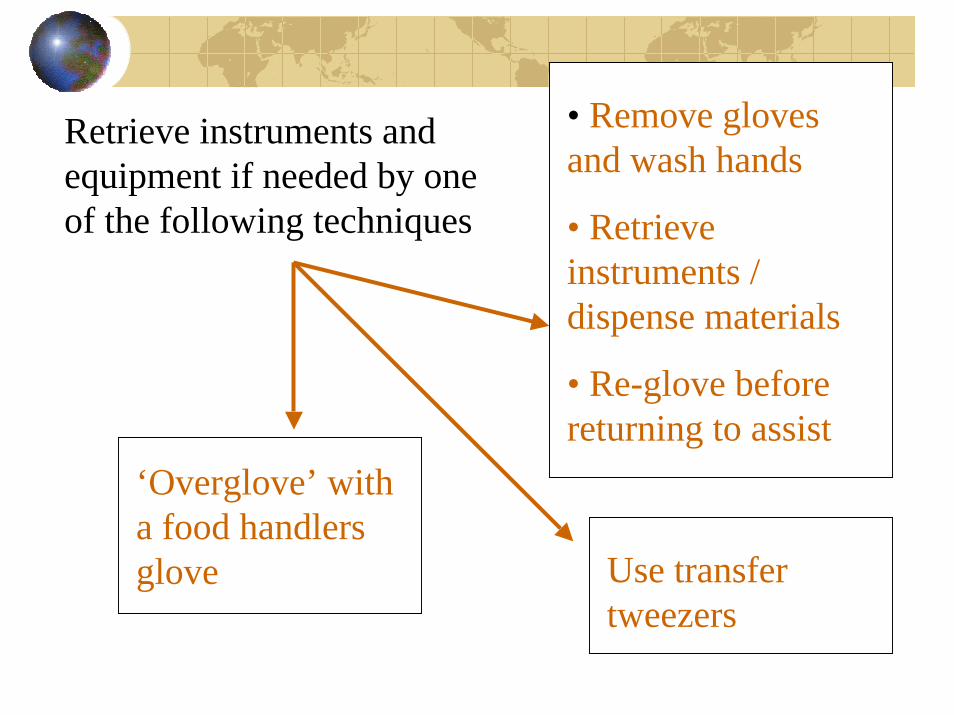
Retrieve instruments and equipment if needed by one of the following techniques
• Remove gloves and wash hands
• Retrieve instruments / dispense materials
• Re-glove before returning to assist
‘Overglove’ with a food handlers glove Use transfer
tweezers

Contaminated zoneContains contaminated material from the current patientAll surfaces in the contaminated zone must be cleaned and dried between patientsSingle-use coverings are used to reduce surface contamination.
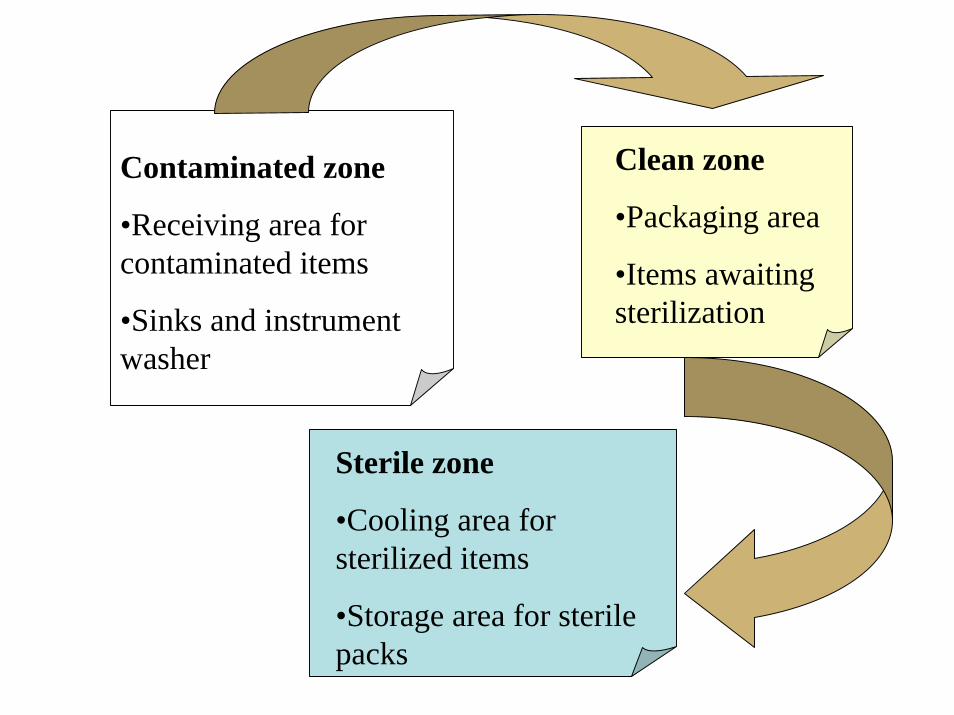
Contaminated zone
•Receiving area for contaminated items
•Sinks and instrument washer
Clean zone
•Packaging area
•Items awaiting sterilization
Sterile zone
•Cooling area for sterilized items
•Storage area for sterile packs
Blood and/or body fluid spills
Managing a spill is always easier when the cleaning items needed to remove the spill are readily available
Disposable spills kitA large reusable plastic container, with a fitted lid, containing the following
Leak proof bags for disposal of waste materialA disposable scraper and pan for spillsDisposable rubber gloves for cleaningProtective glasses and a plastic apron.
Removing a small spillWear heavy duty gloves, mask, protective glasses and a plastic apronWipe up the spill immediately using paper towelDiscard contaminated material in to a plastic bag for disposalClean the area with warm water and detergent solutionRemove gloves and mask and wash handsClean and dry protective glasses before re-use.
After removing the spill
Ensure the area is clean and dry
Replace disposable items in the spill kit
Summary - it is your responsibility to collate and maintain evidence to demonstrate
Knowledge of how infection is spreadKnowledge of infection risks in a health environmentCompliance with NHMRC infection control guidelinesCompliance with Australian Standards.
Summary cont….
Safe waste handling and management proceduresKnowledge of personal hygiene practicesKnowledge of personal protectionSelection and use of appropriate cleaning agentsSelection of the correct sterilization method.
YOUR responsibilities1. Comply with instructions given for
workplace health and safety.2. Use personal protective equipment.3. Do not wilfully misuse anything provided
for workplace health and safety.4. Do not wilfully place at risk the health
and safety of others.5. Do not wilfully injury yourself.

Hazard Identification & Risk ControlThe hazards in the laboratory need to be identified and the risks assessed and controlled, so the laboratory is as safe as possible.
Types of Hazards:
Biological: Disease, micro-organisms
Chemical: Solvents, acid, dust, (silica) resins
Electrical: Leads, equipment
Ergonomic: Position while working
Physical: Noise, lighting, hot/cold, radiation
Stressors: Discrimination, harassment, production pressure
Risk Management Procedures:It is essential to either eliminate the risk or control the risk.
1. Identify the hazard2. Minimise the risk by using the hierarchy
of hazard control:• Design• Substitute• Redesign• Separation• Administration• Personal Protective Equip.

Risk Management & You…Hazard Risk Control
Hand contamination Gloves
Eye contamination Eye protection
Aerosols / Dust Mask, Dust extraction Eye protection,
Sharps injury Good technique, Safe disposal
Contaminated waste Safe disposal of waste
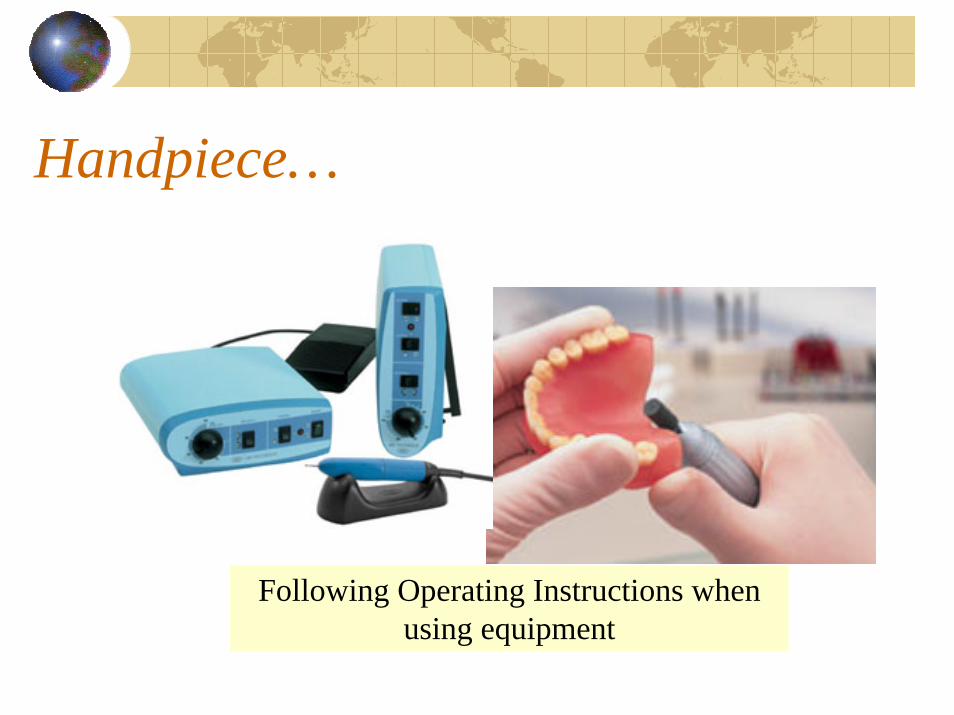
Handpiece…
Following Operating Instructions when using equipment