Create iPhone Related Website
34
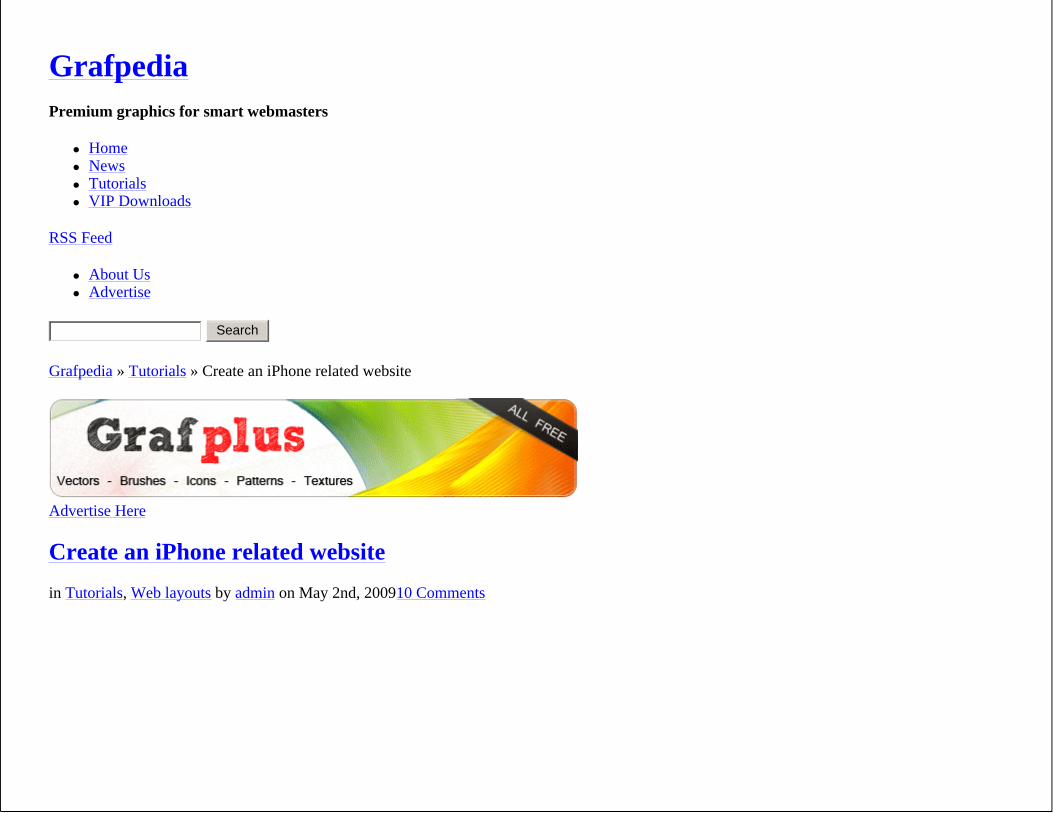
Grafpedia Premium graphics for smart webmasters Home News Tutorials VIP Downloads RSS Feed About Us Advertise Grafpedia » Tutorials » Create an iPhone related website Advertise Here Create an iPhone related website in Tutorials , Web layouts by admin on May 2nd, 200910 Comments Search
Transcript of Create iPhone Related Website
GrafpediaPremium graphics for smart webmasters
Home News Tutorials VIP Downloads
RSS Feed
About Us Advertise
Grafpedia » Tutorials » Create an iPhone related website
Advertise Here
Create an iPhone related website
in Tutorials, Web layouts by admin on May 2nd, 200910 Comments
Search
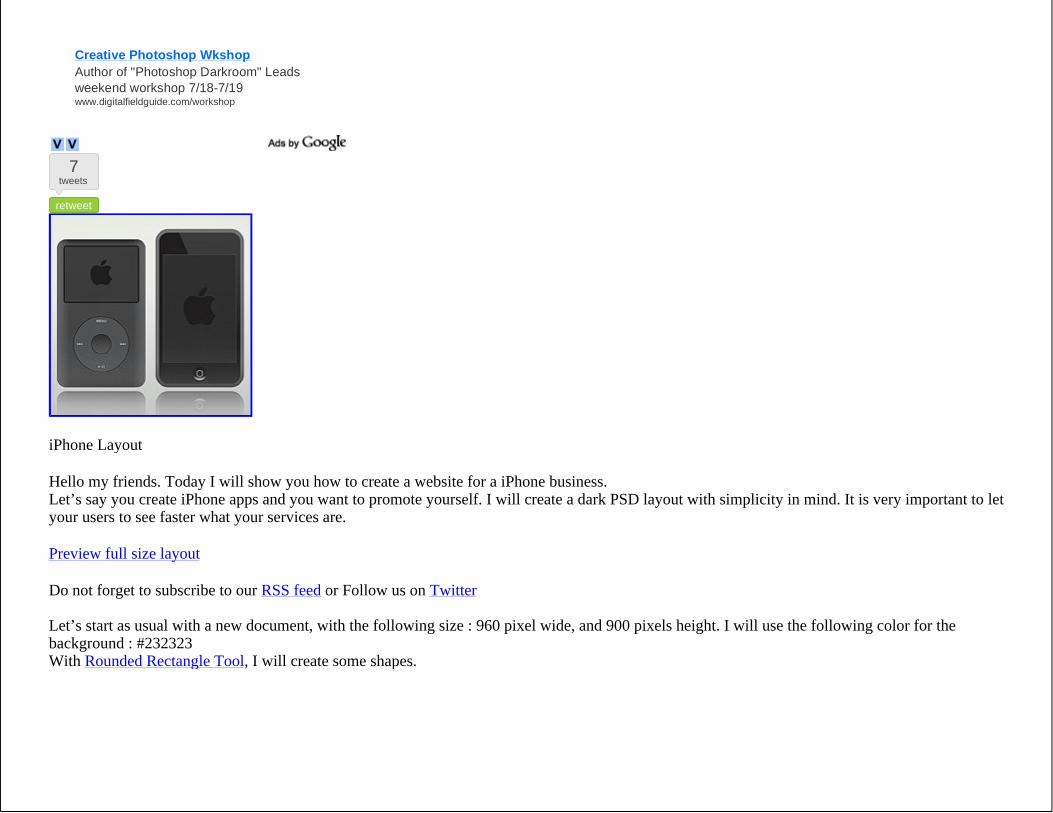
Hello my friends. Today I will show you how to create a website for a iPhone business.Let’s say you create iPhone apps and you want to promote yourself. I will create a dark PSD layout with simplicity in mind. It is very important to let your users to see faster what your services are.
Preview full size layout
Do not forget to subscribe to our RSS feed or Follow us on Twitter
Let’s start as usual with a new document, with the following size : 960 pixel wide, and 900 pixels height. I will use the following color for the background : #232323With Rounded Rectangle Tool, I will create some shapes.
retweet
7tweets
iPhone Layout
Creative Photoshop WkshopAuthor of "Photoshop Darkroom" Leads weekend workshop 7/18-7/19 www.digitalfieldguide.com/workshop
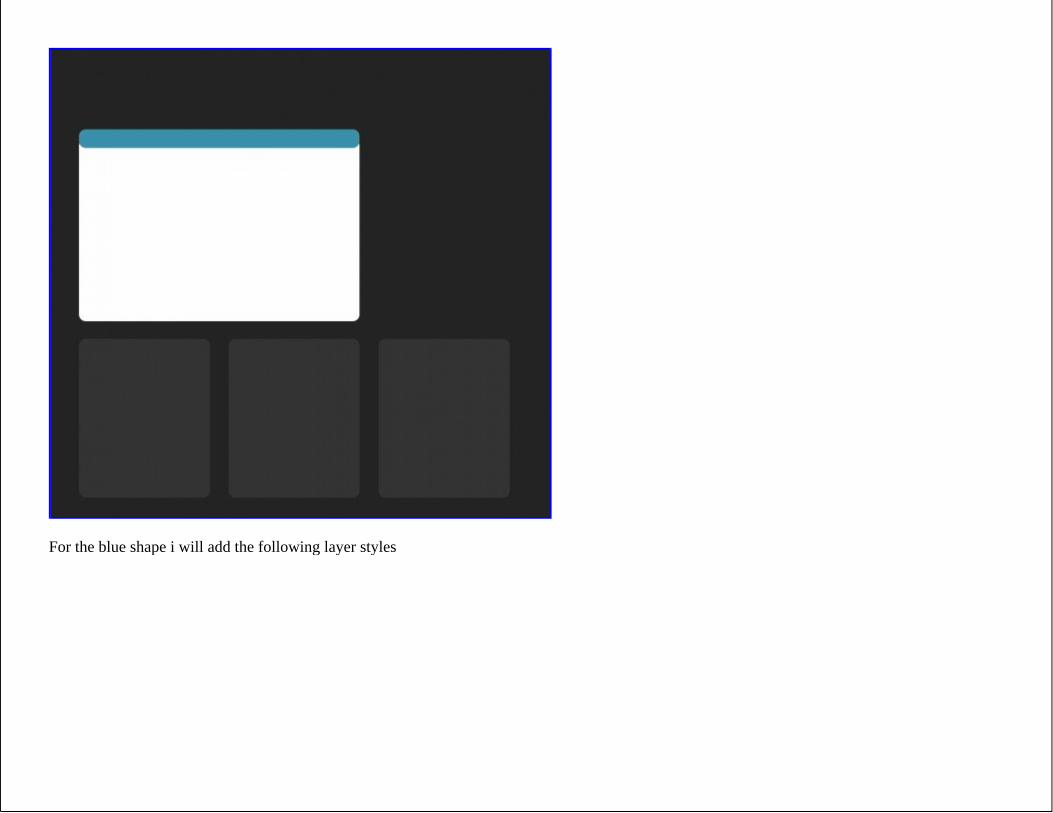
For the blue shape i will add the following layer styles


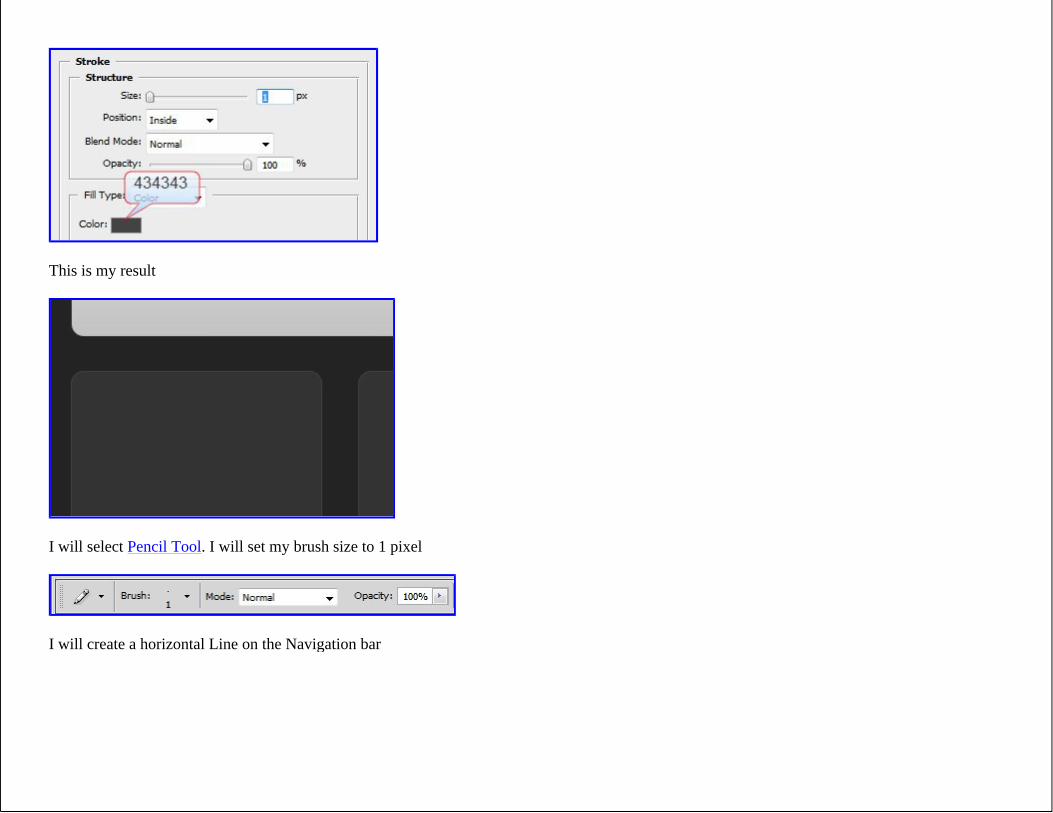
This is my result
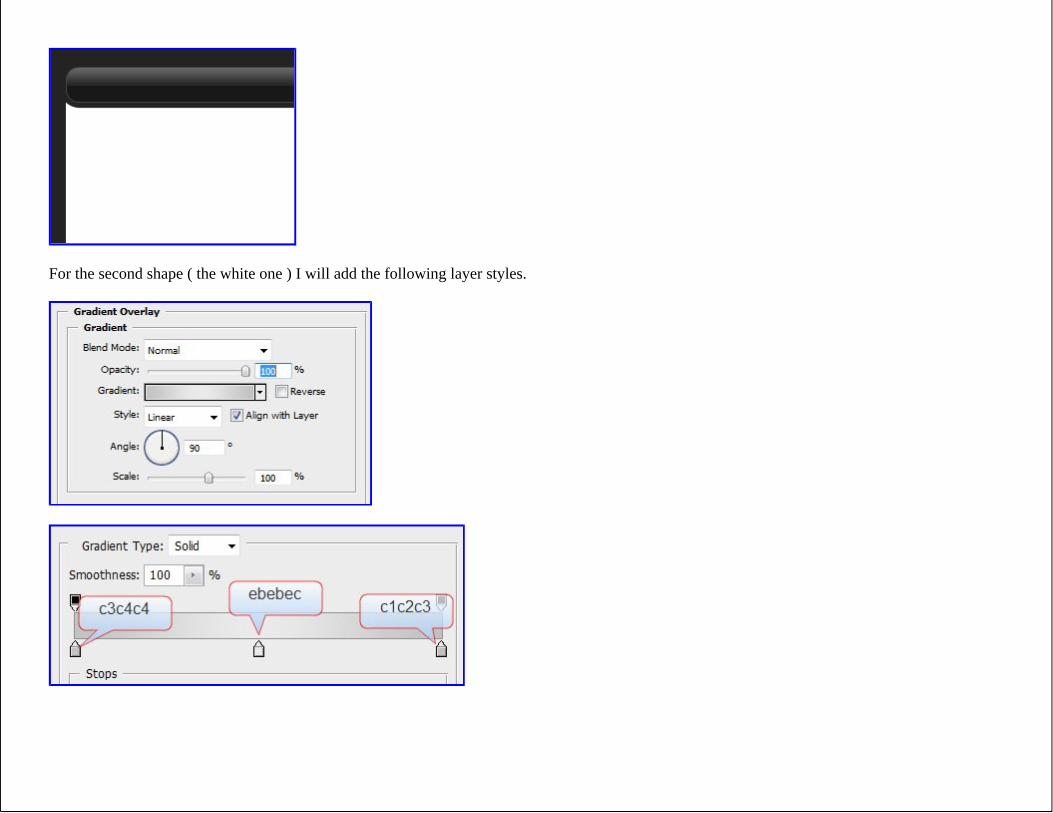
For the second shape ( the white one ) I will add the following layer styles.
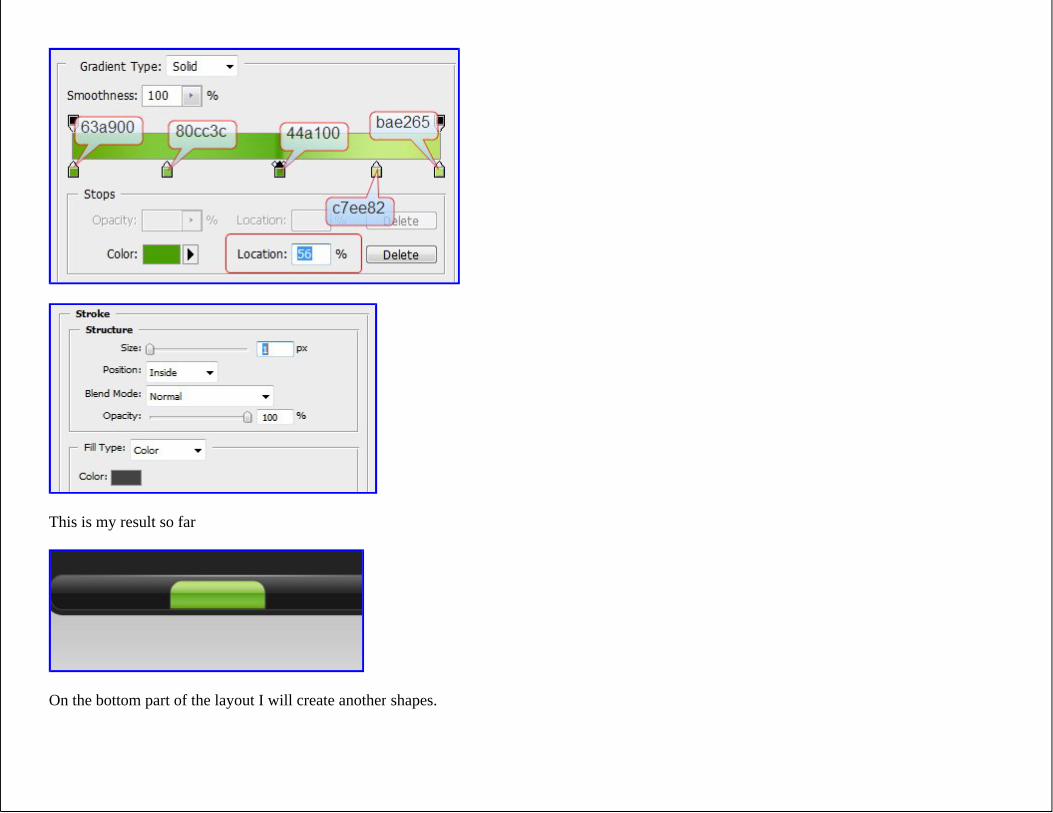
This is my result so far
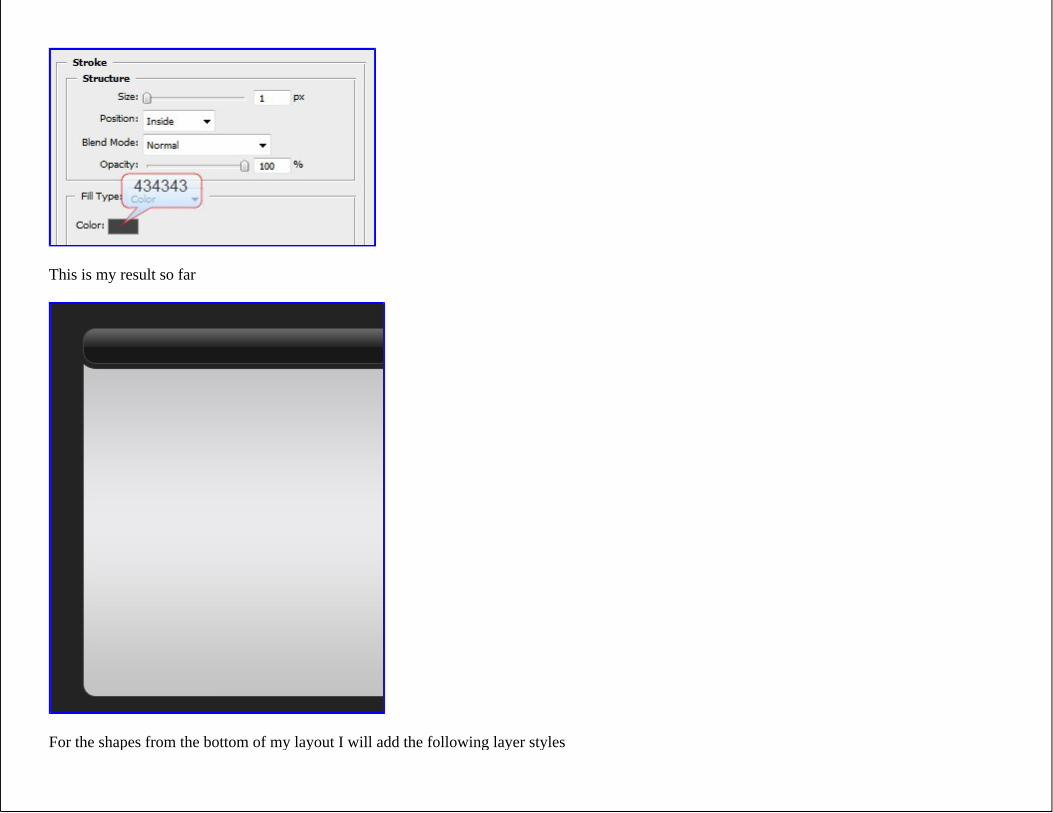
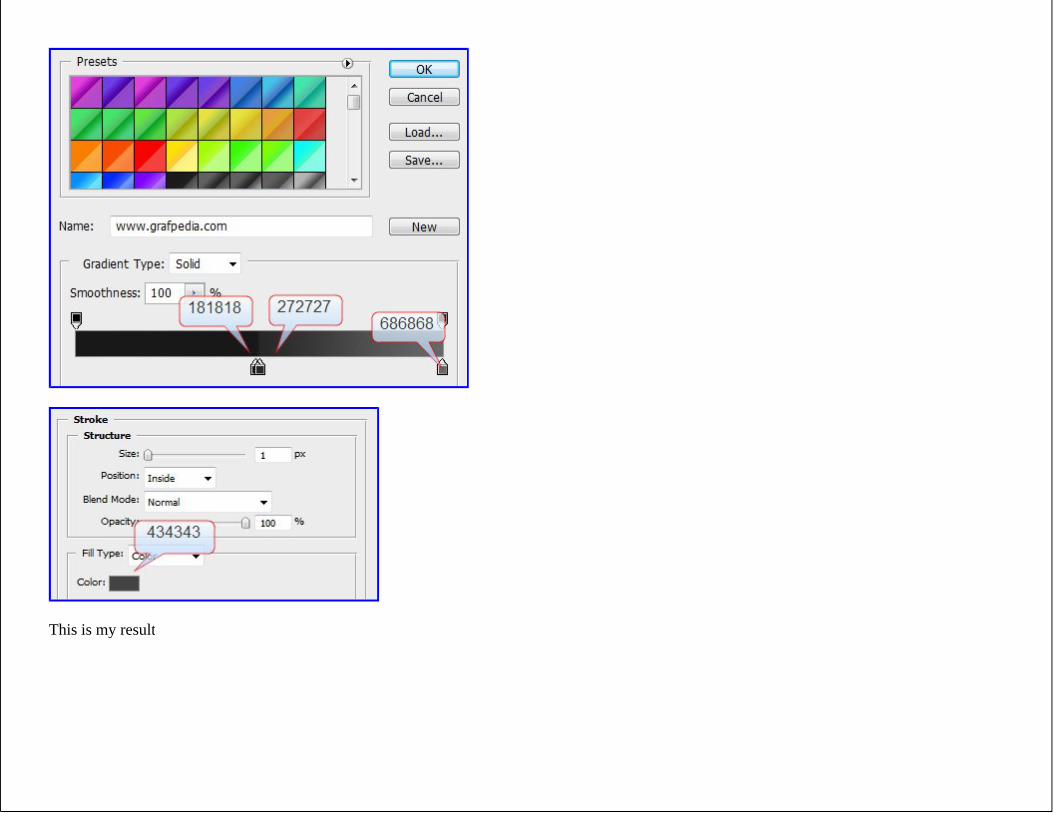
For the shapes from the bottom of my layout I will add the following layer styles
This is my result
I will select Pencil Tool. I will set my brush size to 1 pixel
I will create a horizontal Line on the Navigation bar
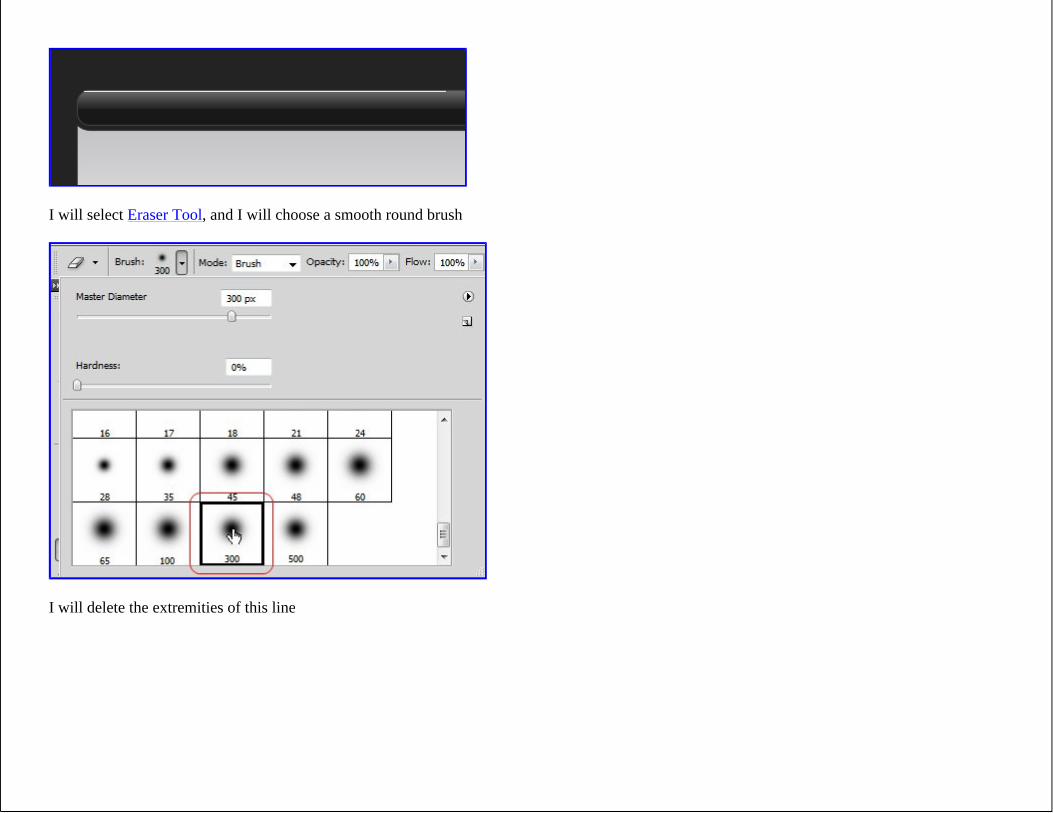
I will select Eraser Tool, and I will choose a smooth round brush
I will delete the extremities of this line
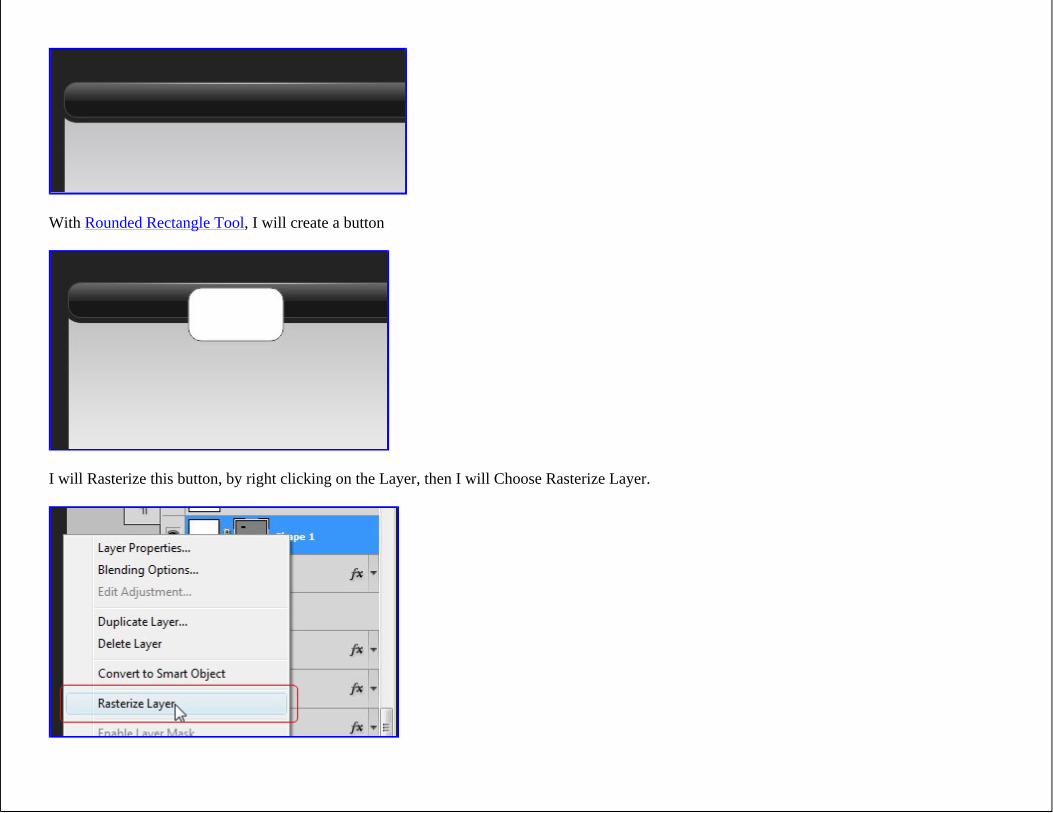
With Rounded Rectangle Tool, I will create a button
I will Rasterize this button, by right clicking on the Layer, then I will Choose Rasterize Layer.
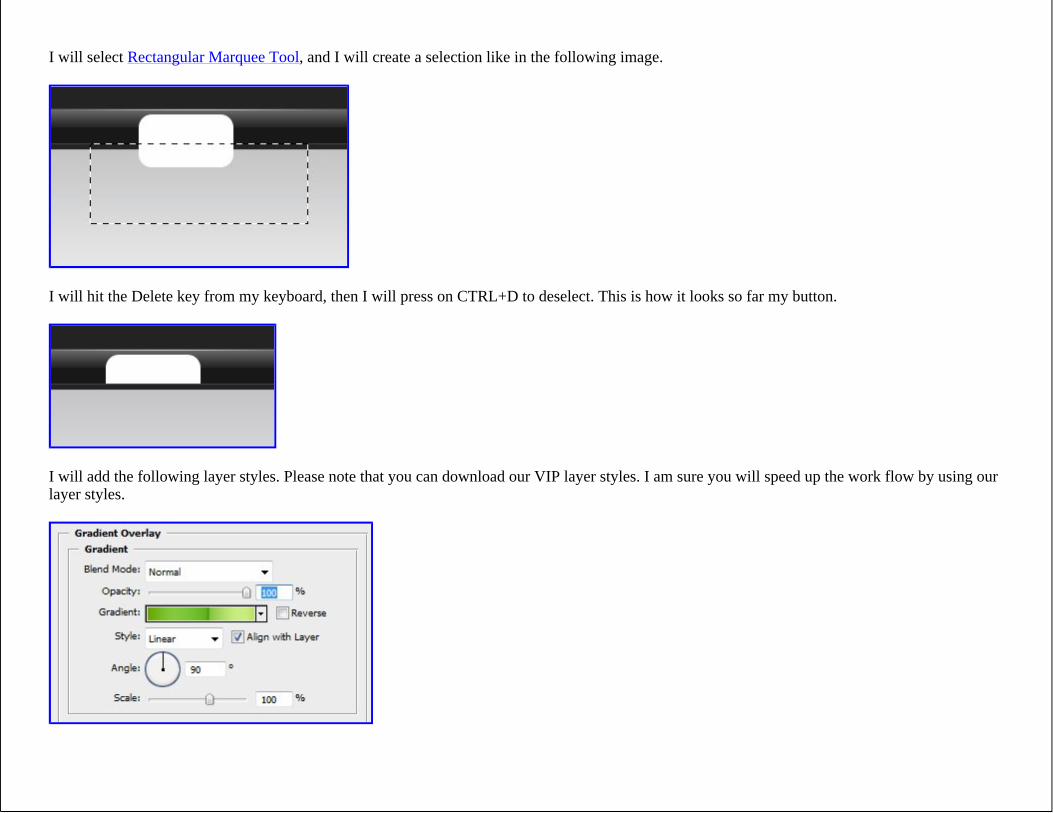
I will select Rectangular Marquee Tool, and I will create a selection like in the following image.
I will hit the Delete key from my keyboard, then I will press on CTRL+D to deselect. This is how it looks so far my button.
I will add the following layer styles. Please note that you can download our VIP layer styles. I am sure you will speed up the work flow by using our layer styles.
This is my result so far
On the bottom part of the layout I will create another shapes.
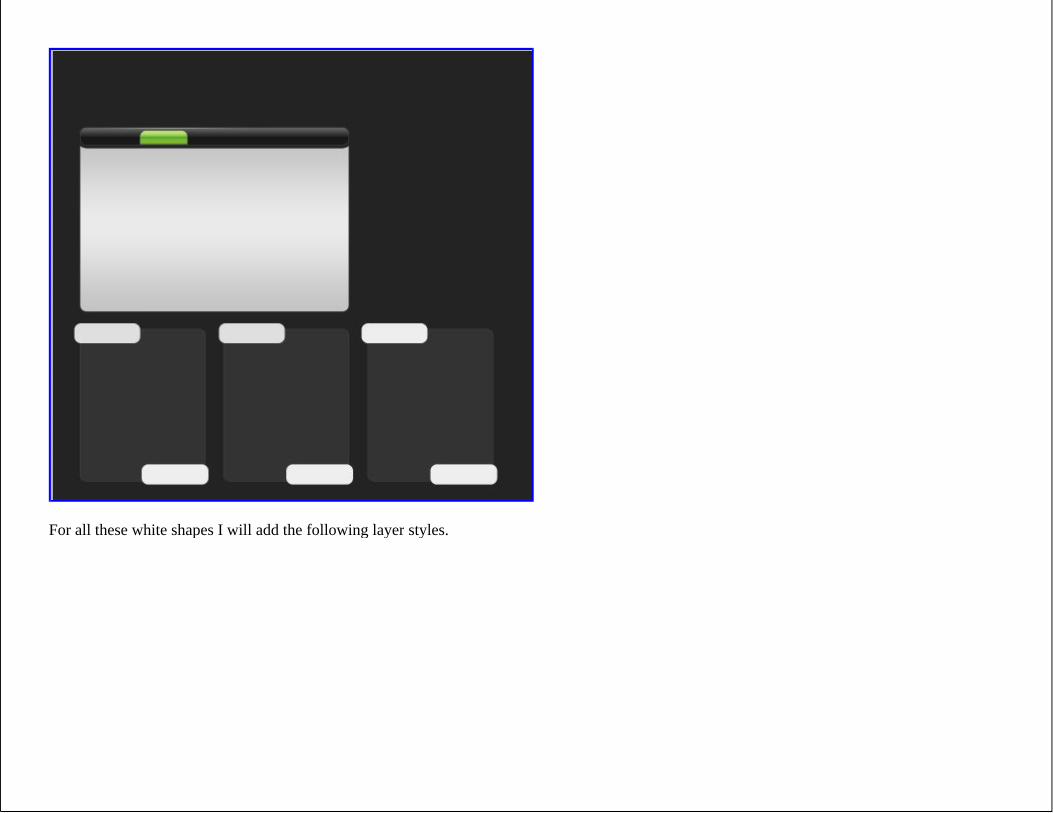
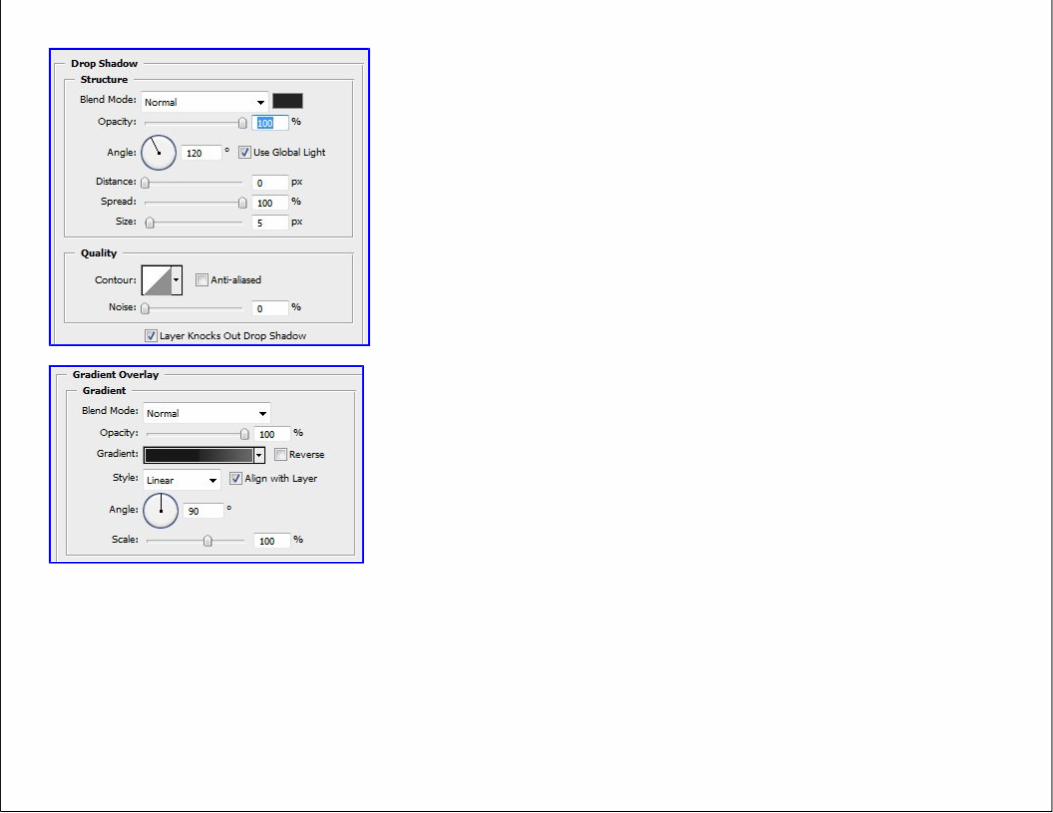
For all these white shapes I will add the following layer styles.
This is my result
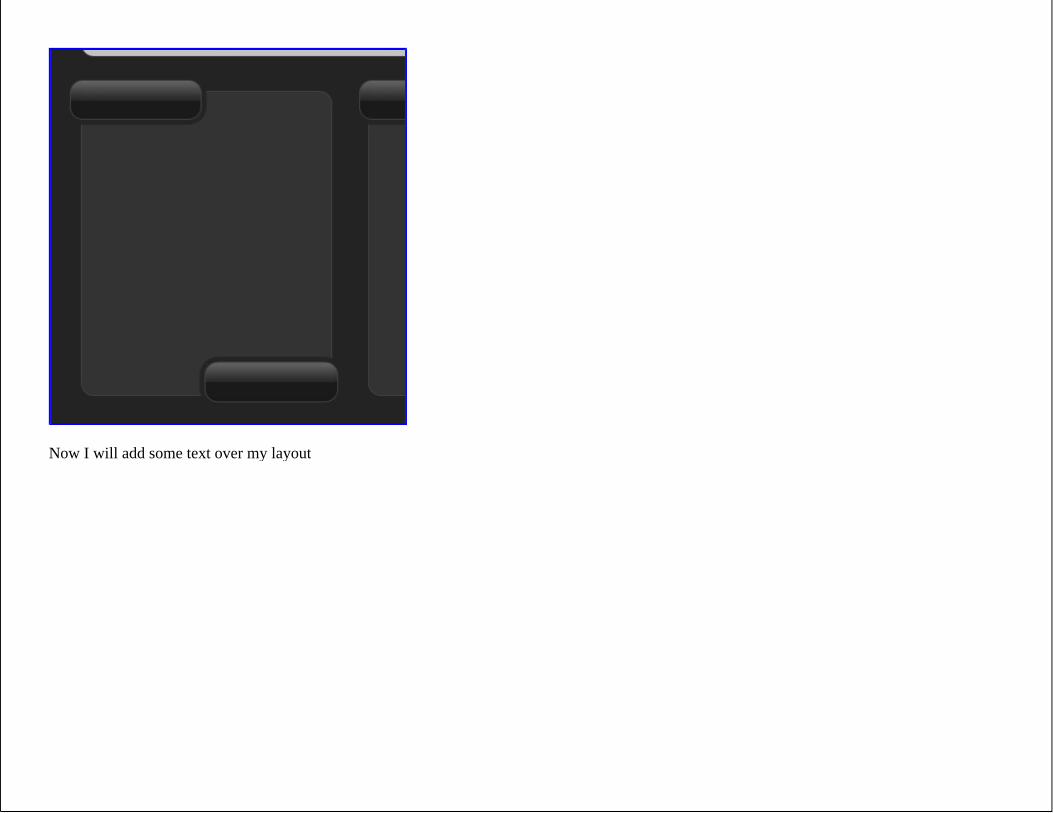
Now I will add some text over my layout
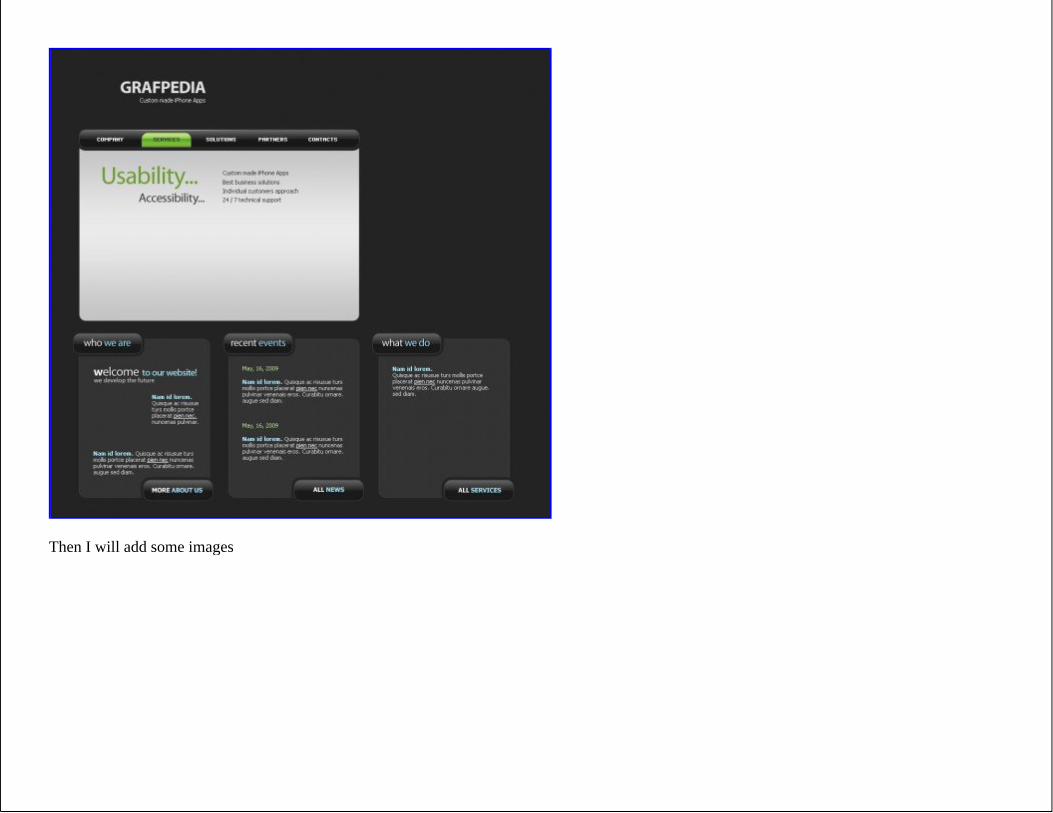
Then I will add some images
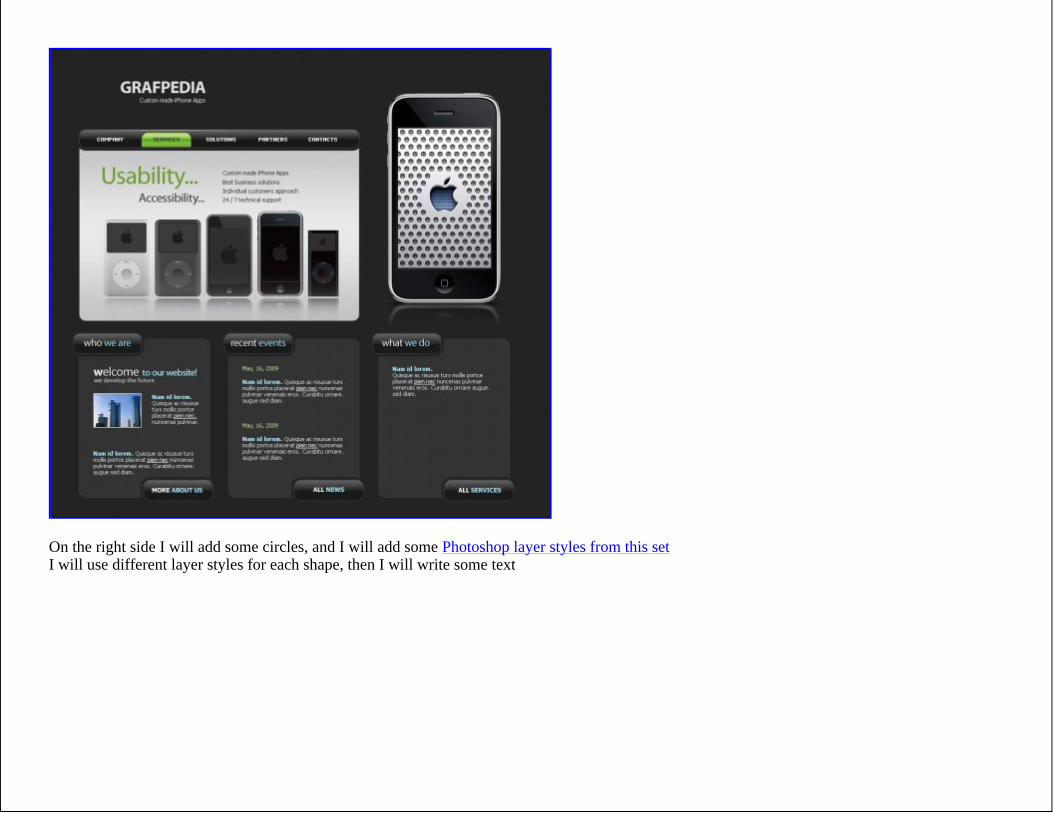
On the right side I will add some circles, and I will add some Photoshop layer styles from this setI will use different layer styles for each shape, then I will write some text
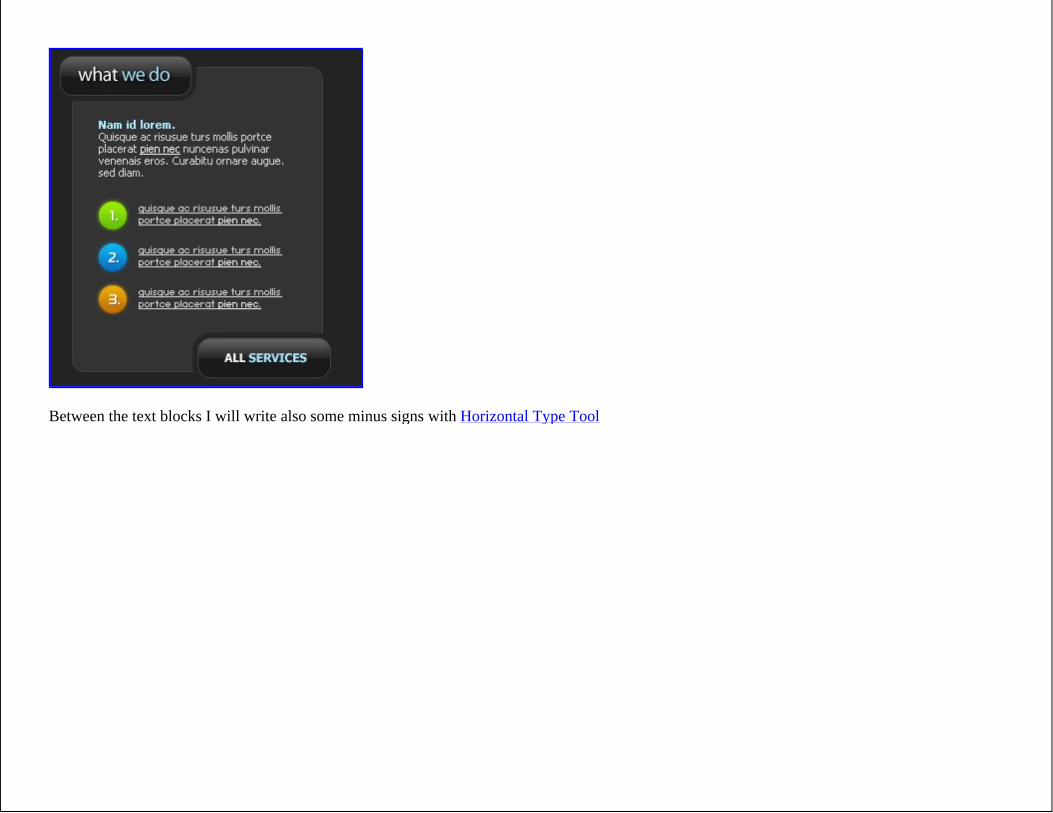
Between the text blocks I will write also some minus signs with Horizontal Type Tool
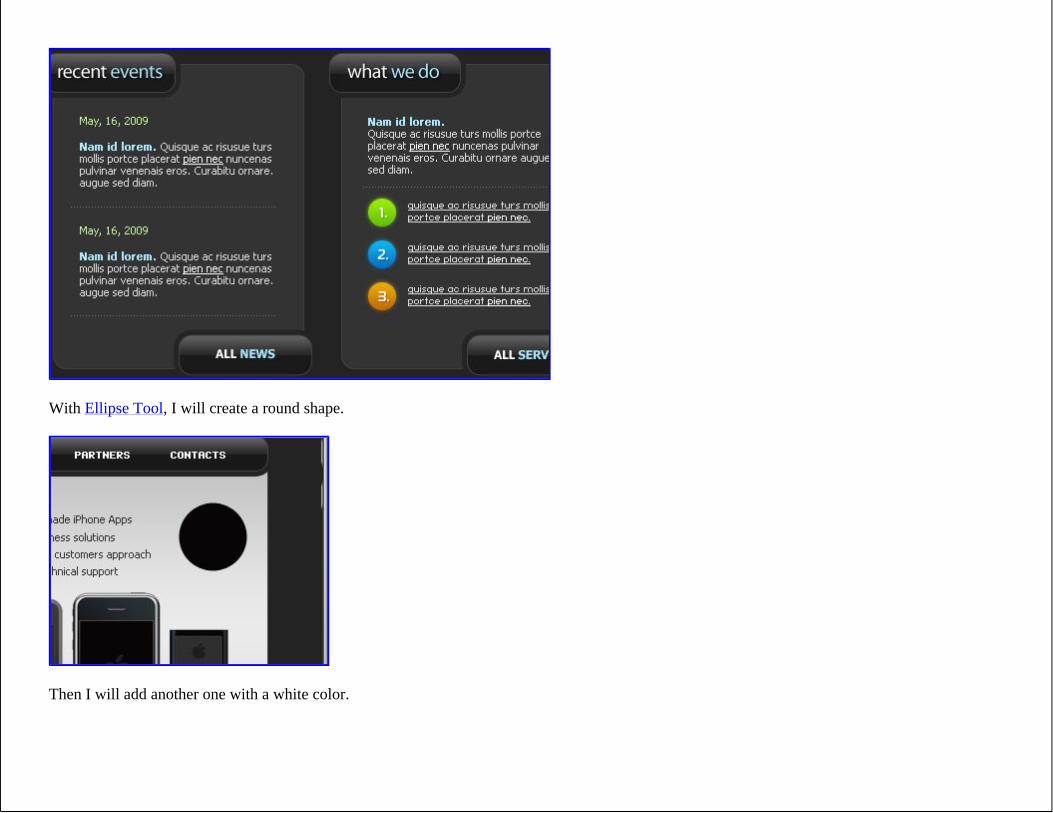
With Ellipse Tool, I will create a round shape.
Then I will add another one with a white color.
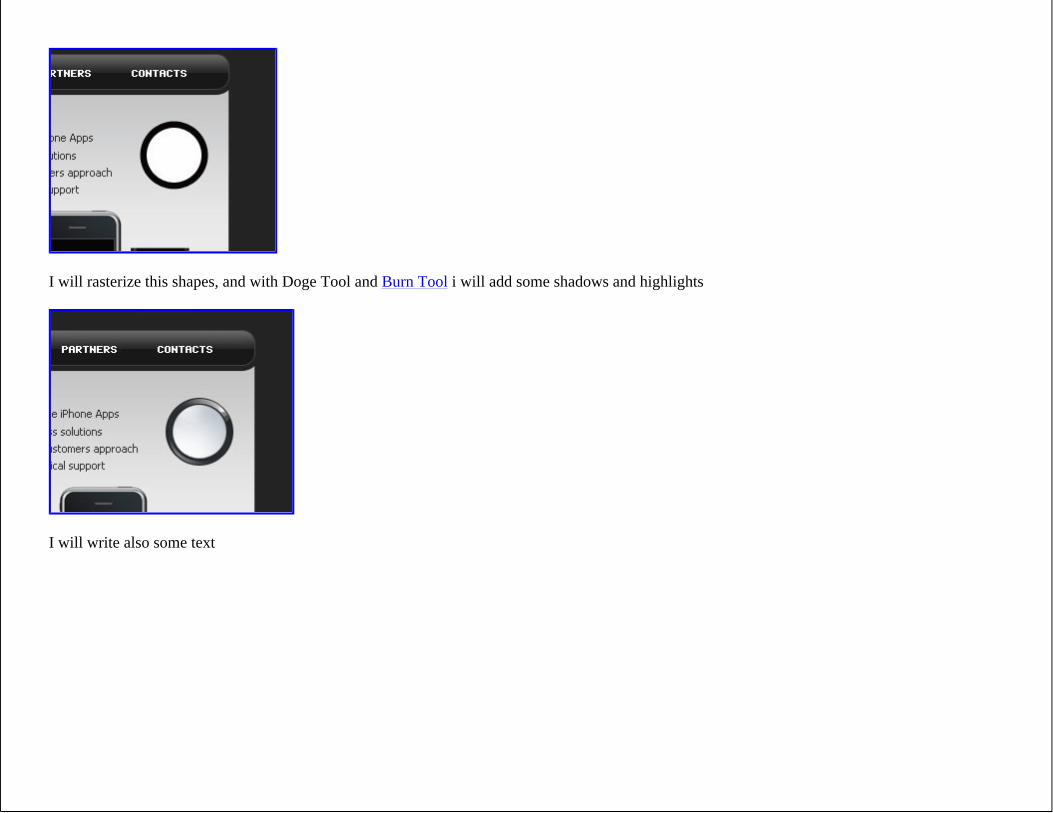
I will rasterize this shapes, and with Doge Tool and Burn Tool i will add some shadows and highlights
I will write also some text
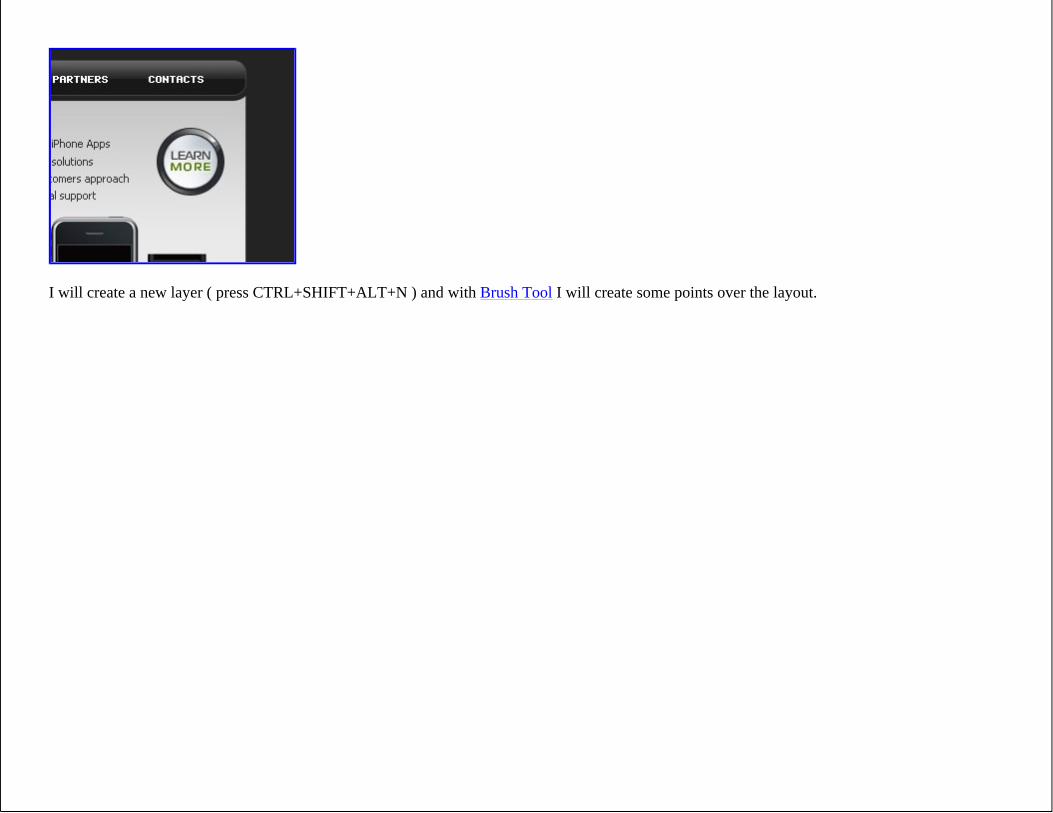
I will create a new layer ( press CTRL+SHIFT+ALT+N ) and with Brush Tool I will create some points over the layout.
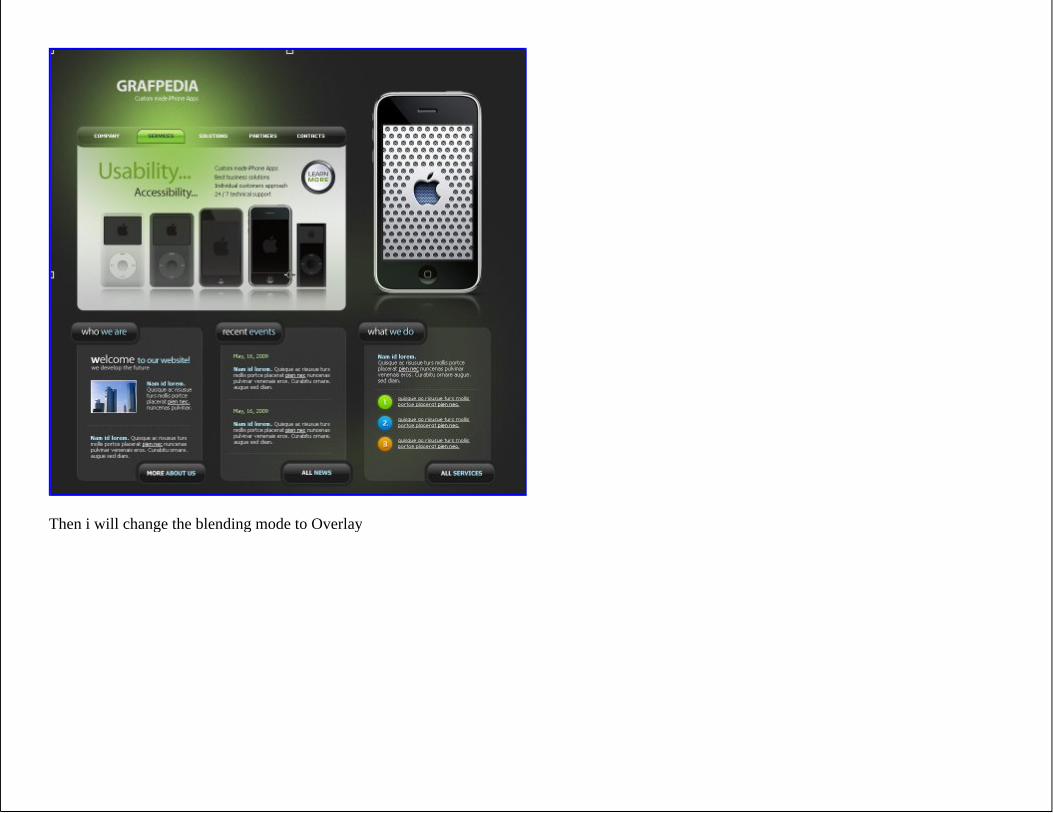
Then i will change the blending mode to Overlay
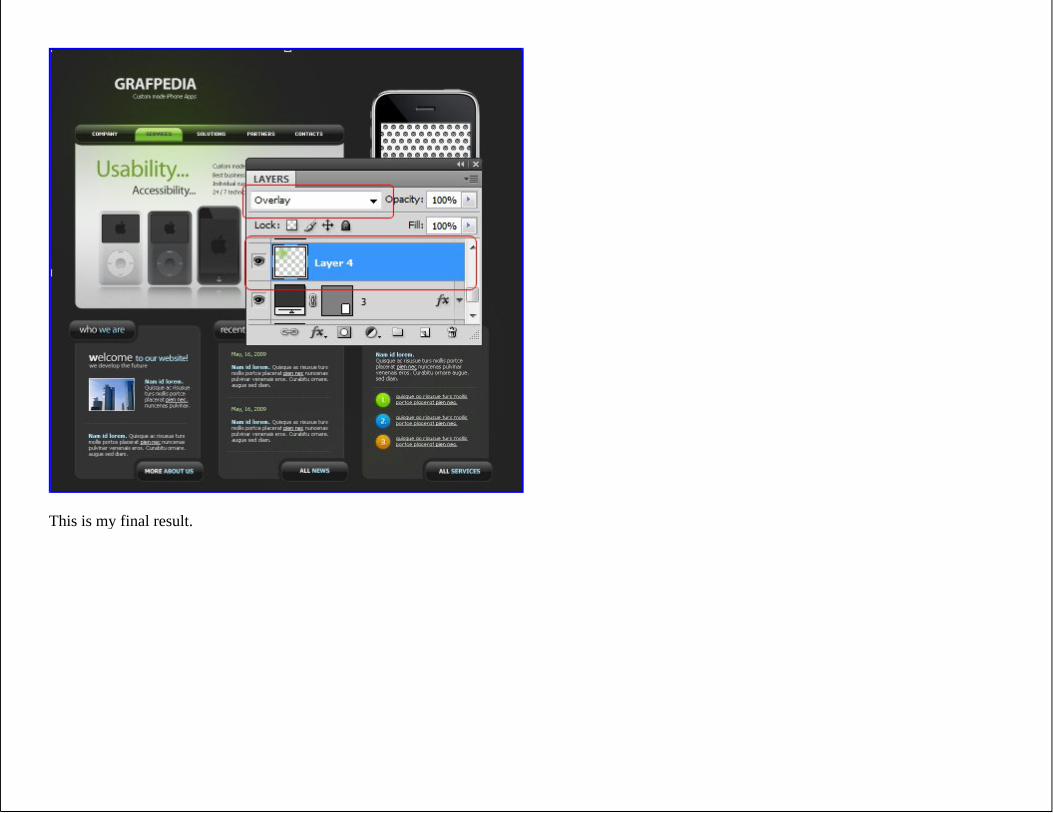
This is my final result.
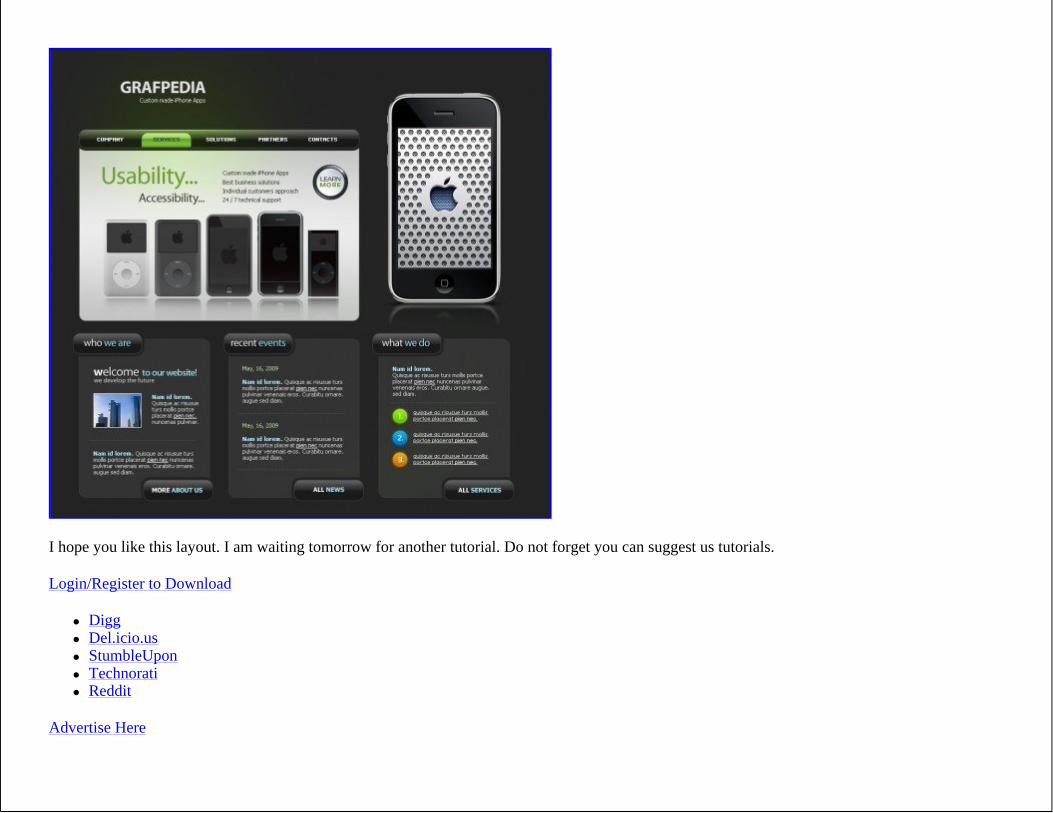
I hope you like this layout. I am waiting tomorrow for another tutorial. Do not forget you can suggest us tutorials.
Login/Register to Download
Digg Del.icio.us StumbleUpon Technorati Reddit
Advertise Here
Responses to “Create an iPhone related website”
1.klavins21 2.05.2009 um 3:02 pm
this is very nice tutorial
2.Pliggs 2.05.2009 um 7:03 pm
Good tutorial, thanks for taking the time to post.
3.Roosevelt P. 2.05.2009 um 7:24 pm
Very good tutorial, loved your detailed steps :).
4.Roosevelt P. 3.05.2009 um 5:35 am
Very good tutorial, loved your detailed steps :).P.S. - Sorry, forgot to tell you great post!
5.Danny 3.05.2009 um 12:54 pm
Awesome Tutorial !
I invite you to add your great tutorials to http://tutorials.extremestudio.ro/
6.Hiren Modi 4.05.2009 um 4:15 am
awesome tut, thanks for this wonderful tutorial.
7.neeshu 8.05.2009 um 9:39 am
can i get the metallic swatches you have used
8.Karan 11.05.2009 um 2:44 pm
Wonderful Tutorial..
9.Rizwan 18.05.2009 um 1:04 am
A Nice, Elegant, Soft & Pro-looking tutorialenjoyed very much
10.Tirath 6.06.2009 um 8:58 am
Awesome tutorialWith very Nice web layoutReally Graphpedia is amazingYour all web layouts tutorials & layouts are AwesomeThanks for posting your awesome tutorials for uskeep up good workGod Bless you
Leave a reply
Name (required)
Mail (will not be displayed) (required)
Website

Learn More | Sign up
Advertise Here
submit comment
Login
Username
Password
Remember me
Register Recover password
Grafplus lates downloads
Vector missile launcher Vector bug - Vector grasshopper vector bombs - vector torpede Vector bilboard Old style retro car in vector file format Vector army tank ACrobatic vector plane Vector military tank Vector acrobatic plane Vector speed boat
Subscribe to Grafpedia
Subscribe to our RSS feed and you can download unique premium downloads
Login
gfedcb
Enter your email address:
Categories
Actions Brushes Contests Designing Drawing Gradients Icons Illustrator Layer Styles News Patterns Photo Effects Stock Images Swatches Textures Tutorials Vectors VIP Downloads Web layouts
Advertise here
Advertise Here
Subscribe
Recent Comments
steve on Draw Fairy Tale Characters in Photoshop oppeneer on Create an awesome black portfolio layout Wholesale Printing on Create an awesome portfolio layout Wholesale Printing on Draw Fairy Tale Characters in Photoshop Jza on Design a two color website layout in Photoshop
Pages
About Advertise Contact us Vip Membership
Most downloaded resources
27.000 Photoshop Gradients Last Posts
48 Decorative Vector Flowers 10 Hi-Res Blank 3D software boxes Draw Fairy Tale Characters in Photoshop Hi-Res Square pattern brushes Design a two color website layout in Photoshop
© 2008 | Grafpedia is proudly powered by Wordpress