

Create Accessible Documents Microsoft Word 2007 Cryssel Vera [email protected] | 916-278-2847.
51
-
date post
19-Dec-2015 -
Category
Documents
-
view
225 -
download
0
Transcript of Create Accessible Documents Microsoft Word 2007 Cryssel Vera [email protected] | 916-278-2847.

Objectives
▪ To learn what accessibility elements are needed to design an accessible Word Document.
▪ To understand how to apply these elements in your word documents.
▪ To create an accessible Word Document.

Accessibility Resources
▪ Accessibility Information for Instructors▫ http://www.csus.edu/accessibility/
instructors.html
▪ The CSU Accessible Technology Initiative▫ http://www.calstate.edu/accessibility/
▪ Accessibility at Sacramento State▫ http://www.csus.edu/accessibility/index.html

Accessibility Resources
▪ Professional Development for Accessible Technology▫ http://teachingcommons.cdl.edu/access/
index.html
▪ Accessible Instructional Materials Guides▫ http://www.csus.edu/accessibility/guides.html
▪ Faculty Staff Resource Center▫ http://www.csus.edu/irt/fsrc
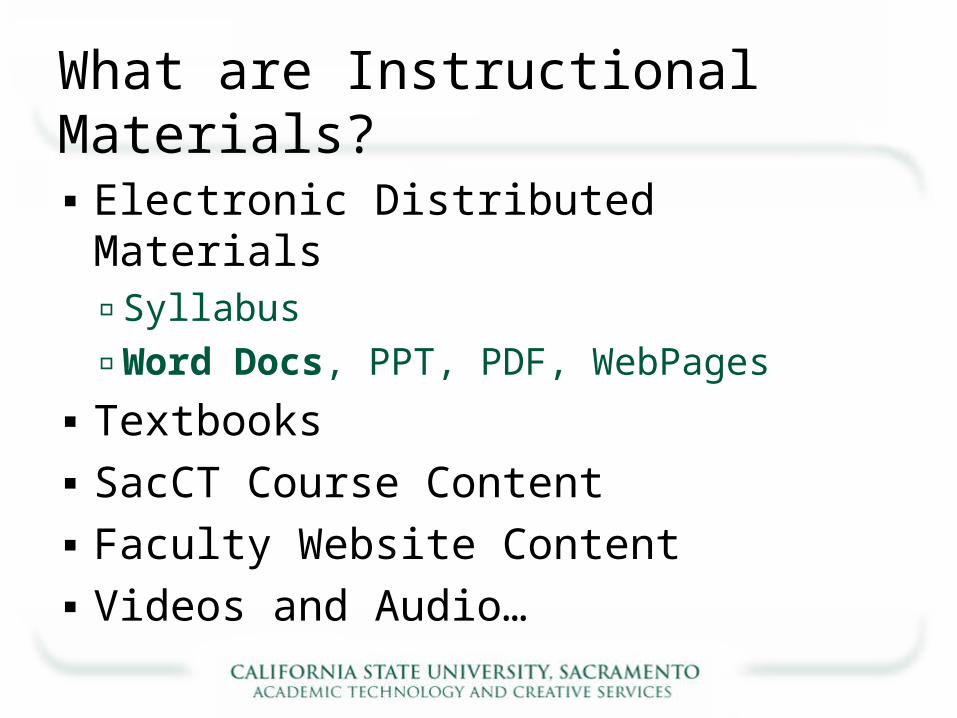
What are Instructional Materials?
▪ Electronic Distributed Materials▫ Syllabus
▫ Word Docs, PPT, PDF, WebPages
▪ Textbooks
▪ SacCT Course Content
▪ Faculty Website Content
▪ Videos and Audio…

Accessible Documents
▪ Documents that are designed and structured to be used effectively by people with disabilities.
▪ Can be accessed by assistive technology devices/software:▫ Screen Reader – JAWS ▫ Magnification Software – ZoomText ▫ Scan/Read – Kurzweil ▫ Assistive Technology Showcase Devices

Accessible Documents
▪ Other factors to keep in mind are:▫ Content Language
▫ Learning styles
▫ Access to technology (specific software)+ Digital Divide+ HTML most accessible format, ubiquitous+ Cross platform Formats (compatibility): .rtf, .html

Accessible Document Scenario
▪ Open Accessible Word Example (Syllabus)
▪ Ease in Navigating Content when content is accessible
▪ What does a blind user hear?▫ Use JAWS: Ctrl + Alt + J - “Jaws for Windows
is Ready”
▫ Use JAWS keyboard commands

JAWS Basic Key Commands
▫ Insert + down arrow = Say All,
▫ CTRL = Interrupt Speech
▫ Insert + Up Arrow = Say Line,
▫ Insert + Left Arrow = Say prior word
▫ Insert + Right Arrow = Say next word
▫ Insert + F6 = List of Headings
▫ Insert + F7 = List of Links
▫ Insert + F9 = List of Frames
▫ Insert + F5 = List of Form fields

Accessibility Elements
▪ Structure
▪ Styles and Formatting
▪ Alternative Text for Images
▪ Descriptive Labels for Links

Accessibility Elements
▪ Simple Tables; Table Headers Identified
▪ Review with Assistive Technology
▪ Electronic Format – Multiple Formats

Source Document Structure
▪ How is your document organized?▫ Contains a title?
▫ Contains different sections?
▫ Lists?
▫ Layout?
▫ Combination of text and graphics?
▫ Use of links?
▫ How should my document be read so that it is coherent?
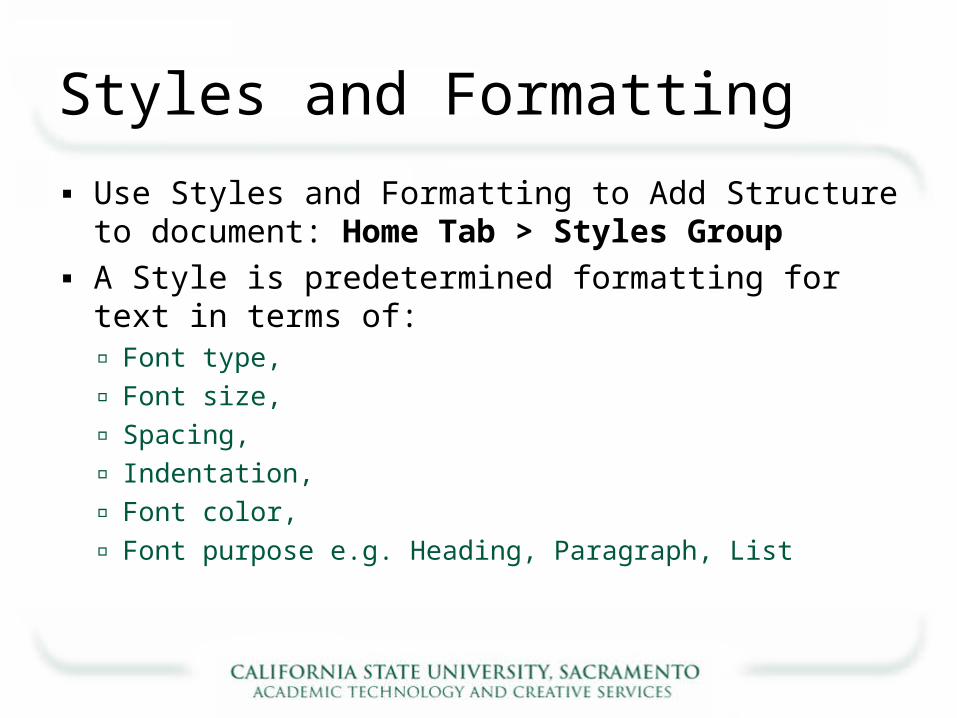
Styles and Formatting
▪ Use Styles and Formatting to Add Structure to document: Home Tab > Styles Group
▪ A Style is predetermined formatting for text in terms of:▫ Font type,
▫ Font size,
▫ Spacing,
▫ Indentation,
▫ Font color,
▫ Font purpose e.g. Heading, Paragraph, List

Apply Styles and Formatting
▪ Apply Heading Styles to:▫ Section Titles
▫ Anything that would appear on a TOC
▪ Use Styles Group to format Headings▫ Paragraph Group adds the look but not the
underlying structure!
▪ Format lists via Paragraph or Styles group

Exercises
▪ Go to:▫ http://www.csus.edu/accessibility/dev/workshop.html
▪ Download: “Syllabus Make Me Accessible”
▪ Save To Desktop

WORKING WITH STYLES

Adding Heading Styles
No Existing Formatting Example:▪ Place cursor in front of Document Title▪ Select the Home Tab > Styles Menu > Styles Launcher
Button▪ Select Heading 1
▫ Title reflects style formatting for H1
▫ Hover mouse over H1, note formatting details
▪ Add a Heading 2 style to next section title▫ What is the next section title in the document?

Update Style to Match Selection
Existing Formatting Scenario:▪ Place cursor in front of Third Section Title▪ From Styles Menu locate Heading 3
▫ Notice current formatting details
▪ Right Click Heading 3▪ Select “Update Heading 3 to Match Selection”
▫ Text retains original formatting but now has a Heading 3 Style applied.

Modify a Style
Modify Default Style Formatting:
▪ Modify Heading 1 to Tahoma, 16 pt., Bold▫ Styles Menu > Heading 1 > Right Click or click
on drop down arrow> Select Modify Style
▫ Make Changes under Formatting Area
▪ Modify Heading 2 to your choice

Modify Style Window
Properties: Style Name and Type
Formatting: Font, Paragraph, Border, Tabs, Numbering, Paragraph Spacing, Text Placement…
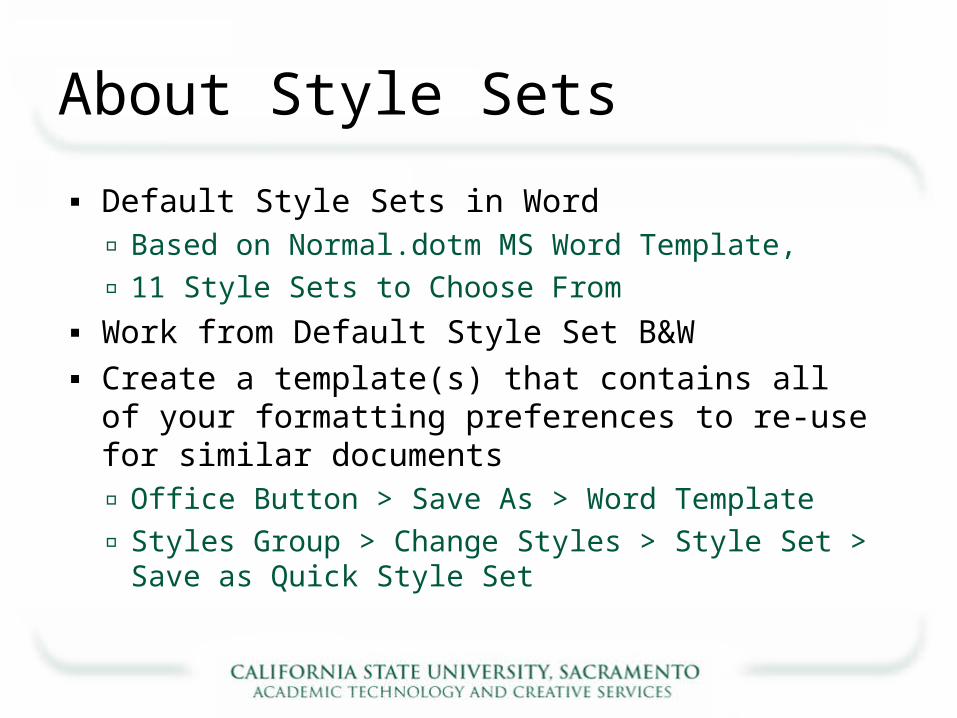
About Style Sets
▪ Default Style Sets in Word▫ Based on Normal.dotm MS Word Template,
▫ 11 Style Sets to Choose From
▪ Work from Default Style Set B&W▪ Create a template(s) that contains all of your formatting
preferences to re-use for similar documents▫ Office Button > Save As > Word Template
▫ Styles Group > Change Styles > Style Set > Save as Quick Style Set
WORKING WITH FONTS

Use Readable Font
▪ Font Size
▪ Font Family
▪ Font Color
▪ Font Style

Font Family
▪ Arial
▪ Tahoma▪ Verdana
Serif▪ Times New Roman
▪ Georgia▪ Book Antiqua
Sans Serif

Recommendation for Fonts
▪ Use the most readable fonts
▪ Sans Serif Fonts: Verdana, Arial, Tahoma
▫ Plain endings, no flared extensions, no extra ornamentation, easier to read
▪ Serif, Cursive, Fantasy fonts
▫ Difficult to read, extra ornamentation, strokes at tips
▪ Limit the number of fonts used
▪ Avoid small font sizes (24pt min)

More Font Recommendations
▪ Availability of fonts across computer operating systems?
▪ Use Real text vs. text within graphics▪ Limit font variations such as bold, italics,
underline, all caps▪ Don’t rely on font color, size, and overall font
look to convey meaning▪ Avoid blinking/moving text

Font Style
▪ Avoid using all UPPERCASE LETTERS
▪ Italics are difficult to read on screen
▪ Reserve Underline Text for Links
▪ Use Sans Serif Fonts

WORKING WITH IMAGES

Add Alternative Text to Images
▪ Provide Alt Text Descriptions for Images▫ MS Office 2003: Right Click > Format Picture >
Web Tab
▫ MS Office 2007: Right Click > Size and Position > Alt Text Tab
▪ Concise and Meaningful Descriptions
▪ Avoid starting description with “Image of”
▪ Long Descriptions written next to image

Alt Text vs. Caption on a Mac▪ Mac Users: Add Caption (no alt text tab
option) Ctrl + click > Insert Caption > Figure 1…▫ Caption appears below/above image, carried
over into PDF/HTML
▫ OpenOffice Word for Mac (add alt text option available)
▪ Windows: Add Caption▫ References Tab > Captions group > Insert
Caption. Appears below/above image.

Alt Text Tips
▪ Avoid Clutter
▪ Avoid using images as Background
▪ Decorative vs. Meaningful▫ Decorative images most likely do not require
alt text.
Try it!
▪ Add Alt Text to the Image in Document
▪ Add a Caption to the Image in Document

WORKING WITH HYPERLINKS

Use Descriptive Hyperlinks
Descriptive Links:▪ Sac State Home Page▪ Meaningful to users of
screen readers▪ Insert + F7 keystrokes
shows list of links in document using JAWS
▪ Navigate content easily
Plain URL:▪ http://www.csus.edu▪ Not meaningful▪ User can get lost▪ List of URL’s not helpful
to navigation of content▪ Can place URL next to
descriptive link (not enabled) for print purposes

Adding Descriptive Links
▪ Type a Descriptive Label for Link in Document
▪ Select text > Right Click > Select Hyperlink▫ Text to Display Box: Verify/Enter Descriptive
label
▫ Address Box: Enter URL
▪ Click OK
▪ Test Link: CTRL + Click

Try it!
▪ Locate URL in document,
▪ Copy and paste URL into browser – take note of page it opens,
▪ Convert URL into a descriptive labeled link,
▪ Test link.

WORKING WITH TABLES

Accessible Tables
▪ Keep tables simple▫ Screen readers read tables from left to right
▫ Avoid nested tables/complex
▪ Add Table Headers in Word▫ Select Header Row > Right Click (ctrl +click on Mac) > Table
Properties > Row Tab > “Repeat as Header Row”
▫ Adds TH (Table Header) tag
▪ Add Long Description (Table Summary) below table if necessary

Accessible Tables
▪ Do not allow rows to break across sections (Table Properties),
▪ Do not use heading styles in table header cells,▪ No mechanism in Word to identify Row header; only
Column Header,▪ Modify cell margins instead of using “enter” key to create
space around content in table cells ▫ Select cells > table properties > cell tab > options button>.10 -.15)

Try it!
▪ Locate Header Row and Select it
▪ Add the Table Header tag

MULTIPLE FORMATS
Make Available in Electronic Format
▪ Word .doc, RTF, PDF, or HTML ▫ Word 97 – 2003 Document (Can be opened in
version 2007)
▪ First step in making document accessible
▪ Facilitates process to convert into alternate formats▫ Large print, Braille, mp3 audio etc.
▪ Saves Time
Make available in Multiple Formats
Portable Document Format “PDF”▫ MS Office 2007:
+ Buy Adobe Acrobat Standard/Pro – Create PDF Button‾ Acrobat Tab > Create PDF‾ Office Button > Save As > “Adobe PDF”
+ Install MS Office Add-in to Save Files as PDF/XPS
▫ MS Office 2003+ Buy full Adobe Acrobat Standard/Pro to have Adobe
PDF Menu and “Convert to Adobe PDF” button option

Recommendation for Mac Users
▪ Office for Mac▫ Cannot create tagged PDF from Office on Mac
+ File > PDF+ Add Tags in Adobe Acrobat: Review, Repair,
Review process…
▫ Use OpenOffice for Mac + File > Export as PDF > General Tab > select “tagged
PDF” checkbox

Multiple Formats▪ Hyper Text Markup Language
“HTML”▫ File > Save As > Web Page “Filtered”
▫ Filtered option does not carry over unnecessary information
▫ Carries over Alt Text, Table Headers, links
▫ Edit in Dreamweaver or other web editor

Multiple Formats
▪ Rich Text Format “RTF”▫ File > Save As > RTF
▫ Read across different word processing applications

Try it!
▪ Convert into PDF ▫ Open in Adobe Acrobat and Check Tags
▪ Convert into HTML▫ Open in Dreamweaver

Use Assistive Technology
▪ Use JAWS to Read Document
▪ Start JAWS: CTRL + Alt + J
▪ Use Shortcuts

Summary
▪ Structure
▪ Styles and Formatting
▪ Alternative Text for Images
▪ Descriptive Labels for Links
▪ Simple Tables
▪ Review with Assistive Technology
▪ Electronic – Multiple Formats

Questions??
▪ If you have questions about this workshop, please contact Cryssel Vera at:

Workshop Evaluation
▪ Locate Workshop Evaluation Icon on Desktop
▪ Find Workshop Name Link, complete evaluation
▪ Contact:Cryssel Vera
278-2847


