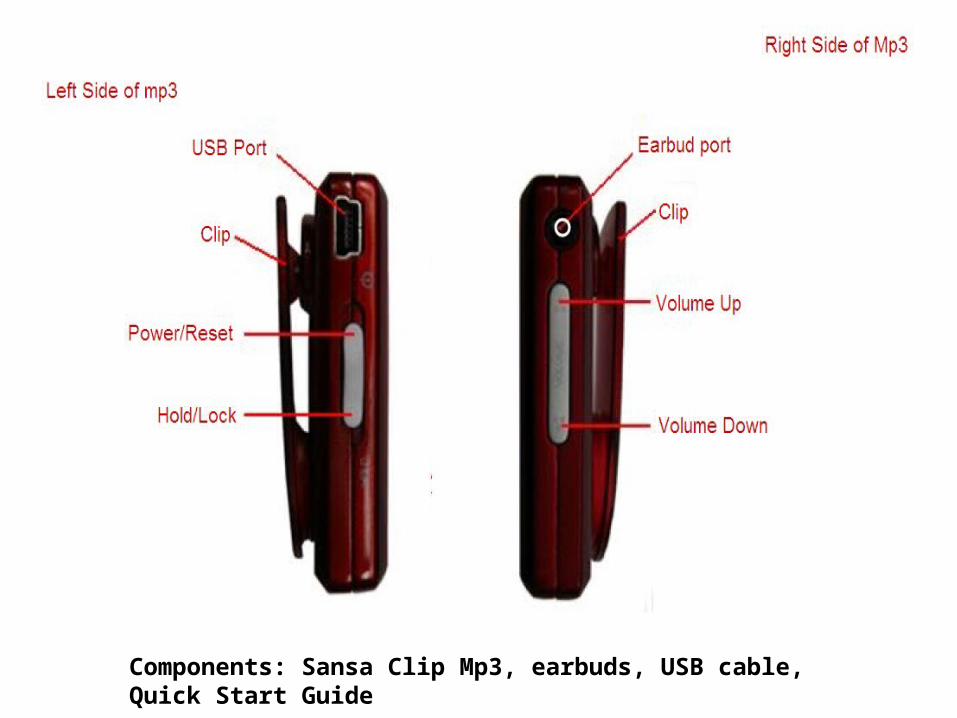
Components: Sansa Clip Mp3, earbuds, USB cable, Quick Start Guide.
15
-
Upload
andrea-hovell -
Category
Documents
-
view
222 -
download
5
Transcript of Components: Sansa Clip Mp3, earbuds, USB cable, Quick Start Guide.

Components: Sansa Clip Mp3, earbuds, USB cable, Quick Start Guide
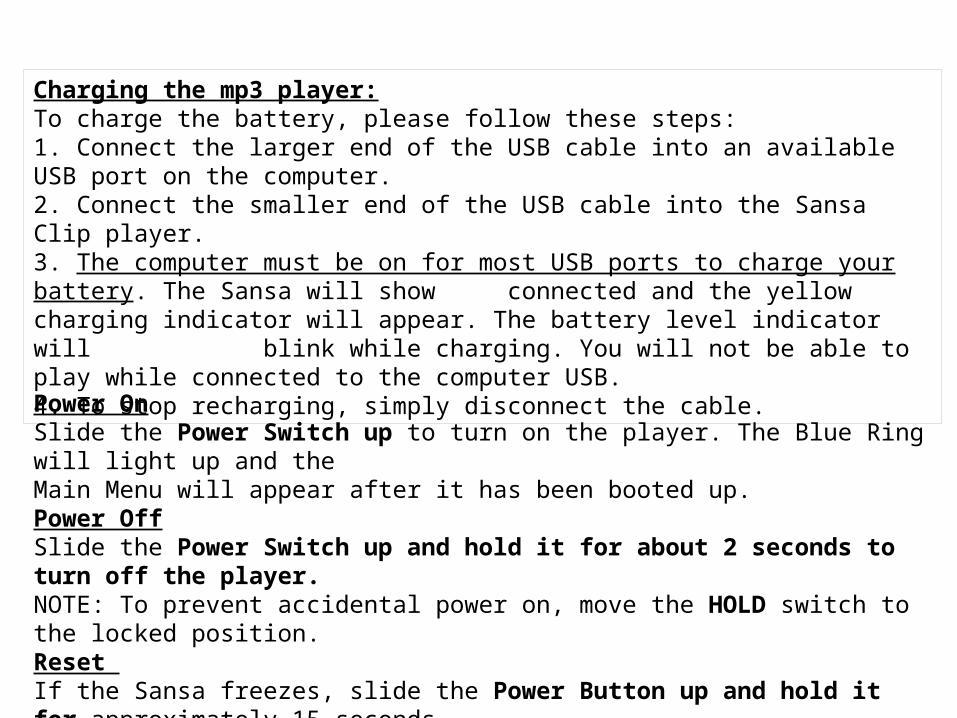
Charging the mp3 player:To charge the battery, please follow these steps:1. Connect the larger end of the USB cable into an available USB port on the computer.2. Connect the smaller end of the USB cable into the Sansa Clip player.3. The computer must be on for most USB ports to charge your battery. The Sansa will show connected and the yellow charging indicator will appear. The battery level indicator will blink while charging. You will not be able to play while connected to the computer USB.4. To stop recharging, simply disconnect the cable.
Power OnSlide the Power Switch up to turn on the player. The Blue Ring will light up and theMain Menu will appear after it has been booted up.Power OffSlide the Power Switch up and hold it for about 2 seconds to turn off the player.NOTE: To prevent accidental power on, move the HOLD switch to the locked position.Reset If the Sansa freezes, slide the Power Button up and hold it for approximately 15 seconds.

Connecting to your ComputerTo connect the Sansa player to your computer, follow these instructions:1. Connect the smaller end of the USB cable into an available USB port on thecomputer.2. Connect the larger end of the USB cable into the dock connector of the player.3. The Sansa player will show connected on its display screen.4. The Sansa player will appear in My Computer as Portable Media Player.
To remove the Sansa player from your computer, simply disconnect the USB cable fromthe player after you have finished charging, transferring, firmware upgrading, orsynchronizing files.WARNING: Do not disconnect the player while it’s transferring data. Disconnecting theplayer from the computer while the data is being transferred can damagethe device.

Hold SwitchThe Hold Switch is located on the left side of the player, and is used to prevent anyaccidental operation. All function keys will be disabled once the Hold Switch is moved to the lock position (Orange Color visible). All the buttons on the Sansa Clip will not operate when the Hold Switch is active (Orange Color visible).The following message will appear on the display screen if any buttons is pressed while the device is in the Locked position. The music should continue to play even if the device is locked.

Recording:
Voice Recording of tests directly onto the mp3 player.The Sansa Clip has a built-in microphone allowing you to record your tests.To start voice recording, follow these steps:
1. Press the Menu button to return to Main Menu.2. Select Voice3. Press Play/Pause to start recording.4. To pause recording, press Play/Pause again5. To stop recording, press Select. A pop-up window will appear on the screen. Select Yes to save recording. The recording will be saved in the RECORD/VOICE folder.6. Press |<< button to return to the Voice Menu.

Loading ContentsLoading files and foldersYou can transfer mp3 files and folders from your computer to the Sansa player using the drag-and-drop method or using music management software like Windows Media Player.
Drag and DropFollow these steps to drag-and-drop music to your Sansa Clip player:1. Connect your Sansa Clip player to your computer.2. Select Open device to view files using Windows Explorer on initial connection.3. Double-click on the Sansa player.5. Drag and drop test folder from your computer to the Sansa player.Keep tests, or mp3 books in their own folder and name the folder exactly what it is.It is simpler to just drag and drop the whole folder.
To delete a folder on the Sansa mp3 player, open it and drag and drop it onto yourComputer or in the trash. If it is write protected, open the folder and individually deletethe files, then the folder. Remember, there may be DRM software so keep your folders Separate.

To delete files on the mp3 using the computer, follow these steps:1. Connect your Sansa to the computer.2. Double click My Computer to view drives/mp3.3. Locate the folder where your music files are stored.4. Highlight and delete the music files or folder.