Cloud9 loungers-project-sheet
33
SUITABLE FOR QUILTER’S COTTONS, VOILE, FLANNEL AND KNIT this pattern is intended for personal use only © cloud9 fabrics 2015 | all rights reserved cloud9fabrics.com CLOUD9 LOUNGERS SIZES S, M, L, XL
-
Upload
share-sewing -
Category
Design
-
view
24 -
download
0
Transcript of Cloud9 loungers-project-sheet

S U I T A B L E F O R Q U I L T E R ’ S C O T T O N S , V O I L E , F L A N N E L A N D K N I T
this pattern is intended for personal use only
© cloud9 fabrics 2015 | all rights reserved
cloud9fabrics.com
C LO U D 9 LO U N G E R S S I Z E S S, M, L, XL

M A T E R I A L S S I Z E C H A R T
A S S E M B L Y D I R E C T I O N S
page 2
• 3 yards fabric (44"-45"); please note: yardage requirements may change if you choose to lengthen or shorten• 1½ yards of ½" twill tape or 1 yard of ¾" elastic for waist band
Notes:• Seam allowance: 5/8" for all seams unless otherwise noted, 1" hem allowance• 1¼" foldover for twill tape drawstring or elastic• Finish all seams as desired
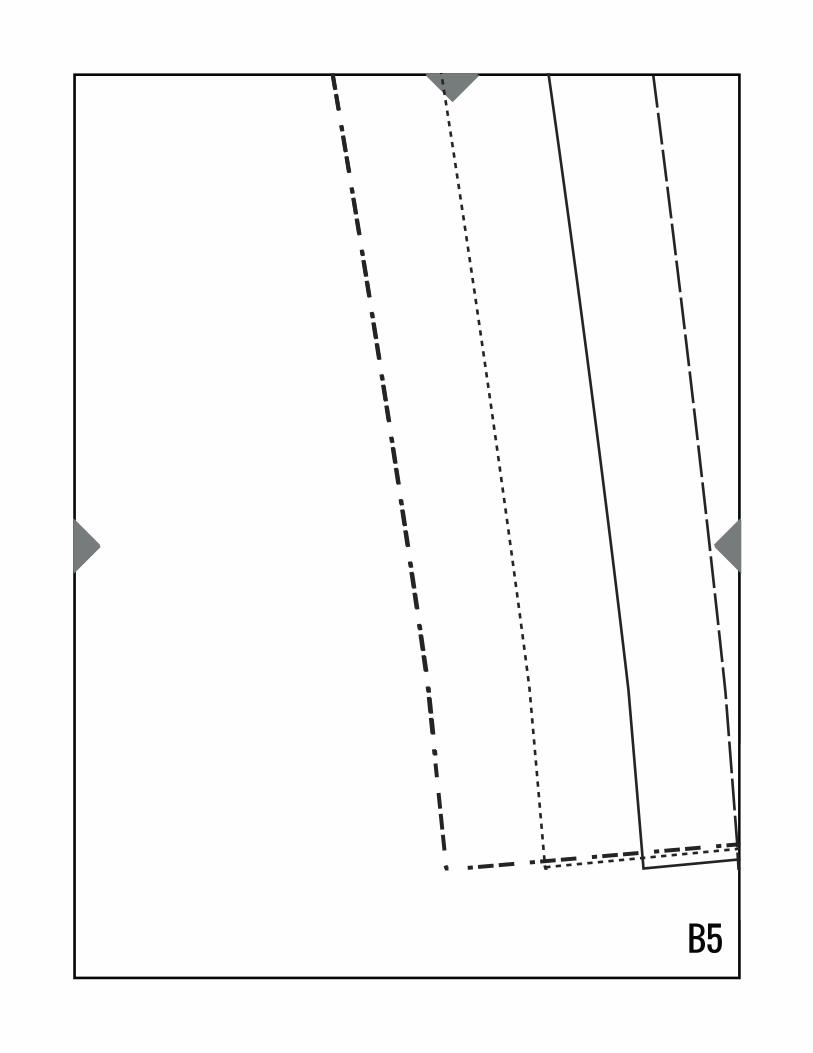
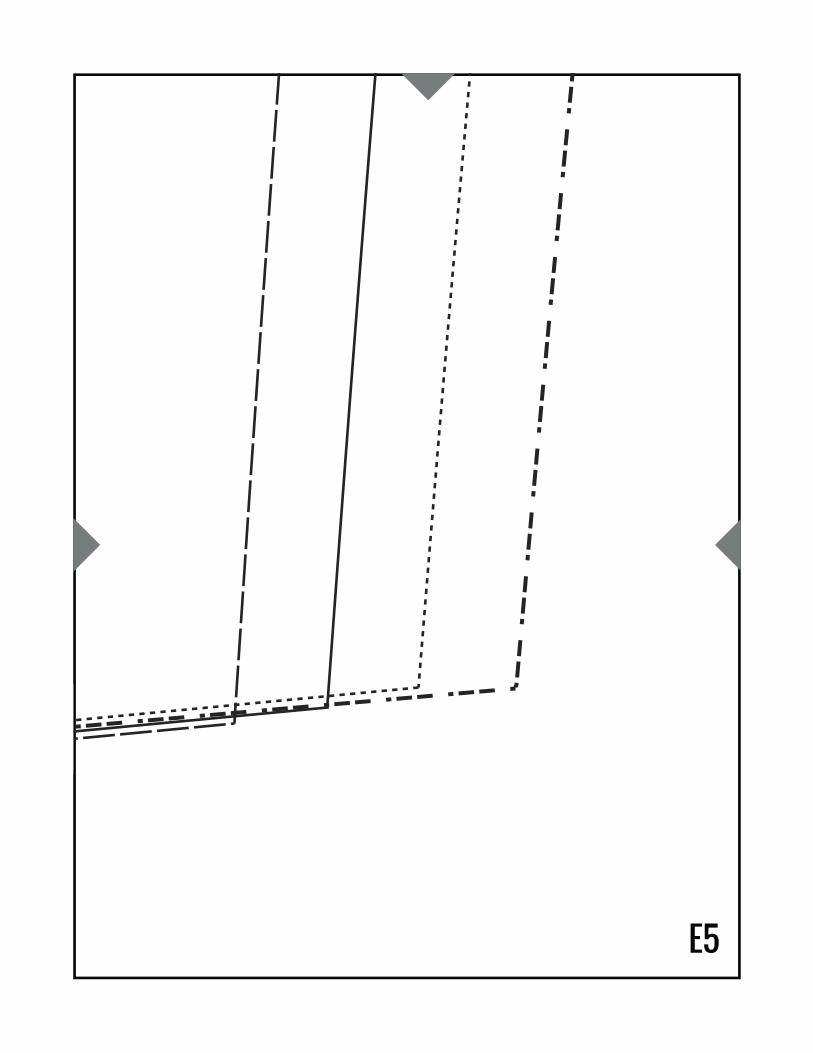
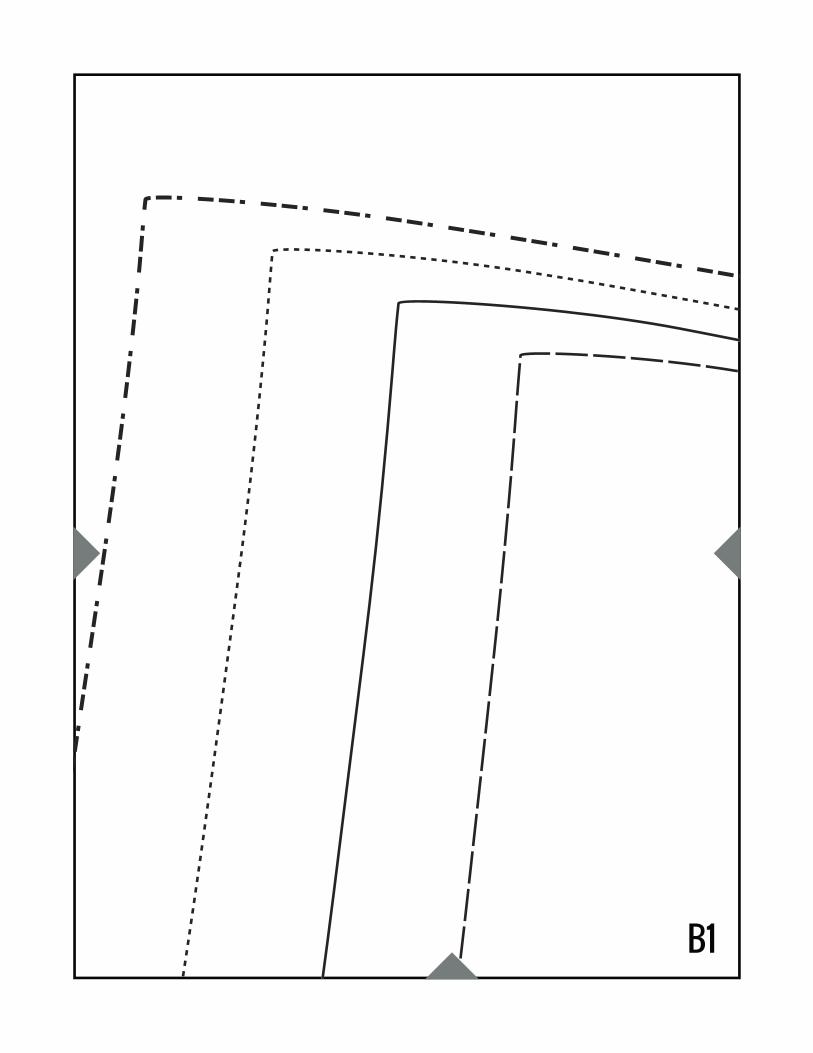
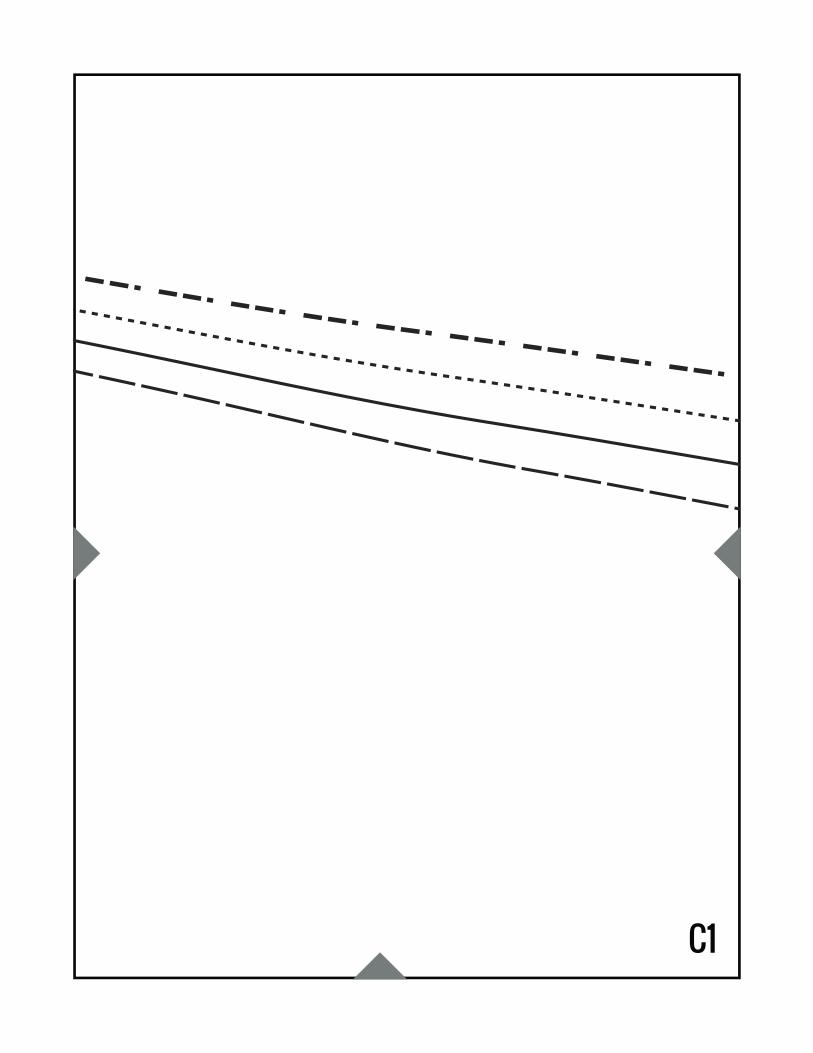
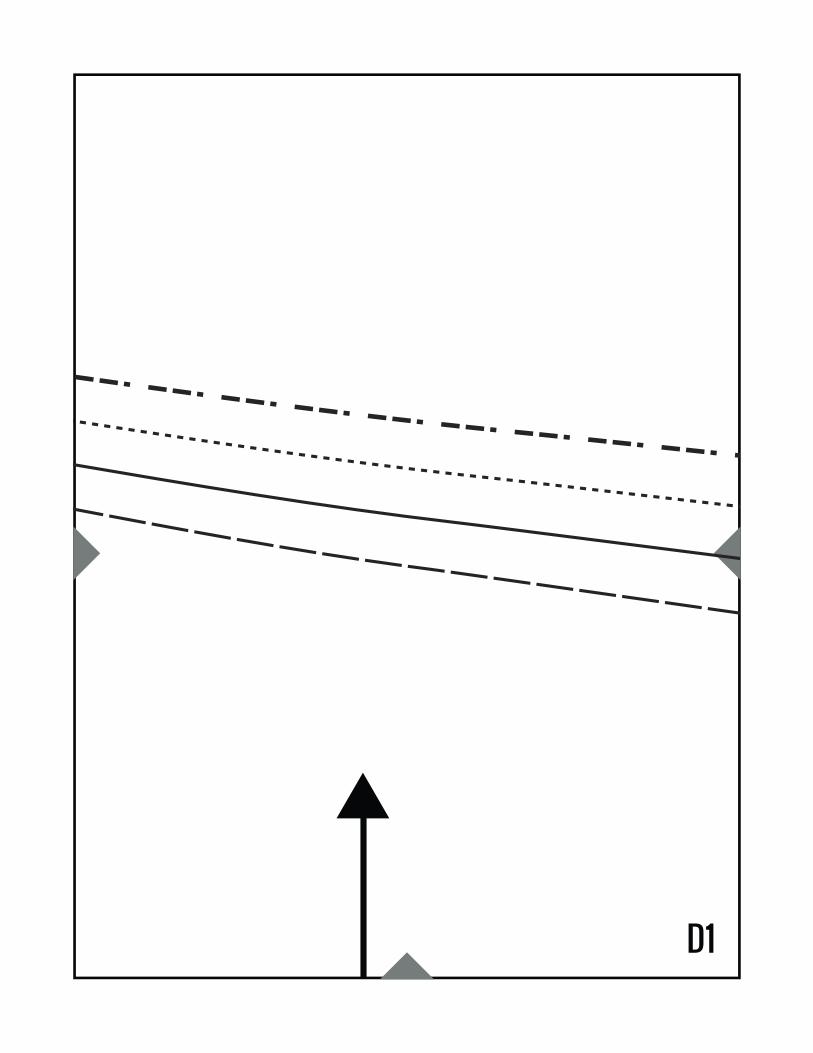
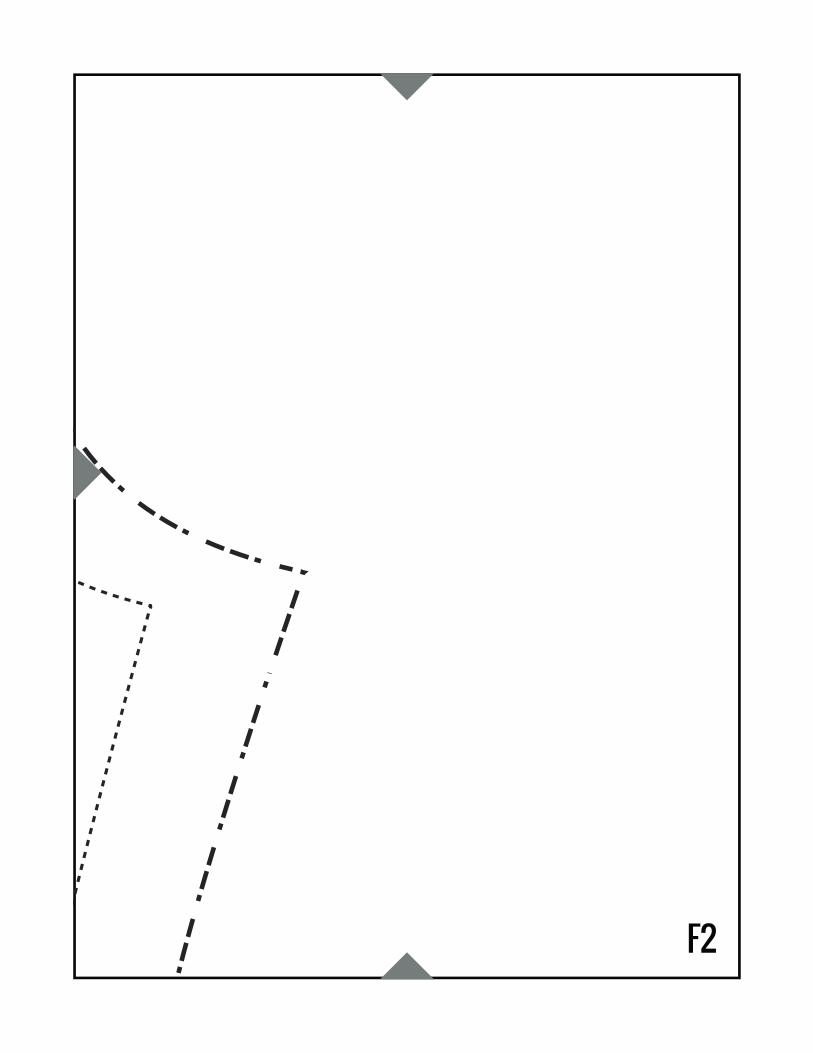
cutting: 1. Lay your fabric out �at and cut 2 pants pieces following the grainline of your pattern piece and the grainline of your fabric. Remember to cut one right pant leg and one left pant leg. To do this, cut the �rst pant leg with the pattern piece face up. Cut the second pant leg with the pattern piece face down. [�g 1]
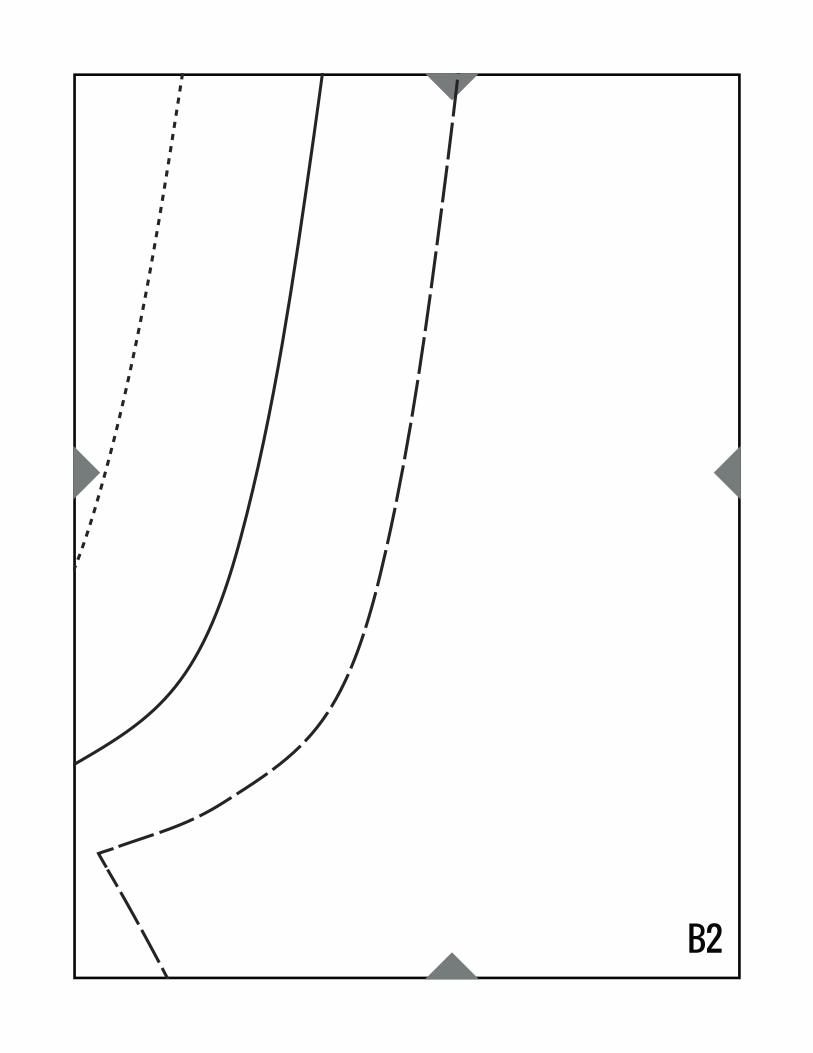
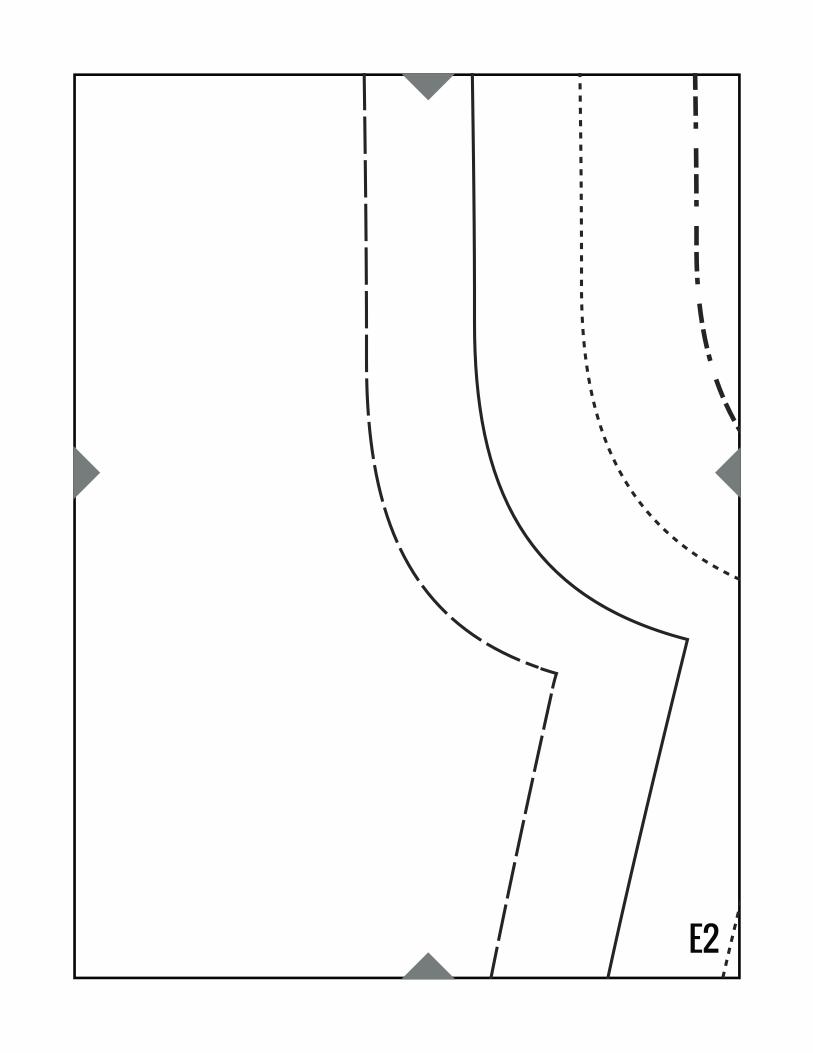
assembly:2. Pin leg pieces with right sides together, matching FRONT RISE and BACK RISE; sew the FRONT RISE, and then sew the BACK RISE. Finish the seams. [�g 2]
3. Open up pants, separating the legs, and with right sides together, match the FRONT and BACK CENTER SEAMS and pin. Then pin along one leg to ankle, then the other leg to ankle. Sew inseams from ankle to ankle. Finish the seams. Press towards back.[�g 3]
4. For drawstring casing, fold down the raw edge of the waist 1¼" and press. Fold under the raw edge another ½", pinning as you go. Start-ing at the back center seam, topstitch 5/8" from top, being sure to catch the casing. [�g 4]
5. Bar tack the center front seam at the topedge of the pants and the topstitching for thecasing. [�g 5] Using a seam ripper, gently ripthe stitches between the tacks. Insert drawstringusing a safety pin or bodkin and feed it aroundthe casing. Finish drawstring by tying a knot ateach end.
6. For elastic casing, fold down the raw edge of the waist 1¼" and press. Fold under the raw edge another ¼" pinning as you go. Topstitch on right side of fabric 7/8" from top edge leaving a 1" opening in the back through which you will thread your elastic. Insert elastic using a safety
Our cloud9 loungers are super easy and comfortable. We hope you enjoy the pattern and make lots of lounge pants for yourself, friends, and family.
We strongly suggest making a test garment �rst before cutting into good fabric. cloud9 loungers are intended to be roomy; some may �nd it is too loose for their taste and want to size down.
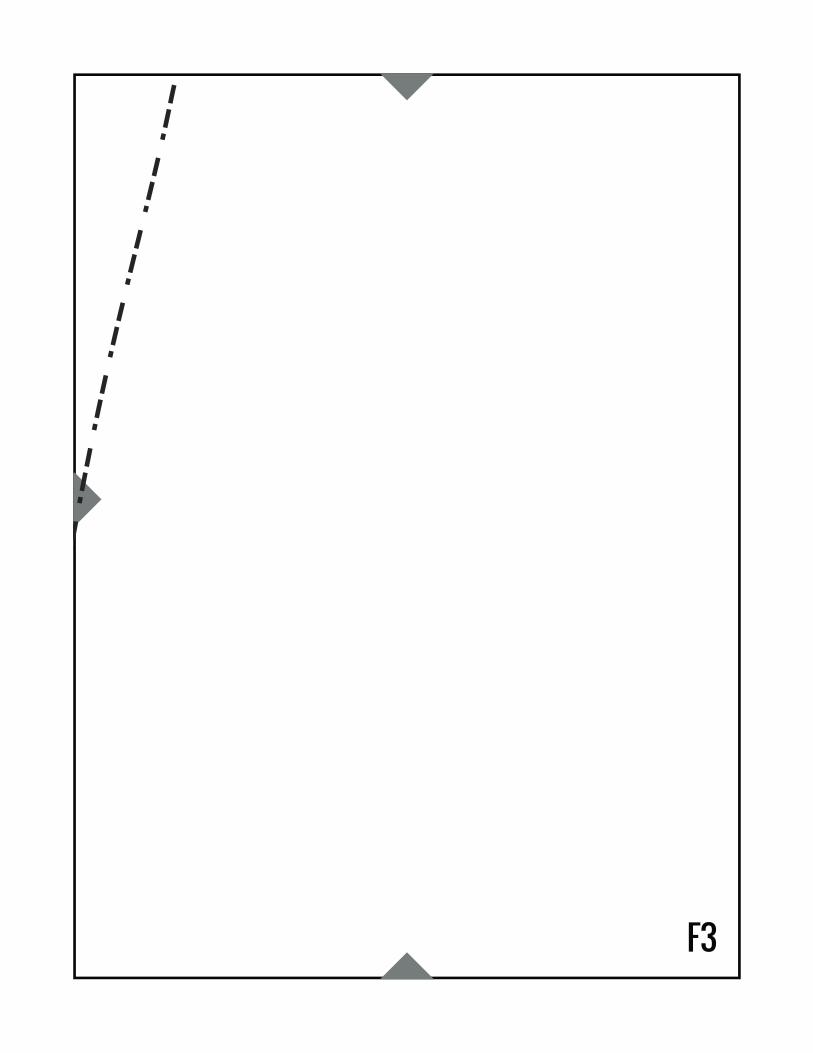
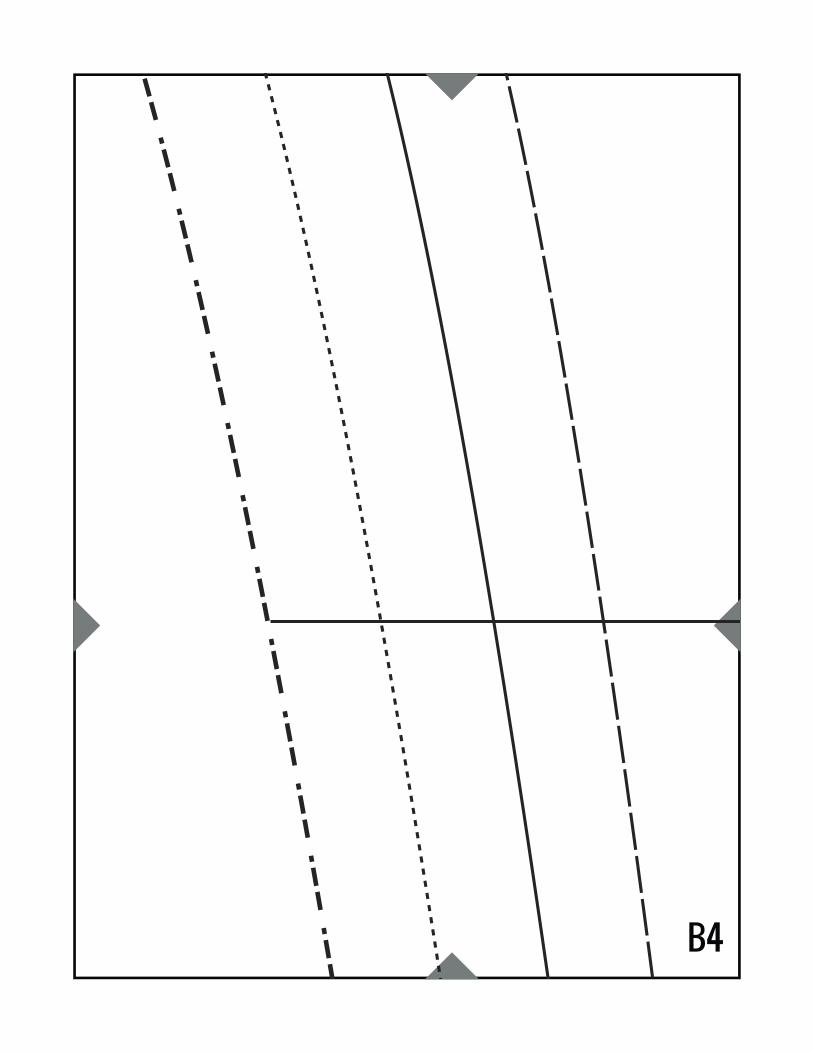
This pattern has a 30" inseam as written and you may need to make it shorter or longer. You can do this by simply adding or subtracting from the bottom edge of the pattern. Likewise, feel free to add or subtract from the top edge to adjust the rise. Please note that if you are making either
C L O U D 9 L O U N G E R S
waist
hip
the hem or rise longer you may want to buy an extra ¼ yd of fabric to avoid being caught short.
Suggested fabrics: many Cloud9 fabrics will work wonderfully, including quilter’s cottons, Cirrus Solids, broadcloth, voile, �annel, baby wale corduroy, double gauze, and knit — or any mid-weight fabric you’d enjoy cozying up with. We’ve found that the knit makes an even roomier pant, so it’s best to go with something not too stretchy, and size down if you’d like a cuddlier �t. Again, we suggest a test garment in similar fabric to be sure.
Finally, we recommend you wash, dry, and press fabrics before cutting.
Note: All possible care has been taken to assure the accuracy of this pattern. We are not responsible for printing errors or the manner in which individual work varies. Please read instructions carefully before starting the construction of this project.
pin or bodkin and feed it around the casing. Over-lap the ends of the elastic by ½" and pin. Check the �t and adjust if necessary. Stitch ends together. Pin the casing closed and continue the topstitch to sew shut. To keep elastic from rolling in casing, you can stitch through all thicknesses at the center front and back seam.
hem:8. Fold over the raw edge of each pant leg 1". Unfold and fold the raw edge under again, this time to meet the press line. Pin down the double folded hem and topstitch right side of fabric 3/8" from bottom edge.
32-33 34-35 36-37 38-39
34-36 36-38 38-40 40-42
s m l xlsize
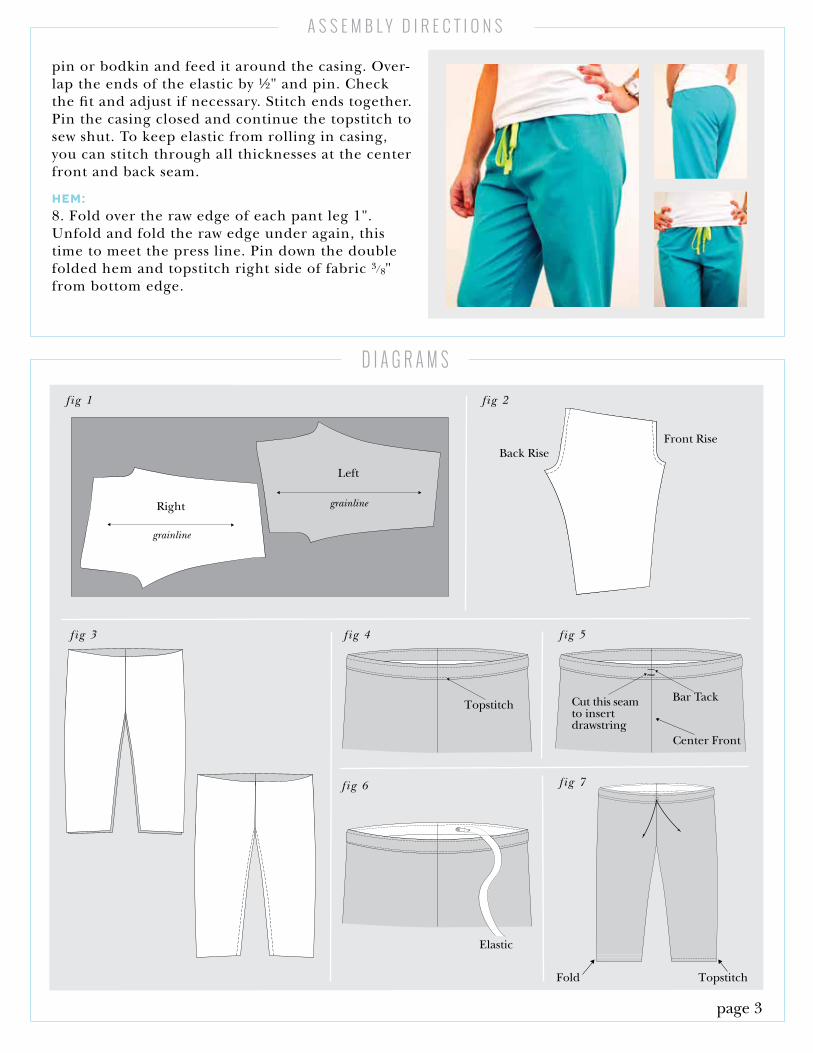
D I A G R A M S
page 3
cutting: 1. Lay your fabric out �at and cut 2 pants pieces following the grainline of your pattern piece and the grainline of your fabric. Remember to cut one right pant leg and one left pant leg. To do this, cut the �rst pant leg with the pattern piece face up. Cut the second pant leg with the pattern piece face down. [�g 1]
assembly:2. Pin leg pieces with right sides together, matching FRONT RISE and BACK RISE; sew the FRONT RISE, and then sew the BACK RISE. Finish the seams. [�g 2]
3. Open up pants, separating the legs, and with right sides together, match the FRONT and BACK CENTER SEAMS and pin. Then pin along one leg to ankle, then the other leg to ankle. Sew inseams from ankle to ankle. Finish the seams. Press towards back.[�g 3]
A S S E M B L Y D I R E C T I O N S
4. For drawstring casing, fold down the raw edge of the waist 1¼" and press. Fold under the raw edge another ½", pinning as you go. Start-ing at the back center seam, topstitch 5/8" from top, being sure to catch the casing. [�g 4]
5. Bar tack the center front seam at the topedge of the pants and the topstitching for thecasing. [�g 5] Using a seam ripper, gently ripthe stitches between the tacks. Insert drawstringusing a safety pin or bodkin and feed it aroundthe casing. Finish drawstring by tying a knot ateach end.
6. For elastic casing, fold down the raw edge of the waist 1¼" and press. Fold under the raw edge another ¼" pinning as you go. Topstitch on right side of fabric 7/8" from top edge leaving a 1" opening in the back through which you will thread your elastic. Insert elastic using a safety
f ig 1
f ig 3 f ig 4 f ig 5
f ig 6 f ig 7
f ig 2
pin or bodkin and feed it around the casing. Over-lap the ends of the elastic by ½" and pin. Check the �t and adjust if necessary. Stitch ends together. Pin the casing closed and continue the topstitch to sew shut. To keep elastic from rolling in casing, you can stitch through all thicknesses at the center front and back seam.
hem:8. Fold over the raw edge of each pant leg 1". Unfold and fold the raw edge under again, this time to meet the press line. Pin down the double folded hem and topstitch right side of fabric 3/8" from bottom edge.
grainline
grainline
Front Rise
Elastic
Fold Topstitch
Bar TackCut this seamto insert drawstring
Center Front
Back Rise
Right
Left
Topstitch

LOUNGE PANTS
2" x 2"


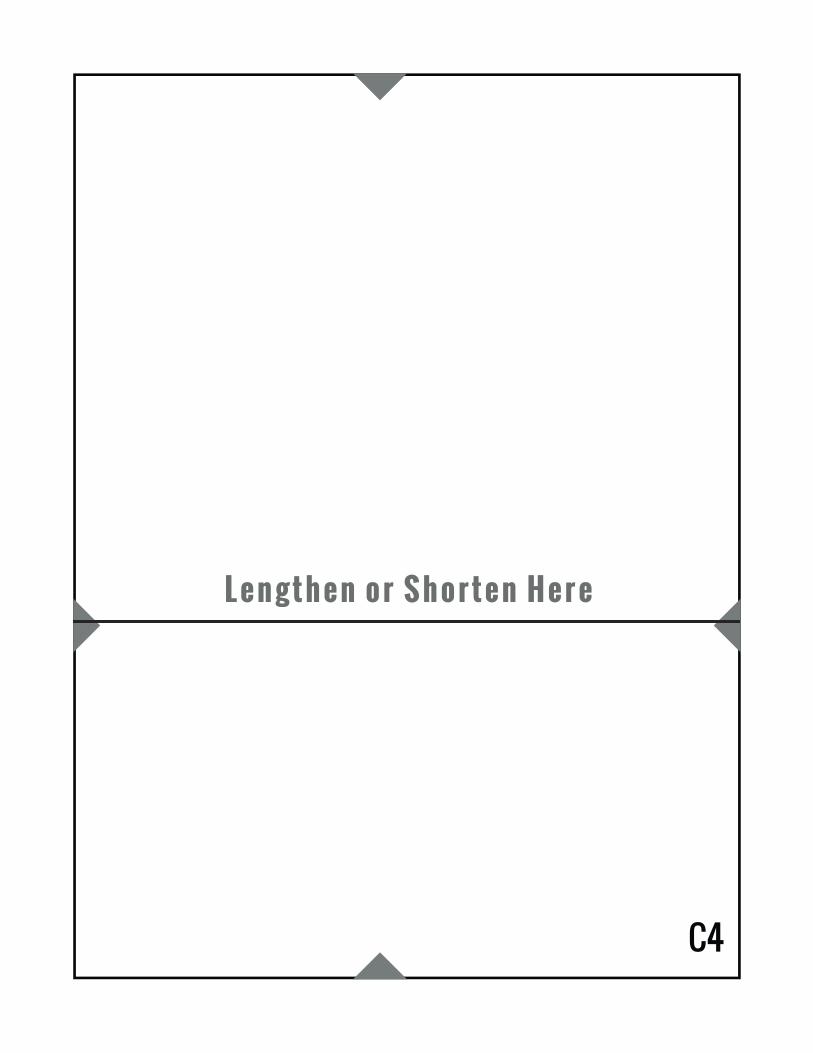
L e n g t h e n o r S h o r t e n H e r e

A5