Certificate Inventory Tool (CIT) Quick Start Guide · CIT Quick Start Guide 1 Certificate Inventory...
13
1 Certificate Inventory Tool (CIT) Quick Start Guide v.1.2
Transcript of Certificate Inventory Tool (CIT) Quick Start Guide · CIT Quick Start Guide 1 Certificate Inventory...
CIT Quick Start Guide
1
Certificate Inventory Tool (CIT)
Quick Start Guide
v.1.2
CIT Quick Start Guide
2
Table of Contents
Contents Introduction ............................................................................................................................................................................... 3
Logging On ................................................................................................................................................................................. 4
Certificate Inventory .................................................................................................................................................................. 4
Main Menu................................................................................................................................................................................. 5
First Steps - Overview ............................................................................................................................................................... 6
Quick Scan ................................................................................................................................................................................. 7
Certificate Inventory Page ........................................................................................................................................................ 7
Defining Jobs and Targets ........................................................................................................................................................ 9
Install an Agent ....................................................................................................................................................................... 11
Reporting ................................................................................................................................................................................. 11
Summary .................................................................................................................................................................................. 12
GlobalSign Contact Information ............................................................................................................................................. 13
CIT Quick Start Guide
3
Introduction
Thank you for choosing GlobalSign's Certificate Inventory Tool (CIT). This quick start guide is designed
to give you the information and tools you need to get started, and start using the CIT quickly to help
identify the certificates in your environment.
Let’s get started.
CIT Quick Start Guide
4
Logging On
Now that you have requested an account and received your confirmation from the GlobalSign Support Team, logging on is easily completed
in two steps:
1. Go to https://cit.globalsign.com.
2. Your email address will be your UserID and use the password (case sensitive) provided to you.
Note: The CIT is a GlobalSign branded instance of the Genius PPT Discovery and Inventory Management System (DIMS), so you may see references to
these terms throughout the CIT. All support questions should be directed to your account manager or [email protected].
Certificate Inventory
Upon logging in you will see your Certificate Inventory, which will initially be empty. The inventory lists expiring certificates on the upper
timeline. You can change the timeline using the slider to the right. All certificates in your inventory are also listed in the lower table. The
tabs in the middle of the page allow you to filter the inventory. Further usage of the Certificate Inventory Page is found later in this guide.
CIT Quick Start Guide
5
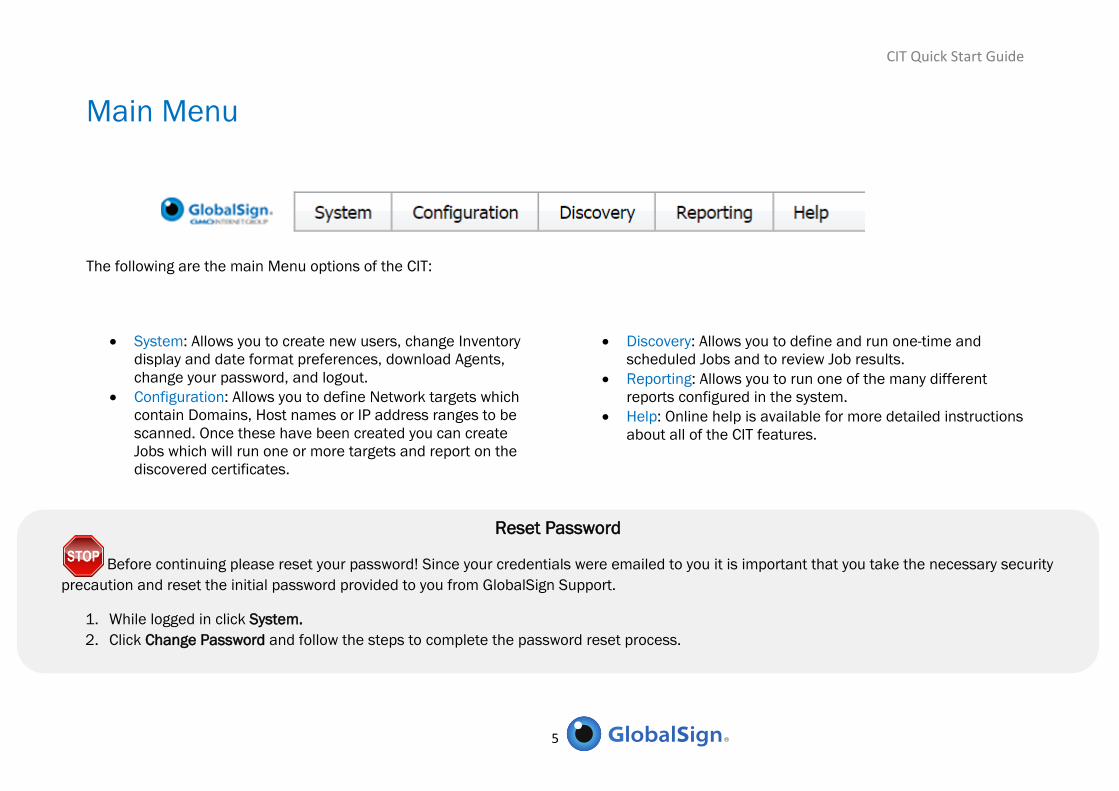
Main Menu
The following are the main Menu options of the CIT:
System: Allows you to create new users, change Inventory
display and date format preferences, download Agents,
change your password, and logout.
Configuration: Allows you to define Network targets which
contain Domains, Host names or IP address ranges to be
scanned. Once these have been created you can create
Jobs which will run one or more targets and report on the
discovered certificates.
Discovery: Allows you to define and run one-time and
scheduled Jobs and to review Job results.
Reporting: Allows you to run one of the many different
reports configured in the system.
Help: Online help is available for more detailed instructions
about all of the CIT features.
Reset Password
TO Before continuing please reset your password! Since your credentials were emailed to you it is important that you take the necessary security
precaution and reset the initial password provided to you from GlobalSign Support.
1. While logged in click System.
2. Click Change Password and follow the steps to complete the password reset process.
CIT Quick Start Guide
6
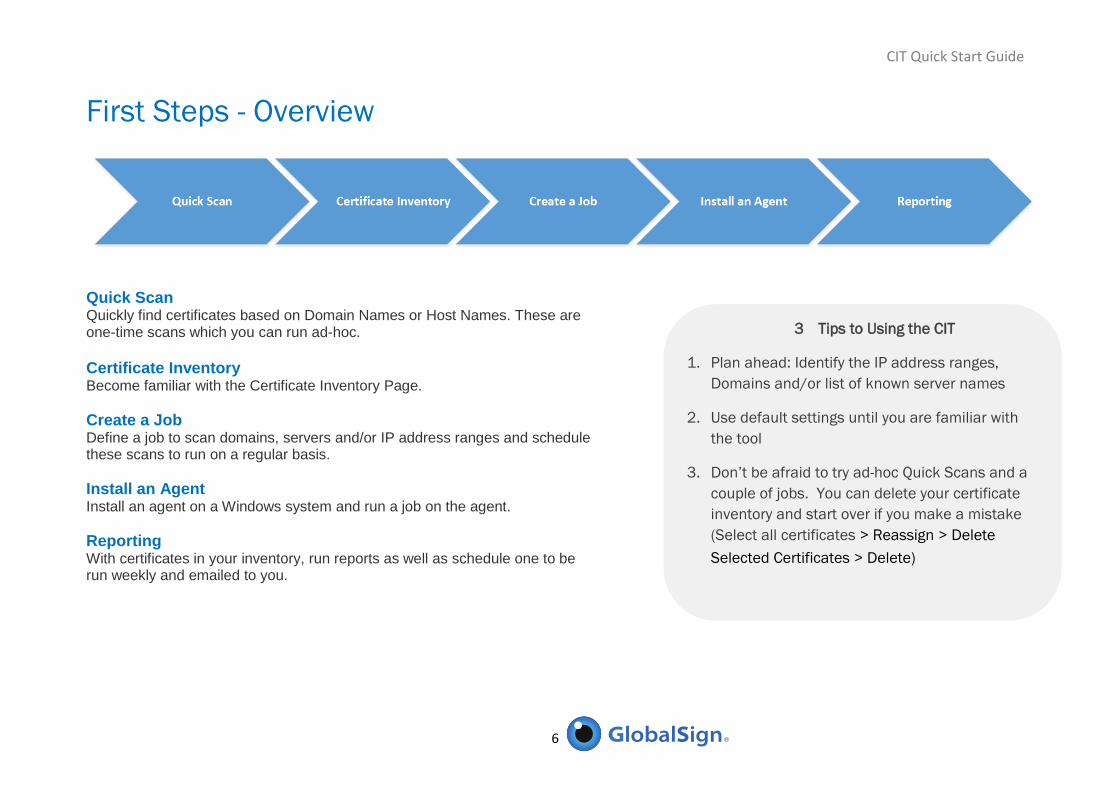
First Steps - Overview
Quick Scan
Quickly find certificates based on Domain Names or Host Names. These are one-time scans which you can run ad-hoc.
Certificate Inventory
Become familiar with the Certificate Inventory Page.
Create a Job
Define a job to scan domains, servers and/or IP address ranges and schedule these scans to run on a regular basis.
Install an Agent Install an agent on a Windows system and run a job on the agent.
Reporting
With certificates in your inventory, run reports as well as schedule one to be run weekly and emailed to you.
3 Tips to Using the CIT
1. Plan ahead: Identify the IP address ranges,
Domains and/or list of known server names
2. Use default settings until you are familiar with
the tool
3. Don’t be afraid to try ad-hoc Quick Scans and a
couple of jobs. You can delete your certificate
inventory and start over if you make a mistake
(Select all certificates > Reassign > Delete
Selected Certificates > Delete)
CIT Quick Start Guide
7
Quick Scan
The first thing you will want to do is a scan to find and review discovered certificates. The easiest method is the Quick Scan:
1. Click Discovery.
2. Select Quick Scan.
3. Copy and paste in a list of domains, server names, one entry per line. Note, If you are entering domains, do not include the
www/mail/etc. prefix. CIT will automatically try many common host names.
4. Click Scan and view the results.
5. Select the certificates to be saved to inventory by checking the checkbox to the left of each certificate. Click Add to inventory…
6. Select the Category, Location, and Policy. Click Add.
7. Return to the Certificate Inventory page to view the updated inventory.
Note: This is a one-time collection of certificates and data. To continually refresh discovered certificates a Job should be created. Please
view the Create a Job section for further details.
Certificate Inventory Page
Now that there are certificates in your inventory you can explore the Certificate Inventory page.
Here are some tips and tricks for customizing and using this page:
Sort the inventory by clicking on any column heading (e.g., Domain Name, Expires, etc.)
Drag column headings right or left to re-order them
Add/remove Columns by going to System > Display Preferences
Filter by selecting the arrow icon to the right of the column heading
Enter text into the textbox below each column heading to filter entries by specific values
To group any of the columns, drag the column heading to the space above the columns
CIT Quick Start Guide
8
For more information about Certificates:
Double click on a row to display the Certificate Information (Details, History, Addresses, Policy)
Expand the row, by clicking the “+” symbol in the left-hand column, to view additional information (e.g., IP addresses/port numbers
where the certificate was found, etc.)
View Filters - The Certificate Inventory contains 7 standard filters for the page
1. All – All certificates
2. Active – All active certificates (all certificates that are not retired)
3. Retired – All retired certificates. Retired certificates will not show up in any reports and when re-discovered or scanned, they will not
be added back into the inventory. It’s a good way to exclude certain certificates now, and into the future. You can move certificates
to/from retired by selecting a certificate (checking right-hand checkbox) and then using the “Reassign” button at the bottom of the
page.
4. Expired – All expired certificates. If you do not plan to renew them you should consider setting them to Retired.
5. Expiring Soon – List certificates that are expiring in the next few months
6. By Address – IP addresses and DNS names
7. Custom – Specify your own criteria to supplement the predefined views
CIT Quick Start Guide
9
Defining Jobs and Targets
It’s a good idea to plan ahead when creating jobs and targets. CIT allows you
to take a modular approach when defining your discovery strategy. Targets
are the most important to conceptualize and define. They should consist of
small, discrete sets of IP address ranges, Domains and/or host names which
logically belong together and can be scanned the same way. You can include
targets in one or more jobs so you can re-use targets.
In order to reduce complexity you should only need to define specific hosts,
domains and IP address ranges once, in a single target. If you find you are
adding the same domain or host in other targets, you may have taken an
approach that will be harder to maintain in the long run. Here are some
example target names you might want to consider:
External Hosts
External Domains
External IP addresses
Internal Server names
Internal IP addresses
Engineering Dev servers
Marketing assets
IT managed servers or IP addresses
If you find that you have more than 10 Items in a target you might want to split it up. When you’re ready to create a job:
1. Click Discovery.
2. Select Scanning Queue & Results.
3. Click the Jobs tab.
4. Click New Job Definition.
5. Name the job.
Tips for creating Jobs and Targets
1. Jobs can be run and scheduled and contain one
or more targets. It’s easy to edit a job to add
and remove targets
2. Targets are a collection of items and are the
most important to define accurately so you have
a good set of building blocks for Jobs.
3. Items define an IP address ranges, a domain or
a host for a specific target. You should try to
define IP addresses, domains and hosts only
once and in exactly one target so you don’t
duplicate these definitions.
CIT Quick Start Guide
10
6. If you have targets already defined, select the targets needed for this job.
7. If you need to create new targets, then click Add/Edit Targets to add a new network target.
a. Click Add Target Set to add a new target.
b. Double click on the target name to re-name.
c. Click Add Item to add an item to the job.
i. Select IP Network, IP range, Single Host or Single Domain, enter the required information. Click Save.
ii. Add more items as needed.
d. Close the window.
8. Select the newly created Target to add it to the Job
9. Other fields
a. Agent: Use the default DIMS Appliance to have this job run from the server
b. Import Results Automatically: Select Yes or No (recommend No when running it
on demand and yes if the job is to be run automatically)
c. Run the job: Leave the default "On demand" selected unless you want to
schedule this job
On Demand – at the moment you submit the job; after which it will not repeat.
One time in the future – at a specific moment in the future; after which it will not repeat
Regularly – each week at the specified day and time
d. For SSL Services, select HTTPS (or others as necessary).
10. Press "Submit Job" to save the job.
11. Select the job in the Jobs tab and Run selected to run it.
Once the job has completed, select the job and then Show results. Now you can review the certificates that were found and select the ones
you wish to import by checking the checkboxes in the right-hand column. Once you are satisfied with the certificates you have chosen click
Add selected certificates to inventory. When prompted select the default Category, Location, and Policy. Click Add to complete the job and
import. The updates are reflected on the Inventory page.
Note: If you find yourself not selecting all of the certificates, you should consider adding them all to the inventory and then retiring
the certificates you are not interested in monitoring. This will speed up your scanning process since you can set your job to
automatically import all certificates after the job has completed.
Note, you can also select to import the
results without review. If you select this
option make sure to select the default
Category, Location, and Policy before
submitting the job.
CIT Quick Start Guide
11
Install an Agent
If you want to scan internally accessible servers you will need to install an agent. You can download and install the SADA (System &
Discovery Agent) and run scans from any Windows system which will allow you to view internally accessible certificates. Select Deploy a
new agent manually and follow the instructions. Once it’s installed, you can edit a job and send it to be run on the agent. Note, the agent
polls DIMS so it might take a minute to run. Since it establishes an outgoing connection there are no complicated firewall rules to set up.
Reporting
There are a number of reports you can run via the Reporting functionality offered by the CIT. For example the Management Overview (MI)
report:
1. Click Reporting. Select Reports.
2. Select MI Overview and click View Report. Note, you can also click Schedule Report to generate the report and have it emailed to
you.
3. Leave Teams, Categories and Policies set with the default values.
4. Click Run report.
Other useful reports:
IP and FQDNs: This lists all the discovered endpoints (combination of IP address and server name) and the certificate which is being
used on the site.
SHA-1 Certificates: This reports lists all SHA-1 SSL certificates that expire after 1/2016 and explains how various versions of
Chrome will render these sites. Different versions of Chrome process SHA-1 certificates differently depending on the validity period.
The Report Results are now displayed in user-friendly graphs. Export options, XLS and PDF, are also available of the report.
CIT Quick Start Guide
12
Summary
Ready, Set, Scan!
With a few IP address ranges you will now be able to create Network Targets, review your Certificate
Inventory, perform Quick Scans, create Jobs, run the local agent and do a few scans within an hour!
CIT Quick Start Guide
13
GlobalSign Contact Information
GlobalSign Americas
Tel: 1-877-775-4562
www.globalsign.com
GlobalSign EU
Tel: +32 16 891900
www.globalsign.eu
GlobalSign UK
Tel: +44 1622 766766
www.globalsign.co.uk
GlobalSign FR
Tel: +33 1 82 88 01 24
www.globalsign.fr
GlobalSign DE
Tel: +49 800 723 798 0
www.globalsign.de
GlobalSign NL
Tel: +31 20 8908021
www.globalsign.nl
Contact GlobalSign Support
For all technical questions please contact GlobalSign Support by submitting your inquiry using the Submit a Ticket Form on the GlobalSign
Support Site.
![A Quick Start Guide to Bb Learn 9 - CIT[NECC]cit.necc.mass.edu/wordpress/wp-content/uploads/2011/03/NECC_Quick... · 1 A Quick Start Guide for NECC Faculty . Welcome to our Blackboard](https://static.fdocuments.net/doc/165x107/5bdd41f709d3f2fb568c7ae4/a-quick-start-guide-to-bb-learn-9-citnecccitneccmasseduwordpresswp-contentuploads201103neccquick.jpg)