ARTIFICIAL GRASS INSTALLATION TIPS - The Home …€¦ · · 2017-04-12Home Depot Store or ONLINE...
10
Find Suggested Quality Hand Tools, Roller & Drop Spreader at Your Local Home Depot Store or ONLINE at HomeDepot.com TUNDRAGRASS | Available Exclusively at Find Quality TUNDRA BRAND Artificial Grass Installation Supplies ONLINE at HomeDepot.com ARTIFICIAL GRASS INSTALLATION TIPS
Transcript of ARTIFICIAL GRASS INSTALLATION TIPS - The Home …€¦ · · 2017-04-12Home Depot Store or ONLINE...

Find Suggested Quality Hand Tools, Roller & Drop Spreader at Your Local
Home Depot Storeor ONLINE at HomeDepot.com
TUNDRAGRASS | Available Exclusively at
Find Quality TUNDRA BRAND
Artificial Grass Installation Supplies
ONLINE at HomeDepot.com
ARTIFICIAL GRASSINSTALLATION TIPS

STEP 1: Prepare the turf & project area surfaces• Measure the area you want to cover - take a measure of both width
and depth - SURFACE MATERIALS ARE 15 FEET wide,
Order materials: Some pre-cut products may be a different size -MOST are 15 feet wide BY any length. Create a pattern if you require more than one piece, by mapping out the sections on a piece of paper -map each section of grass, facing in the same direction!
• PREP THE AREA - Remove any grass, sod, tree roots, mulch, rocks and any debris and any "un-compactable" soils - to a depth of approximately 3-4 inches.
• Install any curbing, edging, or other border materials
• ADD A LAYER OF WEED BARRIER FABRIC over the base layer -secure with spikes or nails - over-lap sections (4 inch)
• Spread a 3” lift of base - best lift is achieved using a crush rock material of ¾" + minus (crushed stone) - often referred to as road base or AB. DG or ¼ minus is not advised for porous surface specifications - tightly compacted, DG's permeability is reduced, over time.
• Grade the base as smoothly as possible using a 48" landscape rake (flat side) or the flat side of a garden rake
• Lightly mist (dampen) the dry base surface with water - before compacting. Do not "wet" the surface - simply dampen, to compact.
• Compact to about 80-90%. It is best to use a water roller for 3 to 4 inches of base (plate compacter is preferred over water roller, for base over 4 inches. Compact the entire surface - brush out any ridges and re-compact if needed - until smooth and at the height, desired.
ARTIFICIAL GRASS INSTALLATION TIPS
Page 2\10

Step 2‐Installation of Turf• SWEEP and clean the area BEFORE YOU unroll the
grass & expose the grass face. Let the grass "relax" on a flat, open area.
Once you relax the turf trim the EXTRA black edge off of each edge of the turf (with a razor knife or carpet cutter) so that the edges are very straight. Don't cut rows of blades unless the edges seem uneven.
You may need to cut it the turf into smaller sections -measure, each side - mark and cut. Use a chalk line, on the back of the turf for long, straight cuts.
• Roll out the sections of turf on top of the prepared and compacted base. Position the turf and pull out any wrinkles, smooth and adjust the section, as needed.
• Lay each piece down, facing the GRAIN in the same direction. It's best to FACE THE GRAIN TOWARDS the VIEWER (to the street on a front yard - to the house in a backyard). Setting the turf at odd angles to each other will cause seams to show (if you are seaming sections)
• If you need to seam more than one piece, place them together, and adjust to insure that the materials provide 100% cover to the project area. DO NOT CUT THE OUTSIDE EDGE UNTIL YOUR SEAM IS COMPLETE!(please view our seaming tips pages, for details)
ARTIFICIAL GRASS INSTALLATION TIPS
Page 3\10

Seaming: Step 1: Set the Grain & Position
Setting GRAIN - Make sure to point each section of grass in the same direction,(our diagram shows the 2 pieces set in the wrong way) Lay each section of grass down, side by side, in the way in which you want them seamed together.
Make adjustments, now, before you seam! DO NOT CUT ANY OF THE OUTSIDE EDGES - UNTIL AFTER SEAMING IS COMPLETED!
For Best Results AlwaysSET the GRAIN of EACH PIECE
in the SAME DIRECTION
Grain DirectionG
rain
Dire
ctio
n
ARTIFICIAL GRASS INSTALLATION TIPS
Page 4\10

ANY gap or overlap at a seam and the seam will show
A gap creates a lighter color – the seam will show
Overlap creates a shadow and makes the seam darker
Perfect placement provides even tone and even level
Seaming Step 2: Add Seam Fabric & Align Seam
Flip the edges of your turf over, by about 12 inches and weight down to keep "open". Set an 8 inch wide piece of seam fabric from one edge of the seam to the other (you can secure the fabric down with a few nails (or spikes), to keep it from sliding. Then move each piece of grass into place, and align the edges as far apart as the GAUGE (space) of the rest of the rows, for a perfect seam.
ARTIFICIAL GRASS INSTALLATION TIPS
Page 5\10

Seaming Step 3 (Option 1): Secure SeamOpen the two sides of grass, at the seam and fold edges back, about 12 inches, hold edges down with weight. Lay out your seam fabric - shiny side down. Using a ¼ inch V-Notch Trowel - apply the glue, to approximately 80% of the width of the seam fabric, generously -trowel across the glue, to evenly distribute - once you have applied the glue to the whole length of seam - CAREFULLY flip over one side, then the other. Gently walk off - wait 20-30 minutes before walking on the seam or other areas of the surfaces.
(AVAILABLE ONLINE AT HOMEDEPOT.COM - 1 sided, non-porous - 8 inch seam fabric, shown, below)
Option 1: Using Seam Glue
ARTIFICIAL GRASS INSTALLATION TIPS
Page 6\10

Seaming Step 3 (option 2): Secure SeamUse 8 inch Seam Fabric & set a 6 inch seam spike, every 4 inches, approximately ½ inch from the edge; in a diagonal pattern, on either side of the seam. One spike on each side of both ends of the seam -to secure in for general use. (This diagram is not to scale)
PIECE #1 PIECE #2
Option 2: Using 6 inch Seam Spikes:
ARTIFICIAL GRASS INSTALLATION TIPS
Page 7\10
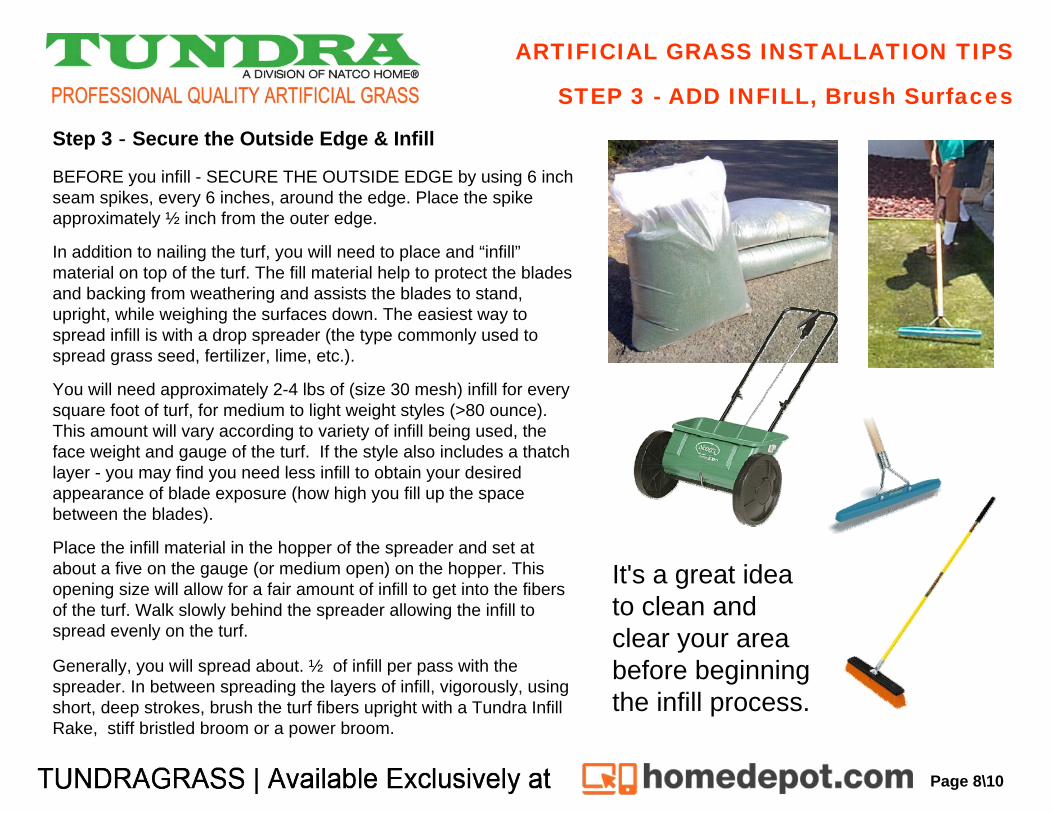
Step 3‐Secure the Outside Edge & Infill
BEFORE you infill - SECURE THE OUTSIDE EDGE by using 6 inch seam spikes, every 6 inches, around the edge. Place the spike approximately ½ inch from the outer edge.
In addition to nailing the turf, you will need to place and “infill”material on top of the turf. The fill material help to protect the blades and backing from weathering and assists the blades to stand, upright, while weighing the surfaces down. The easiest way to spread infill is with a drop spreader (the type commonly used tospread grass seed, fertilizer, lime, etc.).
You will need approximately 2-4 lbs of (size 30 mesh) infill for every square foot of turf, for medium to light weight styles (>80 ounce). This amount will vary according to variety of infill being used, the face weight and gauge of the turf. If the style also includes a thatch layer - you may find you need less infill to obtain your desired appearance of blade exposure (how high you fill up the space between the blades).
Place the infill material in the hopper of the spreader and set at about a five on the gauge (or medium open) on the hopper. This opening size will allow for a fair amount of infill to get into the fibers of the turf. Walk slowly behind the spreader allowing the infill to spread evenly on the turf.
Generally, you will spread about. ½ of infill per pass with the spreader. In between spreading the layers of infill, vigorously, using short, deep strokes, brush the turf fibers upright with a Tundra Infill Rake, stiff bristled broom or a power broom.
ARTIFICIAL GRASS INSTALLATION TIPS
STEP 3 - ADD INFILL, Brush Surfaces
Page 8\10
It's a great idea to clean and clear your area before beginning the infill process.

KEEPING YOUR GRASS LOOKING NEW
While this is a low maintenance product, there still is some maintenance required. Following these simple suggested routines will insure that you will protect and enjoy your new artificial grass for years to come.
1. Once every month you should blow off your turf with a leaf blower to get the leaves and dust off the turf fibers. This will take only a few minutes but will keep your turf looking beautiful.
2. Once every quarter, you should aggressively brush your turf (against) the grain to get the turf to stand up and to clean the dust and debris off the turf fibers. More infill may be required, if blades fall down easily.
3. You can brush the turf with a very stiff broom (garage type), infill rake, or a power broom. If you have more than about 200 square foot, you may want to consider renting a power broom as it will do a better job and is far easier on your back.4. Once every year you should power brush the turf and check the infill and seams, and attend to any loose seams, immediately,
ARTIFICIAL GRASS INSTALLATION TIPSMAINTENANCE OF Your PROJECT
Page 9 \10

TUNDRAGRASS | Available Exclusively at
Find Quality TUNDRA BRAND
Artificial Grass Installation Supplies
ONLINE at HomeDepot.com
Need Help?
Design, Estimating & Installation Customer Support HELP LINE
Call Us Toll Free877-99-TUNDRA
Mon to Fri 9am - 7pmSat 9am - 1pmPacific Standard Time