ANODIZING - Home Metal Shop Club · · 2016-07-26aluminum oxide,which transforms into aluminum...
29
ANODIZING Small scale anodizing In the home shop
Transcript of ANODIZING - Home Metal Shop Club · · 2016-07-26aluminum oxide,which transforms into aluminum...

ANODIZING
Small scale anodizing In the home shop

What is it?
The process itself is chemically complicated But is extremely simple in actual practice
Most anodizing is more art form than science.
Industry methods are closely guarded
Anodizing Benefits
Provides a hard surface
Approximately 80 on a Rockwell scale
Corrosion resistance
Variety of colors available
Repair “over machined” parts
Relatively thin finish compared to other options

L C D Anodizing Method
Low Current Density
Easily repeatable results in the home shop
Longer “bath times” than commercial methods
Weaker (safer) chemical concentrations
Less fumes
Equipment cost reduction
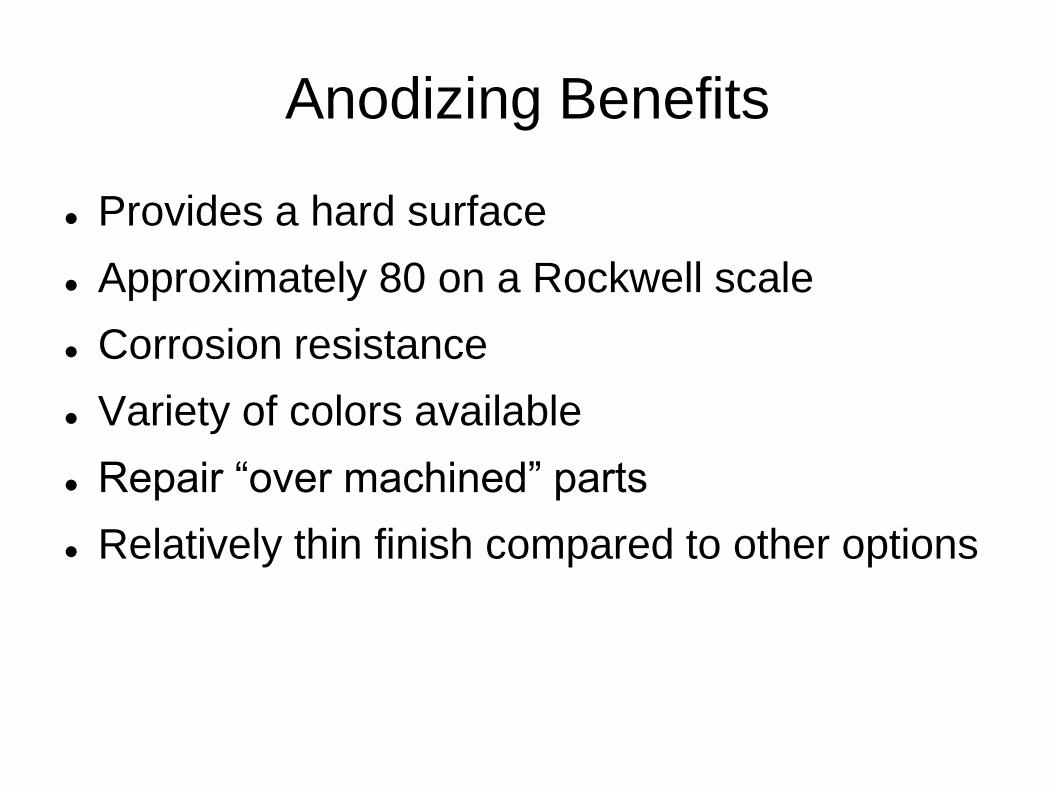
The process involves placing the part To be anodized into a weak
Sulfuric acid electrolyte solution. A low voltage current is then passed thru it.


Anodizing does not hide surface Imperfections.
In most cases it greatly enhances any imperfections.

Part preparation
CLEANLINESS is mandatory
Surface preparation defines final outcome
As machined parts will magnify any machining marks left behind
Part must be clean and free of oils or other surface contaminants

What happens in the tank?
The aluminum surface GROWS a layer of aluminum oxide,which transforms into aluminum
hydroxide (anodize) and finally into hydroxide monohydrate.
This layer is the equivalent to “rust” on steel. It is non conductive.
( I am no chemist. This is just what I have learned about how the process works)


Major Steps in the Process
Obtain the part to be anodized. 6061 aluminum is a very popular alloy to be used.
Put the desired surface finish on the part. This can be raw machined finish, various media blasting, brushed, polished or anything in between
Thoroughly clean the part. Boiling water and detergent, degreaser works great.
Test the parts cleanliness using the “water break” test
Etch the part in caustic bath (optional,not normally needed in the home shop)

The anodizing setup

preparation
Parts are washed in hot soapy water on left
Right slide parts have been thru degreaser and are mounted on racks
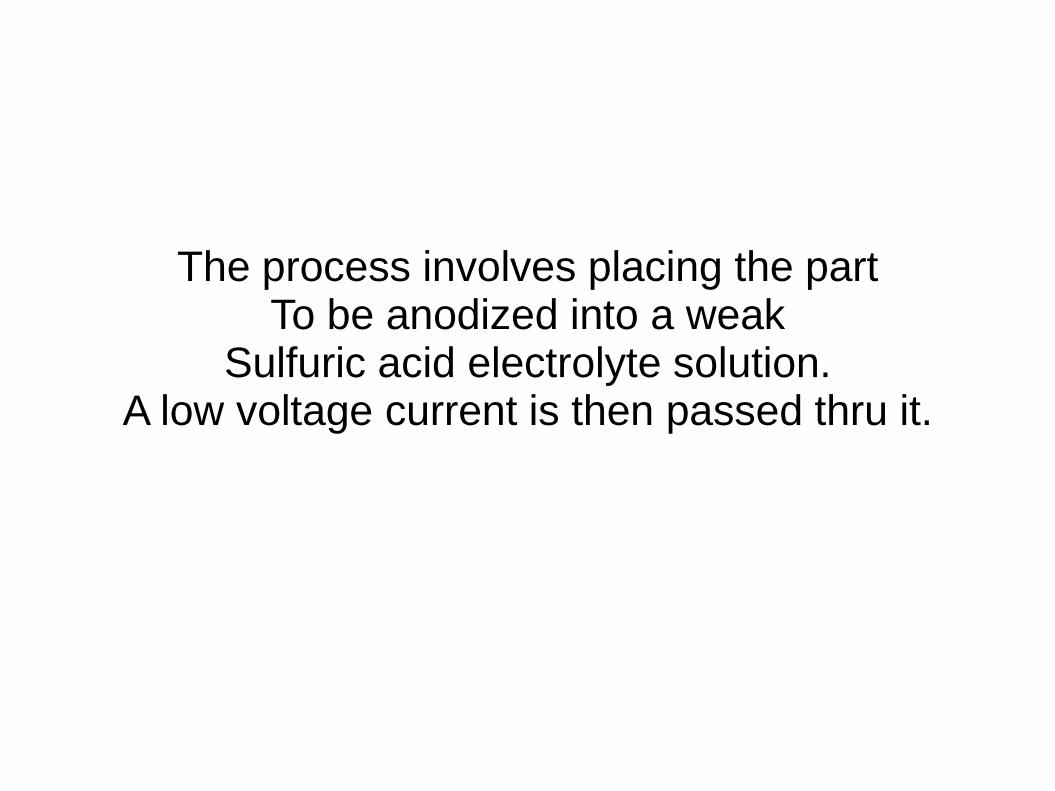
Putting parts in the tank
Only aluminum or titanium should be in the tank
A strong electrical connection is required
As the part anodizes, this connection often fails as it is stressed. Its the most common cause of anodizing failures.
Aluminum wire or rod works great.
It can be forced into threaded holes
Its possible to spot weld the wire in aplace not visible.
The spot where the connection is made will not be anodized

Calculations The LCD method uses a solution of 3 parts distilled water to one part sulfuric acid.
The current used is from 3 Amps square foot to 6 Amps a square foot.
The lower end of the amp range favors dyeing quality and final color depth.
The upperend of the range favors surface hardness.
The size of the pores is directly related to current flow.
Larger pores are easier to dye,but to large and the dye bleeds out during the finishing process.
Smaller pores makeforbetter surface hardness, but can be hard to get the dye into.
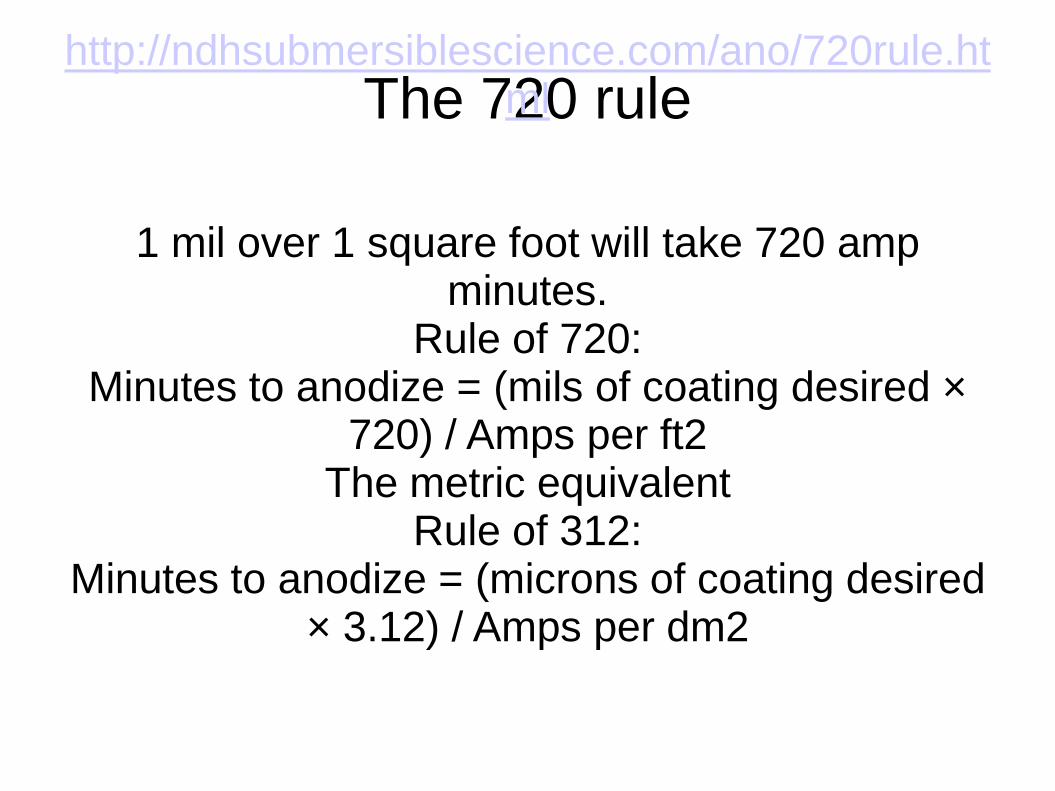
The 720 rule http://ndhsubmersiblescience.com/ano/720rule.ht
ml
1 mil over 1 square foot will take 720 amp minutes.
Rule of 720: Minutes to anodize = (mils of coating desired ×
720) / Amps per ft2 The metric equivalent
Rule of 312: Minutes to anodize = (microns of coating desired
× 3.12) / Amps per dm2

The tank.
The anode is in the bottom of the tank/bucket
Its approximately a 6x6 inch piece of aluminum plate,with a round bar welded to it that reaches out of the solution.
The negative lead gets hooked to this.
The positive is
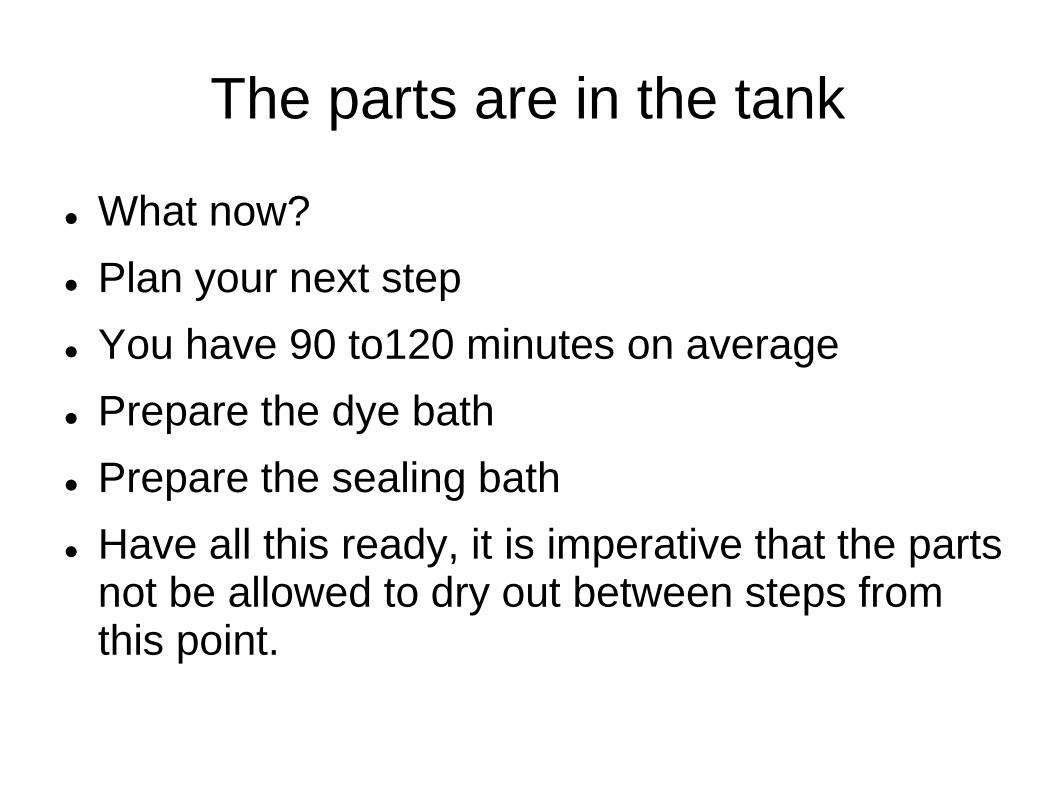
The parts are in the tank
What now?
Plan your next step
You have 90 to120 minutes on average
Prepare the dye bath
Prepare the sealing bath
Have all this ready, it is imperative that the parts not be allowed to dry out between steps from this point.

Dye

Weighing commercial dye

Out of the anodizing tank
You should notice a gold / bronze tint to the parts
If not,the anodizing most likely did not take
Immediately out of the tank rinse the parts thoroughly in distilled water.
All the pores that have been created

Adding color
Commercial dyes are available
Rit brand dye works great in the homeshop
I have found the liquid dyes for synthetics give a more consistent finish
The parts can skip this process, if color is not needed.

Coloring parts

Sealing the parts
Once dyed, the parts need sealed to keep out contaminants and keepthe dye in the pores.
Boiling in water is the easiest and cheapest for the home shop.
Commercial nickel acetate sealants can be used at lower temps,and less sealing time.
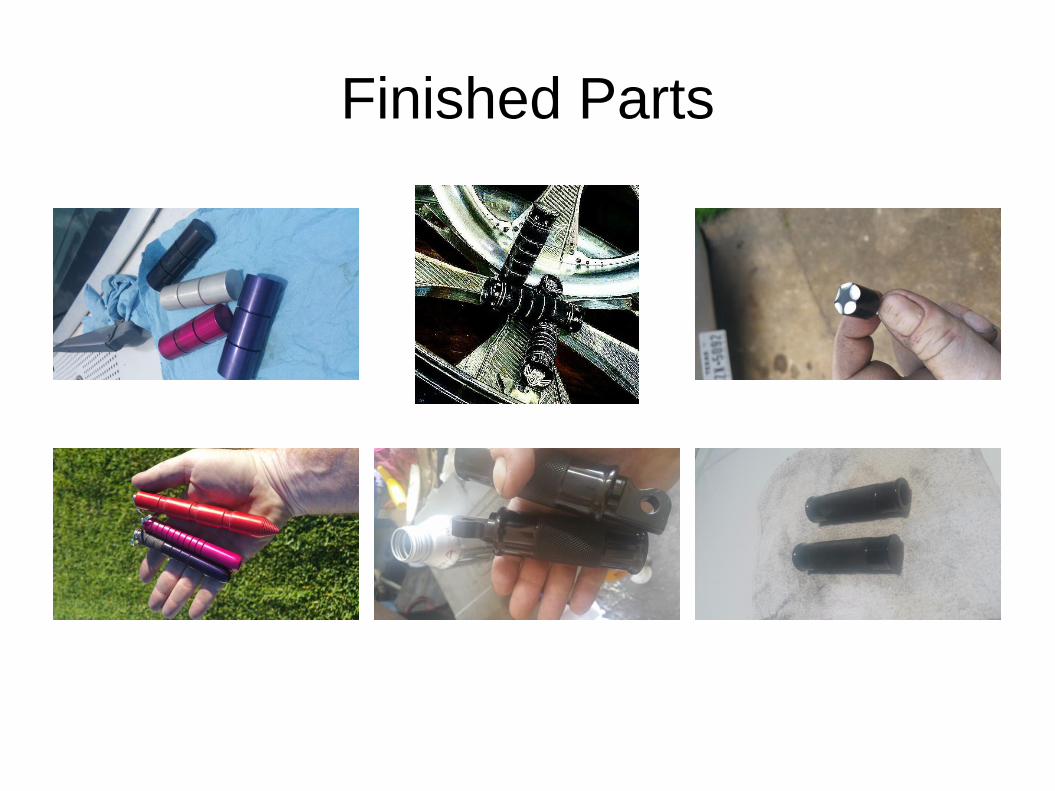
Finished Parts

parts

Commercial part vs shop part