ALDYL-A TAPPING TEE INSTALLATION INSTRUCTIONS · Standard Kerotest Aldyl-A Tapping Tee Repair Kit...
15
Standard Kerotest Aldyl-A Tapping Tee Repair Kit Installation Instructions Peeler for scraping Aldyl-A Tee Insert Holding Tool (p/n 72770524) Coupling Insert Repair Fitting Plug with O-ring Seal
Transcript of ALDYL-A TAPPING TEE INSTALLATION INSTRUCTIONS · Standard Kerotest Aldyl-A Tapping Tee Repair Kit...

Standard Kerotest Aldyl-A
Tapping Tee Repair Kit
Installation Instructions
Peeler for scraping Aldyl-A Tee
Insert Holding Tool (p/n 72770524)
Coupling
Insert Repair Fitting
Plug with O-ring Seal
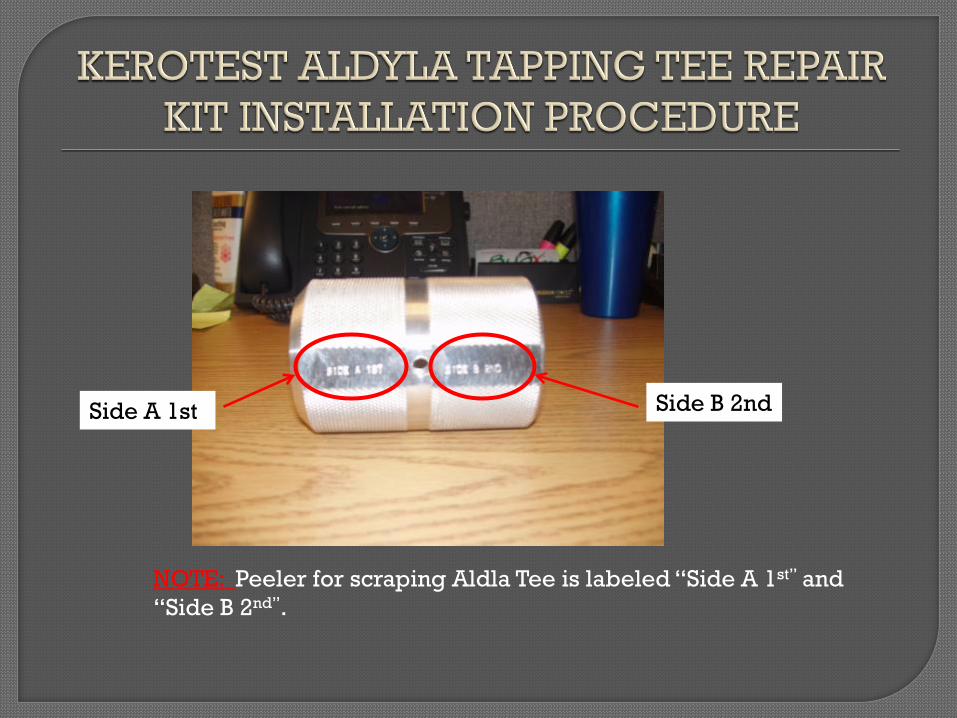
NOTE: Peeler for scraping Aldla Tee is labeled “Side A 1st” and
“Side B 2nd”.
Side A 1st Side B 2nd

Scrape outside diameter
of tee stack with side “A”
facing down on the
Scraper/Peeler tool
(beveled side down).
The outside diameter of
the Aldyl-A tapping tee
shall be scraped down to
the intersection of the tee
outlet.
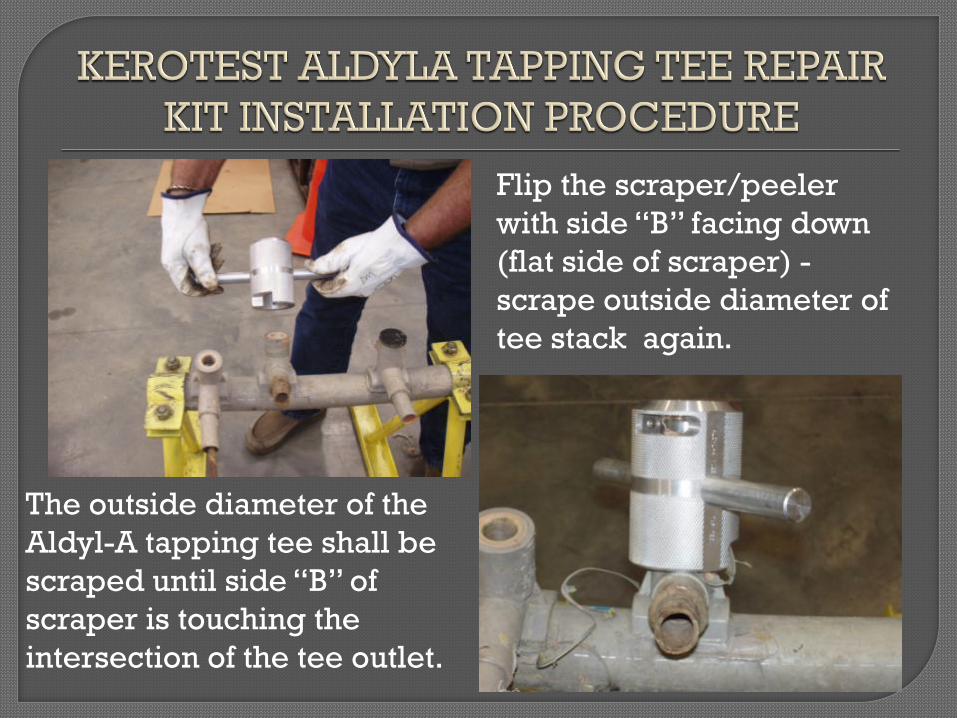
Flip the scraper/peeler
with side “B” facing down
(flat side of scraper) -
scrape outside diameter of
tee stack again.
The outside diameter of the
Aldyl-A tapping tee shall be
scraped until side “B” of
scraper is touching the
intersection of the tee outlet.

Clean the stack using 90%
isopropyl alcohol wipe.
Dry with a clean, lint-free
cloth in preparation for
electrofusion.

Remove the repair kit
from plastic bag and
prepare for installation
to tap tee.
CAUTION – Remove the Plug repair from the insert and place Plug back
in bag to protect the lubricant on the O-ring-fitting. Do not install Plug
until 10 minutes after fusion of coupling and insert is complete
(slide 13).
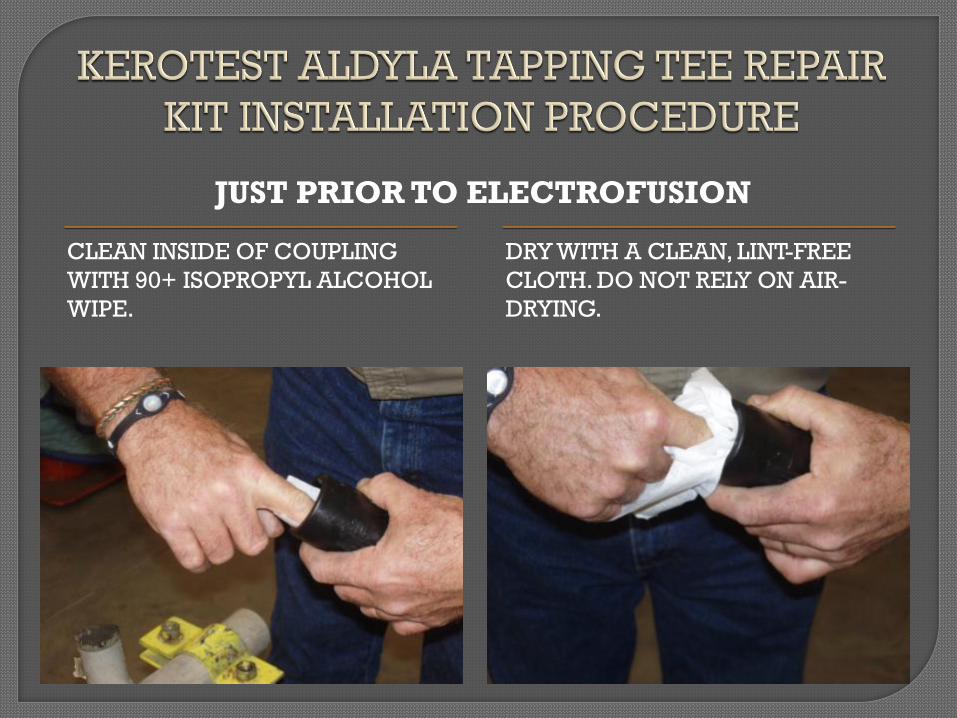
CLEAN INSIDE OF COUPLING
WITH 90+ ISOPROPYL ALCOHOL
WIPE.
DRY WITH A CLEAN, LINT-FREE
CLOTH. DO NOT RELY ON AIR-
DRYING.
JUST PRIOR TO ELECTROFUSION
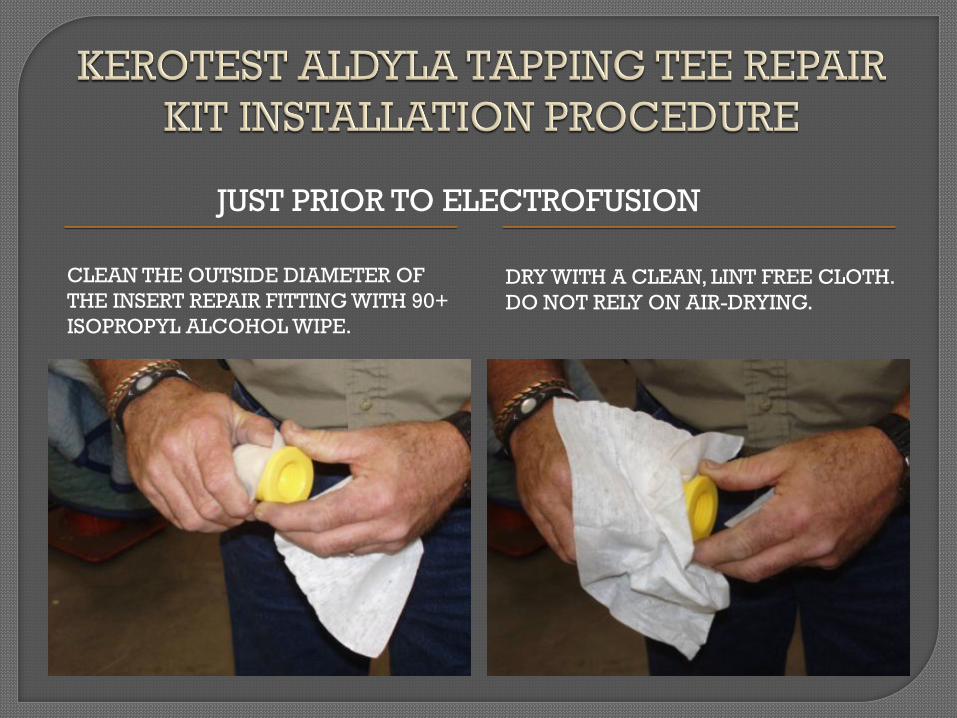
CLEAN THE OUTSIDE DIAMETER OF
THE INSERT REPAIR FITTING WITH 90+
ISOPROPYL ALCOHOL WIPE.
DRY WITH A CLEAN, LINT FREE CLOTH.
DO NOT RELY ON AIR-DRYING.
JUST PRIOR TO ELECTROFUSION

INSTALL THE INSERT REPAIR FITTING
INTO THE 1.25” COUPLING UNTIL THE
SHOULDER OF THE INSERT REPAIR
FITTING STOPS AGAINST THE
COUPLING.
INSTALL THE ELECTROFUSION
COUPLING OVER THE STACK OF THE
ALDYL-A TEE UNTIL IT BOTTOMS ON
TEE OUTLET.

THE INSERT HOLDING TOOL SHALL BE USED AT THIS
TIME PRIOR TO FUSION OF COUPLING AND INSERT TO
THE ALDYL-A TAPPING TEE.

ELECTRO FUSE
THE COUPLING
AND INSERT
ASSEMBLY TO
THE ALDYL-A
TAP TEE.

After removing the electrofusion control box cables, allow the
electrofusion coupling and insert assembly to cool for a minimum of
10 minutes before further assembly work.
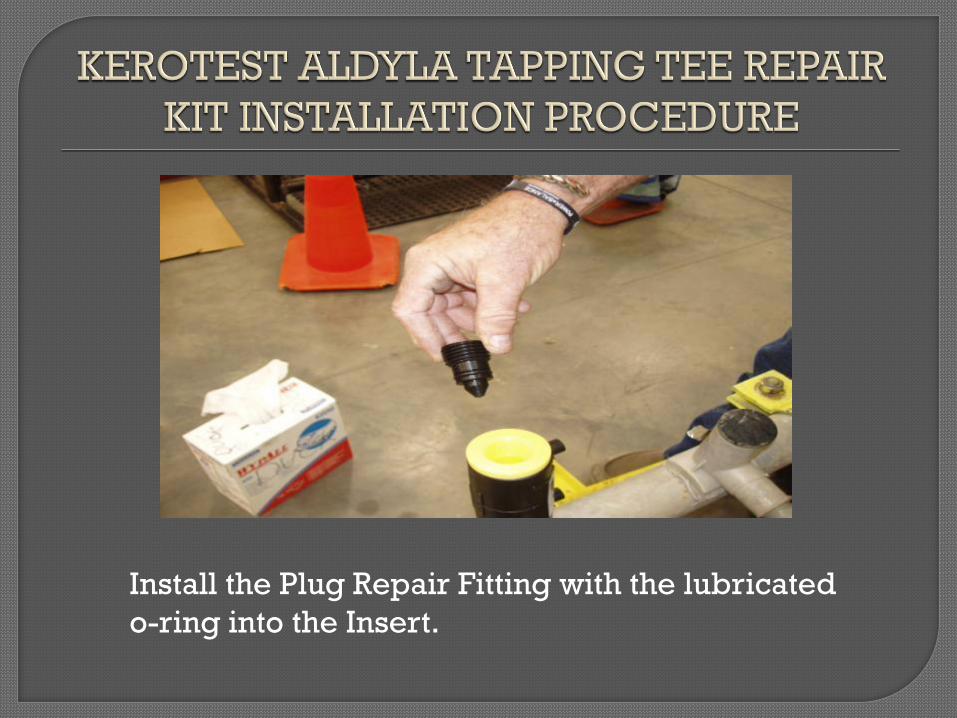
Install the Plug Repair Fitting with the lubricated
o-ring into the Insert.
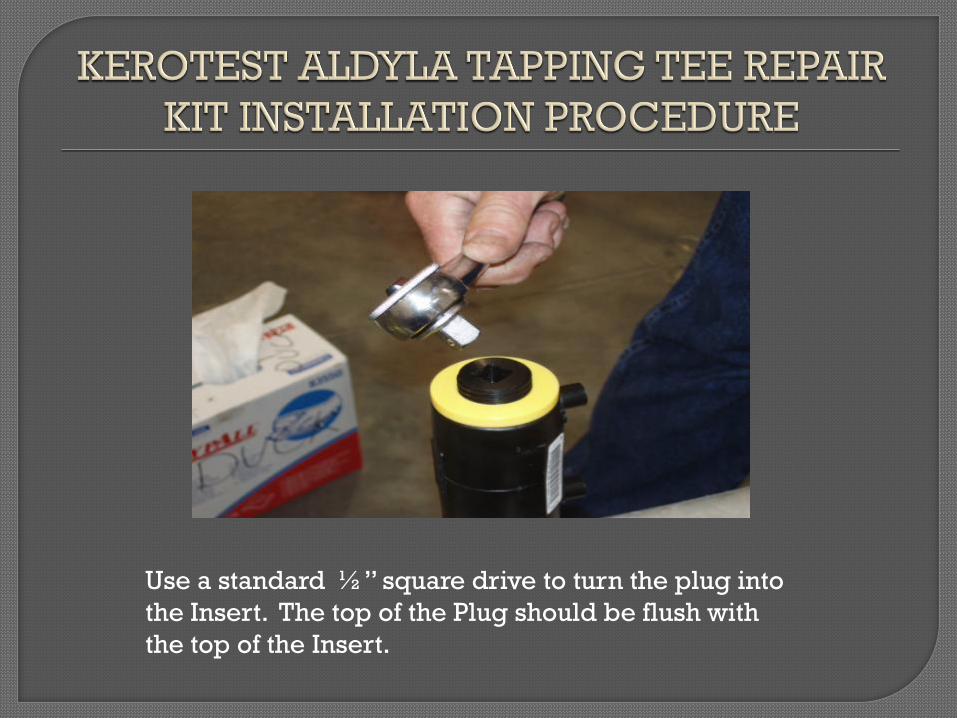
Use a standard ½” square drive to turn the plug into
the Insert. The top of the Plug should be flush with
the top of the Insert.

This completes the Aldyl-A Repair Kit assembly process.
Test the finished assembly per company procedures.
(i.e. soap test entire fitting)


![TEE Certification Process v1 - GlobalPlatform · [TEE EM] GPD_TEN_045 : GlobalPlatform TEE Security Target Template . Public [TEE ST] GPD_SPE_050 : GlobalPlatform TEE Common Automated](https://static.fdocuments.net/doc/165x107/6027a08e90016542ee50485b/tee-certification-process-v1-globalplatform-tee-em-gpdten045-globalplatform.jpg)