PRESS RELEASE - Africa IFF Campaign Launch in Nairobi. Kenya - JUNE 25
Upload
africa-business-communitiesCategory
view
184download
1
1
Client – Making or editing a pressrelease
An overview
2
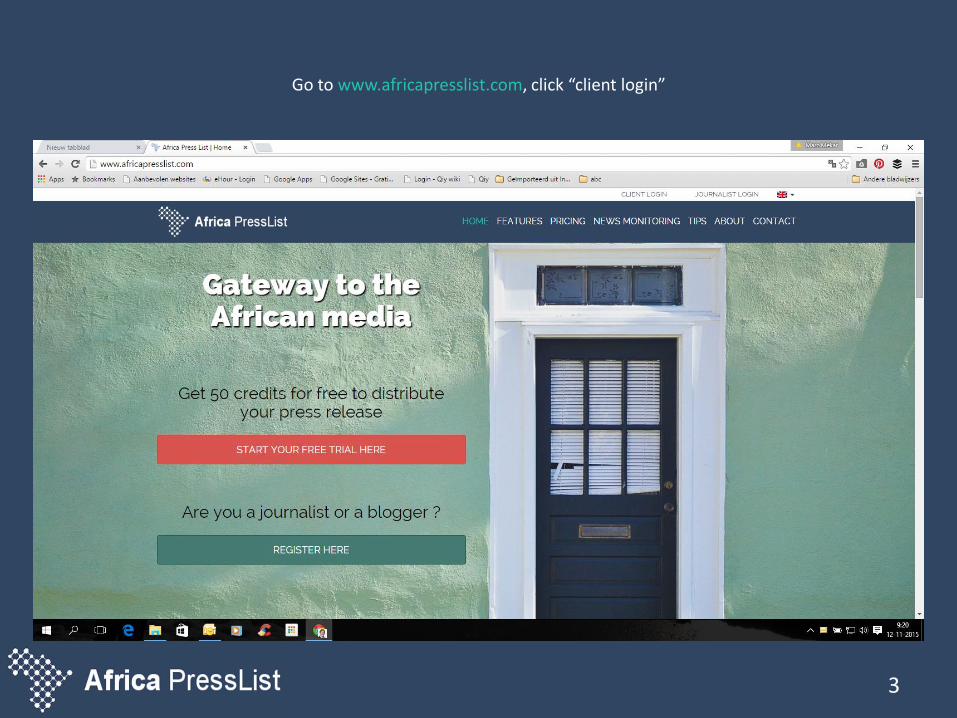
Go to www.africapresslist.com, click “client login”
3
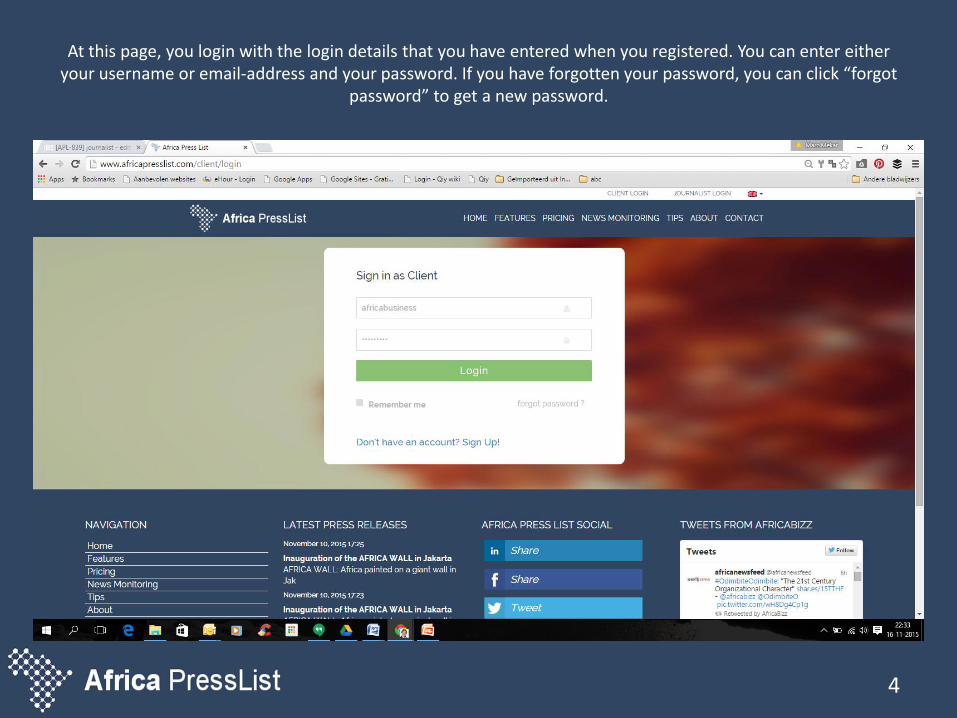
At this page, you login with the login details that you have entered when you registered. You can enter eitheryour username or email-address and your password. If you have forgotten your password, you can click “forgot
password” to get a new password.
4
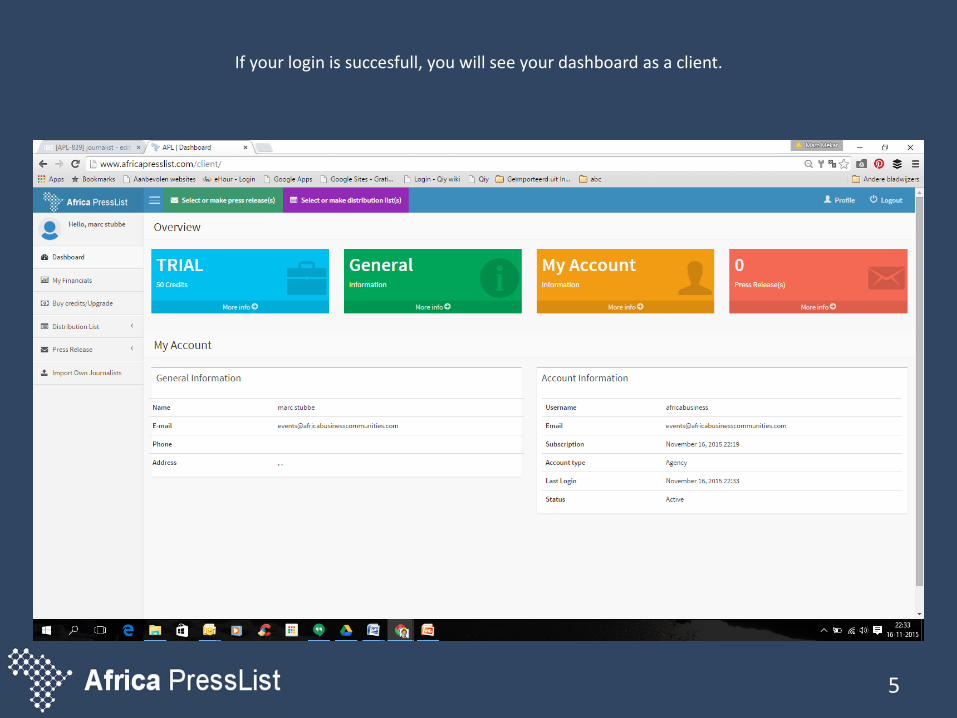
If your login is succesfull, you will see your dashboard as a client.
5
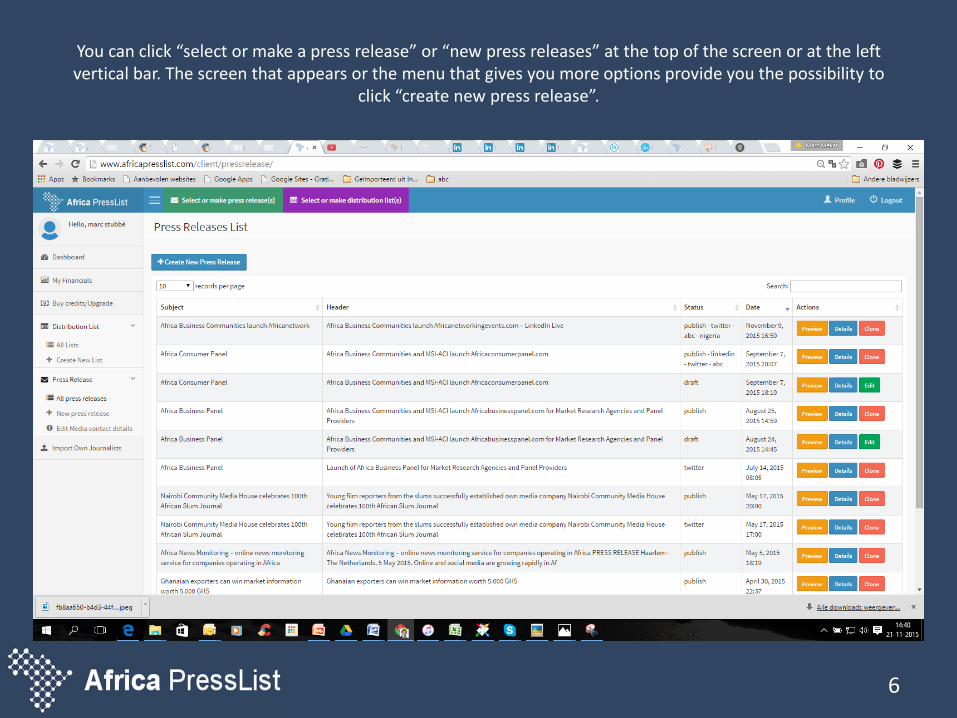
You can click “select or make a press release” or “new press releases” at the top of the screen or at the leftvertical bar. The screen that appears or the menu that gives you more options provide you the possibility to
click “create new press release”.
6
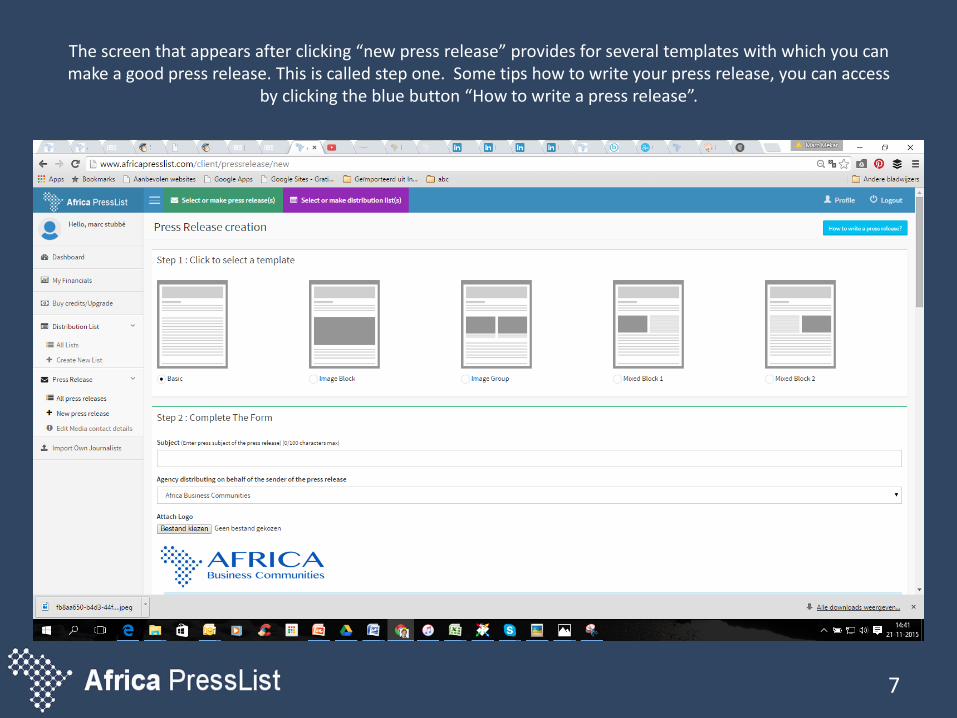
The screen that appears after clicking “new press release” provides for several templates with which you canmake a good press release. This is called step one. Some tips how to write your press release, you can access
by clicking the blue button “How to write a press release”.
7
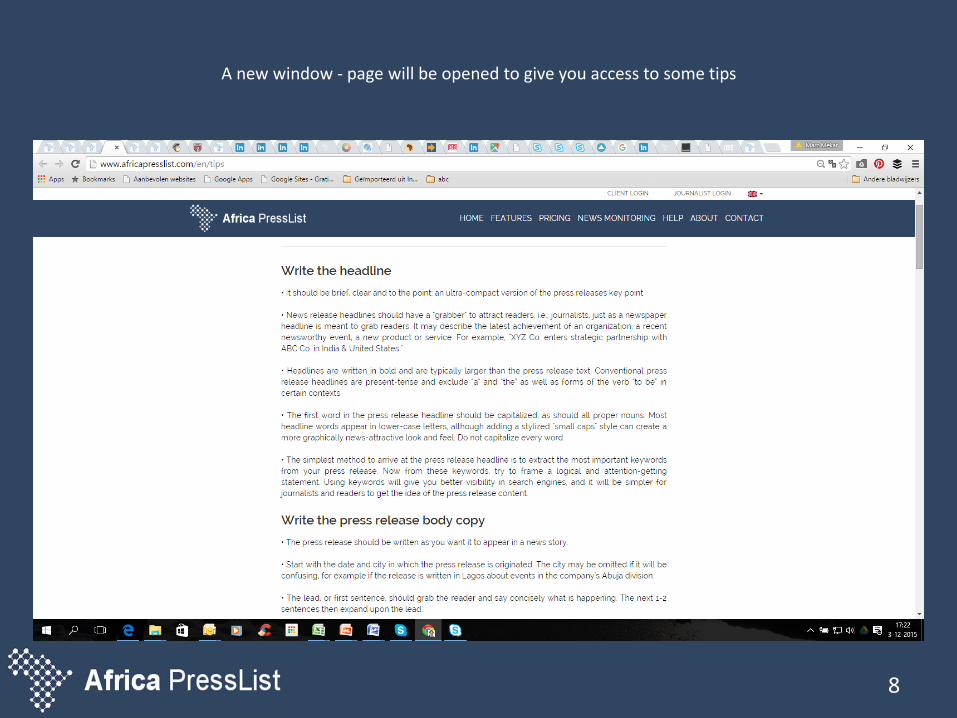
A new window - page will be opened to give you access to some tips
8

Go back to the page “press release creation” and select the template. We have selected number 2 “image block” in this example. Then continue with step 2, “complete the press release form”.
9

The first item of step 2 is to fill in is the subject of the press release which will be the name under which the press release is stored and the subject of the email, as receiving journalists will see them in their email-inbox.
The subject has a maximum of hundred characters.
10
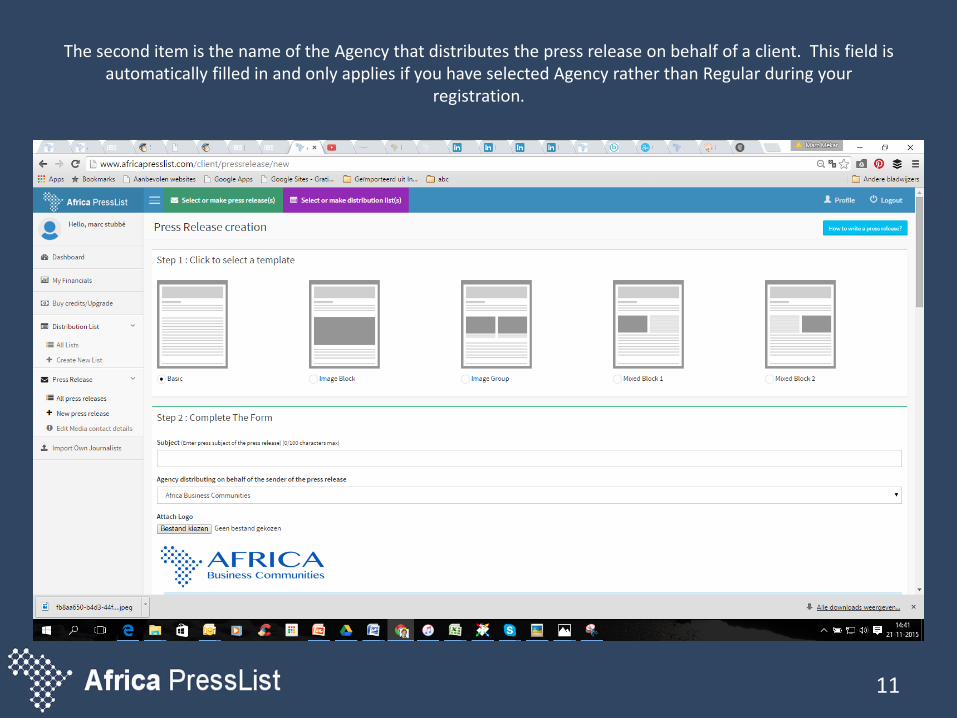
The second item is the name of the Agency that distributes the press release on behalf of a client. This field is automatically filled in and only applies if you have selected Agency rather than Regular during your
registration.
11

You can upload your logo or that of your client. You browse to select your logo from where you have stored it in your folders. If your logo is already filled in at the standard sender information-input of the user, it will appear
automatically.
12
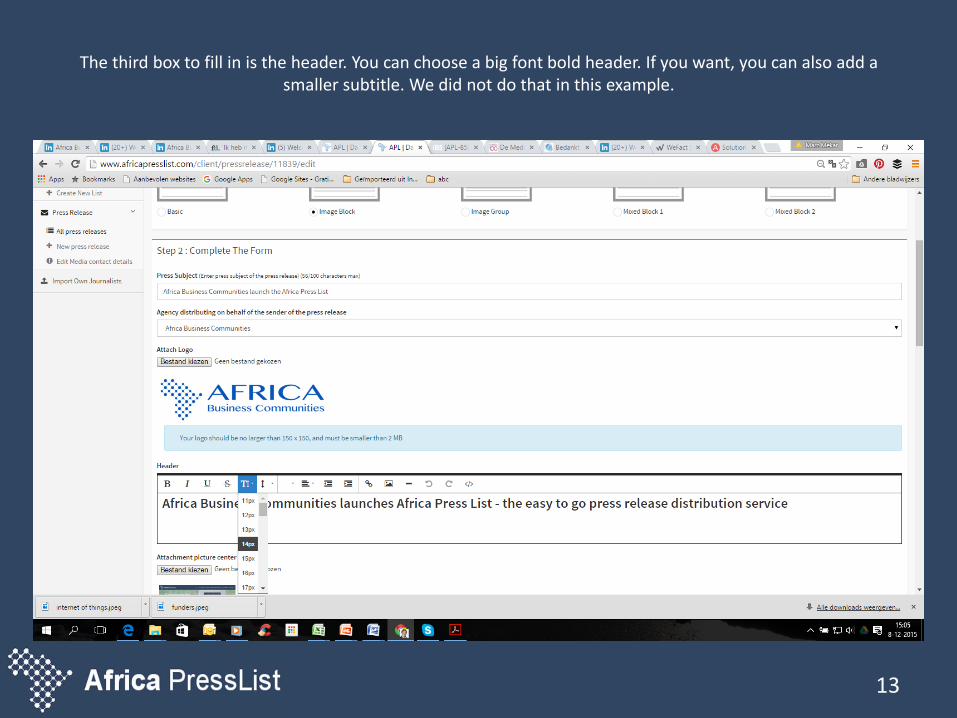
The third box to fill in is the header. You can choose a big font bold header. If you want, you can also add a smaller subtitle. We did not do that in this example.
13

The next option (number 4) is to select the picture, that is placed according to the structure of the templatethat has been chosen. In this case, it is placed at the center of the press release.
14
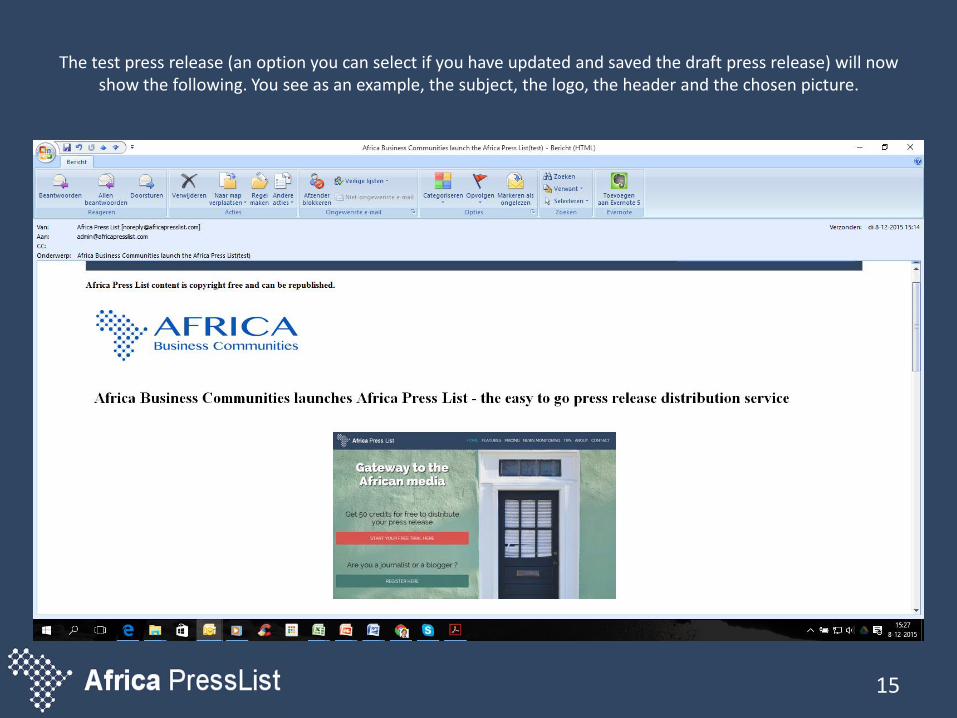
The test press release (an option you can select if you have updated and saved the draft press release) will nowshow the following. You see as an example, the subject, the logo, the header and the chosen picture.
15

The next step is to add the content of the press release. You can directly type the text in this box or copy and paste it from a text document like MS Word.
16
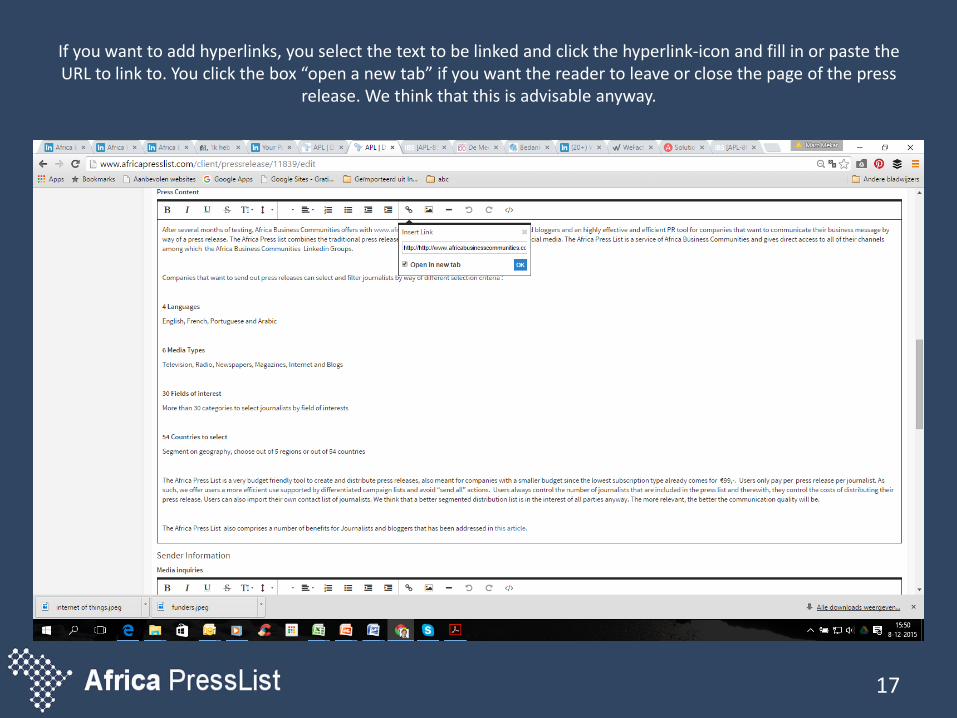
If you want to add hyperlinks, you select the text to be linked and click the hyperlink-icon and fill in or paste the URL to link to. You click the box “open a new tab” if you want the reader to leave or close the page of the press
release. We think that this is advisable anyway.
17
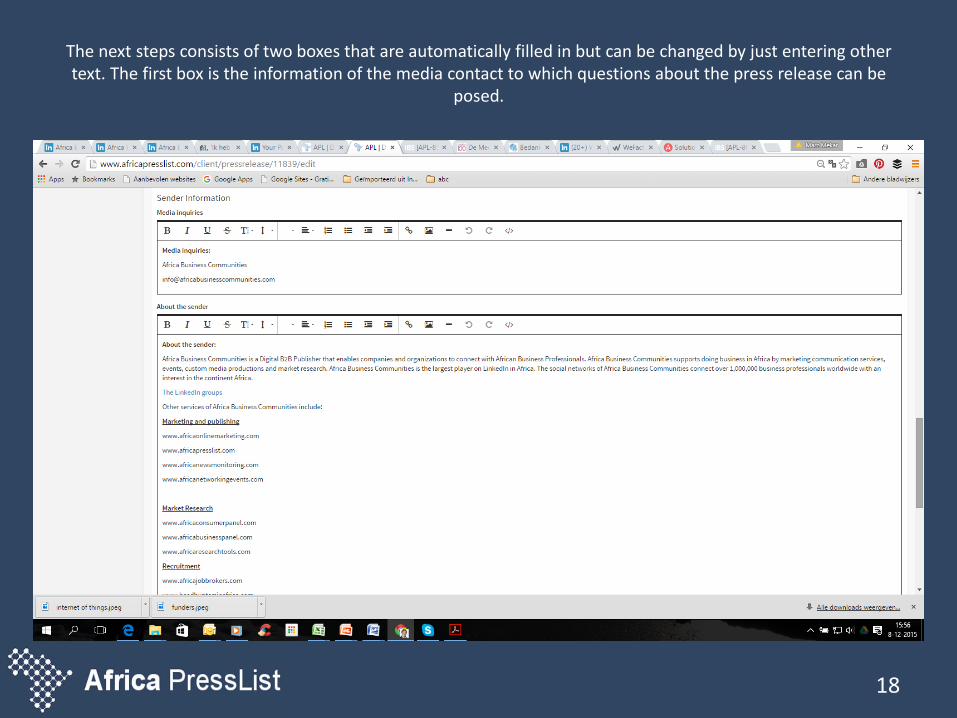
The next steps consists of two boxes that are automatically filled in but can be changed by just entering othertext. The first box is the information of the media contact to which questions about the press release can be
posed.
18
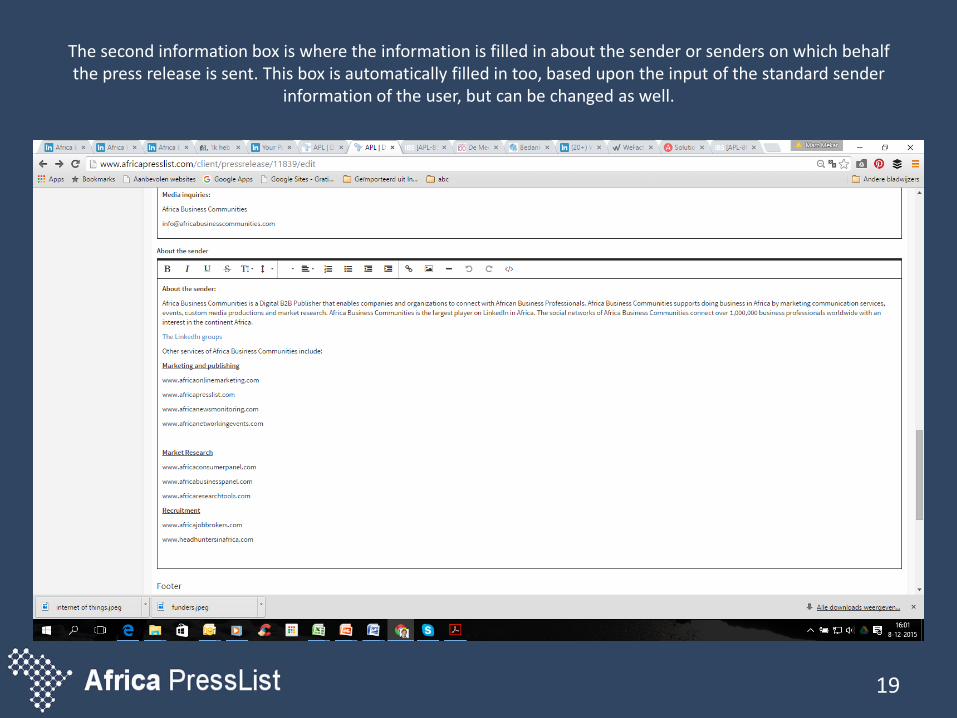
The second information box is where the information is filled in about the sender or senders on which behalfthe press release is sent. This box is automatically filled in too, based upon the input of the standard sender
information of the user, but can be changed as well.
19
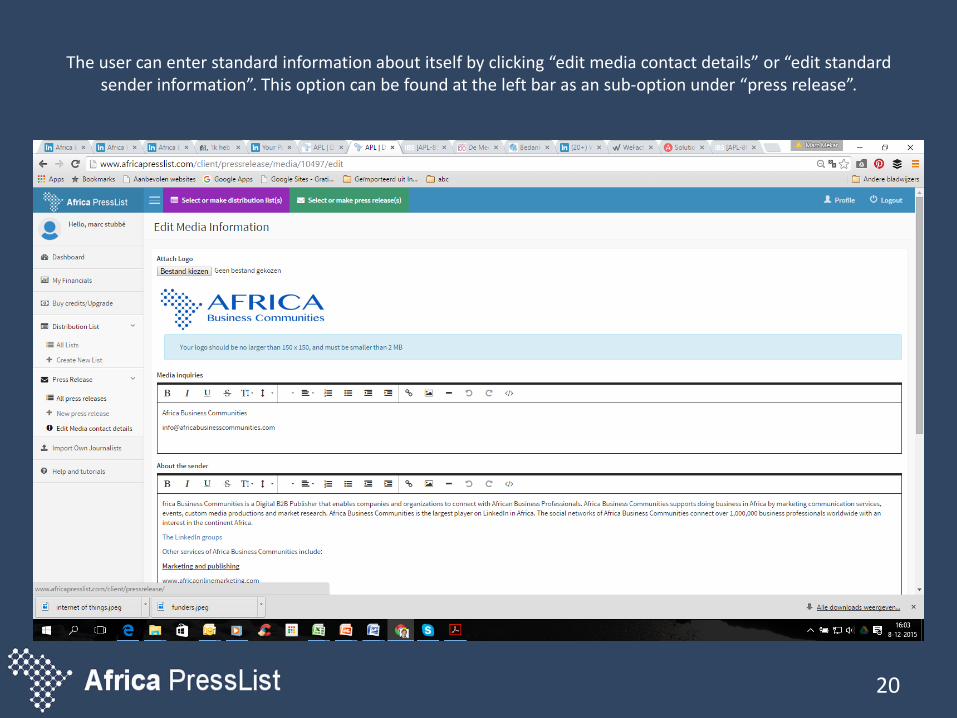
The user can enter standard information about itself by clicking “edit media contact details” or “edit standardsender information”. This option can be found at the left bar as an sub-option under “press release”.
20
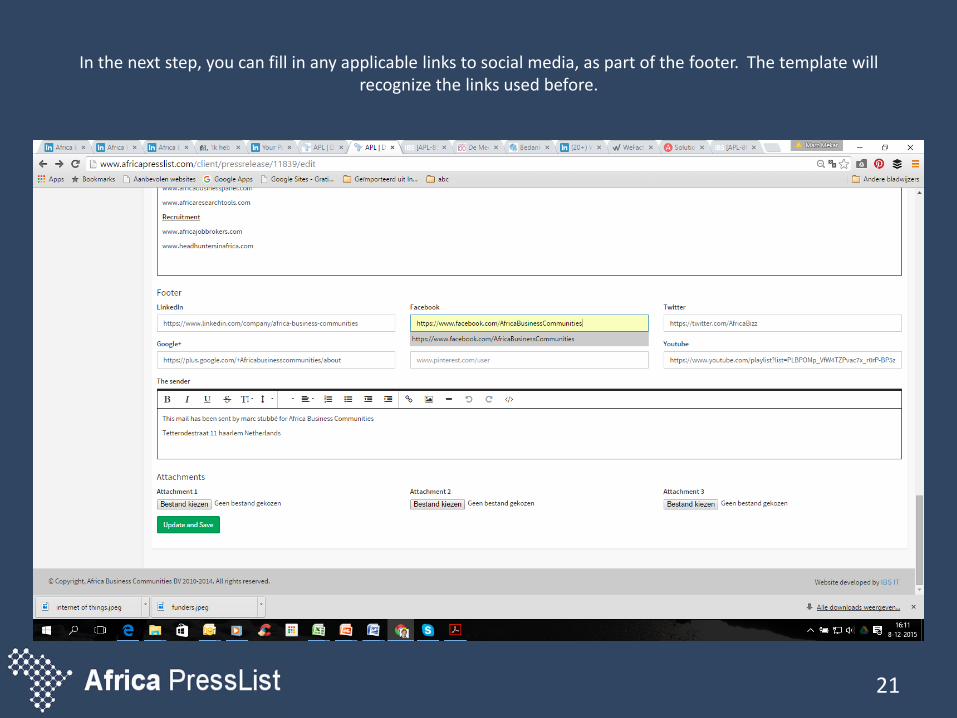
In the next step, you can fill in any applicable links to social media, as part of the footer. The template willrecognize the links used before.
21
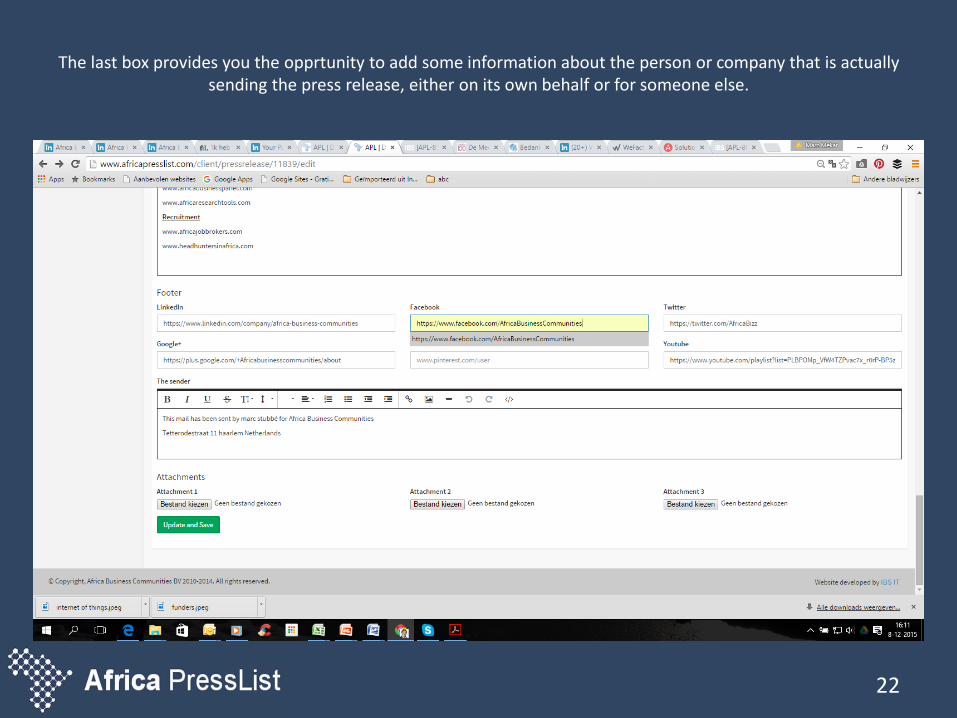
The last box provides you the opprtunity to add some information about the person or company that is actuallysending the press release, either on its own behalf or for someone else.
22
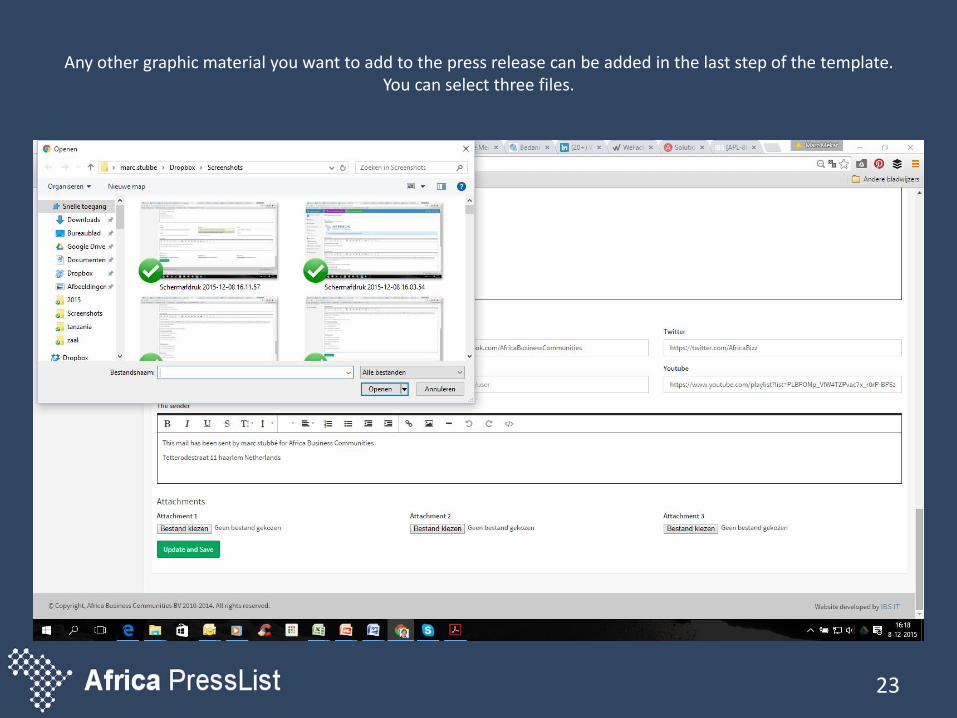
Any other graphic material you want to add to the press release can be added in the last step of the template. You can select three files.
23

If you have selected one file or more, you can click the button “update and save”
24

You will subsequently see the following screen. With the blue button below “test your press release”, you cansend a test email to any email address.
25
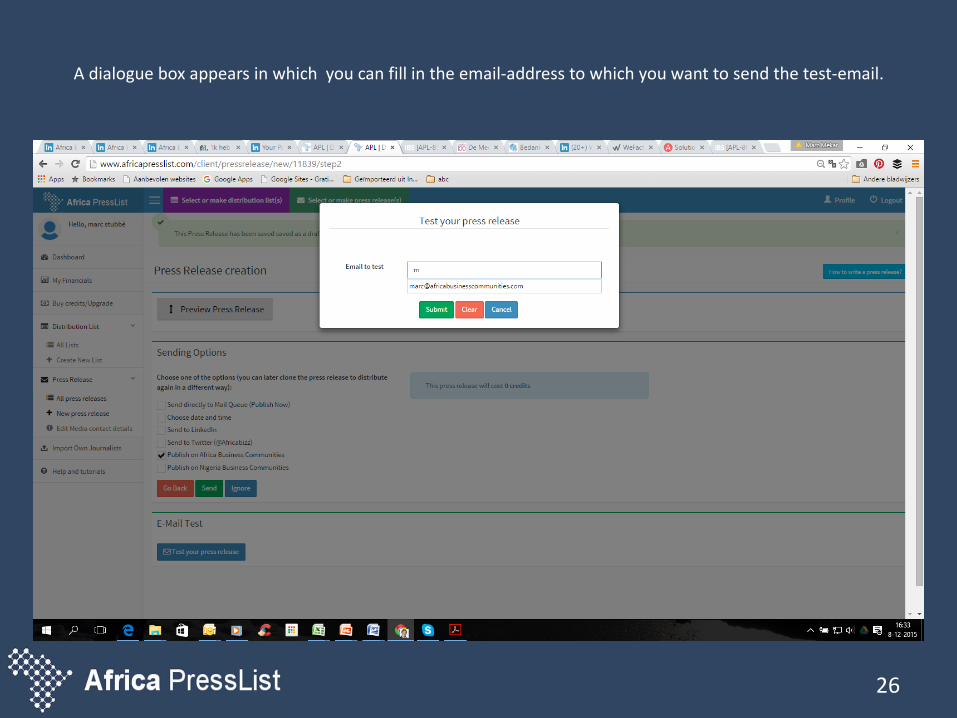
A dialogue box appears in which you can fill in the email-address to which you want to send the test-email.
26
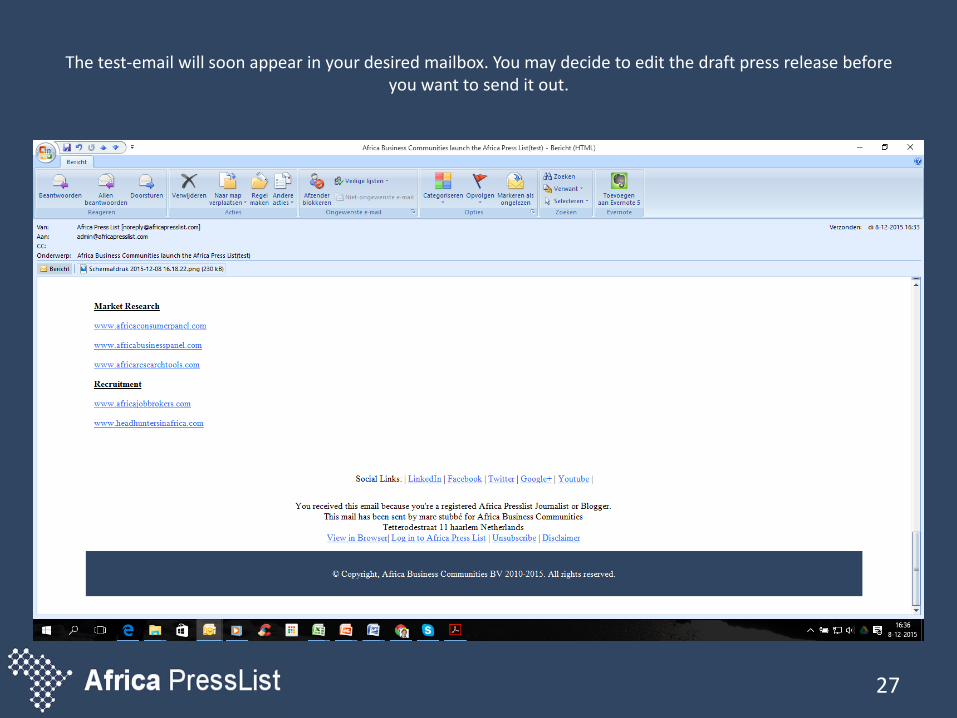
The test-email will soon appear in your desired mailbox. You may decide to edit the draft press release beforeyou want to send it out.
27
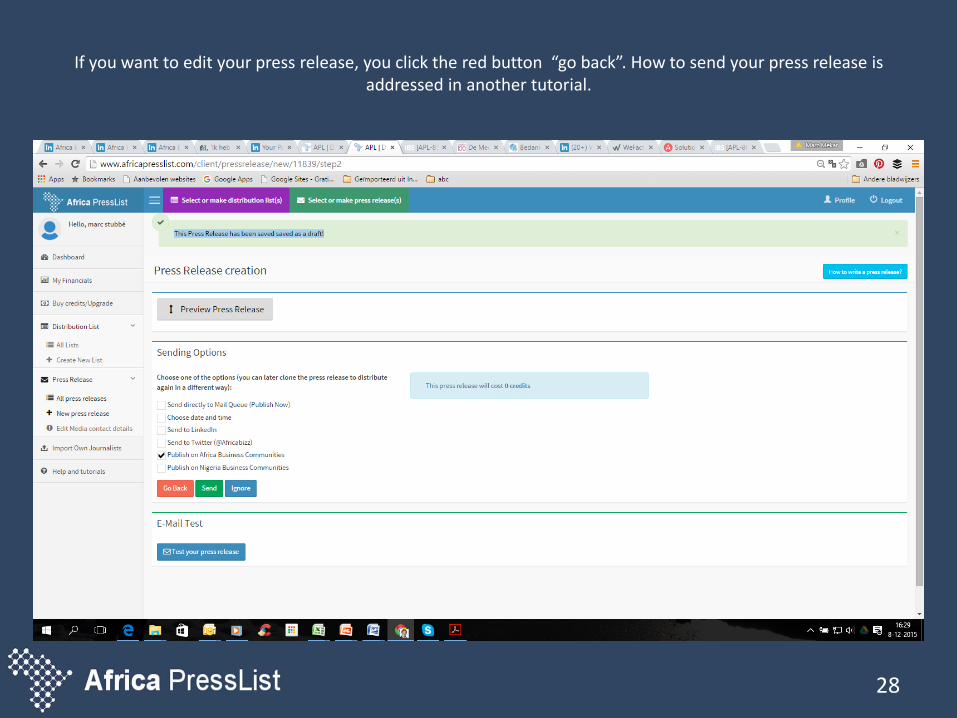
If you want to edit your press release, you click the red button “go back”. How to send your press release is addressed in another tutorial.
28

A updated and saved press release can always be edited, by clicking “all press releases” and subsequently clicking the green button “edit” at the right of the applicable press release. You can also clone a sent press release as a basis for a
new press release by clicking “clone”. How to send your press release is addressed in another tutorial.
29

Client – Making or editing a pressrelease
The end
30