800-447-8192 DickBlick.com Concentric...
4
Concentric Kirigami Surprisingly uncomplicated, this relief sculpture is assembled with cut-paper rings (art + social studies) A variation on Japanese Origami, the term Kirigami is derived from "kiru" (to cut) and "kami" (paper). Typically, cut-paper designs are created when strategic folds are made and portions cut away. The paper is then unfolded to reveal a design. Traditionally, the design is a representational object, but sometimes it is simply an interesting pattern that appears (think of cut-paper snowflakes). The repetition of cuts often makes the design appear more intricate and labor- intensive than it may have actually been. Cutting intricate designs into paper is a traditional craft found in many cultures. Paper cutting arts are known as Scherenschnitte in Germany, Wycinanki in Poland, and Papel Picado in Mexico. An easy and inexpensive way to create this type of Paper Sculpture is to begin with “rings” cut from double-sided sheets of colorful cardstock. The edges of the rings are folded, cut, unfolded, and layered concentrically (placed around the same center point) to make modern-day Kirigami designs. Each cut-away negative piece is used to make another positive, with a choice of either color side of the cardstock to provide contrast. GRADES 3-12 Note: instructions and materials are based upon a class size of 24 students. Adjust as needed. Preparation 1. For inspiration, view the cut-paper sculptures of contemporary American artist Jen Stark. Process 1. Provide each student with two pieces of double-sided cardstock and one piece of heavy construction paper to use as a background. Also, provide a copy of each of the patterns found on pages 3 and 4 of this lesson plan. 2. Place the first pattern on a piece of cardstock and trace it firmly with a ballpoint pen. Remove the pattern, making sure the circle lines are visible on the cardstock. Repeat with the second pattern. NOTE: As an alternative, have students use a compass to create concentric circles. 3. Cut the first circle from each piece of cardstock. Fold it in half and cut the remaining circles from the folded edge. Copyright © 2013 Dick Blick Art Materials All rights reserved 800-447-8192 DickBlick.com 1. Materials Roylco ® Double Color Cardstock, 8" x 9", 100-sheet package (12611-1000); share one package among class Blick ® Construction Paper, assorted colors, 9" x 12", 50-sheet package (11409-1003); share one among class Fiskars ® Softgrip Precision-Tip Kids Scissors, Pointed Tip (57619-1005); need one per student Elmer’s ® Glue-All ® , 4-oz (23887-1004); share one between two students Helix ® Safety Compass (55737-1007); one per student Optional Materials Fiskars ® Hand Punches, assorted styles (58923-) McGill ® Punches, assorted styles (61825-) Armada ® Paper Shapers, set of 24 (57601-1024)
Transcript of 800-447-8192 DickBlick.com Concentric...
Concentric KirigamiSurprisingly uncomplicated, this relief sculpture is assembled with cut-paper rings (art + social studies)
A variation on Japanese Origami, the term Kirigami is derived from "kiru" (to cut) and "kami" (paper). Typically, cut-paper designs are created when strategic folds are made and portions cut away. The paper is then unfolded to reveal a design. Traditionally, the design is a representational object, but sometimes it is simply an interesting pattern that appears (think of cut-paper snowflakes). The repetition of cuts often makes the design appear more intricate and labor-intensive than it may have actually been.
Cutting intricate designs into paper is a traditional craft found in many cultures. Paper cutting arts are known as Scherenschnitte in Germany, Wycinanki in Poland, and Papel Picado in Mexico.
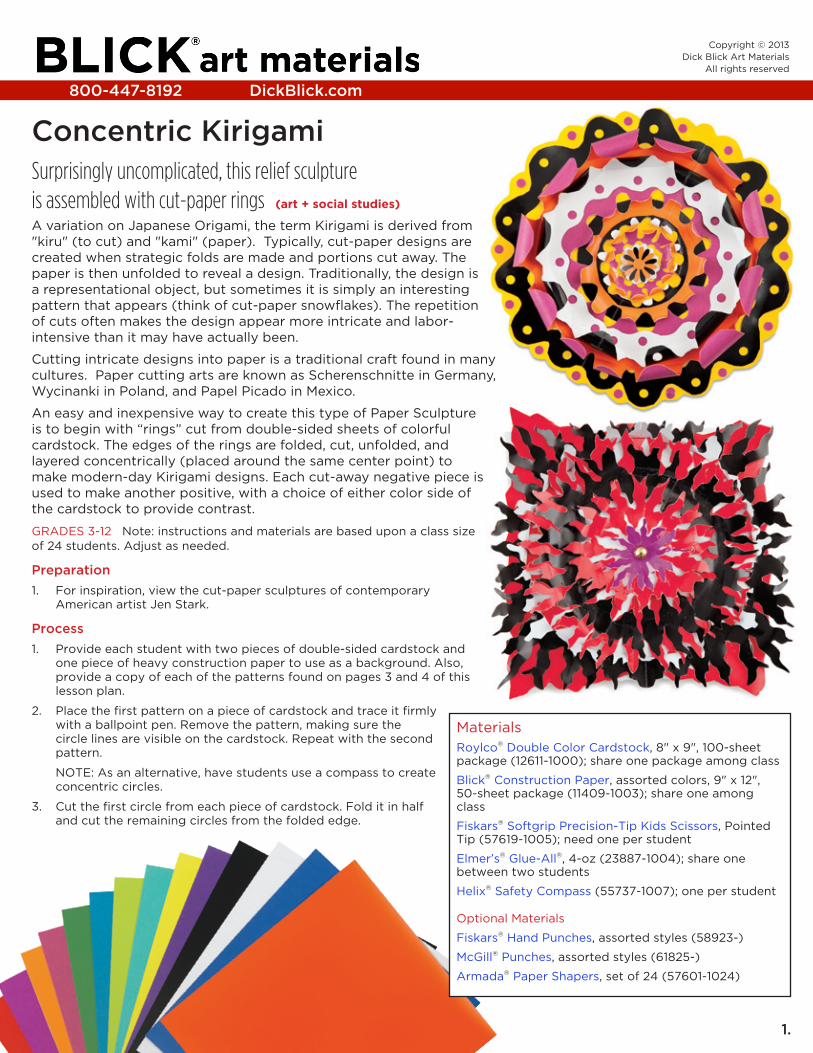
An easy and inexpensive way to create this type of Paper Sculpture is to begin with “rings” cut from double-sided sheets of colorful cardstock. The edges of the rings are folded, cut, unfolded, and layered concentrically (placed around the same center point) to make modern-day Kirigami designs. Each cut-away negative piece is used to make another positive, with a choice of either color side of the cardstock to provide contrast.
GRADES 3-12 Note: instructions and materials are based upon a class size of 24 students. Adjust as needed.
Preparation
1. For inspiration, view the cut-paper sculptures of contemporary American artist Jen Stark.
Process
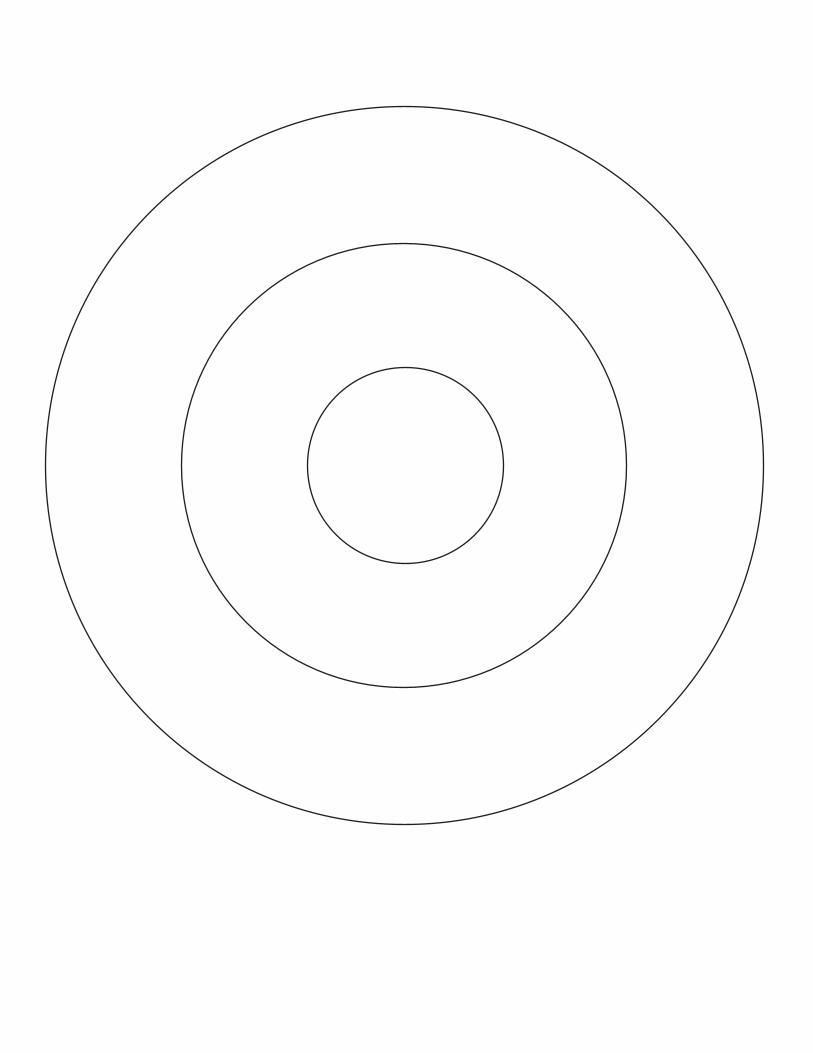
1. Provide each student with two pieces of double-sided cardstock and one piece of heavy construction paper to use as a background. Also, provide a copy of each of the patterns found on pages 3 and 4 of this lesson plan.
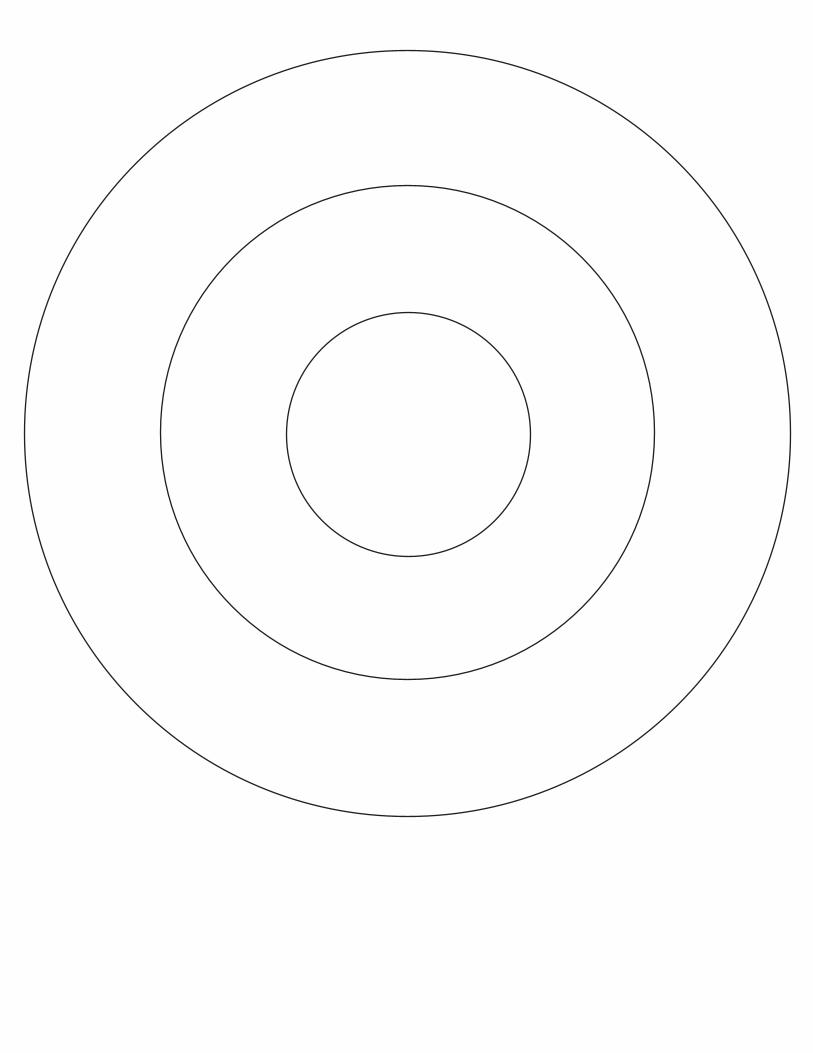
2. Place the first pattern on a piece of cardstock and trace it firmly with a ballpoint pen. Remove the pattern, making sure the circle lines are visible on the cardstock. Repeat with the second pattern.
NOTE: As an alternative, have students use a compass to create concentric circles.
3. Cut the first circle from each piece of cardstock. Fold it in half and cut the remaining circles from the folded edge.
Copyright © 2013Dick Blick Art Materials
All rights reserved
800-447-8192 DickBlick.com
1.
MaterialsRoylco® Double Color Cardstock, 8" x 9", 100-sheet package (12611-1000); share one package among class
Blick® Construction Paper, assorted colors, 9" x 12", 50-sheet package (11409-1003); share one among class
Fiskars® Softgrip Precision-Tip Kids Scissors, Pointed Tip (57619-1005); need one per student
Elmer’s® Glue-All®, 4-oz (23887-1004); share one between two students
Helix® Safety Compass (55737-1007); one per student
Optional Materials
Fiskars® Hand Punches, assorted styles (58923-)
McGill® Punches, assorted styles (61825-)
Armada® Paper Shapers, set of 24 (57601-1024)
Process, continued
4. Begin with the largest ring. Fold it in half and cut a design into both the inner and outer edges. The design can be as simple as zig-zags or scallops, or something more complex. Open the ring and lay it flat on the construction paper background (either side).
5. Repeat with the next smallest ring — from the second sheet of cardstock. Layer it inside the first ring.
Tips for creating rings:
— Fold, bend, or curl edges to create dimension.
— Use both sides of the cardstock to show color variety.
— Use paper punches to make small openings, so other colors can be viewed beneath.
— Use decorative-edged scissors to easily create interesting borders.
— Make 2-3 rings before gluing in place, in case one requires altering.
— Rings can be cut thinner, if it works better with the design.
— It is not necessary for all rings to be incorporated in the finished piece.
Options
1. Place two Concentric Kirigami designs back-to-back to make a piece of 3-dimensional paper sculpture, viewable from all sides.
National Standards for Visual Arts Education
Content Standard #1 — Understanding and applying media, techniques and processes.K-4 Students use art materials and tools in a safe and responsible manner5-8 Students intentionally take advantage of the qualities and characteristics of art media, techniques, and processes to enhance communication of their experiences and ideas9-12 Students conceive and create works of visual art that demonstrate an understanding of how the communication of their ideas relates to the media, techniques, and processes they use
Content Standard #4 — Understanding the visual arts in relation to history and cultures.K-4 Students identify specific works of art as belonging to particular cultures, times, and places5-8 Students describe and place a variety of art objects in historical and cultural contexts9-12 Students differentiate among a variety of historical and cultural contexts in terms of characteristics and purposes of works of art
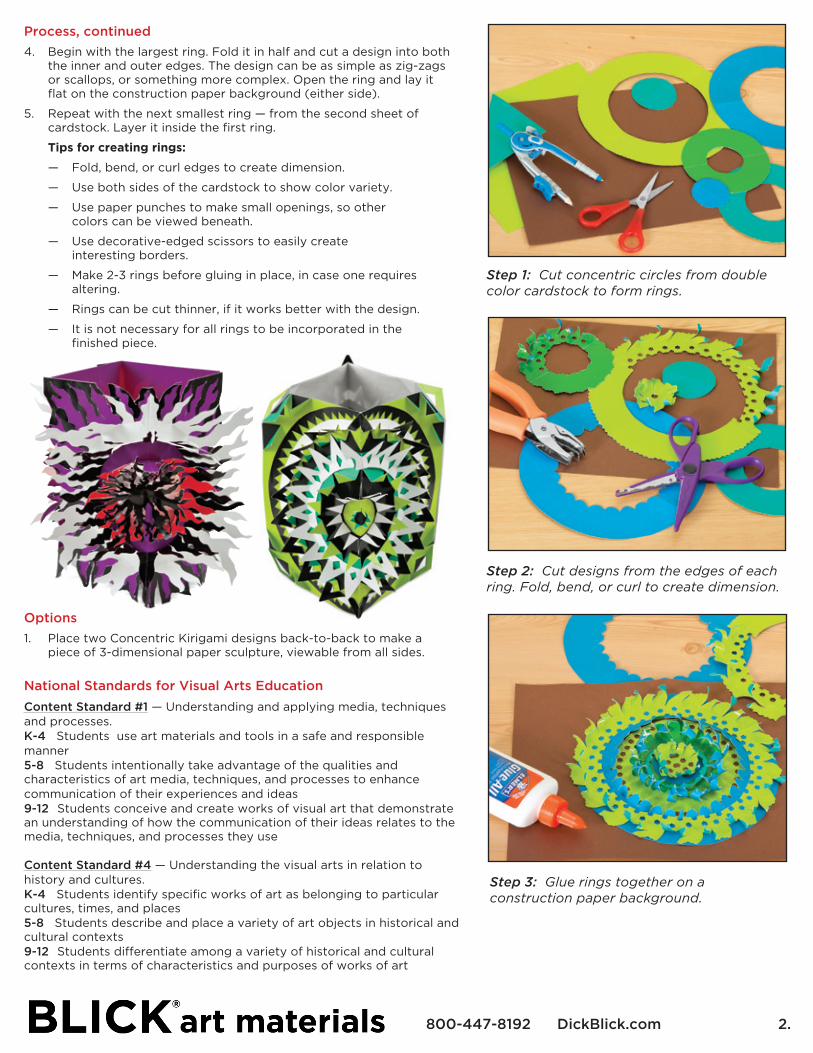
Step 1: Cut concentric circles from double color cardstock to form rings.
Step 2: Cut designs from the edges of each ring. Fold, bend, or curl to create dimension.
Step 3: Glue rings together on a construction paper background.
2.800-447-8192 DickBlick.com