2014-15 Studio Art Daily Plans Jan 5-9 Ms. Livoti.
19
2014-15 Studio Art Daily Plans Jan 5-9 Ms. Livoti
-
Upload
jerome-cummings -
Category
Documents
-
view
221 -
download
4
Transcript of 2014-15 Studio Art Daily Plans Jan 5-9 Ms. Livoti.
2014-15 Studio Art Daily PlansJan 5-9
Ms. Livoti
Monday 1-5
• Aim: How can you critique and assess your surrealism project?
• Do Now: Create a new years resolution for your progress in Art
HW DUE Wednesday: Create a drawing of your self-portrait as a cartoon.
Tuesday 1-6
• Aim: What is the Pop Art Portrait project?• Do Now: List a favorite comic or cartoon
and describe the art elements found in it.
HW DUE Tomorrow: Draw your self-portrait as a cartoon
Pop Art!
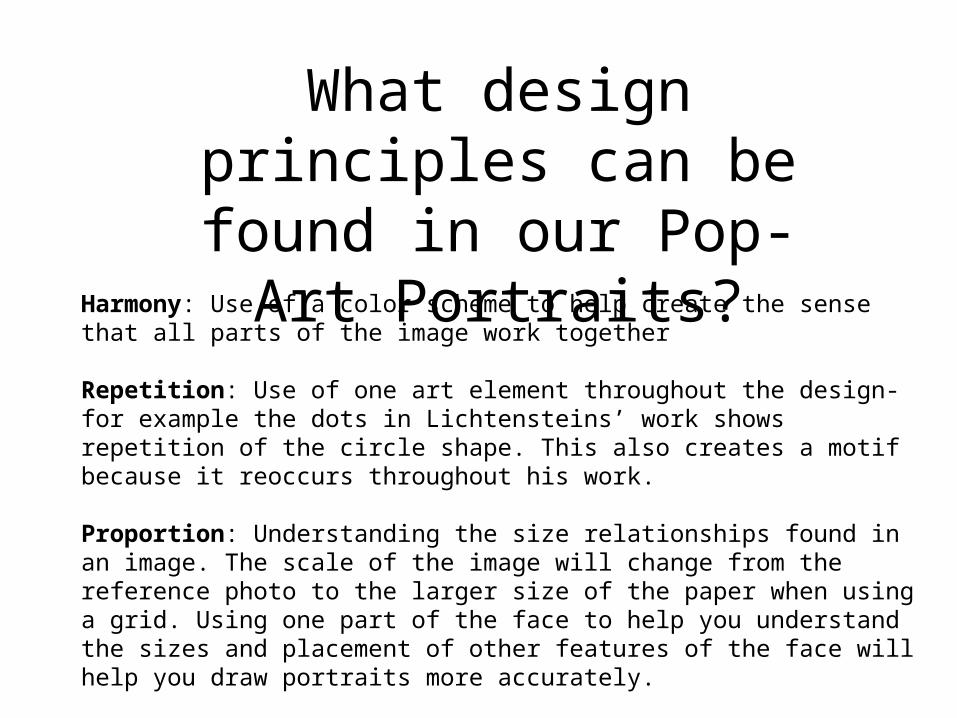
What design principles can be found in our Pop-Art Portraits?
Harmony: Use of a color scheme to help create the sense that all parts of the image work together
Repetition: Use of one art element throughout the design- for example the dots in Lichtensteins’ work shows repetition of the circle shape. This also creates a motif because it reoccurs throughout his work.
Proportion: Understanding the size relationships found in an image. The scale of the image will change from the reference photo to the larger size of the paper when using a grid. Using one part of the face to help you understand the sizes and placement of other features of the face will help you draw portraits more accurately.
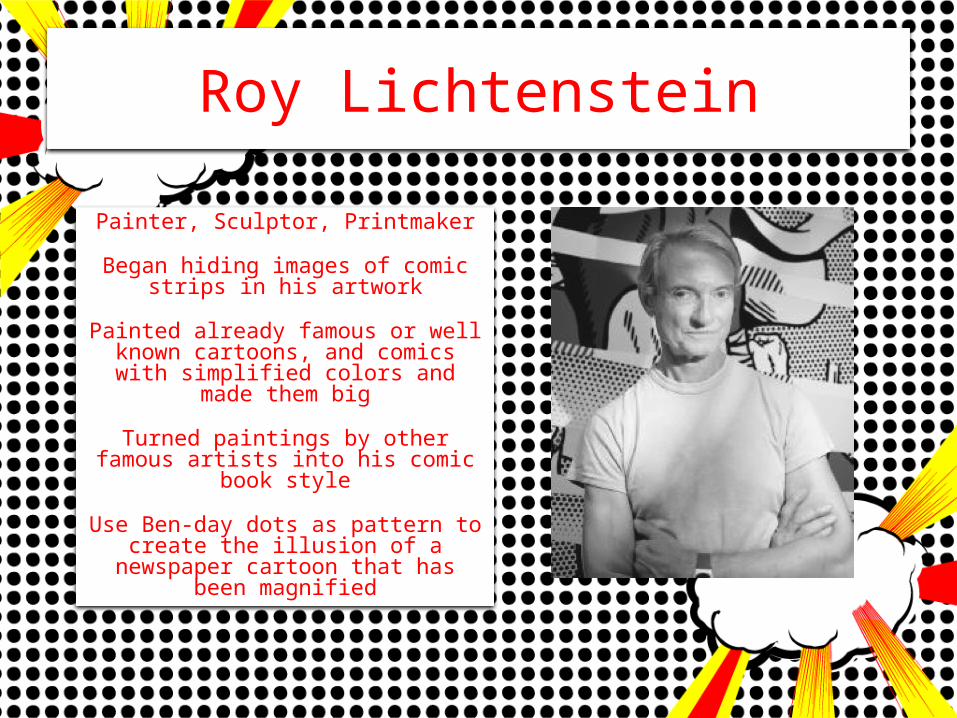
Roy Lichtenstein
Painter, Sculptor, Printmaker
Began hiding images of comic strips in his artwork
Painted already famous or well known cartoons, and comics with simplified colors and made them
big
Turned paintings by other famous artists into his comic book style
Use Ben-day dots as pattern to create the illusion of a newspaper cartoon that has been magnified
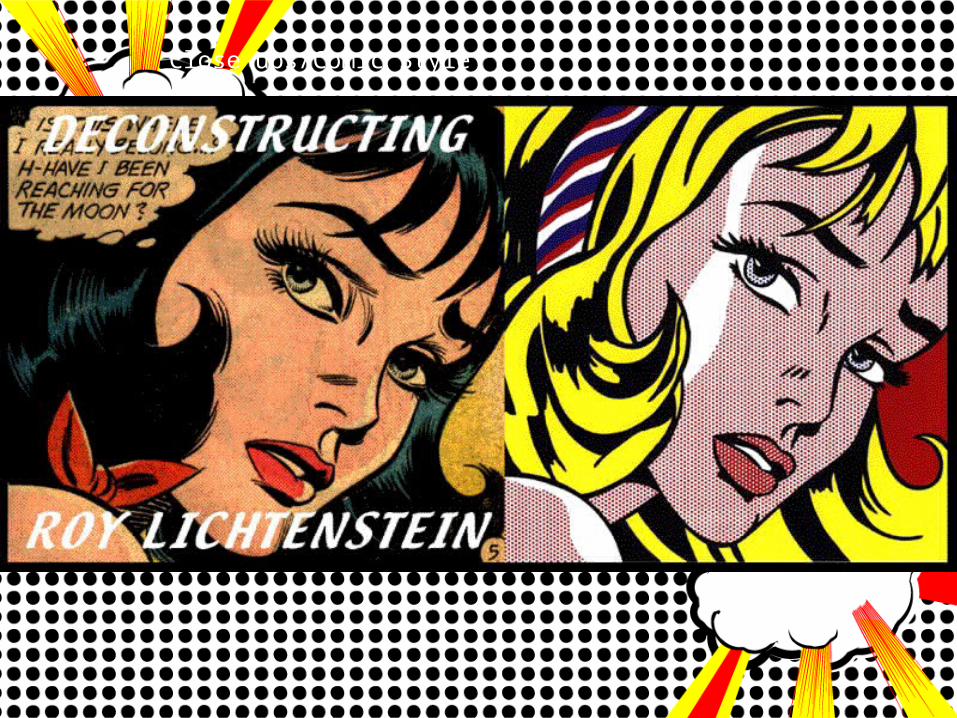
Close ups/Comic Style

Andy WarholAndy Warhol said, “I don’t think art should be for the select few., I think it should
be for the mass of the American people.”
Andy Warhol would make multiple images of the same object or person but change
the colors. He loved repetition.

These portraits are all of the actress Marilyn Monroe.
What makes these portraits interesting to look at?
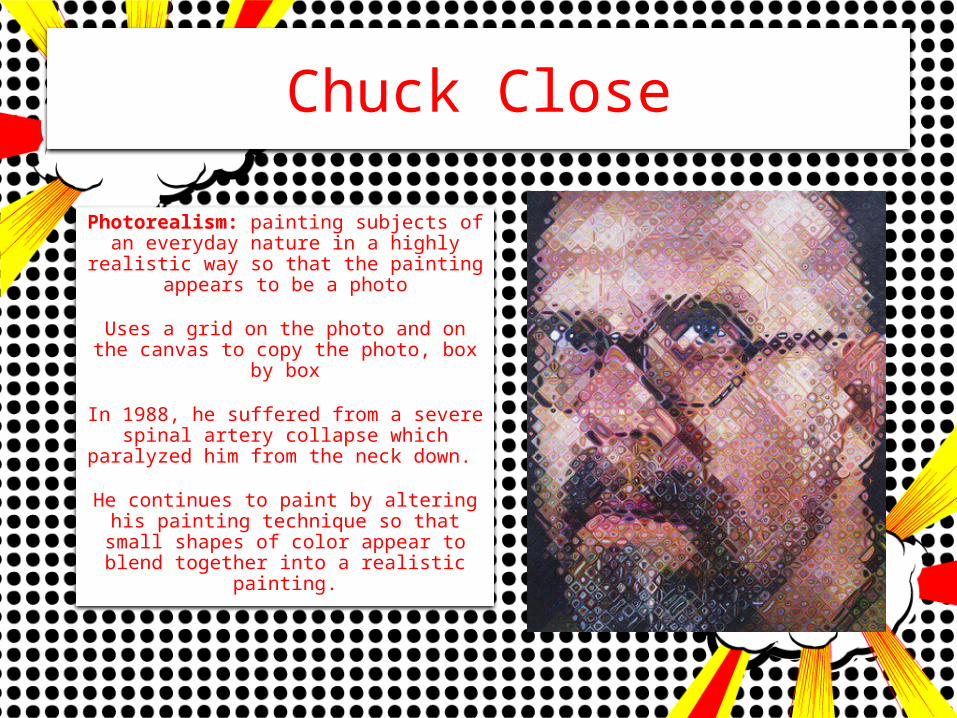
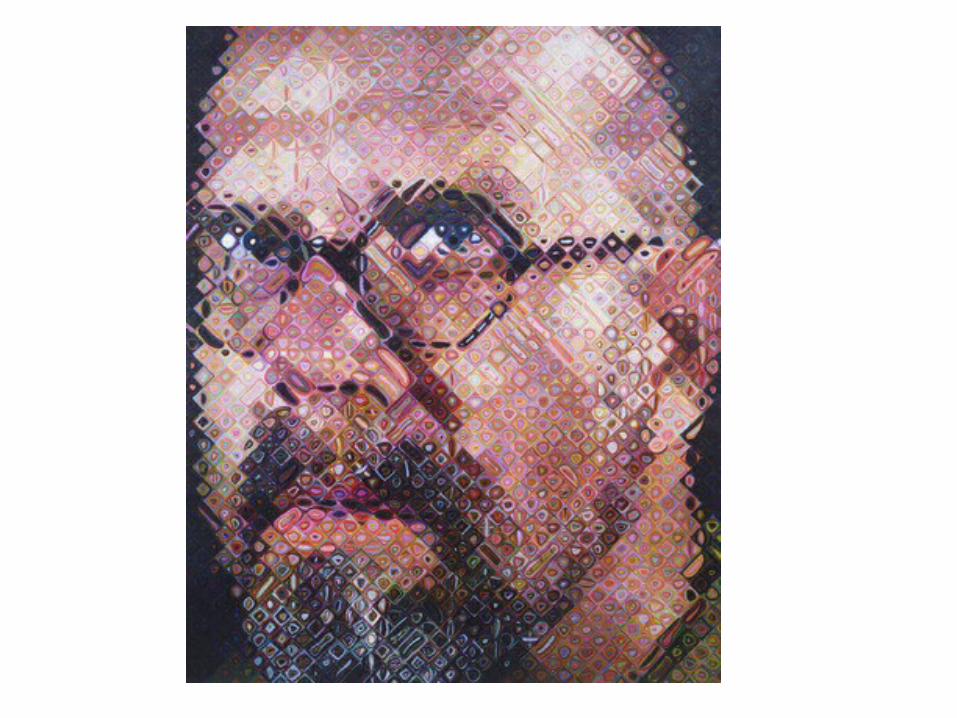
Chuck Close
Photorealism: painting subjects of an everyday nature in a highly realistic
way so that the painting appears to be a photo
Uses a grid on the photo and on the canvas to copy the photo, box by box
In 1988, he suffered from a severe spinal artery collapse which paralyzed
him from the neck down.
He continues to paint by altering his painting technique so that small shapes of color appear to blend together into a realistic painting.

Wed 1-7Aim: How can you study the self-portrait and
features of the face?Do Now: 5 minute self portrait assessment
HW DUE Friday: In your sketchbook draw a portrait of yourself form observation following the correct proportions of the face and where features on the face belong.
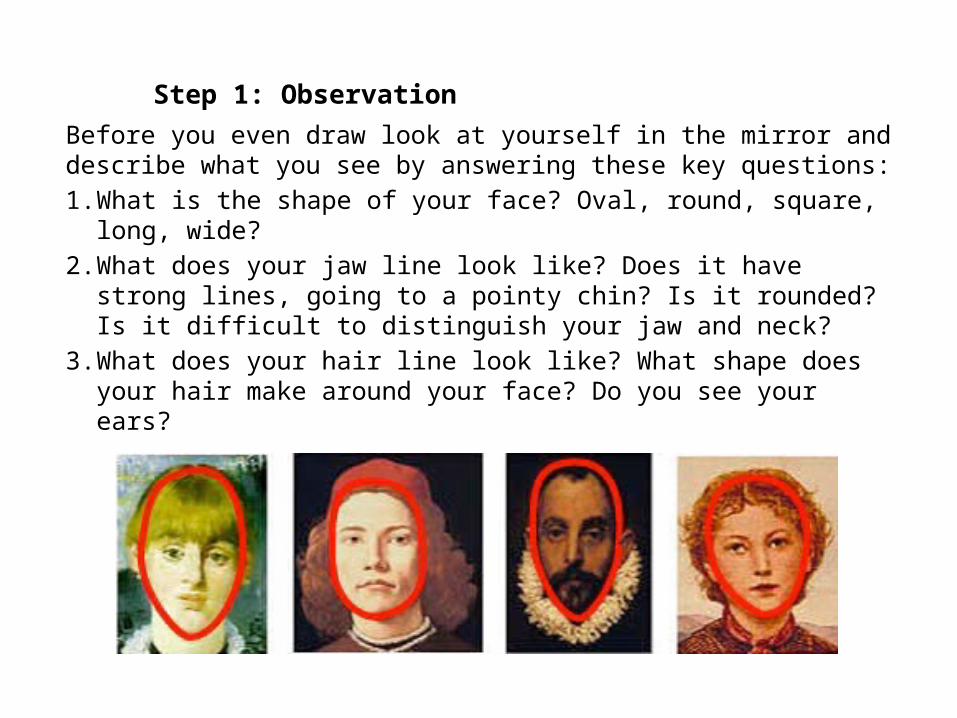
Step 1: Observation
Before you even draw look at yourself in the mirror and describe what you see by answering these key questions:1. What is the shape of your face? Oval, round, square, long, wide?2. What does your jaw line look like? Does it have strong lines, going
to a pointy chin? Is it rounded? Is it difficult to distinguish your jaw and neck?
3. What does your hair line look like? What shape does your hair make around your face? Do you see your ears?
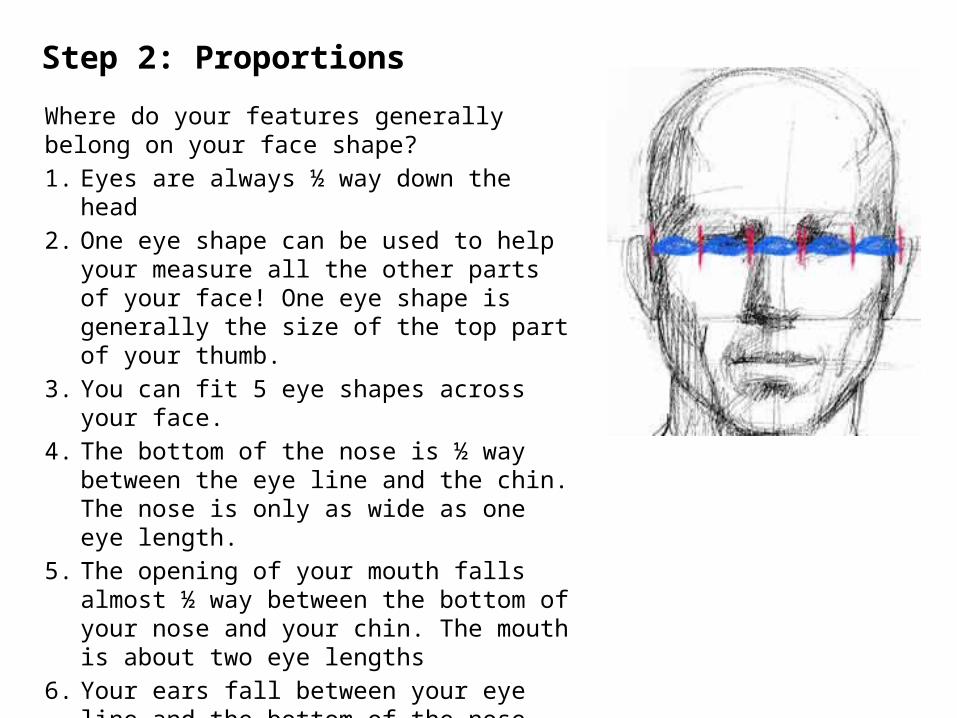
Step 2: Proportions
Where do your features generally belong on your face shape?1. Eyes are always ½ way down the head2. One eye shape can be used to help your measure
all the other parts of your face! One eye shape is generally the size of the top part of your thumb.
3. You can fit 5 eye shapes across your face.4. The bottom of the nose is ½ way between the eye
line and the chin. The nose is only as wide as one eye length.
5. The opening of your mouth falls almost ½ way between the bottom of your nose and your chin. The mouth is about two eye lengths
6. Your ears fall between your eye line and the bottom of the nose.
7. About four fingers make up the space of your forehead.
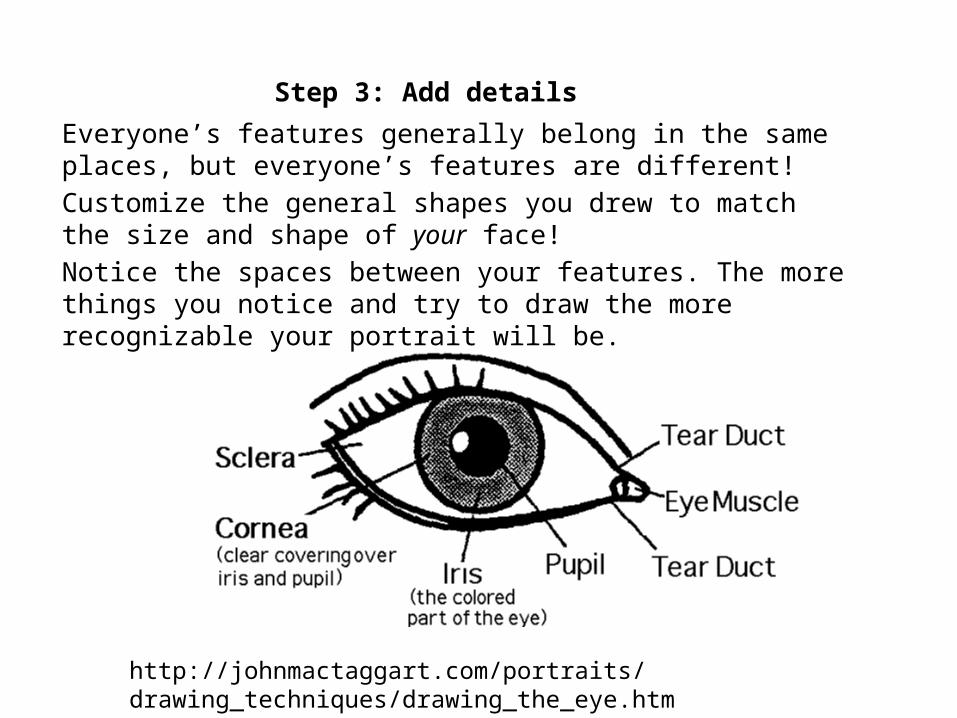
Step 3: Add details
Everyone’s features generally belong in the same places, but everyone’s features are different!Customize the general shapes you drew to match the size and shape of your face!Notice the spaces between your features. The more things you notice and try to draw the more recognizable your portrait will be.
http://johnmactaggart.com/portraits/drawing_techniques/drawing_the_eye.htm
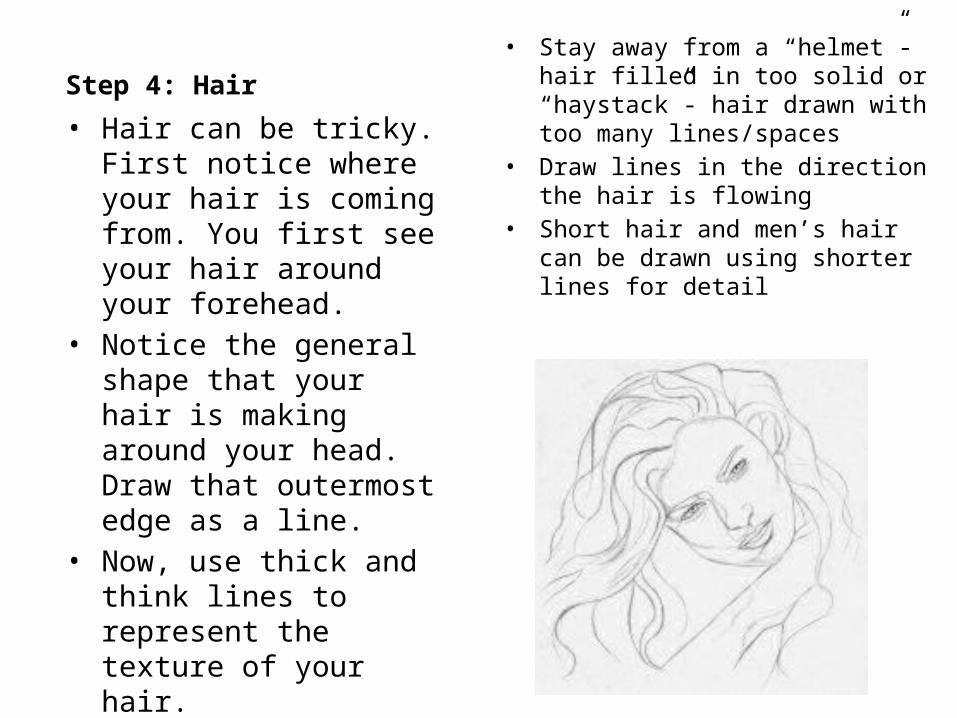
Step 4: Hair• Stay away from a “helmet”-hair filled in
too solid or “haystack”- hair drawn with too many lines/spaces
• Draw lines in the direction the hair is flowing
• Short hair and men’s hair can be drawn using shorter lines for detail
• Hair can be tricky. First notice where your hair is coming from. You first see your hair around your forehead.
• Notice the general shape that your hair is making around your head. Draw that outermost edge as a line.
• Now, use thick and think lines to represent the texture of your hair.
• If your hair is very curly- stay away from scribbles!
Thurs 1-8Aim: How can you continue to work at different
stations in the classroom to practice drawing portraits?
Do Now: Explain why it is important to start a portrait drawing with proportion guidelines.
HW DUE Friday: In your sketchbook draw a portrait of yourself form observation following the correct proportions of the face and where features on the face belong
Friday 1-9Aim: How can you practice using a grid to draw
and enlarge a portrait?Do Now: Analyze the artwork by artist Chuck
Close
HW DUE Today: In your sketchbook draw a portrait of yourself form observation following the correct proportions of the face and where features on the face belong