2013 Quick Start Guide for Outlook 201302/2014 2013 Quick Start Guide for Outlook 2013 Outlook is...
6
02/2014 2013 Quick Start Guide for Outlook 2013 Outlook is the email client for Microsoft Exchange. It is a comprehensive collaboration tool for organizing all your email, calendars, contacts and appointments. The Outlook 2013 Default Window 1 1 2 2 3 3 4 4 5 5 6 6 7 7 8 8 Quick Access Toolbar - contains shortcuts for some of the most commonly used commands in Outlook 2013. Tab Bar - contains tabs that display tools and command buttons in the Ribbon. Ribbon - contains related command functions in areas called groups, such as New, Delete, and Respond. Folder Pane - contains shortcuts to Outlook 2013 folders and sections. View Pane - displays the contents of the selected folder. Navigation Bar - switches between Mail, Calendar, People, and Tasks hubs, as well as Navigation Options, Notes, Folders, and Shortcuts. People Pane - displays contact information and activity of an individual you are communicating with via email. Reading Pane - displays the contents of the selected email message. To [email protected] Inbox - [email protected] - Outlook
Transcript of 2013 Quick Start Guide for Outlook 201302/2014 2013 Quick Start Guide for Outlook 2013 Outlook is...

02/2014
2013
Quick Start Guide for Outlook 2013Outlook is the email client for Microsoft Exchange. It is a comprehensive collaboration tool for organizing all your email, calendars, contacts and appointments.
The Outlook 2013 Default Window
1
1
2
2
3
3
4
4
5
5
6
6
7
7
8
8
Quick Access Toolbar - contains shortcuts for some of the most commonly used commands in Outlook 2013.Tab Bar - contains tabs that display tools and command buttons in the Ribbon.Ribbon - contains related command functions in areas called groups, such as New, Delete, and Respond.Folder Pane - contains shortcuts to Outlook 2013 folders and sections.View Pane - displays the contents of the selected folder.Navigation Bar - switches between Mail, Calendar, People, and Tasks hubs, as well as Navigation Options, Notes, Folders, and Shortcuts.People Pane - displays contact information and activity of an individual you are communicating with via email.Reading Pane - displays the contents of the selected email message.
Inbox - [email protected] - Outlook

Quick Start Guide for Outlook 2013
2
Group
Command Icons
Customize Outlook 2013 Toolbar
Compose and Send an Email
Attach a File/Item to an Email
Open an Attachment
Forward an Email
Reply to an Email
To personalize Outlook 2013 for the features you most frequently use, do the following:• To customize the Quick Access Toolbar, click the Customize Quick Access Toolbar icon in the
toolbar. Select or deselect commands from the menu which adds or removes shortcuts.• To hide or show the Ribbon, click the Ribbon Display Options icon in the top right
corner of the default window. Select an option from the available menu.• To customize the Navigation Bar, click the (more) icon and select Navigation Options.
1. In the Home tab, click the New Email icon in the New group in the Ribbon.
2. Enter the name or email address in the Tofield.Email addresses may be found in your Address Book or Contacts.
3. Enter the subject in the Subject field.4. Enter your message text in the Message body.
• To check spelling and grammar, click the Review tab in the email window. Click the Spelling & Grammar icon.
5. Click Send.A copy of each message you send appears in the Sent Items folder in the folder list.
1. With the email open, click the Attach File or Attach Item icon in the Include group.
2. Locateandselectthefile or item you want to attach.
3. Click Insert or OK as appropriate.
• With the email open, click the attachment. The Attachment preview appears in the Message body.
• Alternatively, you can right click on the attachment to Preview, Open, Quick Print, Save As, Save All Attachments, Remove, Copy, and Select All.
1. With the email either open or selected in the View pane, click the Forward icon in the Respond group.
2. Enter the email address in the Tofield.3. Optionally, you may enter a message in the
Message body.4. Click Send.
1. With the email either open or selected in the View pane, click the Reply or Reply All icon in the Respond group.
2. Enter the email text in the Message body.3. Click Send.
Inbox - [email protected] - Outlook
...
Quick Start Guide for Outlook 2013
3
Print an AttachmentAdd a Contact
Create a Contact Group
Add a Contact From an Email
Contacts
Create a Signature Block1. Click the File tab and click Options in the left pane. 2. In the Outlook Options window, select Mail.3. Click the Signatures... button.4. Click the New button in the Signatures and
Stationery window.5. In the New Signature window, enter the name of
the signature and click OK.6. Enter your name and contact information in the
Edit Signature box. 7. To apply a signature to:
• new messages, select the signature name from the New messages drop down menu.
• replies and forwards, select the signature name from the Replies/forwards drop down menu.
8. Click OK.
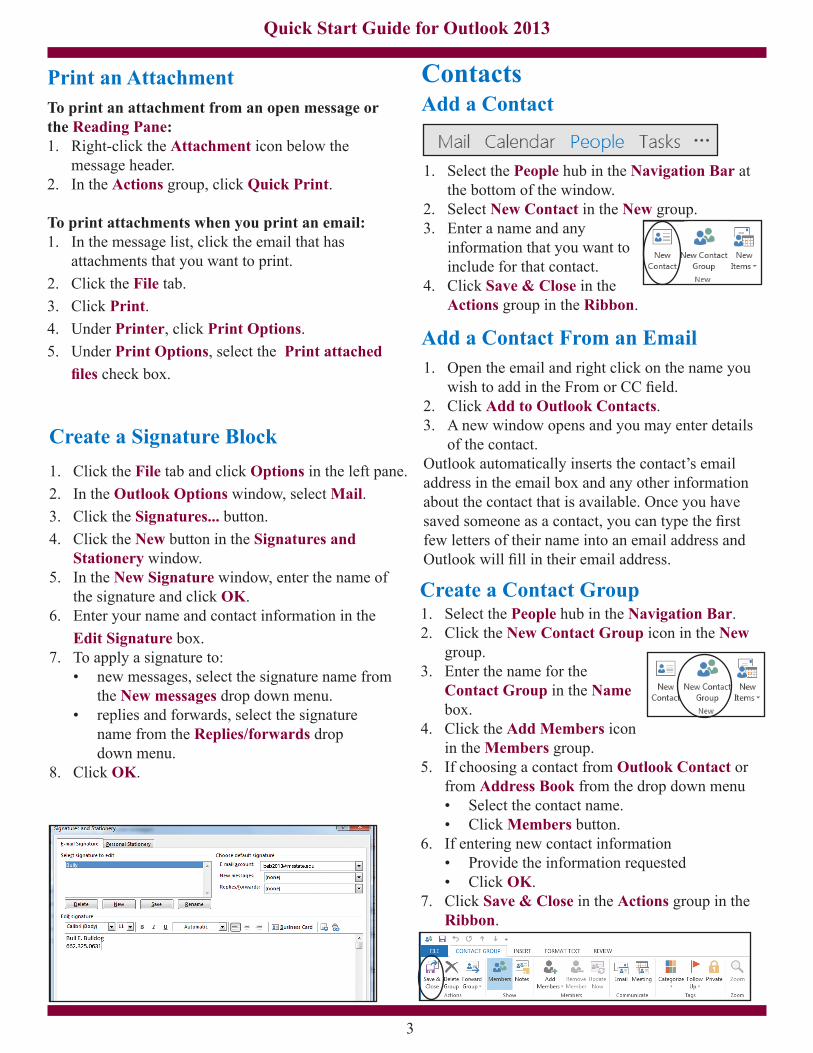
To print an attachment from an open message or the Reading Pane:1. Right-click the Attachment icon below the
message header.2. In the Actions group, click Quick Print.
To print attachments when you print an email:1. In the message list, click the email that has
attachments that you want to print.2. Click the File tab.3. Click Print.4. Under Printer, click Print Options.5. Under Print Options, select the Print attached
files check box.
1. Select the People hub in the Navigation Bar at the bottom of the window.
2. Select New Contact in the New group.3. Enter a name and any
information that you want to include for that contact.
4. Click Save & Close in the Actions group in the Ribbon.
1. Select the People hub in the Navigation Bar.2. Click the New Contact Group icon in the New
group. 3. Enter the name for the
Contact Group in the Name box.
4. Click the Add Members icon in the Members group.
5. If choosing a contact from Outlook Contact or from Address Book from the drop down menu• Select the contact name.• Click Members button.
6. If entering new contact information• Provide the information requested• Click OK.
7. Click Save & Close in the Actions group in the Ribbon.
1. Open the email and right click on the name you wishtoaddintheFromorCCfield.
2. Click Add to Outlook Contacts. 3. A new window opens and you may enter details
of the contact. Outlook automatically inserts the contact’s email address in the email box and any other information about the contact that is available. Once you have savedsomeoneasacontact,youcantypethefirstfew letters of their name into an email address and Outlookwillfillintheiremailaddress.
Quick Start Guide for Outlook 2013
4
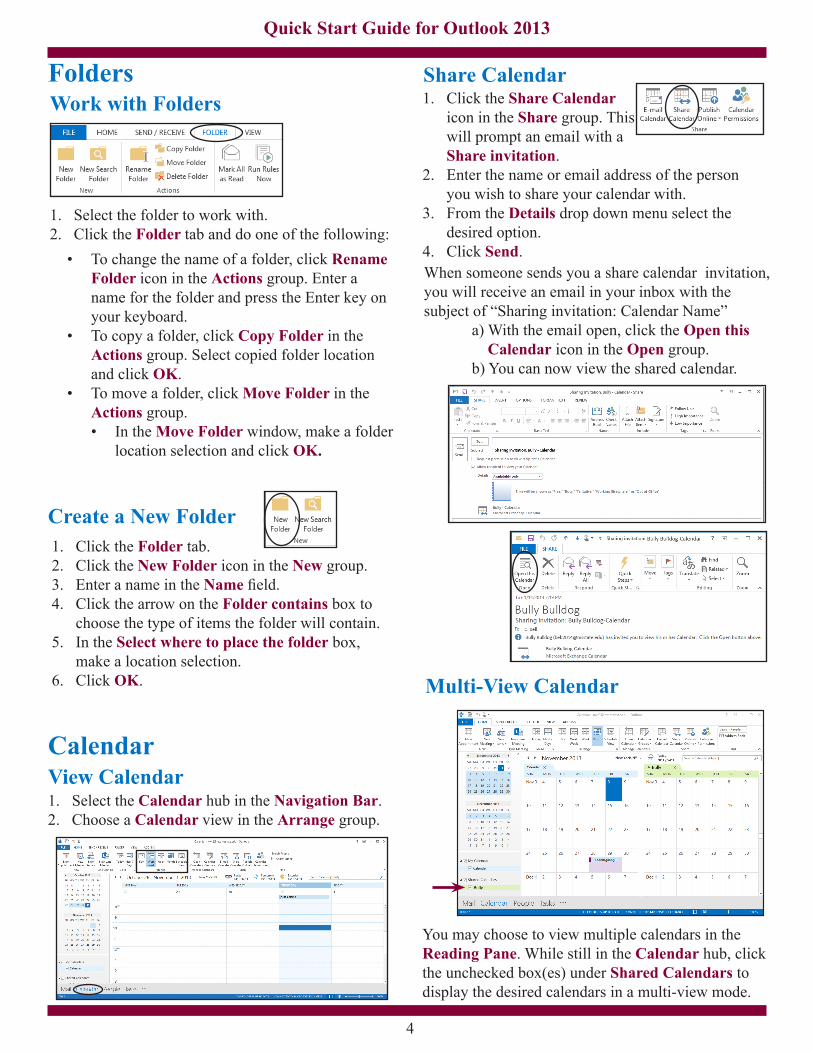
Create a New Folder
Work with Folders
1. Click the Folder tab.2. Click the New Folder icon in the New group.3. Enter a name in the Namefield.4. Click the arrow on the Folder contains box to
choose the type of items the folder will contain.5. In the Select where to place the folder box,
make a location selection.6. Click OK.
1. Select the folder to work with.2. Click the Folder tab and do one of the following:
Folders
• To change the name of a folder, click Rename Folder icon in the Actions group. Enter a name for the folder and press the Enter key on your keyboard.
• To copy a folder, click Copy Folder in the Actions group. Select copied folder location and click OK.
• To move a folder, click Move Folder in the Actions group. • In the Move Folder window, make a folder
location selection and click OK.
CalendarView Calendar
Share Calendar
1. Select the Calendar hub in the Navigation Bar.2. Choose a Calendar view in the Arrange group.
1. Click the Share Calendar icon in the Share group. This will prompt an email with a Share invitation.
2. Enter the name or email address of the person you wish to share your calendar with.
3. From the Details drop down menu select the desired option.
4. Click Send. When someone sends you a share calendar invitation, you will receive an email in your inbox with the subject of “Sharing invitation: Calendar Name” a) With the email open, click the Open this Calendar icon in the Open group. b) You can now view the shared calendar.
Multi-View Calendar
You may choose to view multiple calendars in the Reading Pane. While still in the Calendar hub, click the unchecked box(es) under Shared Calendars to display the desired calendars in a multi-view mode.
Quick Start Guide for Outlook 2013
5
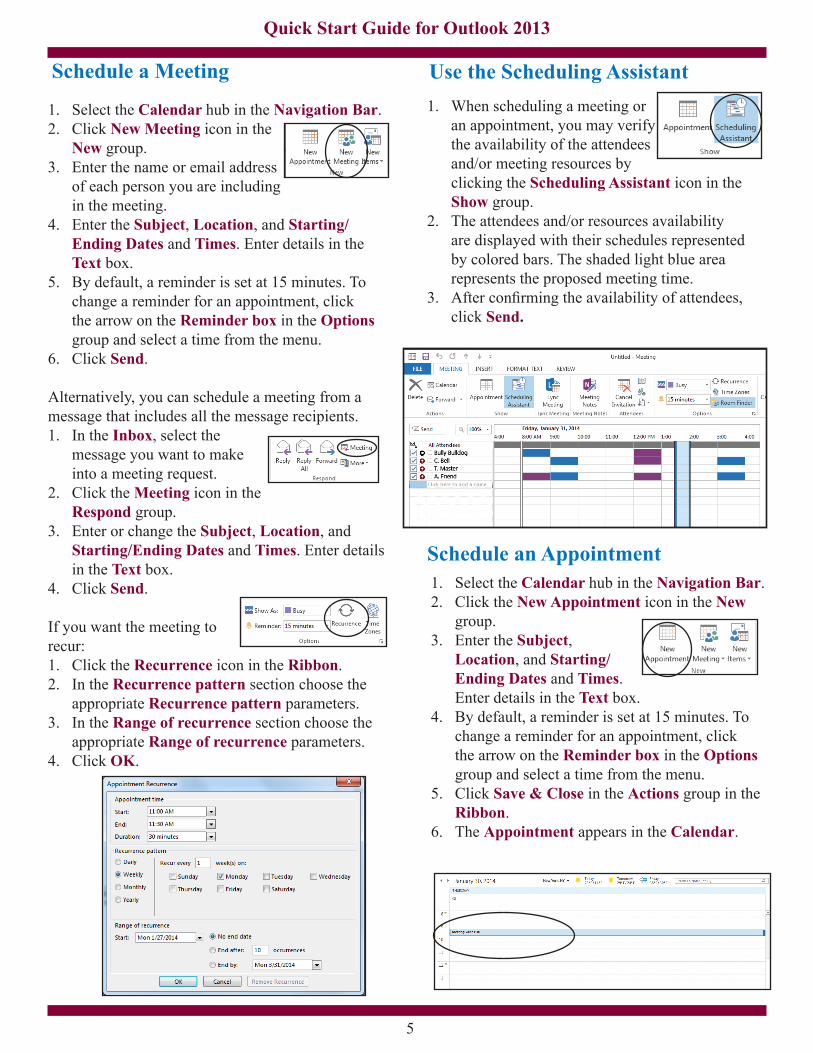
1. Select the Calendar hub in the Navigation Bar.2. Click the New Appointment icon in the New
group.3. Enter the Subject,
Location, and Starting/Ending Dates and Times. Enter details in the Text box.
4. By default, a reminder is set at 15 minutes. To change a reminder for an appointment, click the arrow on the Reminder box in the Options group and select a time from the menu.
5. Click Save & Close in the Actions group in the Ribbon.
6. The Appointment appears in the Calendar.
1. Select the Calendar hub in the Navigation Bar.2. Click New Meeting icon in the
New group. 3. Enter the name or email address
of each person you are including in the meeting.
4. Enter the Subject, Location, and Starting/Ending Dates and Times. Enter details in the Text box.
5. By default, a reminder is set at 15 minutes. To change a reminder for an appointment, click the arrow on the Reminder box in the Options group and select a time from the menu.
6. Click Send.
Alternatively, you can schedule a meeting from a message that includes all the message recipients.1. In the Inbox, select the
message you want to make into a meeting request.
2. Click the Meeting icon in the Respond group.
3. Enter or change the Subject, Location, and Starting/Ending Dates and Times. Enter details in the Text box.
4. Click Send.
If you want the meeting to recur: 1. Click the Recurrence icon in the Ribbon. 2. In the Recurrence pattern section choose the
appropriate Recurrence pattern parameters.3. In the Range of recurrence section choose the
appropriate Range of recurrence parameters.4. Click OK.
Schedule an Appointment
Use the Scheduling AssistantSchedule a Meeting1. When scheduling a meeting or
an appointment, you may verify the availability of the attendees and/or meeting resources by clicking the Scheduling Assistant icon in the Show group.
2. The attendees and/or resources availability are displayed with their schedules represented by colored bars. The shaded light blue area represents the proposed meeting time.
3. Afterconfirmingtheavailabilityofattendees,click Send.

1. Click the File tab to open the Backstage View, select Automatic Replies button.
2. In the Automatic Replies window, enter the parameters of how you want your message to be handled.
3. When all necessary parameters are in place, click OK.
Change Default Settings
Set Out of Office Reply
Manage Rules and Alerts
You may change the initial default settings to personalize the behavior and/or appearance of Outlook 2013.1. Click the File tab to open the Backstage View
and select Options in the left pane.2. In the Outlook Options window, select the
category you wish to change.3. In the selected category window, make the
desired changes.4. Click OK.
1. Click the File tab to open the Backstage View and click the Manage Rules & Alerts button in the Account Information section.
2. In the Rules & Alerts window, on the Email Rules tab, click New Rule.
3. In the Rules Wizard window, you can choose the type of Rule or Alert you want to create. The Rules Wizard prompts you for information and guides you through the process.
Be cautious, an incorrect rule setup may cause unexpected results.
Visit its.msstate.edu for more Outlook information.
Bully E. Bulldogbeb
Backstage ViewTo access the Backstage View, click the File tab. The Backstage View isusedtoconfigureaccountsettingandoptions,setup“OutofOffice”replies,manage rules and alerts, and print Outlook items such as email and calendar entries.
“Quick Start Guide for Outlook 2013isanindependent(publication)andisnotaffiliatedwith,norhasitbeenauthorized,sponsored,or otherwise approved by Microsoft Corporation.”