200284256 November 8 , 20 - · PDF file2 Information about this unit This unit is about forces...
44
1 Kalene Scott 200284256 ESCI 310-10 Catherine Hart November 8 th , 20
Transcript of 200284256 November 8 , 20 - · PDF file2 Information about this unit This unit is about forces...
1
Kalene Scott
200284256
ESCI 310-10
Catherine Hart
November 8th, 20
2
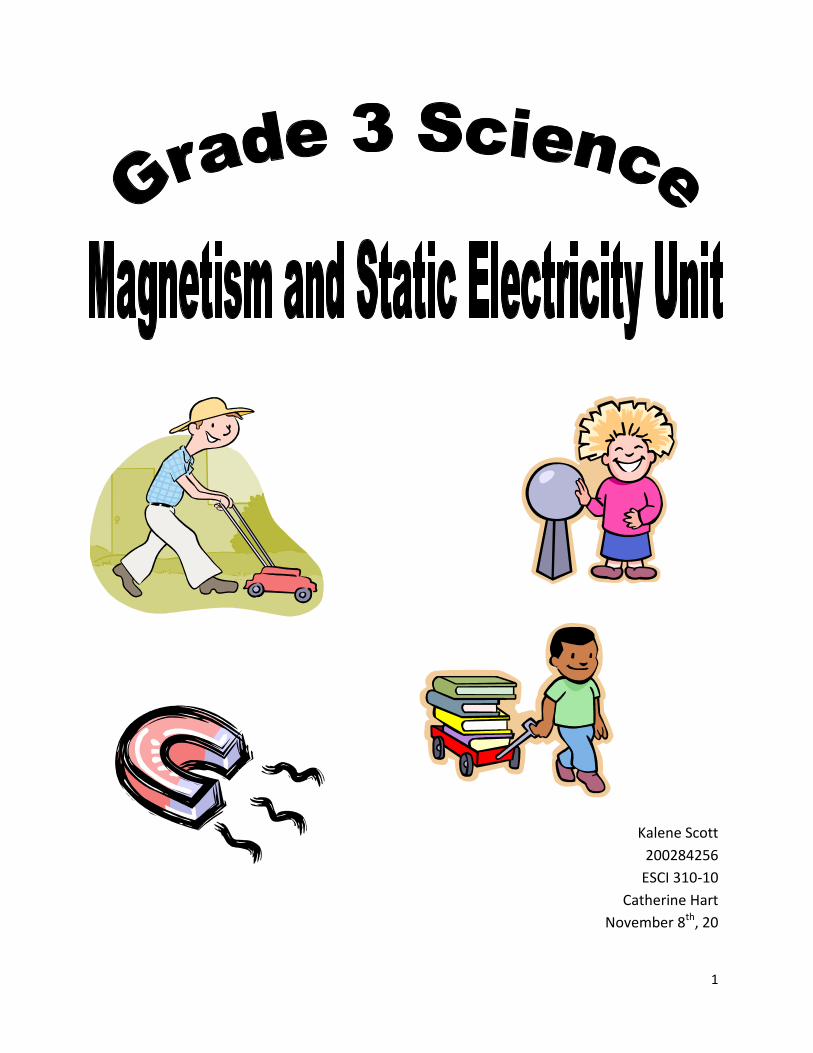
Information about this unit
This unit is about forces (contact, non-contact), friction, magnets and static electricity. Students will do a
number of activities that will explore all of these areas. Students will learn correct terms to use (attract,
repel) as well as how we use these materials in our daily lives. At the end of this unit students will have a
critical understanding on how to use these materials.
Other Ideas to do throughout the unit:
When giving out definitions, have the students create a separate page that strictly has
definitions in it. This way students can find where all their definitions are quickly.
At the end of the unit can quiz the students on the definitions
During the “How To Make a Compass” (lesson #9) feel free to go into further lessons. You could
teach students how to use GPS and go on a scavenger hunt around the school using either a
compass or GPS. You could also go on a field trip and try to find geocaching. Check out the
geocaching website that tells you what it is, and how to find them
http://www.geocaching.com/
During the Static Electricity lesson (#10), in health class can do a safety lesson on how to stay
safe during a thunderstorm (teaching children not to be in the water during a storm, etc.)
To end off the unit you can also go to the Science Center! They have a workshop all about
magnets. Plus there are many exhibits around the Science Center that deal with magnets and
static electricity.
Workshop information: http://www.sasksciencecentre.com/edprograms/workshops/136.html
Science Center Homepage: http://www.sasksciencecentre.com/
3
Lesson #1: Contact Forces
Source: Saskatchewan Science 3. Pearson Canada Inc. Toronto, Ontario. 2012. Pgs 86-
87
Purpose: To find and understand what contact force is
Substitute Information: Do not be afraid to use physical examples that help
show/understand what a contact force is (ex. tossing a ball to one of the students and
explain that is a push force). See attachment that has some definitions for the class to
write and sheet to handout if the Grade 3 Science Textbook is unavailable.
Outcomes: ME3.1 Investigate the characteristics of contact (e.g., push, pull, and friction) and non-contact (e.g., magnetic and static electric) forces
Indicators: b. Demonstrate how contact and non-contact forces are able to cause objects to start moving, speed up, slow down, and stop; cause moving objects to change direction; and cause changes to the shape of objects
Cross Curricular Competences:
To develop thinking and learn critically
Differentiation (Adaptive Dimension) If a student has visual impairment, use physical examples to help
show/understand what a contact force is Ex: have the student throw a ball and explain that that is an example of a contact force, specifically a push force
While students are doing the handout, the student who has a visual impairment, ask him/her what are some examples of a push/pull force
Preparation: (Equipment/ materials/ set-up)
Foam ball Slinky Handouts
4
Definitions to write on board
Force: is a push or a pull that makes an object more, stop moving, or change
direction or shape
Contact force: forces that act directly on each other (ex., pushing a lawn mower)
Set (5-10 min)
Ask students if they know or want to guess what a force is
Ask what a contact force is
Tell the students that they are going to learn today about two different types of forces: push and pull
Demonstrate these forces using the ball (toss it to a student) and the slinky (pull it apart)
Ask students what other types of objects use a push and pull force
Development (20 min)
Write the two definitions on the board for the students to write down in their science book
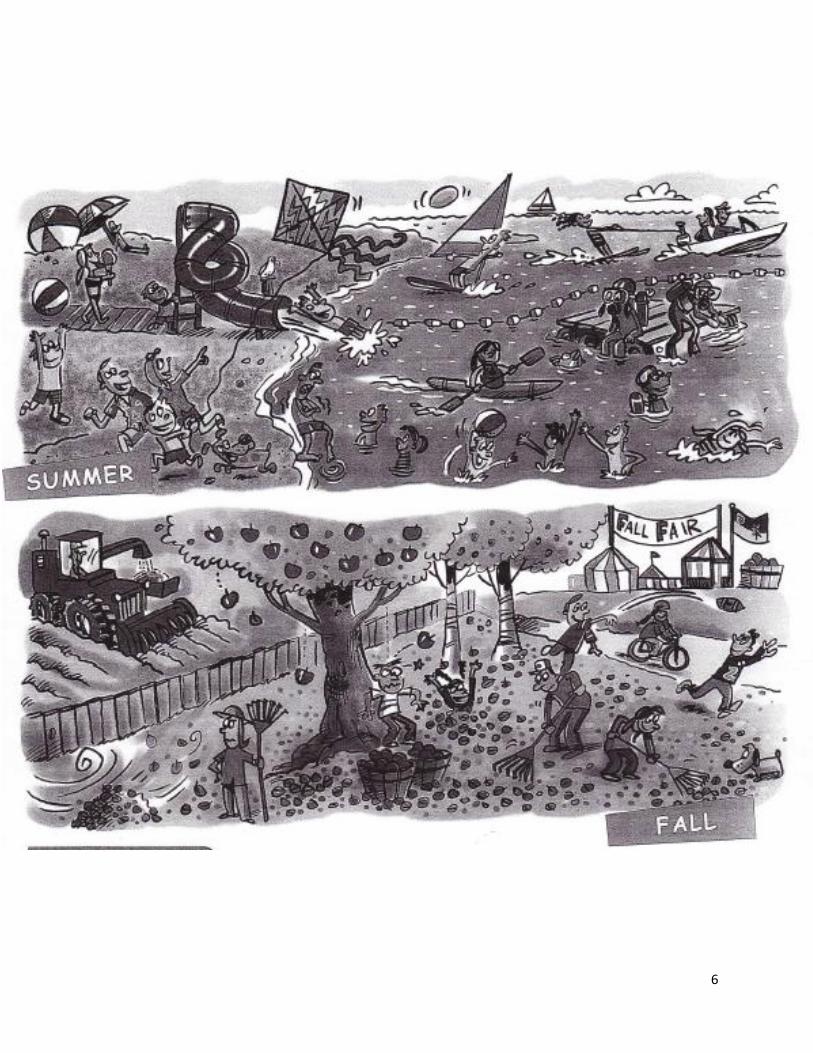
Hand out the handouts. Tell students to look at the 4 different seasons and for each season list 10 examples of a push object and a pull object and list them in their science book. (You can also use the pictures from the Saskatchewan Grade 3 Science Textbook)
For this activity students will work independently When done students can discuss with a partner
what their answers were and why do they think scientists call forces that act directly on objects contact forces
Closure ( 5-10 min)
Invite students to share their answers to the class to help show that they understood the activity
Ask again what a force (give an example of push/pull), and a contact force
Student engagement/ Classroom management

5
Contact Forces in the Four Seasons
6
7
Lesson #2: What is Friction?
Source: Saskatchewan Science 3. Pearson Canada Inc. Toronto, Ontario. 2012. Pgs
88-89
Purpose: To explore the force of friction and its effects
Substitute Information: Instead of using a toy car or a blanket for students to use
during the activity. Use instead marble, pencils, and coat, anything you find around the
classroom/school that will clearly show how friction effects each object.
Outcomes: ME3.1 Investigate the characteristics of contact (e.g., push, pull, and friction) and non-contact (e.g., magnetic and static electric) forces
Indicators: a. Pose questions related to the characteristics of magnetic and static electric forces (e.g., Do all magnets attract objects? Do all magnets have a North pole? Why do I get a shock when I rub my shoes on a carpet and touch a doorknob?
b. Demonstrate how contact and non-contact forces are able to cause objects to start moving, speed up, slow down, and stop; cause moving objects to change direction; and cause changes to the shape of objects
Cross Curricular Competences:
Develop Thinking: Think and learn critically and contextually
Prerequisite Learning:
Know what a contact force it
Preparation: (Equipment/ materials/ set-up)
Small toy cars (one per partner) Open floor area (may have to move desks aside) Ruler or tape measure Towel Observation sheet per student (or partner) String
8
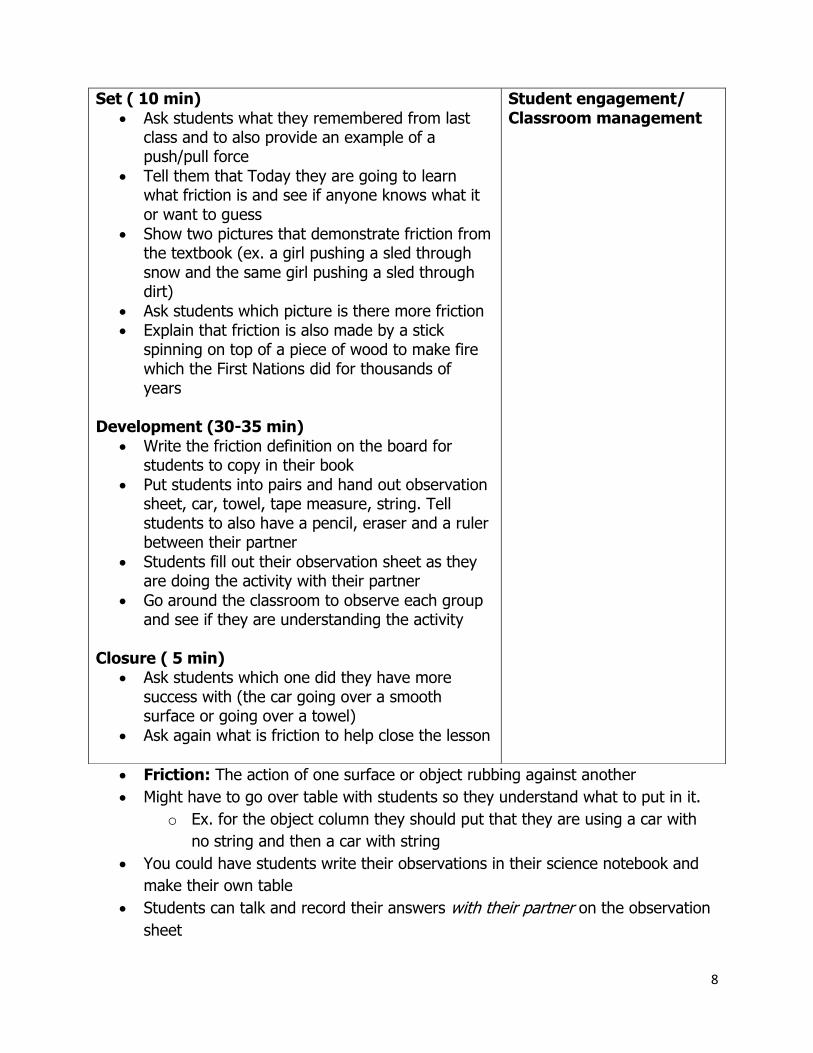
Friction: The action of one surface or object rubbing against another
Might have to go over table with students so they understand what to put in it.
o Ex. for the object column they should put that they are using a car with
no string and then a car with string
You could have students write their observations in their science notebook and
make their own table
Students can talk and record their answers with their partner on the observation
sheet
Set ( 10 min)
Ask students what they remembered from last class and to also provide an example of a push/pull force
Tell them that Today they are going to learn what friction is and see if anyone knows what it or want to guess
Show two pictures that demonstrate friction from the textbook (ex. a girl pushing a sled through snow and the same girl pushing a sled through dirt)
Ask students which picture is there more friction Explain that friction is also made by a stick
spinning on top of a piece of wood to make fire which the First Nations did for thousands of years
Development (30-35 min)
Write the friction definition on the board for students to copy in their book
Put students into pairs and hand out observation sheet, car, towel, tape measure, string. Tell students to also have a pencil, eraser and a ruler between their partner
Students fill out their observation sheet as they are doing the activity with their partner
Go around the classroom to observe each group and see if they are understanding the activity
Closure ( 5 min)
Ask students which one did they have more success with (the car going over a smooth surface or going over a towel)
Ask again what is friction to help close the lesson
Student engagement/ Classroom management
9
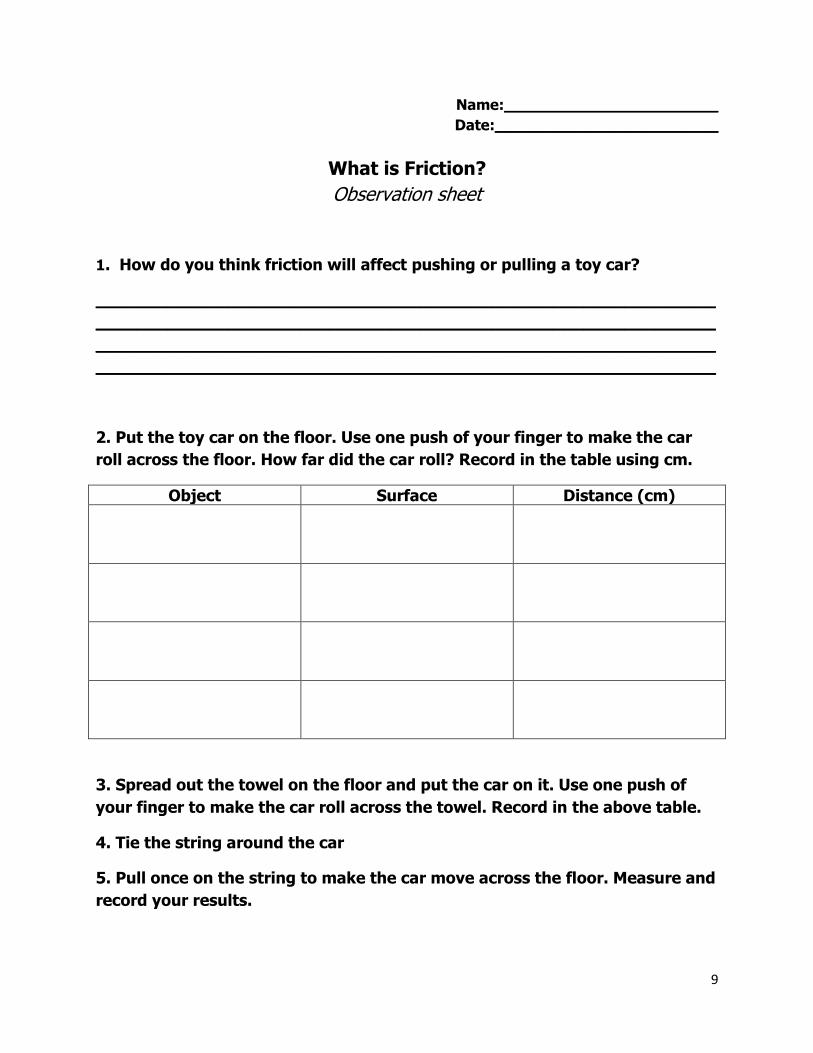
Name:_______________________
Date:________________________
What is Friction?
Observation sheet
1. How do you think friction will affect pushing or pulling a toy car?
_____________________________________________________________
_____________________________________________________________
_____________________________________________________________
_____________________________________________________________
2. Put the toy car on the floor. Use one push of your finger to make the car
roll across the floor. How far did the car roll? Record in the table using cm.
Object Surface Distance (cm)
3. Spread out the towel on the floor and put the car on it. Use one push of
your finger to make the car roll across the towel. Record in the above table.
4. Tie the string around the car
5. Pull once on the string to make the car move across the floor. Measure and
record your results.
10
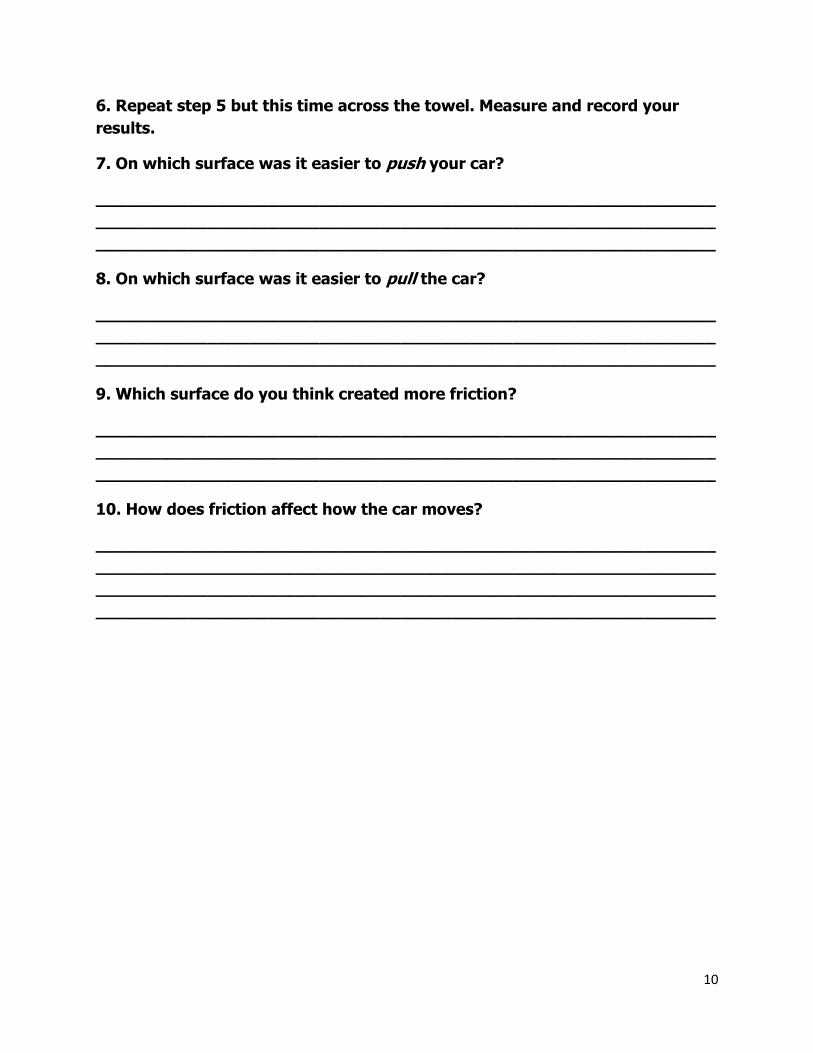
6. Repeat step 5 but this time across the towel. Measure and record your
results.
7. On which surface was it easier to push your car?
_____________________________________________________________
_____________________________________________________________
_____________________________________________________________
8. On which surface was it easier to pull the car?
_____________________________________________________________
_____________________________________________________________
_____________________________________________________________
9. Which surface do you think created more friction?
_____________________________________________________________
_____________________________________________________________
_____________________________________________________________
10. How does friction affect how the car moves?
_____________________________________________________________
_____________________________________________________________
_____________________________________________________________
_____________________________________________________________
11
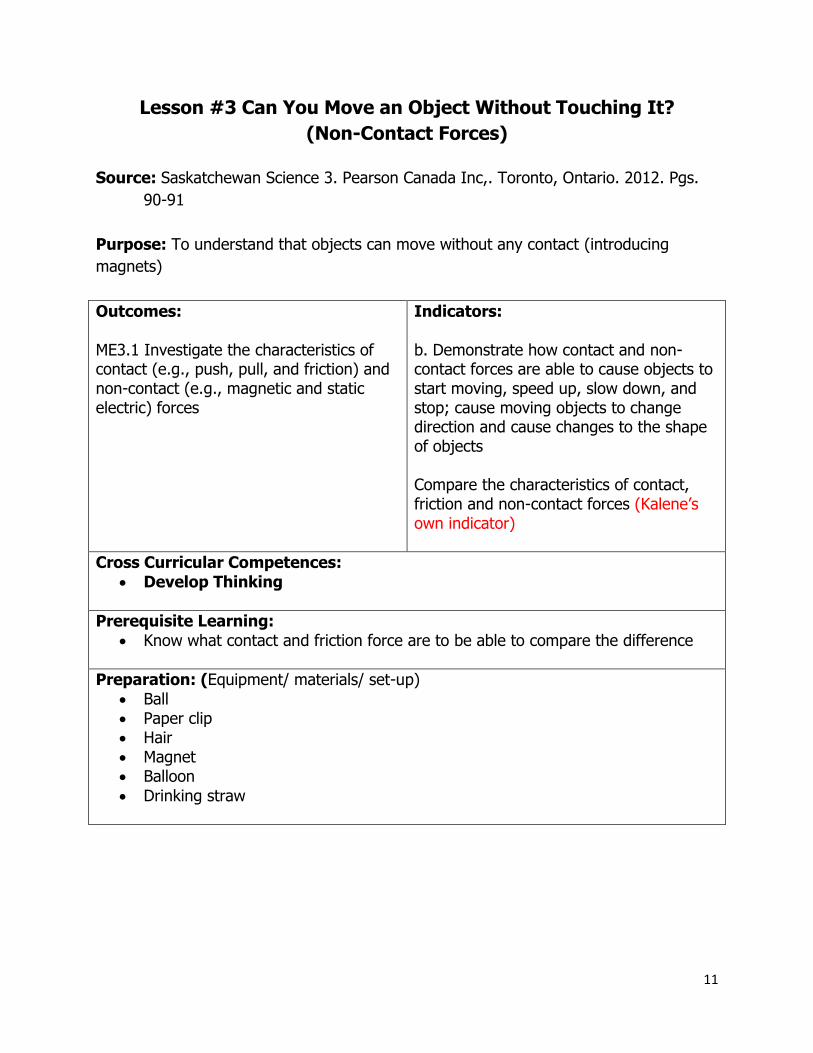
Lesson #3 Can You Move an Object Without Touching It?
(Non-Contact Forces)
Source: Saskatchewan Science 3. Pearson Canada Inc,. Toronto, Ontario. 2012. Pgs.
90-91
Purpose: To understand that objects can move without any contact (introducing
magnets)
Outcomes: ME3.1 Investigate the characteristics of contact (e.g., push, pull, and friction) and non-contact (e.g., magnetic and static electric) forces
Indicators: b. Demonstrate how contact and non-contact forces are able to cause objects to start moving, speed up, slow down, and stop; cause moving objects to change direction and cause changes to the shape of objects Compare the characteristics of contact, friction and non-contact forces (Kalene’s own indicator)
Cross Curricular Competences:
Develop Thinking
Prerequisite Learning:
Know what contact and friction force are to be able to compare the difference
Preparation: (Equipment/ materials/ set-up)
Ball Paper clip Hair Magnet Balloon
Drinking straw
12
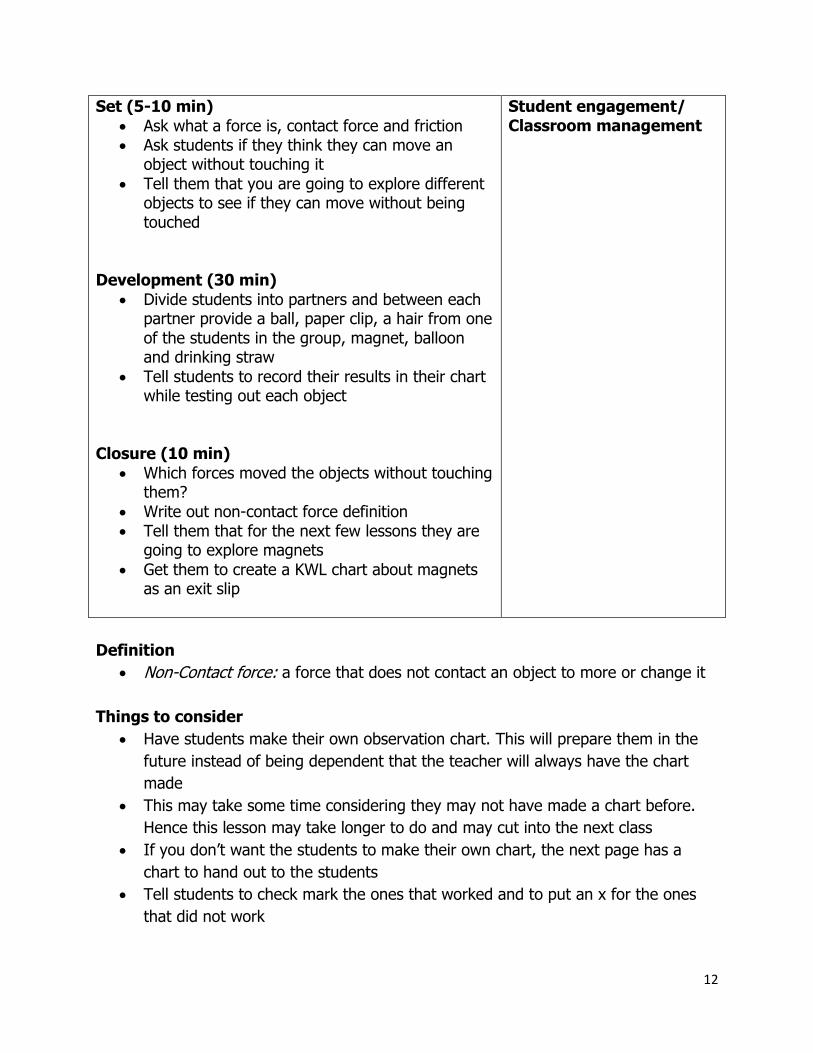
Set (5-10 min)
Ask what a force is, contact force and friction Ask students if they think they can move an
object without touching it
Tell them that you are going to explore different objects to see if they can move without being touched
Development (30 min)
Divide students into partners and between each partner provide a ball, paper clip, a hair from one of the students in the group, magnet, balloon and drinking straw
Tell students to record their results in their chart while testing out each object
Closure (10 min)
Which forces moved the objects without touching them?
Write out non-contact force definition Tell them that for the next few lessons they are
going to explore magnets
Get them to create a KWL chart about magnets as an exit slip
Student engagement/ Classroom management
Definition
Non-Contact force: a force that does not contact an object to more or change it
Things to consider
Have students make their own observation chart. This will prepare them in the
future instead of being dependent that the teacher will always have the chart
made
This may take some time considering they may not have made a chart before.
Hence this lesson may take longer to do and may cut into the next class
If you don’t want the students to make their own chart, the next page has a
chart to hand out to the students
Tell students to check mark the ones that worked and to put an x for the ones
that did not work
13
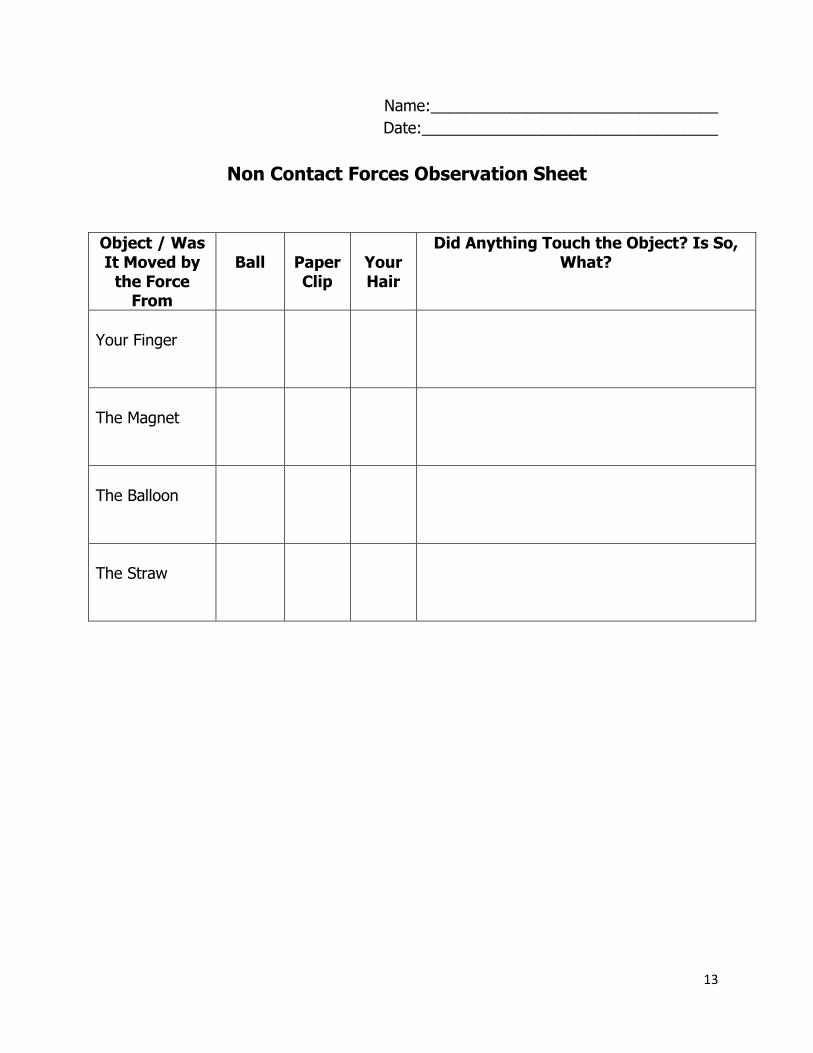
Name:_________________________________
Date:__________________________________
Non Contact Forces Observation Sheet
Object / Was It Moved by
the Force From
Ball
Paper Clip
Your Hair
Did Anything Touch the Object? Is So, What?
Your Finger
The Magnet
The Balloon
The Straw

14
Lesson #4: Do Magnets Attract Everything?
Source: Kalene Scott
Purpose: To explore magnets and what they attract and why there is that attraction
(copper, iron, and nickel)
Outcomes: ME3.1 Investigate the characteristics of contact (e.g., push, pull, and friction) and non-contact (e.g., magnetic and static electric) forces
Indicators: c. Compare the characteristics of contact, magnetic, and static electric forces, including the range over which they act, and propose methods of increasing or decreasing the effects of these forces d. Group materials according to criteria such as their attraction to magnets and ability to be magnetized based on personal observation
Cross Curricular Competences:
Develop thinking
Prerequisite Learning: To have a basic knowledge of what a magnet is (ex. know that magnets are on fridges)
Differentiation (Adaptive Dimension)
Preparation: (Equipment/ materials/ set-up)
Pencil, eraser - Screws Paper clips - Observation Chart Magnets Nuts Old pennies
Plastic spoon Shoelace
15
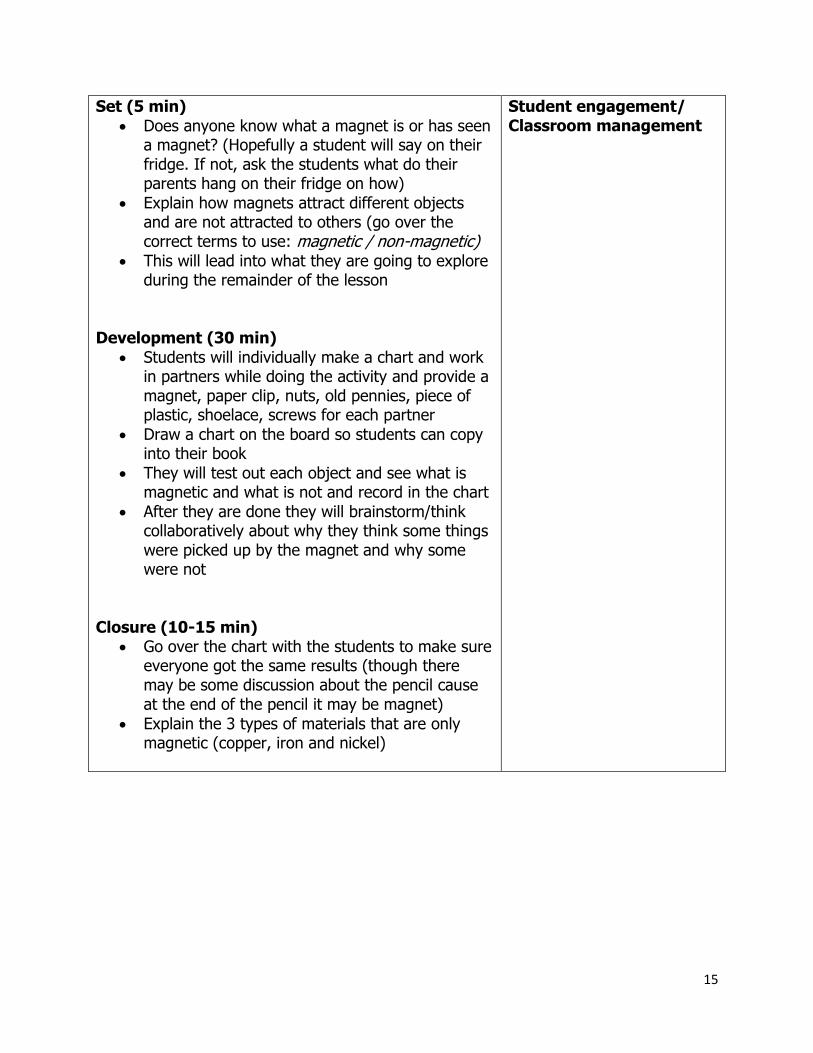
Set (5 min)
Does anyone know what a magnet is or has seen a magnet? (Hopefully a student will say on their fridge. If not, ask the students what do their parents hang on their fridge on how)
Explain how magnets attract different objects and are not attracted to others (go over the correct terms to use: magnetic / non-magnetic)
This will lead into what they are going to explore during the remainder of the lesson
Development (30 min)
Students will individually make a chart and work in partners while doing the activity and provide a magnet, paper clip, nuts, old pennies, piece of plastic, shoelace, screws for each partner
Draw a chart on the board so students can copy into their book
They will test out each object and see what is magnetic and what is not and record in the chart
After they are done they will brainstorm/think collaboratively about why they think some things were picked up by the magnet and why some were not
Closure (10-15 min)
Go over the chart with the students to make sure everyone got the same results (though there may be some discussion about the pencil cause at the end of the pencil it may be magnet)
Explain the 3 types of materials that are only magnetic (copper, iron and nickel)
Student engagement/ Classroom management
16
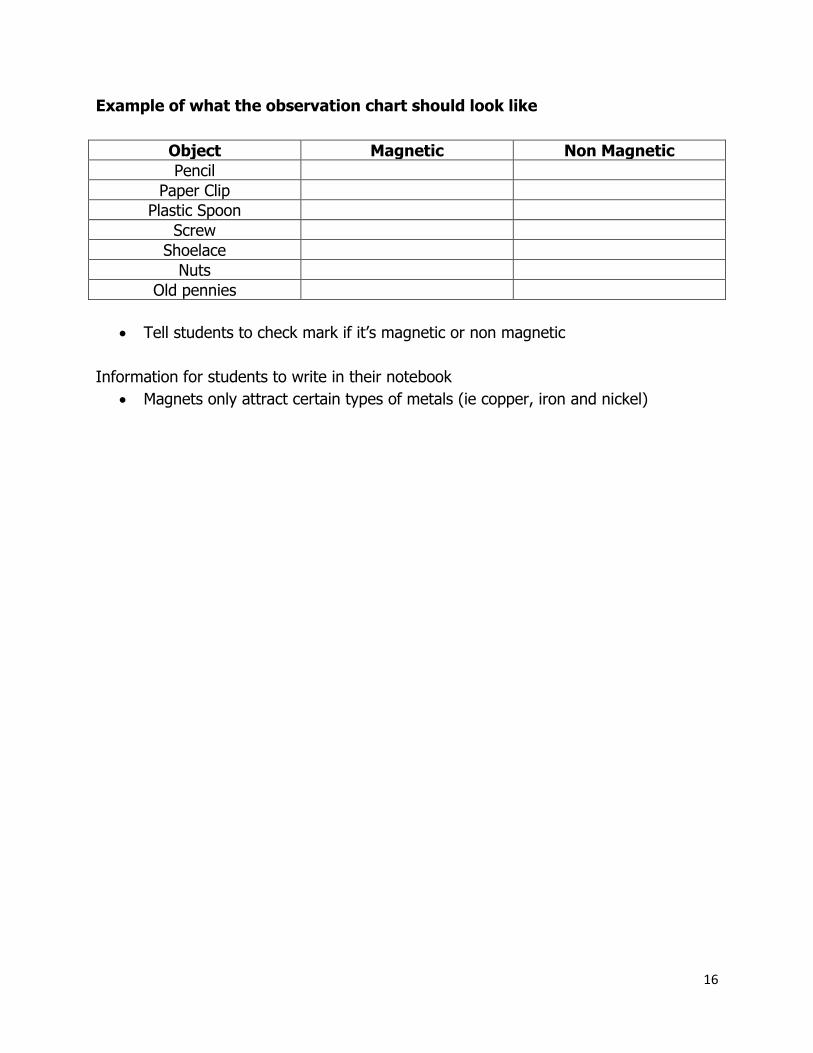
Example of what the observation chart should look like
Object Magnetic Non Magnetic
Pencil
Paper Clip
Plastic Spoon
Screw
Shoelace
Nuts
Old pennies
Tell students to check mark if it’s magnetic or non magnetic
Information for students to write in their notebook
Magnets only attract certain types of metals (ie copper, iron and nickel)
17
Lesson #5: Magnets and Poles
Source: Saskatchewan Science 3. Pearson Canada Inc. Toronto, Ontario. 2012. Pgs.
94-95
Purpose: To find out if magnets attract other magnets
Outcomes: ME3.1 Investigate the characteristics of contact (e.g., push, pull, and friction) and non-contact (e.g., magnetic and static electric) forces
Indicators: e. Compare the characteristics and effects of different types and shapes of magnets (e.g., horseshoe, disc, bar, cylindrical, and block), including the location and type of magnetic poles (if any exist), and the shape of the magnetic field produced by the magnet Investigate if magnets can attract other magnets *Kalene’s indicator Understand the correct terms (attract, repel) *Kalene’s indicator
Cross Curricular Competences:
Develop thinking
Prerequisite Learning:
Know that magnets only attract certain objects
Differentiation (Adaptive Dimension)
Preparation: (Equipment/ materials/ set-up) Pairs of different magnets (bar, u-shaped, discs, etc.)
18
Set (5 min)
“From last lesson what did we discover about magnets?
“Magnets can attract everything right?” “Do you think magnets can attract each other?”
Development (30 min)
Have students write out definitions (see bottom) Students will work in pairs and test out the
different magnets to see if they attract each other
Students can either write out the questions or feel free to give out handouts
Closure (10 min)
Ask three questions to the class 1. What happens when a north pole of one magnet
comes close to a south pole of another magnet? 2. What happens when like poles of magnets, north
and north or south and south, come close?
Explain to students that the force between the two magnets is called repel (write out definition)
No matter how hard you try, the two magnets with the same pole will not connect
3. How does a magnet’s shape affect how its poles act?
Tell students to ask their parents what types of magnets are there around the house. Have two examples ready for next class
Student engagement/ Classroom management
Definitions:
Attract- when two magnets pull together or connect with certain objects
Magnetic- objects that can connect to magnets
Non-magnetic- objects that cannot connect to objects
Poles- all magnets have two ends which are called poles. One end is called a
north pole, the other is called the south pole
Magnetic field- space around the magnets
Repel- the force between two poles that are the same. Push against each
other(ex. south vs. South)
19
Name:_______________________________
Date:________________________________
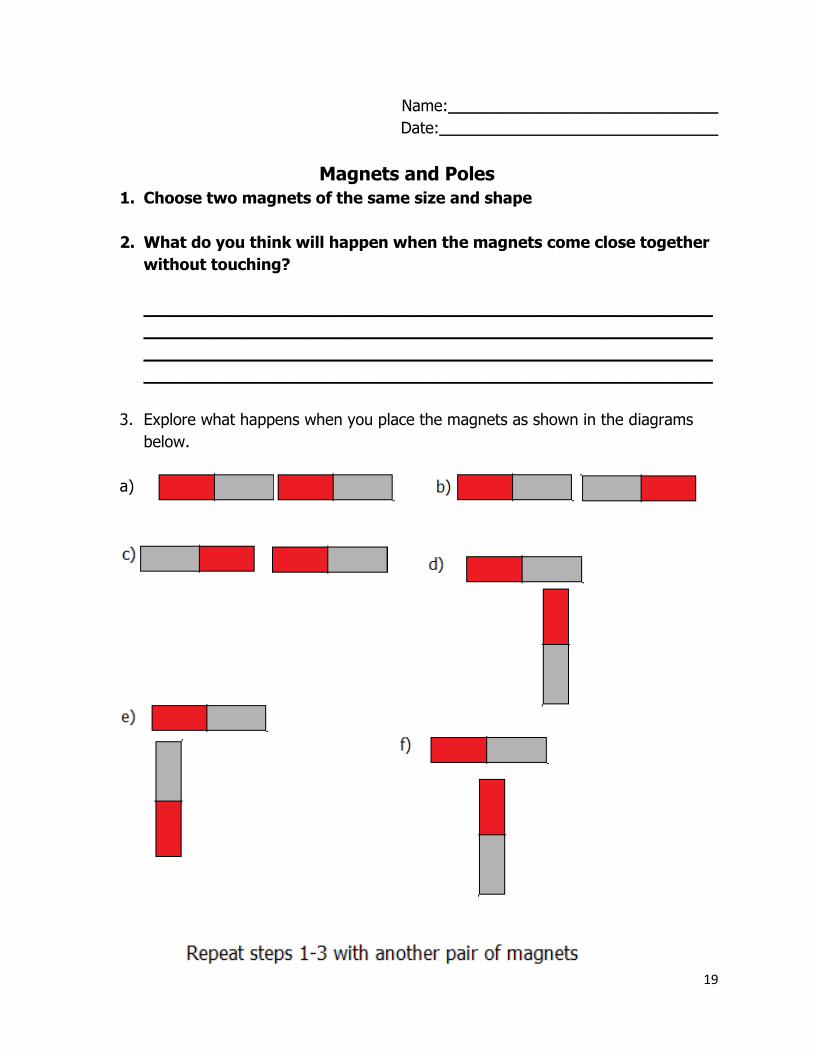
Magnets and Poles
1. Choose two magnets of the same size and shape
2. What do you think will happen when the magnets come close together
without touching?
________________________________________________________
________________________________________________________
________________________________________________________
________________________________________________________
3. Explore what happens when you place the magnets as shown in the diagrams
below.
a)

20
Lesson #6: Magnets All Around Us
Source: Saskatchewan Science 3. Pearson Canada Inc,. Toronto, Ontario. 2012.
Pgs 100-101
Purpose: To identify where magnets can be found in our daily lives and to learn the
three different types of magnets (natural, temporary and permanent)
Substitute Information: Students are suppose to bring back two examples of where
they can find magnets at home, work, city, rural, etc. This lesson is a continuation from
the previous one
Outcomes: ME3.2 Assess effects of practical applications of magnetic and static electric forces on individuals and society
Indicators: a. Investigate how magnets are used at home and school, and in business and industrial applications (e.g., regrigerator magnet, magnetic cupboard door, latches, credit card magnetic strip, radio speakers, navigation, motorized devices, scrap yard crane, magnetic levitation trains, jewellery, tools, and toys. b. Classigy magnets that are used at home and school, and in business and industrial applications as natural, temporary, and permanent.
Cross Curricular Competences:
Develop Thinking and Identity and Interdependence
Prerequisite Learning:
To know that there are many different kinds of magnets
Differentiation (Adaptive Dimension)
Preparation: (Equipment/ materials/ set-up)
Notebook to write notes Handouts (one for each student) Different examples of types of magnets (magnetic can opener, fridge magnets,
etc.) You don’t have to bring these, meant for a visual
21
Set (5 min)
“Who remembers what we talked about last class”
“Does a magnet attract everything?” Explain that they are going to briefly learn three
different types of magnets; natural, temporary, and permanent
Development (30 min)
Get students to write down information about the different types of magnets
Provide examples for each one Go a little more in depth about the natural
magnets
Let them know that on a later date they are going to learn how to make a temporary magnet
Ask students if they brought back examples and let some students share their examples (this leads into the activity)
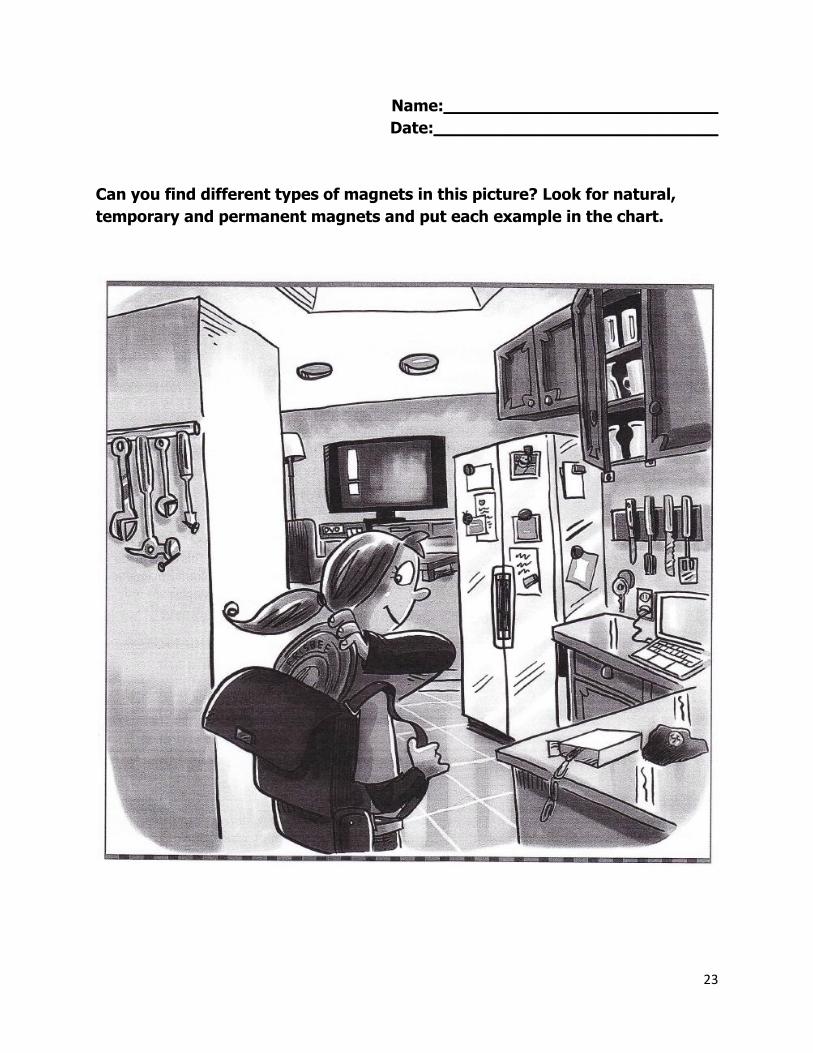
Hand out handouts to students and get them to work in partners (have to find examples of natural, temporary and permanent examples in the picture)
Closure (10 min)
Make a chart on the board that matches the one with the students
Go over the picture a little bit and write in chart on the board
Write the students examples that they brought back
Look around the classroom/school and add more
Student engagement/ Classroom management
Information
Natural Magnets
o Magnets made from the Earth
o Some rocks are magnetic and one example of a magnetic rock is called
Magnetite
o Magnetite once was used in compasses (example)
22
Temporary Magnets
o Magnets that anyone can make that can attract
o Can only last for a little bit of time
o Rubbing a nail against a magnet can make the nail magnetic and attract
paper clips
Permanent Magnets
o These magnets stayed magnetized for a long period of time
o We see these magnets everyday (ex. fridge magnets)
23
Name:___________________________
Date:____________________________
Can you find different types of magnets in this picture? Look for natural,
temporary and permanent magnets and put each example in the chart.
24
Natural Magnets Temporary
Magnets Permanent Magnets
25
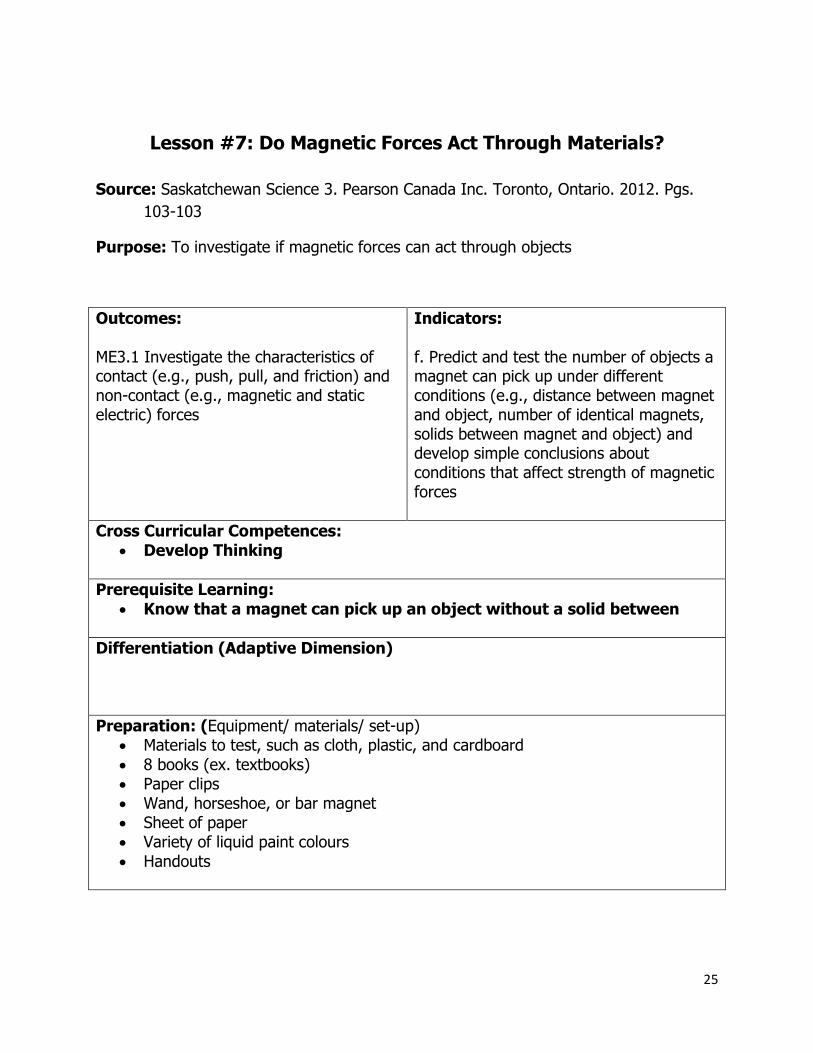
Lesson #7: Do Magnetic Forces Act Through Materials?
Source: Saskatchewan Science 3. Pearson Canada Inc. Toronto, Ontario. 2012. Pgs.
103-103
Purpose: To investigate if magnetic forces can act through objects
Outcomes: ME3.1 Investigate the characteristics of contact (e.g., push, pull, and friction) and non-contact (e.g., magnetic and static electric) forces
Indicators: f. Predict and test the number of objects a magnet can pick up under different conditions (e.g., distance between magnet and object, number of identical magnets, solids between magnet and object) and develop simple conclusions about conditions that affect strength of magnetic forces
Cross Curricular Competences:
Develop Thinking
Prerequisite Learning:
Know that a magnet can pick up an object without a solid between
Differentiation (Adaptive Dimension)
Preparation: (Equipment/ materials/ set-up) Materials to test, such as cloth, plastic, and cardboard
8 books (ex. textbooks) Paper clips Wand, horseshoe, or bar magnet Sheet of paper Variety of liquid paint colours
Handouts
26
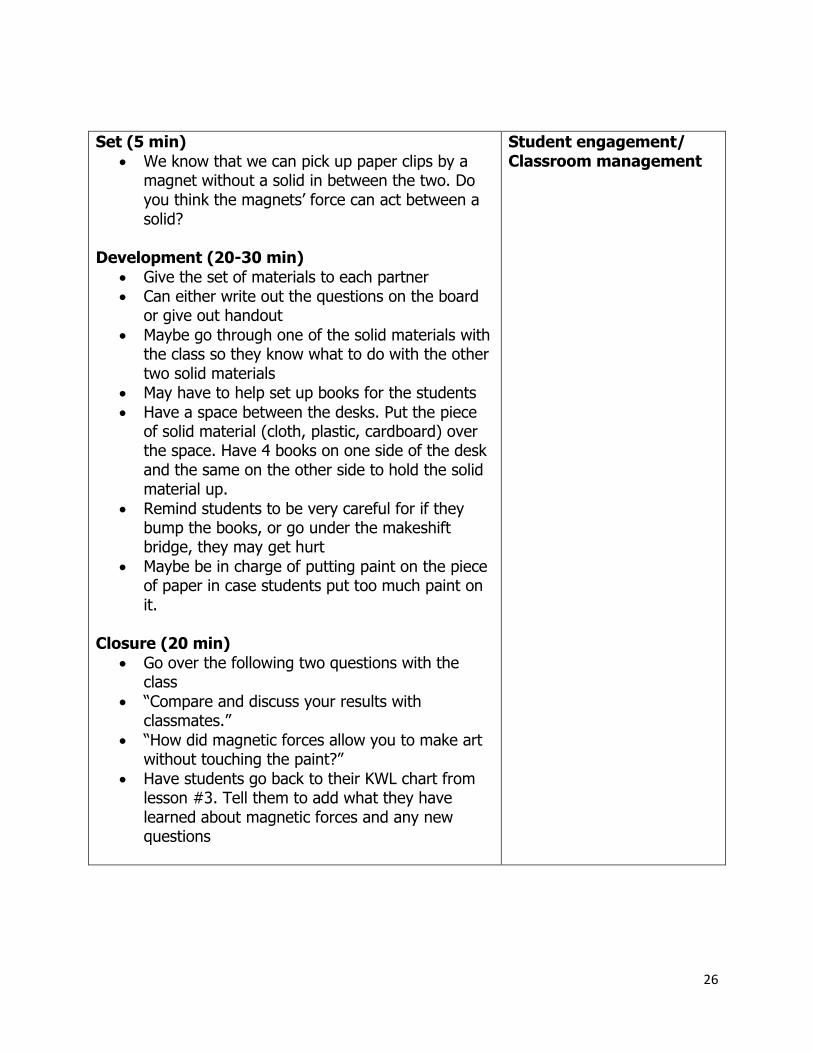
Set (5 min)
We know that we can pick up paper clips by a magnet without a solid in between the two. Do you think the magnets’ force can act between a solid?
Development (20-30 min)
Give the set of materials to each partner Can either write out the questions on the board
or give out handout
Maybe go through one of the solid materials with the class so they know what to do with the other two solid materials
May have to help set up books for the students
Have a space between the desks. Put the piece of solid material (cloth, plastic, cardboard) over the space. Have 4 books on one side of the desk and the same on the other side to hold the solid material up.
Remind students to be very careful for if they bump the books, or go under the makeshift bridge, they may get hurt
Maybe be in charge of putting paint on the piece of paper in case students put too much paint on it.
Closure (20 min)
Go over the following two questions with the class
“Compare and discuss your results with classmates.”
“How did magnetic forces allow you to make art without touching the paint?”
Have students go back to their KWL chart from lesson #3. Tell them to add what they have learned about magnetic forces and any new questions
Student engagement/ Classroom management
27
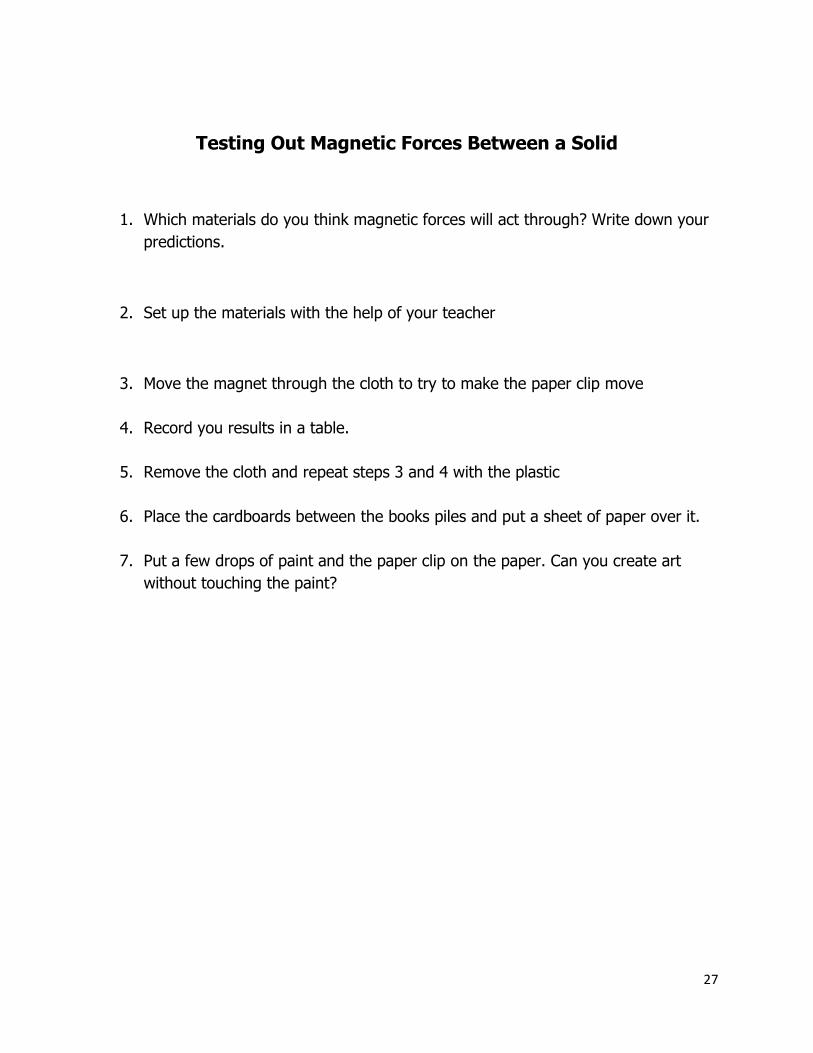
Testing Out Magnetic Forces Between a Solid
1. Which materials do you think magnetic forces will act through? Write down your
predictions.
2. Set up the materials with the help of your teacher
3. Move the magnet through the cloth to try to make the paper clip move
4. Record you results in a table.
5. Remove the cloth and repeat steps 3 and 4 with the plastic
6. Place the cardboards between the books piles and put a sheet of paper over it.
7. Put a few drops of paint and the paper clip on the paper. Can you create art
without touching the paint?
28
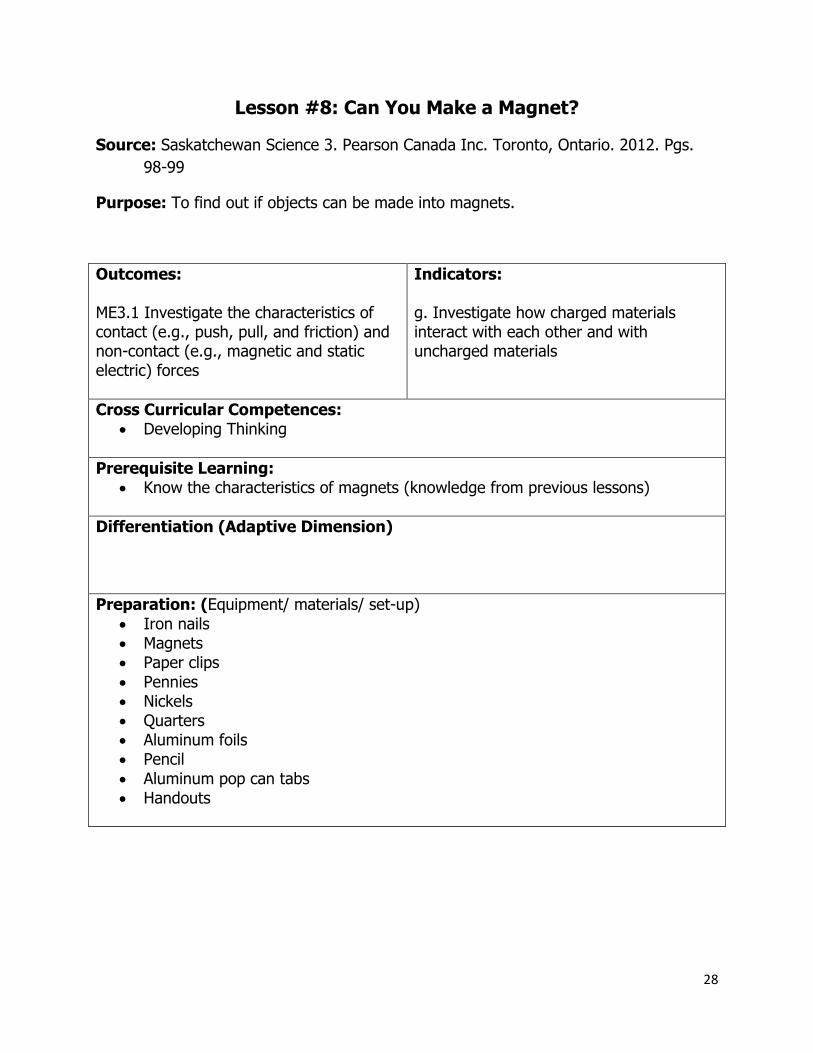
Lesson #8: Can You Make a Magnet?
Source: Saskatchewan Science 3. Pearson Canada Inc. Toronto, Ontario. 2012. Pgs.
98-99
Purpose: To find out if objects can be made into magnets.
Outcomes: ME3.1 Investigate the characteristics of contact (e.g., push, pull, and friction) and non-contact (e.g., magnetic and static electric) forces
Indicators: g. Investigate how charged materials interact with each other and with uncharged materials
Cross Curricular Competences: Developing Thinking
Prerequisite Learning: Know the characteristics of magnets (knowledge from previous lessons)
Differentiation (Adaptive Dimension)
Preparation: (Equipment/ materials/ set-up)
Iron nails Magnets Paper clips
Pennies Nickels Quarters Aluminum foils Pencil
Aluminum pop can tabs Handouts
29
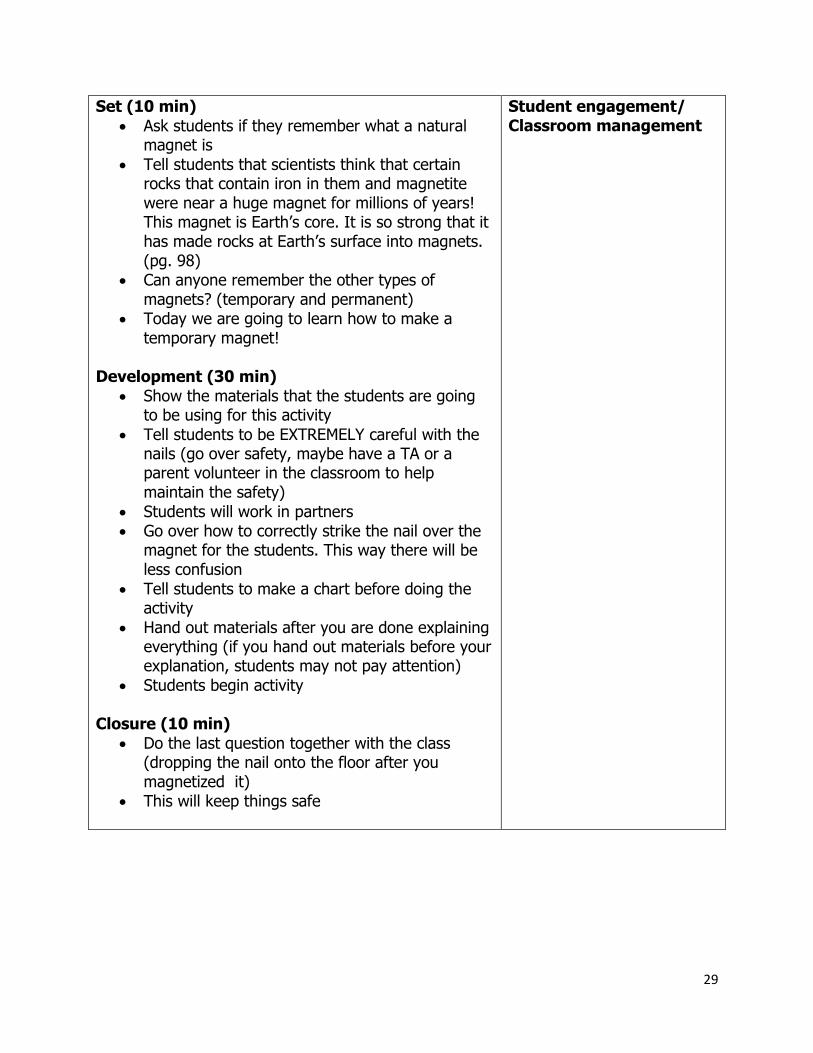
Set (10 min)
Ask students if they remember what a natural magnet is
Tell students that scientists think that certain rocks that contain iron in them and magnetite were near a huge magnet for millions of years! This magnet is Earth’s core. It is so strong that it has made rocks at Earth’s surface into magnets. (pg. 98)
Can anyone remember the other types of magnets? (temporary and permanent)
Today we are going to learn how to make a temporary magnet!
Development (30 min)
Show the materials that the students are going to be using for this activity
Tell students to be EXTREMELY careful with the nails (go over safety, maybe have a TA or a parent volunteer in the classroom to help maintain the safety)
Students will work in partners Go over how to correctly strike the nail over the
magnet for the students. This way there will be less confusion
Tell students to make a chart before doing the activity
Hand out materials after you are done explaining everything (if you hand out materials before your explanation, students may not pay attention)
Students begin activity Closure (10 min)
Do the last question together with the class (dropping the nail onto the floor after you magnetized it)
This will keep things safe
Student engagement/ Classroom management
30
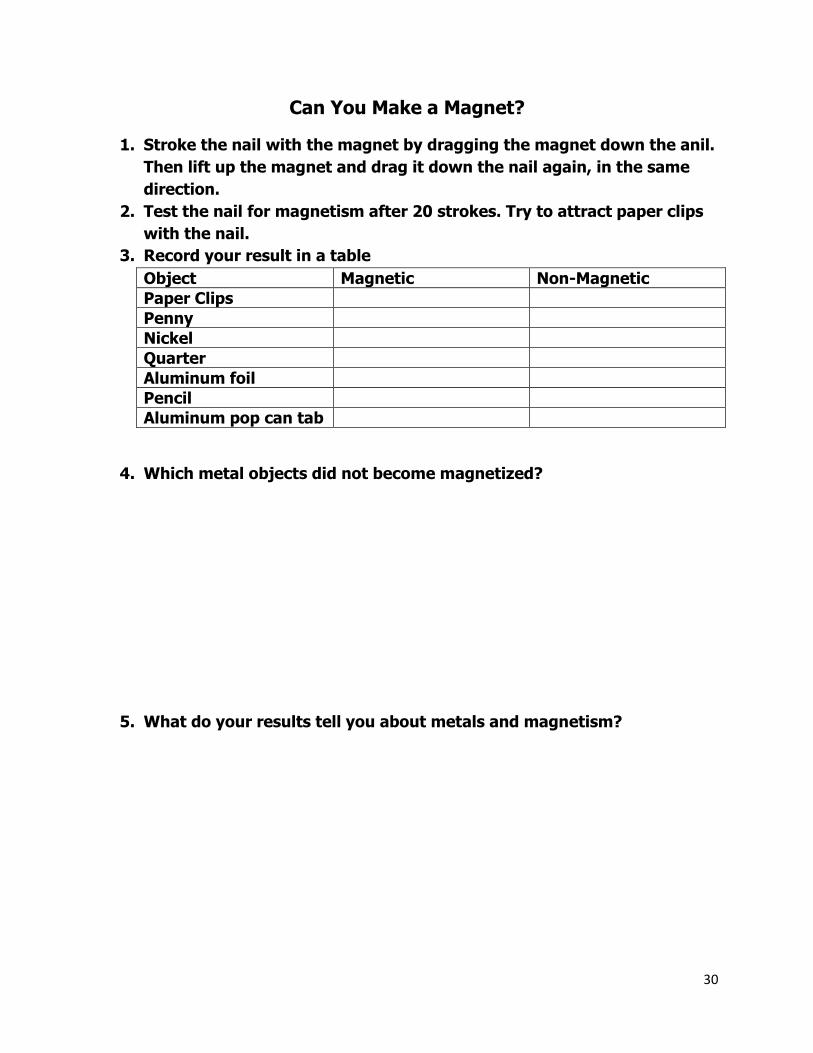
Can You Make a Magnet?
1. Stroke the nail with the magnet by dragging the magnet down the anil.
Then lift up the magnet and drag it down the nail again, in the same
direction.
2. Test the nail for magnetism after 20 strokes. Try to attract paper clips
with the nail.
3. Record your result in a table
Object Magnetic Non-Magnetic
Paper Clips
Penny
Nickel
Quarter
Aluminum foil
Pencil
Aluminum pop can tab
4. Which metal objects did not become magnetized?
5. What do your results tell you about metals and magnetism?
31
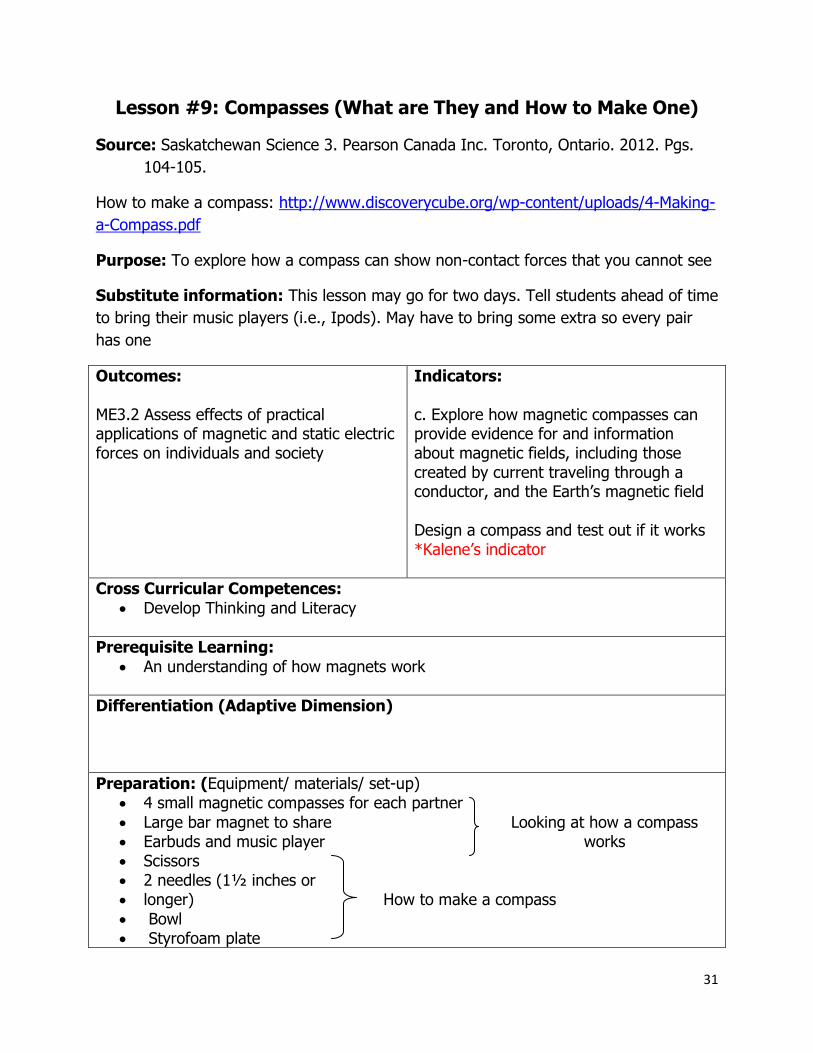
Lesson #9: Compasses (What are They and How to Make One)
Source: Saskatchewan Science 3. Pearson Canada Inc. Toronto, Ontario. 2012. Pgs.
104-105.
How to make a compass: http://www.discoverycube.org/wp-content/uploads/4-Making-
a-Compass.pdf
Purpose: To explore how a compass can show non-contact forces that you cannot see
Substitute information: This lesson may go for two days. Tell students ahead of time
to bring their music players (i.e., Ipods). May have to bring some extra so every pair
has one
Outcomes: ME3.2 Assess effects of practical applications of magnetic and static electric forces on individuals and society
Indicators: c. Explore how magnetic compasses can provide evidence for and information about magnetic fields, including those created by current traveling through a conductor, and the Earth’s magnetic field Design a compass and test out if it works *Kalene’s indicator
Cross Curricular Competences:
Develop Thinking and Literacy
Prerequisite Learning:
An understanding of how magnets work
Differentiation (Adaptive Dimension)
Preparation: (Equipment/ materials/ set-up) 4 small magnetic compasses for each partner
Large bar magnet to share Looking at how a compass Earbuds and music player works Scissors 2 needles (1½ inches or longer) How to make a compass
Bowl Styrofoam plate
32
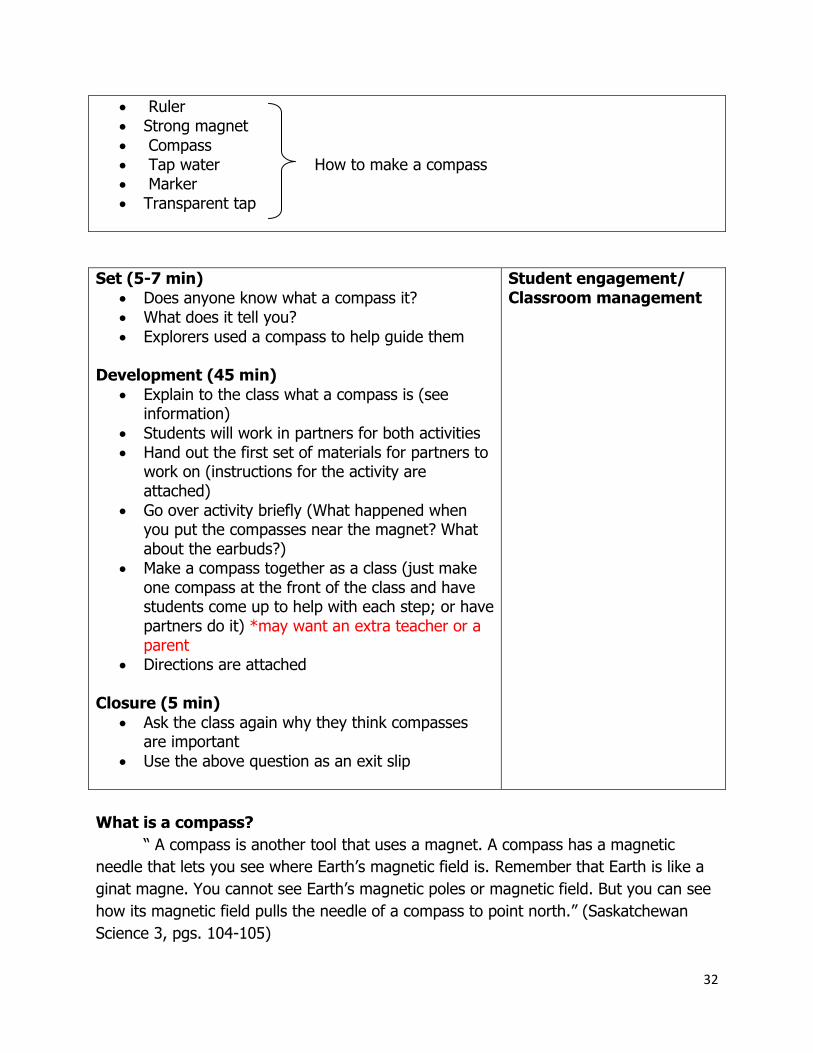
Ruler Strong magnet
Compass Tap water How to make a compass Marker Transparent tap
Set (5-7 min)
Does anyone know what a compass it? What does it tell you?
Explorers used a compass to help guide them Development (45 min)
Explain to the class what a compass is (see information)
Students will work in partners for both activities Hand out the first set of materials for partners to
work on (instructions for the activity are attached)
Go over activity briefly (What happened when you put the compasses near the magnet? What about the earbuds?)
Make a compass together as a class (just make one compass at the front of the class and have students come up to help with each step; or have partners do it) *may want an extra teacher or a parent
Directions are attached Closure (5 min)
Ask the class again why they think compasses are important
Use the above question as an exit slip
Student engagement/ Classroom management
What is a compass?
“ A compass is another tool that uses a magnet. A compass has a magnetic
needle that lets you see where Earth’s magnetic field is. Remember that Earth is like a
ginat magne. You cannot see Earth’s magnetic poles or magnetic field. But you can see
how its magnetic field pulls the needle of a compass to point north.” (Saskatchewan
Science 3, pgs. 104-105)

33
Compass: An instrument containing a magnetized pointer that shows the direction of
magnetic north and bearings from it
Investigating a Compass’s magnetic fields (activitiy)
For each partner hand out 4 small magnetic compasses, large bar magnet, and
earbuds and music player
Write out directions for the activity on the board
1. What do you think will happen when you put your compasses near the
magnet? Write down your predition
2. Take turms putting your two compasses near the magnet. Move them
to different spots along the magnet. Where do the needles point in
each spot?
3. Put four compasses on one side of the magnet
4. Draw a picture to show how you placed the four compasses along the
magnet. Draw an arrow on each compass to show the magnet’s field.
5. Put a compass near the earbud wires. Turn on the music player.
Record what you see.
How to make a compass
1. Use the compass to determine north, south, east, and west. Write N, S, E, and
W on pieces of tape, and stick the tape in the same locations on the bowl as
they are on the compass. Fill the bowl with water.
2. Cut a 1-inch (2.5 cm.) disk from the Styrofoam plate.
3. Magnetize one of the needles by sliding it against a strong magnet 30 or 40
times. This works best if you only slide the needle in the same direction. You
can tell that the needle is magnetized when it attracts the other needle to it, just
like a regular magnet.
4. Insert the magnetized needle lengthwise through (and parallel to) the disk.
34
Place the disk in the labeled bowl of water. What happens? The needle should point
north and south as it aligns itself with the Earth’s magnetic field.
Have one student or two come up for each step
This will help go through the activity faster and more efficient
Have students gather around to see if they made a compass
35
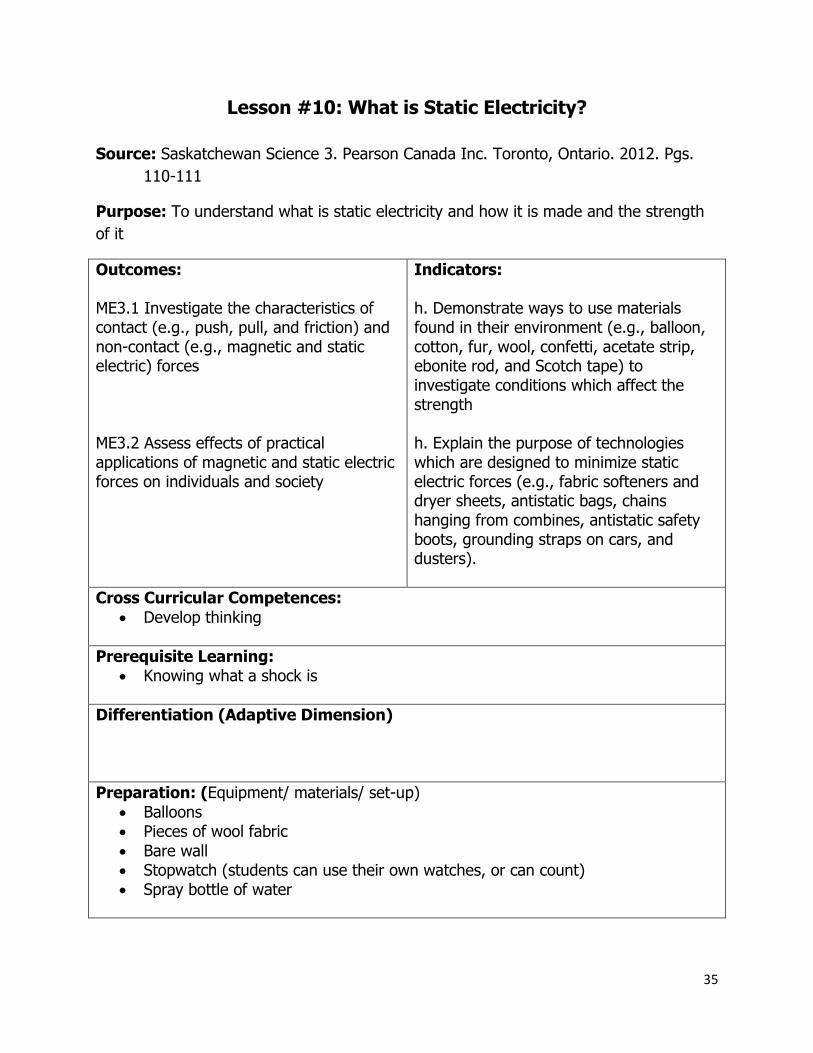
Lesson #10: What is Static Electricity?
Source: Saskatchewan Science 3. Pearson Canada Inc. Toronto, Ontario. 2012. Pgs.
110-111
Purpose: To understand what is static electricity and how it is made and the strength
of it
Outcomes: ME3.1 Investigate the characteristics of contact (e.g., push, pull, and friction) and non-contact (e.g., magnetic and static electric) forces ME3.2 Assess effects of practical applications of magnetic and static electric forces on individuals and society
Indicators: h. Demonstrate ways to use materials found in their environment (e.g., balloon, cotton, fur, wool, confetti, acetate strip, ebonite rod, and Scotch tape) to investigate conditions which affect the strength h. Explain the purpose of technologies which are designed to minimize static electric forces (e.g., fabric softeners and dryer sheets, antistatic bags, chains hanging from combines, antistatic safety boots, grounding straps on cars, and dusters).
Cross Curricular Competences:
Develop thinking
Prerequisite Learning: Knowing what a shock is
Differentiation (Adaptive Dimension)
Preparation: (Equipment/ materials/ set-up)
Balloons Pieces of wool fabric
Bare wall Stopwatch (students can use their own watches, or can count) Spray bottle of water

36
Set (15 min)
Has anyone got a shock before? Provide examples (i.e., turning on the light switch, walking across the carpet with socks on)
Ask if anyone has been outside and their hair suddenly stands up
Have students make their own static and touch each other to create that ZAP! (see how to do this on attachment)
Tell students that while they were trying to make static they were also producing friction
Ask if they remember what friction is from previous lessons
Development (20 min)
Have students write down definition of static electricity
Students will see the strength of static electricity Students will work individually while doing the
activity
May have to do activity in the hallway for the part where students try to put the balloon on the wall
Hand out handouts for students to follow the steps for the activity and to answer the questions
Closure (10 min)
Describe ways students can get rid of static (dryer sheets, humidifier, some boots/shoes material)
Ask students if they can think of any natural static electricity (Thunderstorms)
Have students turn back to their KWL chart from Lesson 3 and have they add about they know about static electricity and any questions they may have
Student engagement/ Classroom management
Definition
Static electricity: A stationary electric charge, typically produced by friction that
causes sparks or crackling or the attraction of dust or hair
37
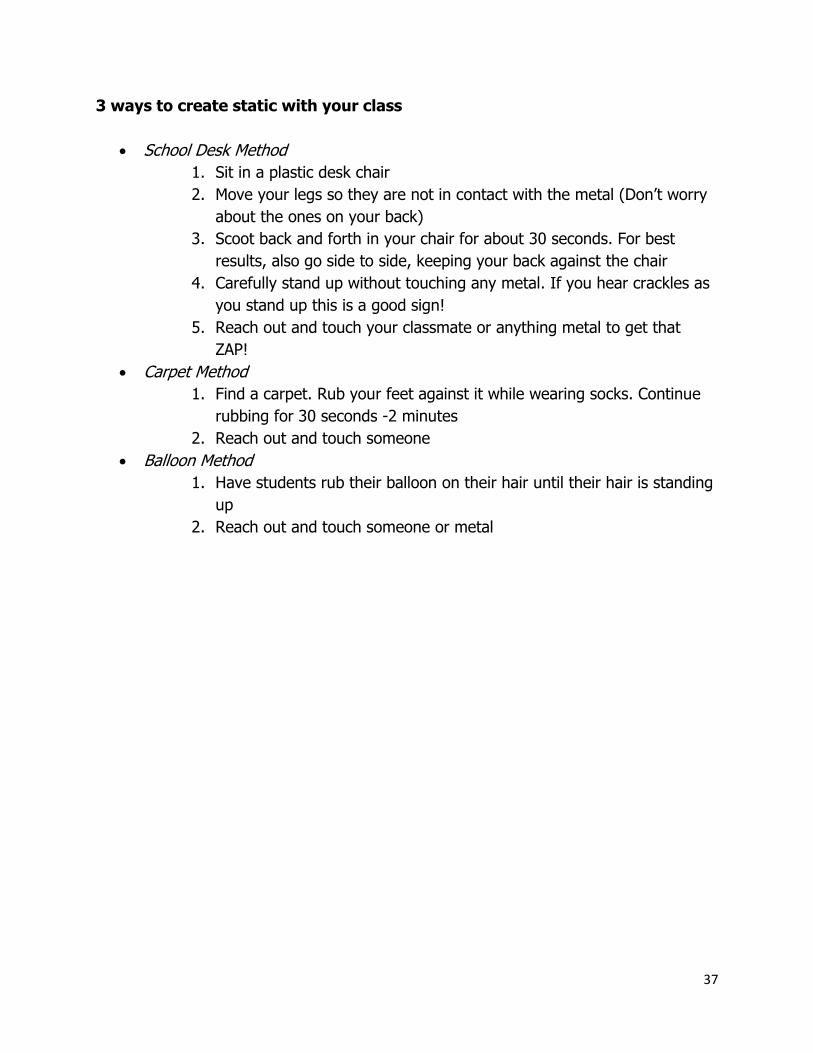
3 ways to create static with your class
School Desk Method
1. Sit in a plastic desk chair
2. Move your legs so they are not in contact with the metal (Don’t worry
about the ones on your back)
3. Scoot back and forth in your chair for about 30 seconds. For best
results, also go side to side, keeping your back against the chair
4. Carefully stand up without touching any metal. If you hear crackles as
you stand up this is a good sign!
5. Reach out and touch your classmate or anything metal to get that
ZAP!
Carpet Method
1. Find a carpet. Rub your feet against it while wearing socks. Continue
rubbing for 30 seconds -2 minutes
2. Reach out and touch someone
Balloon Method
1. Have students rub their balloon on their hair until their hair is standing
up
2. Reach out and touch someone or metal
38
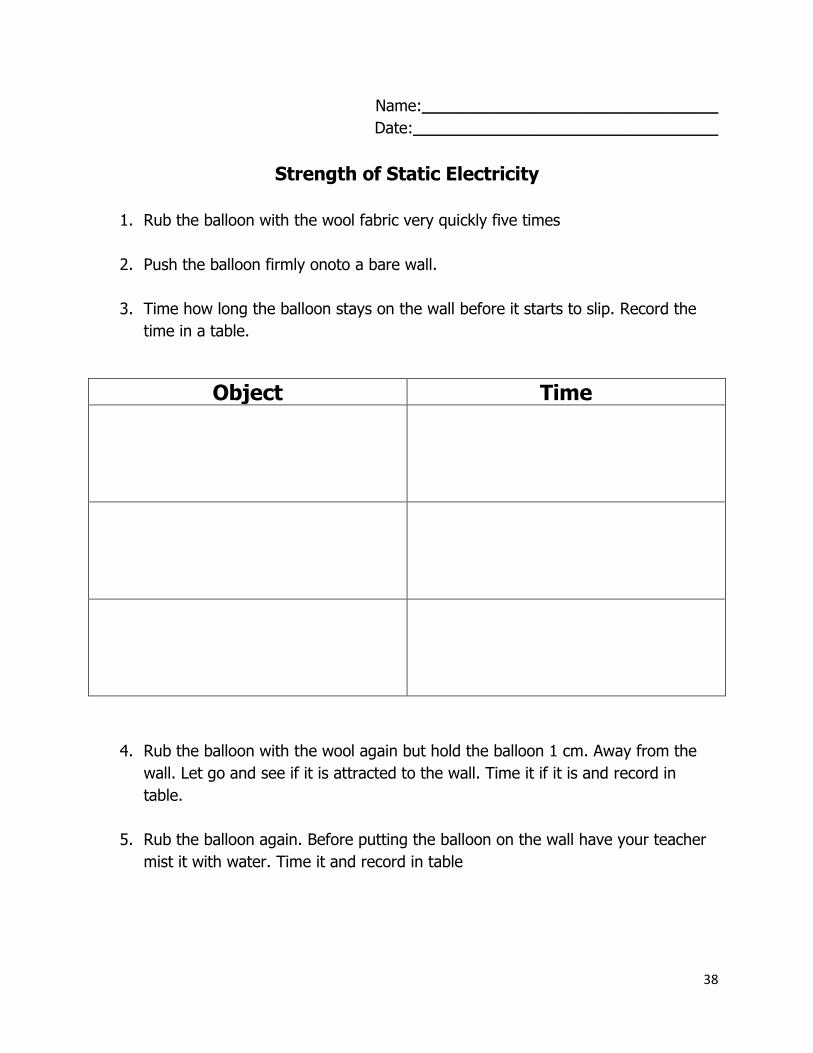
Name:__________________________________
Date:___________________________________
Strength of Static Electricity
1. Rub the balloon with the wool fabric very quickly five times
2. Push the balloon firmly onoto a bare wall.
3. Time how long the balloon stays on the wall before it starts to slip. Record the
time in a table.
Object Time
4. Rub the balloon with the wool again but hold the balloon 1 cm. Away from the
wall. Let go and see if it is attracted to the wall. Time it if it is and record in
table.
5. Rub the balloon again. Before putting the balloon on the wall have your teacher
mist it with water. Time it and record in table
39
6. Did distance or water in the air affect how long the balloon stayed on the wall?
____________________________________________________________________
____________________________________________________________________
____________________________________________________________________
____________________________________________________________________
____________________________________________________________________
7. How can you cut down the strength of static electricity? Write down your ideas
and share with partner.
____________________________________________________________________
____________________________________________________________________
____________________________________________________________________
____________________________________________________________________
____________________________________________________________________
40
Lesson #11: Wrap up
Source: Saskatchewan Science 3. Pearson Canada Inc. Toronto, Ontario. 2012. Pgs.
122-123
Purpose: To review the unit and see what the students have learned throughout
Outcomes: ME3.1 Investigate the characteristics of contact (e.g., push, pull, and friction) and non-contact (e.g., magnetic and static electric) forces ME3.2 Assess effects of practical applications of magnetic and static electric forces on individuals and society
Indicators: To reflect and express what the student has learned throughout the unit *Kalene’s indicator
Cross Curricular Competences:
Develop Thinking
Prerequisite Learning: Knowledge from all lessons
Differentiation (Adaptive Dimension)
Preparation: (Equipment/ materials/ set-up)
Handout
41
Set (10-15 min)
Go briefly over each lesson to help students memories (What did we do in lesson 1? Remember doing this... etc.)
Development (20 min)
Hand out handouts to each students Students can discuss questions in pairs (this will
help them remember the previous lesson and hopefully discuss them)
Closure (15 min)
Have students hand in the handout so you can do an assessment
Ask students if they have any more questions about magnets or static electricity
What was their favourite part of the unit
Student engagement/ Classroom management
42
Name:_______________________________________
Date:________________________________________
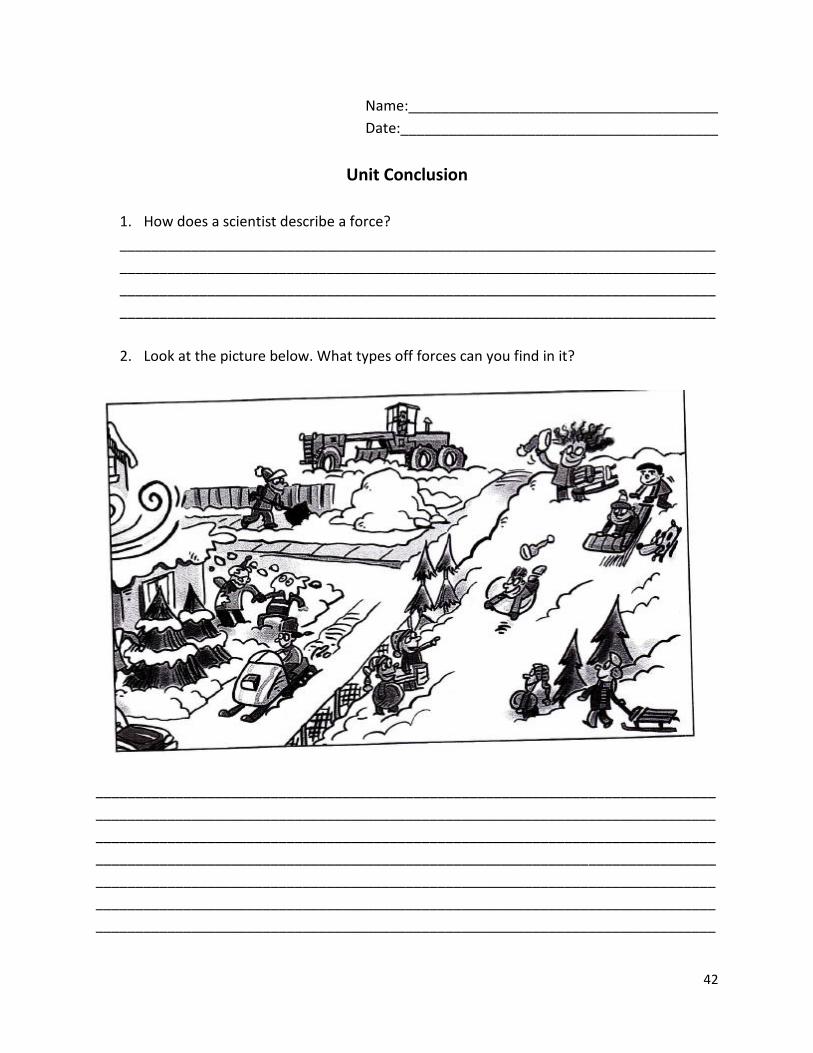
Unit Conclusion
1. How does a scientist describe a force?
___________________________________________________________________________
___________________________________________________________________________
___________________________________________________________________________
___________________________________________________________________________
2. Look at the picture below. What types off forces can you find in it?
______________________________________________________________________________
______________________________________________________________________________
______________________________________________________________________________
______________________________________________________________________________
______________________________________________________________________________
______________________________________________________________________________
______________________________________________________________________________
43
3. List three examples of contact forces shown in the picture above.
___________________________________________________________________________
___________________________________________________________________________
___________________________________________________________________________
___________________________________________________________________________
4. List one example of a non-contact force shown in the picture above.
___________________________________________________________________________
___________________________________________________________________________
___________________________________________________________________________
5. Give examples of two ways that magnets are used in your home.
___________________________________________________________________________
___________________________________________________________________________
___________________________________________________________________________
___________________________________________________________________________
6. Give examples of two ways that magnets are used in the world
___________________________________________________________________________
___________________________________________________________________________
___________________________________________________________________________
___________________________________________________________________________
7. What are three types of magnets? Explain the difference between the types.
___________________________________________________________________________
___________________________________________________________________________
___________________________________________________________________________
___________________________________________________________________________
___________________________________________________________________________
___________________________________________________________________________
___________________________________________________________________________
___________________________________________________________________________
___________________________________________________________________________
___________________________________________________________________________
___________________________________________________________________________
___________________________________________________________________________
44
8. How are contact and non-contact forces the same? How are they different?
___________________________________________________________________________
___________________________________________________________________________
___________________________________________________________________________
___________________________________________________________________________
___________________________________________________________________________
9. Describe three effects of static electricity in your daily life.
___________________________________________________________________________
___________________________________________________________________________
___________________________________________________________________________
___________________________________________________________________________
___________________________________________________________________________
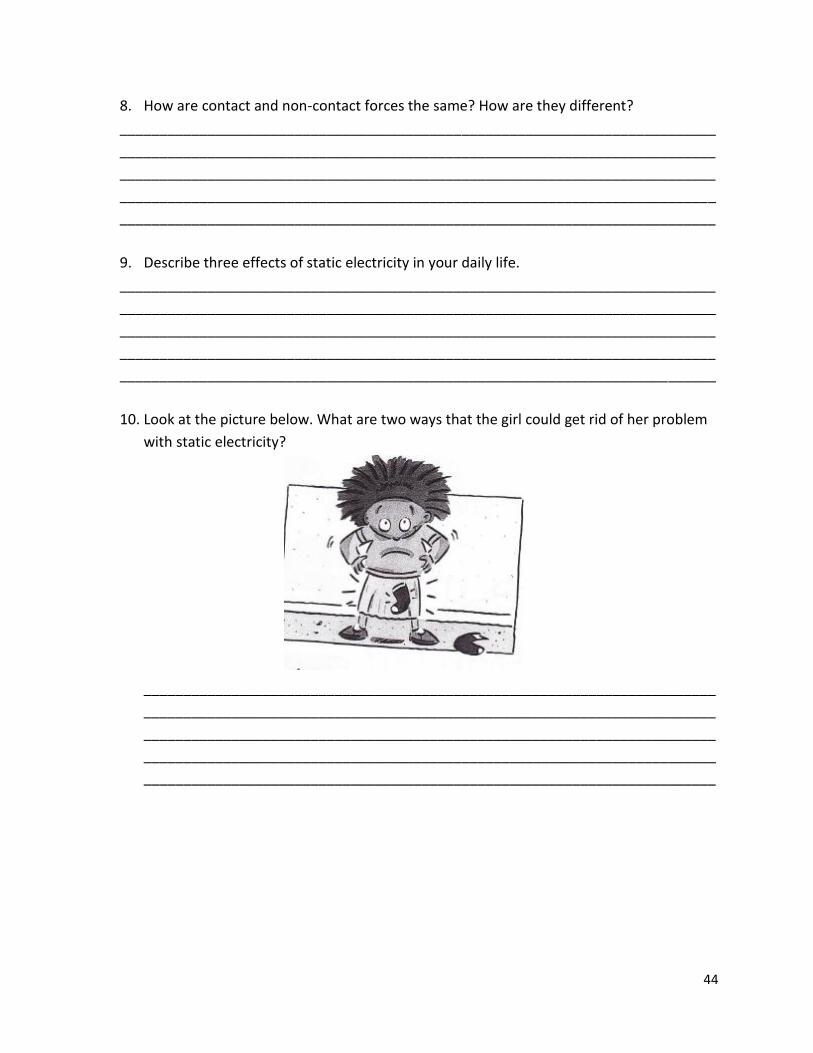
10. Look at the picture below. What are two ways that the girl could get rid of her problem
with static electricity?
________________________________________________________________________
________________________________________________________________________
________________________________________________________________________
________________________________________________________________________
________________________________________________________________________